• When you click on links to various merchants on this site and make a purchase, this can result in this site earning a commission. Affiliate programs and affiliations include, but are not limited to, the eBay Partner Network.

Don's 1969 Charger Restoration

mopar4don

Well-Known Member
Local time
7:33 AM
Joined
Feb 4, 2012
Messages
1,197
Reaction score
1,250
Location
Michigan
Let me first say, I have watched this forum for a couple of years before deciding to tackle a job like this.
Without the help and advice of those in this forum, I NEVER would have the desire to undertake such a huge project like this!
After reading and seeing all of the different resto threads, I have decided to start my own project thread!

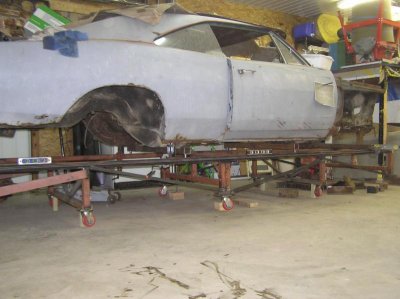
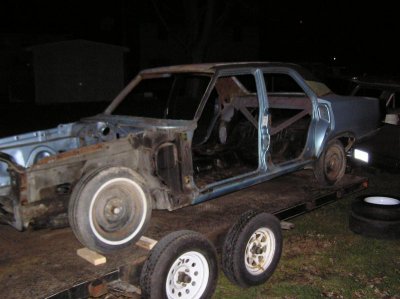
This is what I started with
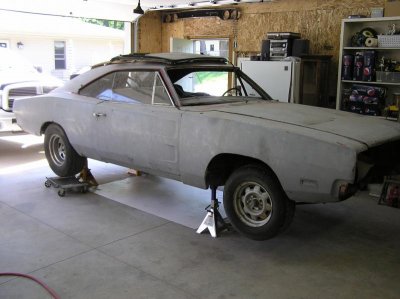
P1010245.jpg

I saw and read where different members (Donny, Detmatt1, SGTPaul,) built their own chassis jig or body jig.
I liked the idea of everything being tied down and being able to reference back to factory specs.
I know it can be done by putting the car on jack stands (or other methods) but for me, (a beginner) I thought this would be the best way for me to go.

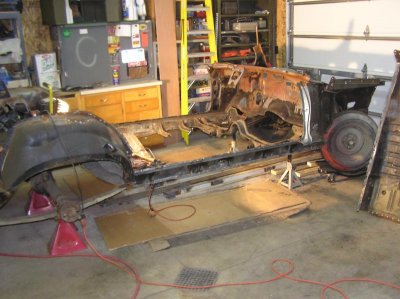
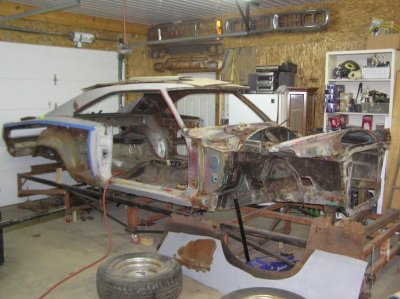
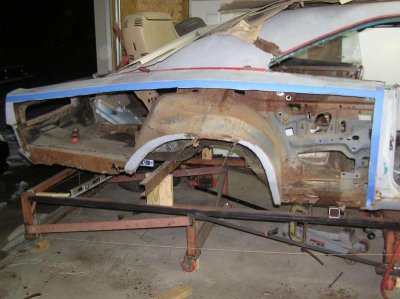
So I built a body jig to hold the car securely during disassembly.
The jig was originally a 4’x8’ table that I picked up at the local scrap yard. It was cut in half horizontally then put end to end to give me 4’x16’
It‘s made from 2x2 tubing with ¼ wall. And has leveling screws at every leg.
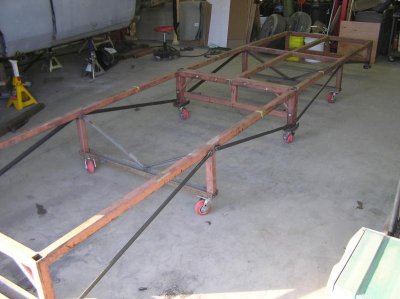
P1010006.jpg

P1010008.jpg

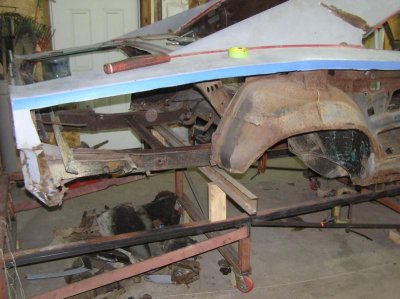
I cut the quarter panels off to get better access
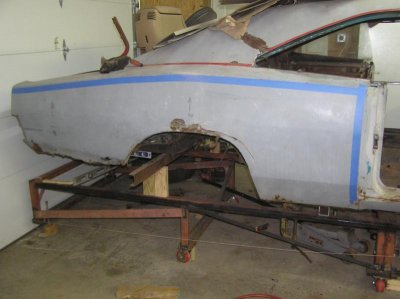
P1010001.jpg

P1010002.jpg

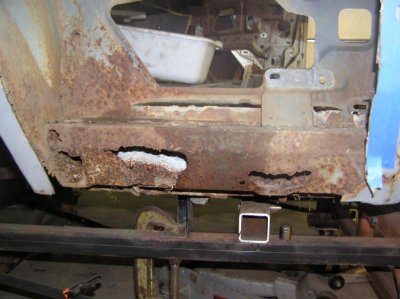
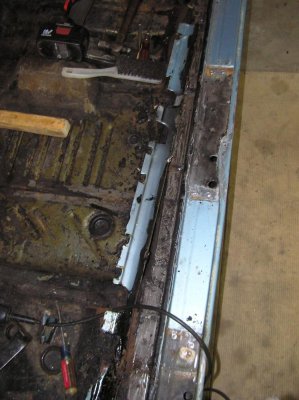
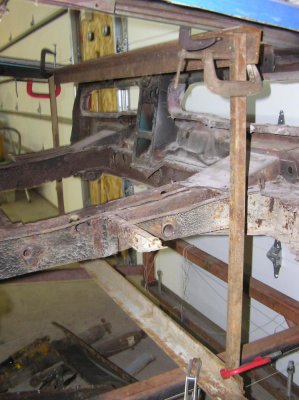
Outer rockers are shot!
P1010003.jpg

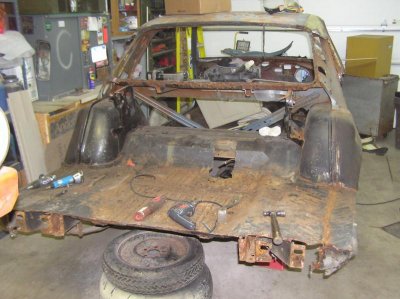
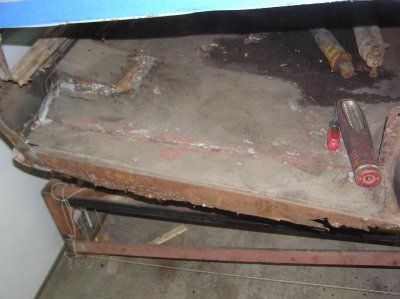
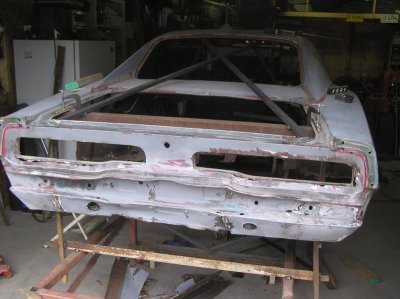
Trunk pan was patched long ago and will be replaced
P1010004.jpg

So out it came!
P1010030.jpg

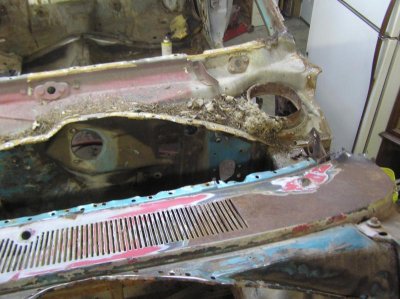
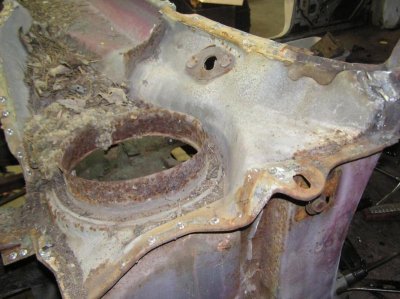
Next, time to remove the cowl
P1010023.jpg

Lots of pine needles and a mouse house
P1010026 (2).jpg

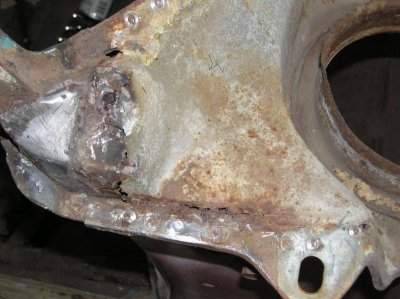
Rust damage around the base of the a-pillar, this will be fun to fix!
P1010024.jpg

A diamond in the rough? I can only hope!
P1010029.jpg

Any and all comments are welcome!
P1010245.jpg P1010006.jpg P1010008.jpg P1010001.jpg P1010002.jpg P1010003.jpg P1010004.jpg P1010030.jpg P1010023.jpg P1010026 (2).jpg P1010024.jpg P1010029.jpg
 
Last edited:
You are doing a great job Don. About time you show us what you've been working on. What are the plans for it?
 
Hi Elk,
My plans...... get the body work done!
To me that seems SO far away. I really am not sure after that!
I kinda want a cross between a classic look, and something BAD to the BONES.
I figure I have plenty of time.
 
Hi Don, nice to get some pics of what you're doing. I am going to remove my cowl as well, so it was nice to see your cowl removed and the rusted areas you have to deal with. Ger
 
Looks like you have control Don, I wish you good luck restoring the old gal and im sure it can be done.. These Chargers are and were bad to the bone when born, im sure you'll make it better!
 
Looks very...familiar! I love that dolly thing, looks very nice. After seeing what's under the cowel, lets hope this sight encourages others to yank theirs off too! Mice and company LOVE up in there, it's very safe and secure from predators hidden away in there. Don't forget to get it, and the parts media blasted! What color was this Charger originally?
 
Looks like you've got a good start on the bodywork and keeping the body straight while doing it.
 
Looks like a good project Don. She'll keep you busy for awhile. Have fun with her and good luck. Looking forward to watching your Dodge come back to life.
 
Looks very...familiar! I love that dolly thing, looks very nice. After seeing what's under the cowl, lets hope this sight encourages others to yank theirs off too! Mice and company LOVE up in there, it's very safe and secure from predators hidden away in there. Don't forget to get it, and the parts media blasted! What color was this Charger originally?

Thanks Donny, When I made the dolly I wasn't sure how it would turn out, but it all came together.
I agree that everyone should open up there cowl, my parts car had the same nest in there.
I am planning on most everything getting blasted.
Original color was a turquoise blue? Not sure what Dodge called it?

Thanks superfreak, prop, and roadrunnerman for the encouraging words.
 
That's a great project, you did a great job on that jig, that's very nice.
You have some serious work ahead of you and it will be well worth it when your done and cruising that car around.
Love the chargers, I had a 70 r/t six pack track pack car that I loved but had to sell. I'l be watching this thread.
 
great to see another Charger coming back to life.
 
well, Don that looks like you'll have your hands full for awhile but it will be worth it in the long run, have fun and keep posting updates.:headbang:
 
Looks like you have a great start to an awesome project! Keep up the good work!
 
Don glad to see you took the plunge! Looks like you are on a good start and have already received some good feedback. Don’t be afraid to ask questions. I’m sure you get a lot of knowledge built up from taking that 4 door apart. Wish you luck!!!
 
Don glad to see you took the plunge! Looks like you are on a good start and have already received some good feedback. Don’t be afraid to ask questions. I’m sure you get a lot of knowledge built up from taking that 4 door apart. Wish you luck!!!

Thanks Sarge, I will defiantly have questions.... I have so many right now! But all in due time.
The next time in the the big D I would like to check in on you and your car. I'm sure I'll have questions!

- - - Updated - - -

Let me catch everyone up a bit.
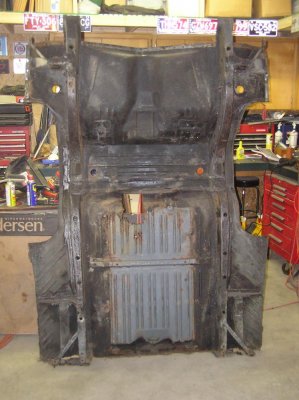
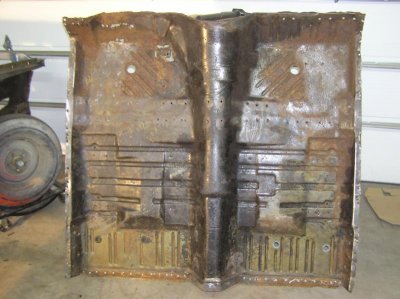
Over this past winter I bought and worked on dismantling a 1969 4 door Coronet that I basically got for the rear frame rails and floor pans. If needed, I would also be able to use the
inner fenders,
inner rockers
outer rockers (I would need to patch the cutouts for the rear doors)
torsion bar crossmember
upper and lower cowl
and the rest of the entire front clip if needed.
A HUGE THANKYOU to moparmarks for his help and advice for the above info!

P1010003.jpg

Another thing this car did was give me the opportunity to “learn” how to take these cars apart!
You can read about it in my thread.....
http://www.forbbodiesonly.com/mopar...g-Uni-body-parts-for-a-69-Charger-restoration
P1010042.jpg

P1010049.jpg

P1010077.jpg

P1010002.jpg

P1010013.jpg

P1010030.jpg

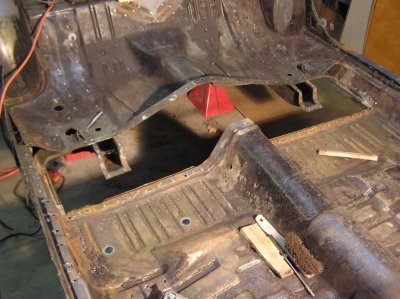
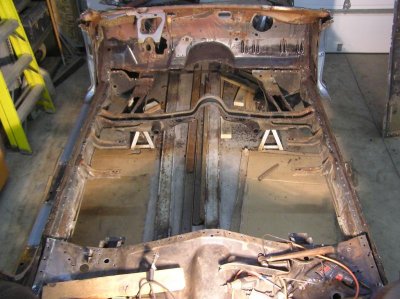
The floor pan will need some patching in the driver and pass foot well area.
P1010014.jpg
 
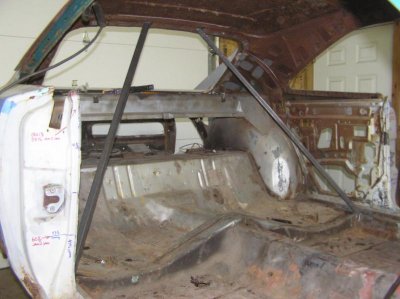
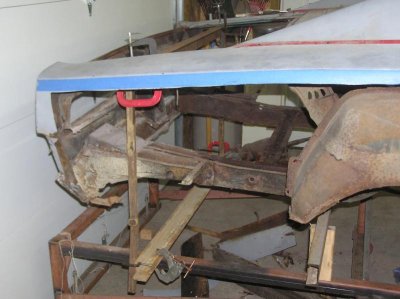
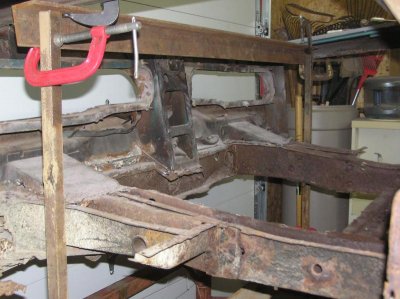
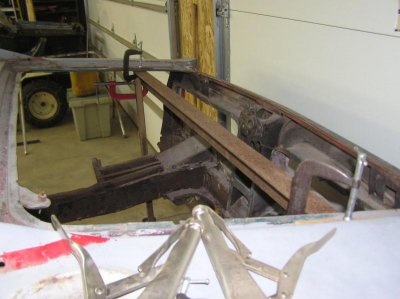
Decided to brace up the back side of the car in preparation for rear frame swap.
I liked the way Hunt2Elk did his so did it the same way. Thanks Elk!

P1010089.jpg

P1010090.jpg

P1010091.jpg

P1010092.jpg

P1010093.jpg

P1010095.jpg

P1010089.jpg P1010090.jpg P1010091.jpg P1010092.jpg P1010093.jpg P1010095.jpg
 
Nice work! Please keep us in the loop, every step of the way!
 
Auto Transport Service
Back
Top