• When you click on links to various merchants on this site and make a purchase, this can result in this site earning a commission. Affiliate programs and affiliations include, but are not limited to, the eBay Partner Network.

Made some progress this weekend

typhoontx

Active Member
Local time
6:16 PM
Joined
May 14, 2015
Messages
36
Reaction score
33
Location
dfw tx
This weekend we were able to get the hemi out of the 2005 Dakota and installed the milodon oil pan on the engine.
We are using the Schumacher mounts . and we attempted a test fit ( trans tunnel has already been cut out) . We found several interference points
on the coronet and were not able to get the mounts lined up and resting on the k member engine mounting pads

1. remove the 545 rfe trans dipstick tube !
2. the factory ac fittings on the fire wall look like they are going to be blocked by the truck intake manifold .
3. the drain tubes ? that stick out the firewall are going to be close.
4 the factory log exhaust manifolds might work with some floor pan modification on the passenger side. drivers side looks better due to the angle of manifold outlet and the fact the drivers head sits farther forward than the passenger side.

Once we get it set in will take some pictures of the fit. anyone in the Dfw texas area have a spare 5.7 hemi car intake manifold we could borrow for a trial fit to see if that helps us on the ac fittings ?

Thanks Robert
 
Got a question........when did Dodge put a Hemi in the Dakota? As far as I know, they never did. Was it something that someone else installed?

- - - Updated - - -

Are you sure you got a Hemi and not a 4.7?
 
I'm pretty sure 5.7 hemi is right. I haven't seen anything that says a Dakota came with that engine. Or did you mean Ram?
 
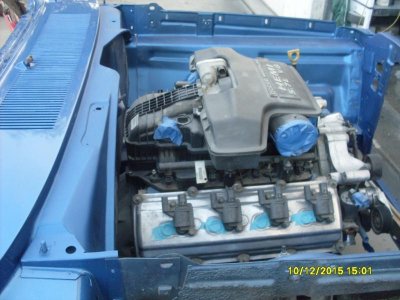
Got it set on the mounts and the transmission mount in place, looks like the stock Durango cast iron log manifolds are going to work.
The driver side manifold is real close ( 1/8") to the power steering box but there is a rib on the log manifold that we can grind down a bit and little off the steering box itself and squeeze a heat shield in between. We cut the head pipes off the Durango just forward of the cats and swapped them left and right and I think its going work for connecting the rest of an exhaust system to them.
 
Pics???
 
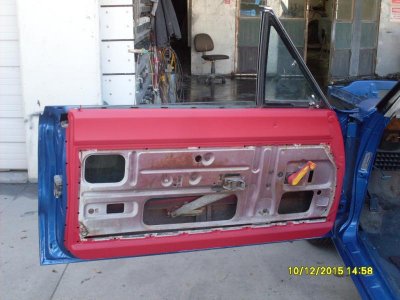
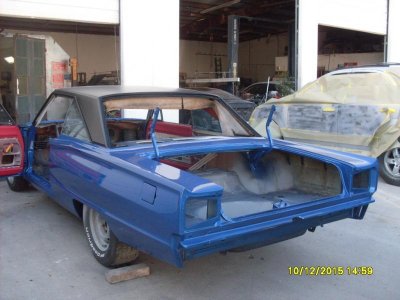
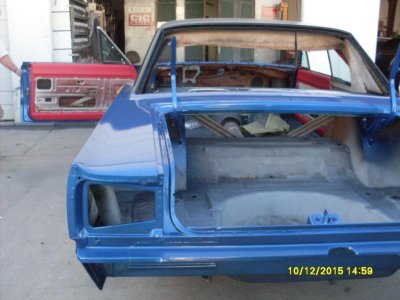
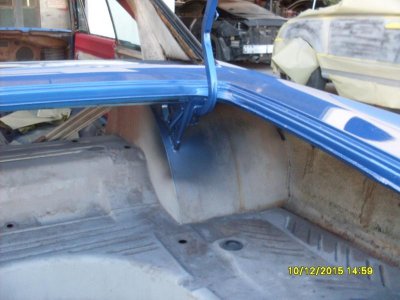
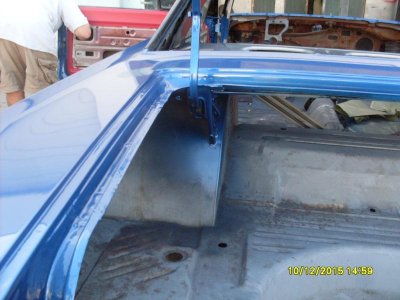
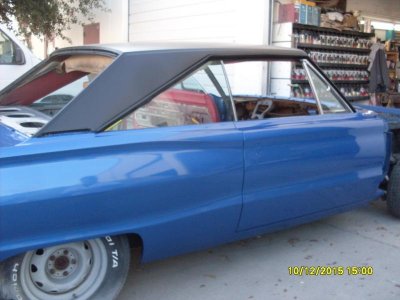
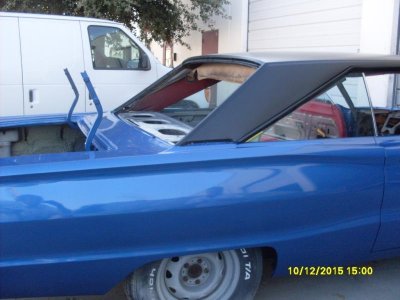
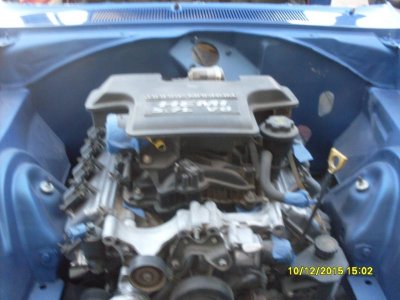
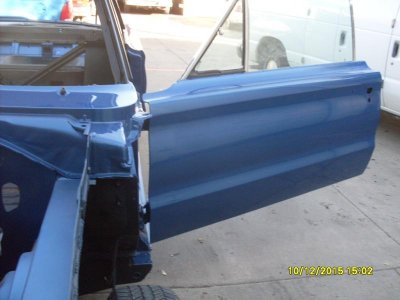
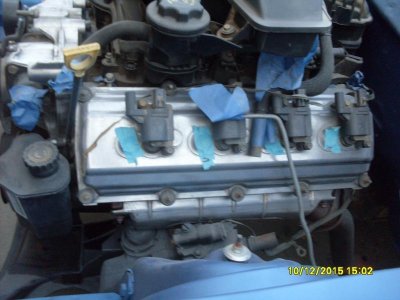
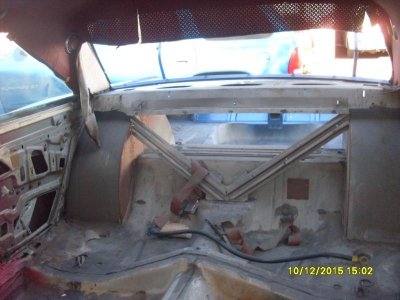
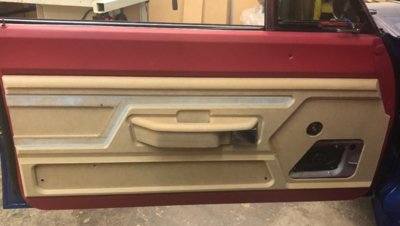
Here are some pictures just out of the paint booth. Please excuse my poor photography skills and the cheap camera !

The firewall has been smoothed and the engine bay paint itself is body color but has been shot with a satin clear rather than gloss clear.

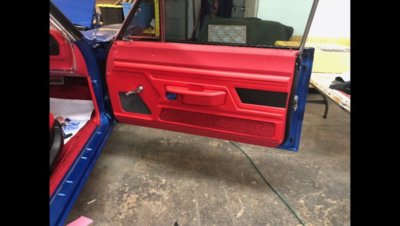
The red on the inside doors shows up a bit brighter than it really is.

it should be coming back from paint tomorrow, my friend who does the body work will buff and polish it.

Next up is the rear end is coming out get it narrowed 2.75" per side and the drive shaft built.

SDC10059.jpgSDC10060.jpgSDC10061.jpgSDC10062.jpgSDC10063.jpgSDC10064.jpgSDC10065.jpgSDC10066.jpgSDC10067.jpgSDC10068.jpgSDC10069.jpgSDC10070.jpg

SDC10059.jpg SDC10060.jpg SDC10061.jpg SDC10062.jpg SDC10063.jpg SDC10064.jpg SDC10065.jpg SDC10066.jpg SDC10067.jpg SDC10068.jpg SDC10069.jpg SDC10070.jpg
 
great project, looking good so far. Love the big tubs too. I tubed the right side on my 67 Coronet but I'm not happy with it and thought about doing a barrel type like yours instead. With these pics i'm armed and ready to tackle that. I was concerned about where the deck hinges would end up but now i see how that works out. Thanks!!
 
Got rolling on the project again, got the Hemi started ! lit right off even after sitting for almost 2 years, we primed the oil system and fuel rail and it started. now Im gathering the parts to put the charger headlights on it just need 1 more turn signal assy and maybe a headlamp motor
 
Here is a couple more pictures with the new wheels on it. and the charger headlights we are in process of getting all the pieces , still need another motor and the fender trim pieces

20170323_195724[1].jpg 20170323_195749[1].jpg
 
New year update.
Suspension done, willwood brake system , drop spindles, rear coil overs my friend has buffed out the paint and had some pin striping done.
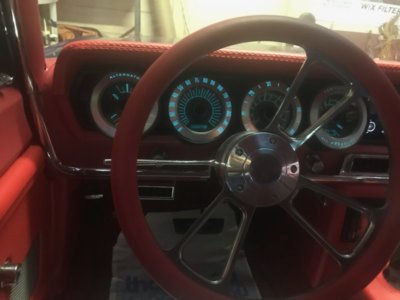
Car wiring is pretty much done, still trying to decide best way to get charger dash tach and speedo work with the hemi.( design and build something myself or buy a solution)
Got the charger dash E-L lighting working ( had to build the power pack that puts out the 200-ish volts to run that )
I also designed and built a microprocessor controlled "gadget" to piggy-back on the existing temperature sender that the engine computer uses. This gadget reads the temp sender , then controls the dual electric radiator fans speed based on the temperature, It also reads the state of the AC trinary switch and can turn the fans on to full speed when the switch closes. It also provides a output that emulates a stock temp sender for the dash temp gauge. The car will be going to the upholstery shop in the next week or so. Then once back its wire in the gadget put the dash in and hook the vintage air controls up , get the exhaust done and the power steering hoses made up and hooked in and finish up a few other bits and pieces and hope to have it done in time for goodguys show in the spring
 
Last edited:
Looking good man, sounds like you have it all going in the right directions..
 
Thanks !
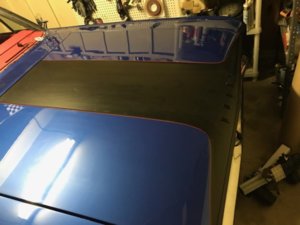
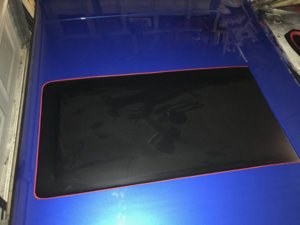
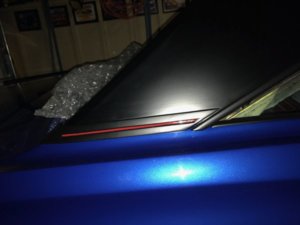
Here is some pictures of the hood,trunk lids and the sail panel pardon the dust !

IMG_06361.jpg IMG_06371.jpg IMG_06381.jpg
 
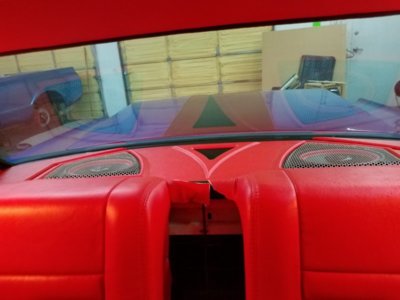
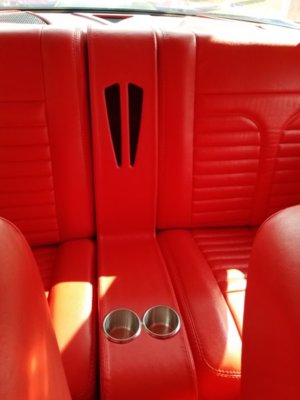
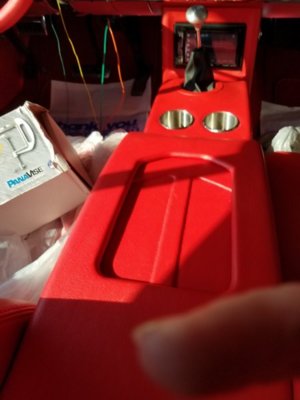
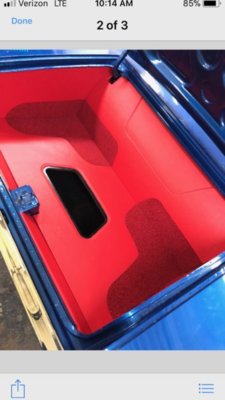
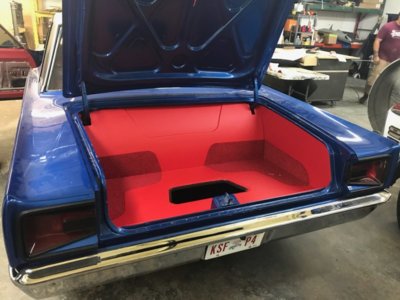
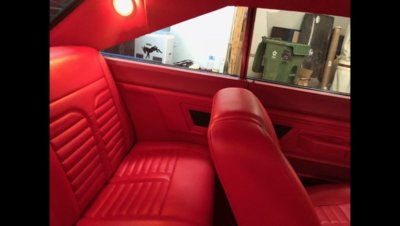
Here are some pictures of the interior.
the darker red material you see in the corners of the trunk and the lower strip on the door panel is carpet.
The Black area in the truck is the access to the spare tire well ( the accesshole cover is not in place at the time the picture was taken.)

The front seats are from a 2002 monte carlo with the head rests removed
the rear seat was the original coronet back seat that the interior shop sectioned them to allow for the rear console to put in place.


20180719_140255.jpg 20180728_174056.jpg 20180728_174111.jpg IMG_14531.jpg IMG_14541.jpg IMG_14801.jpg IMG_14921.jpg IMG_14931.jpg IMG_15191.jpg
 
Last edited:
I also built a solution to drive the tachometer movement using a microprocessor and a Can-bus transceiver , It sends a query to the hemi ecu to get the rpm from the OBD2 diagnostic port in the same way a hand held obd code reader does.
Then the microprocessor translates the rpm data into a voltage to operate the tachometer , I removed the original circuit board inside the Tach as it was dead and I did not want to mess with it.


Looking back I should have used this method instead to operate the temperature gauge and the electric fan control instead of piggybacking the temp sensor on the engine. As I'm only using a small amount of the microprocessors capabilities.
 
Last edited:
Auto Transport Service
Back
Top