• When you click on links to various merchants on this site and make a purchase, this can result in this site earning a commission. Affiliate programs and affiliations include, but are not limited to, the eBay Partner Network.

My 66 Satellite street car project

2quick

Well-Known Member
Local time
1:44 AM
Joined
Apr 27, 2010
Messages
1,066
Reaction score
971
Location
New Jersey
So I bought this car in 2009 for $900 bucks from a friend of mine, but it had no title. Car looked pretty solid and i thought it make a good driver. So after 6 months of research I finally got the name of the last known registrant of the car from 1985. I called him (getting his number from a guy, who new a guy, who new the son of a guy, that i met through casual conversation at a wedding of the guy I bought the car from). Amazed that this was actually happening all by chance one drunken night, I finally had a phone number to contact the guy who's name was listed on the last registration card some 20 years ago. I call him and explained that I was the owner of the car and asked if he had the title? He said that 4 other people had the same issue and that he never actually had a title, That in NY state they only had a registration card and titles were not given out at the DMV. (Not sure i understood this but) I explained that he was the last person on file to actually own the car and that the only way to fix the title was to send him a copy of the title in the mail and when he received it he should call me. He laughed and told me good luck but if he received anything he would call me. Well 2 weeks later he called and said he couldn't believe it but he actually had a copy of the the title in hand and i could come pick it up. Elated to hear this, I drove straight there, and at that point he signed the title over to me and I finally had a legal car.

- - - Updated - - -

vbpgimage.php


SO this i basically what I had to work with, with the exception of the wheels and lots and lots of cleaning.

- - - Updated - - -

vbpgimage.php


- - - Updated - - -

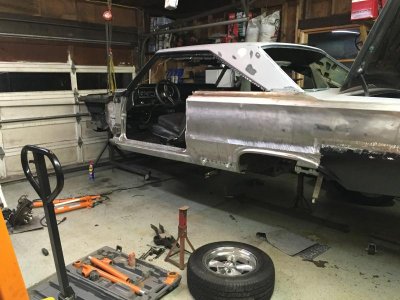
Car looked pretty solid and I drove it that way for a few years, but time took its toll on the body and what you cant see is that behind all that pretty trim the cancer was spreading.

- - - Updated - - -

I'm about 3 years into this project and will be posting up pics as i find them.
I have some more current stuff, but but I'll throw up some of the earlier work as I find it.
 
Throwing up....

Gee it must be tough to throw up actual photos. Doesn't hurt yer throat? Seriously tho that's a fine looking example of MOPAR goodness. Keep us posted dude.
So I bought this car in 2009 for $900 bucks from a friend of mine, but it had no title. Car looked pretty solid and i thought it make a good driver. So after 6 months of research I finally got the name of the last known registrant of the car from 1985. I called him (getting his number from a guy, who new a guy, who new the son of a guy, that i met through casual conversation at a wedding of the guy I bought the car from). Amazed that this was actually happening all by chance one drunken night, I finally had a phone number to contact the guy who's name was listed on the last registration card some 20 years ago. I call him and explained that I was the owner of the car and asked if he had the title? He said that 4 other people had the same issue and that he never actually had a title, That in NY state they only had a registration card and titles were not given out at the DMV. (Not sure i understood this but) I explained that he was the last person on file to actually own the car and that the only way to fix the title was to send him a copy of the title in the mail and when he received it he should call me. He laughed and told me good luck but if he received anything he would call me. Well 2 weeks later he called and said he couldn't believe it but he actually had a copy of the the title in hand and i could come pick it up. Elated to hear this, I drove straight there, and at that point he signed the title over to me and I finally had a legal car.

- - - Updated - - -

vbpgimage.php


SO this i basically what I had to work with, with the exception of the wheels and lots and lots of cleaning.

- - - Updated - - -

vbpgimage.php


- - - Updated - - -

Car looked pretty solid and I drove it that way for a few years, but time took its toll on the body and what you cant see is that behind all that pretty trim the cancer was spreading.

- - - Updated - - -

I'm about 3 years into this project and will be posting up pics as i find them.
I have some more current stuff, but but I'll throw up some of the earlier work as I find it.
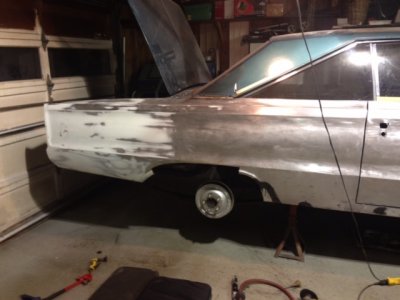
 
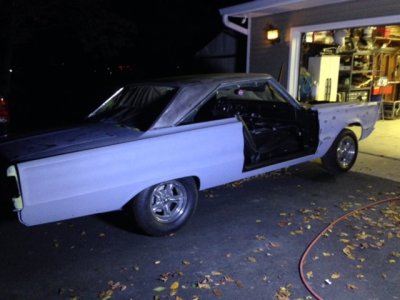
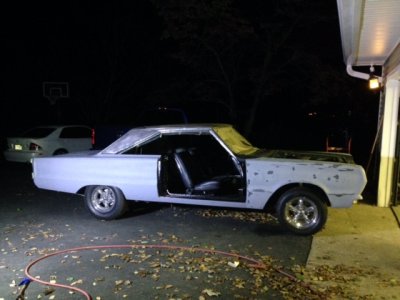
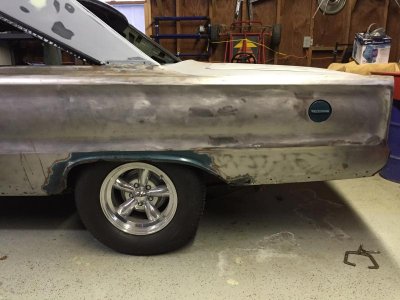
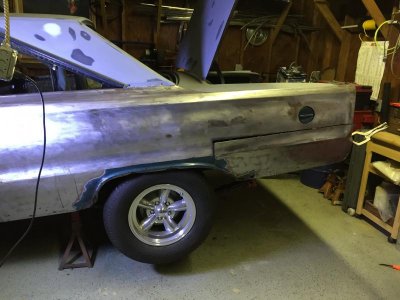
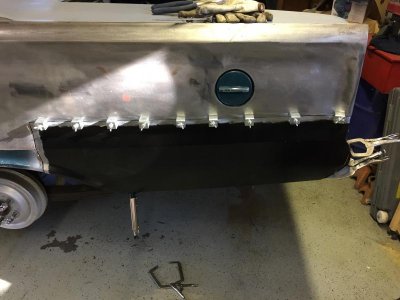
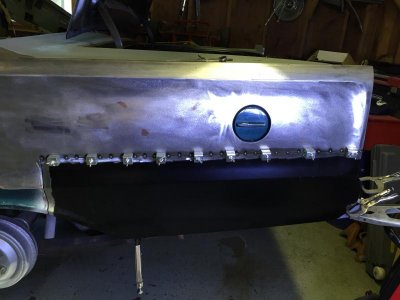
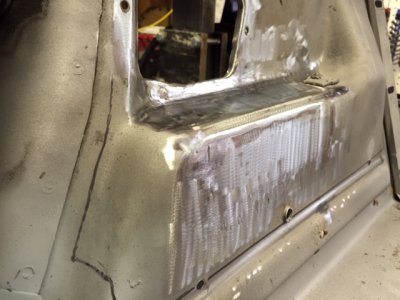
So after stripping the paint from the pass qtr I found the car had been hit and pretty good. After some measurements from left to right I realized the previous repair had about an inch of bondo. I hammered and pulled it out as best i could and while it still needed filler its very thin.
IMG_0022.JPG

- - - Updated - - -

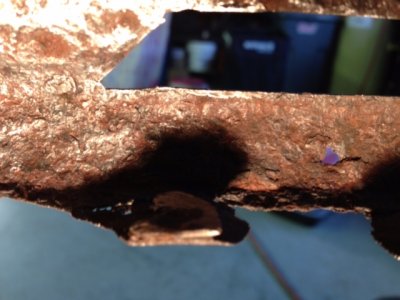
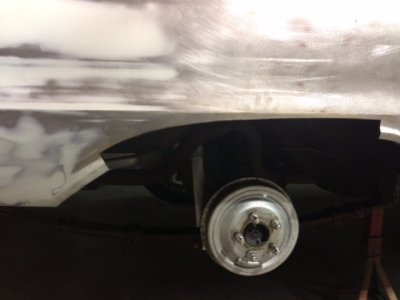
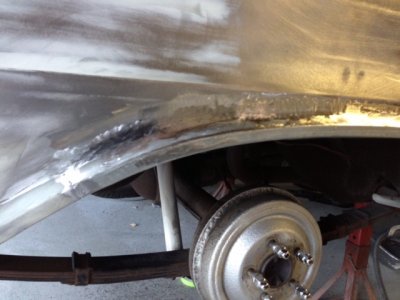
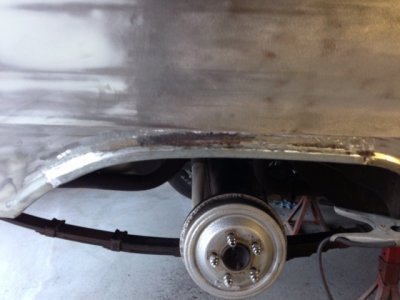
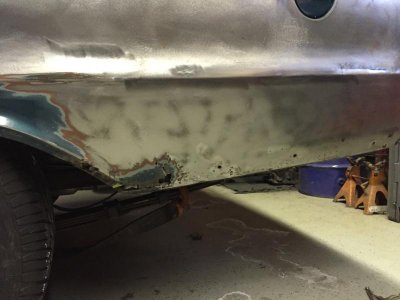
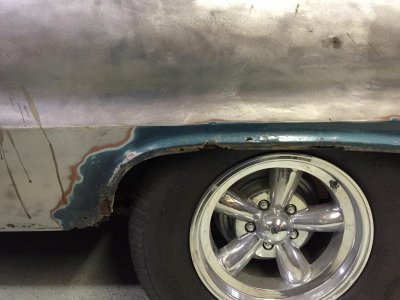
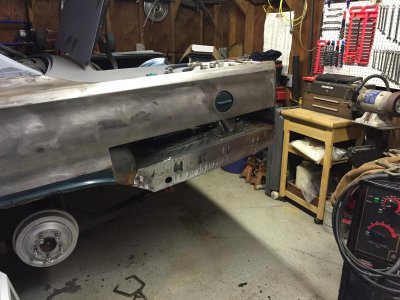
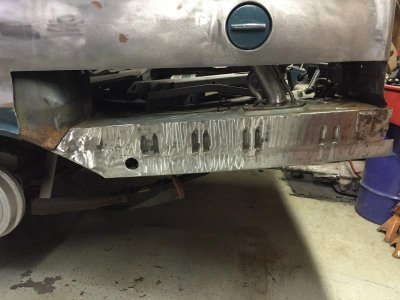
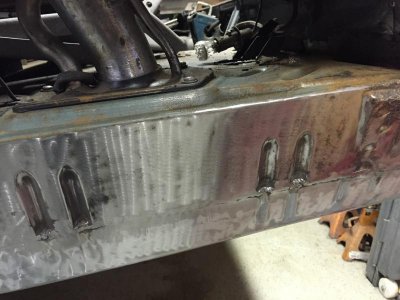
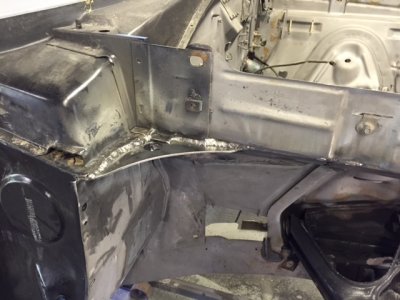
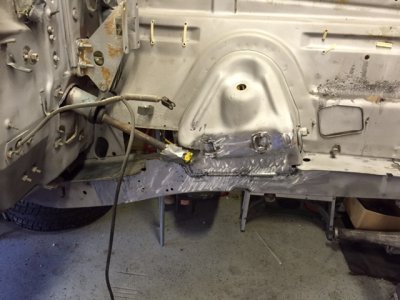
Also some rust around the wheel house and lower qtr.
IMG_0001.JPGIMG_0002.JPGIMG_0003.JPGIMG_0004.JPGIMG_0008.JPG

- - - Updated - - -

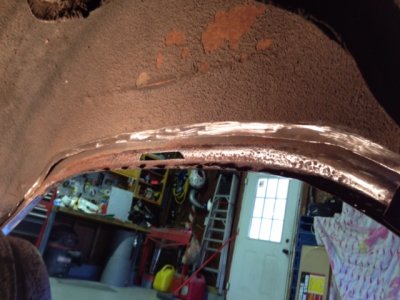
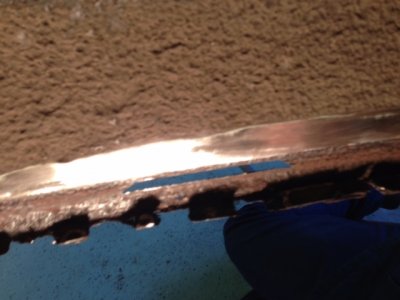
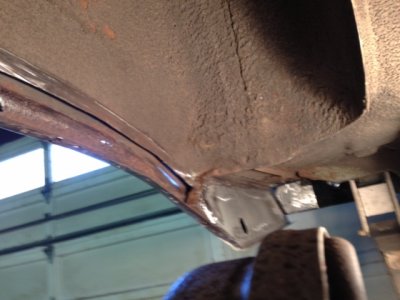
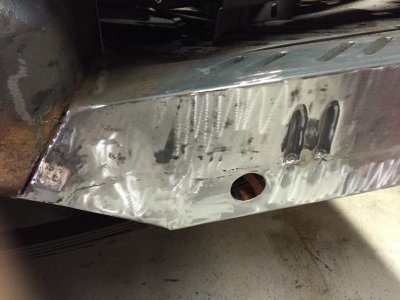
Pics are mid way through repair, so some of area had already been replaced at time of photo.
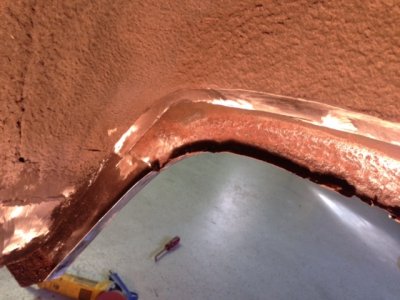
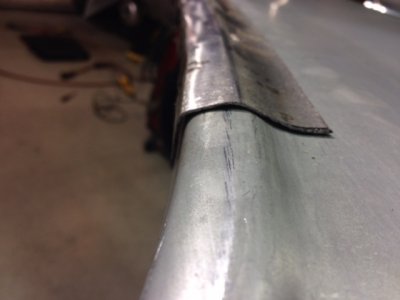
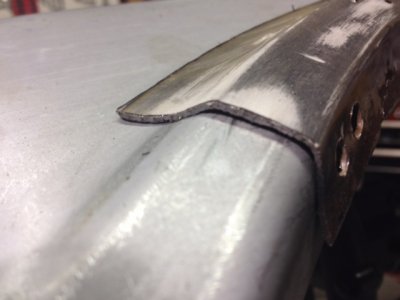
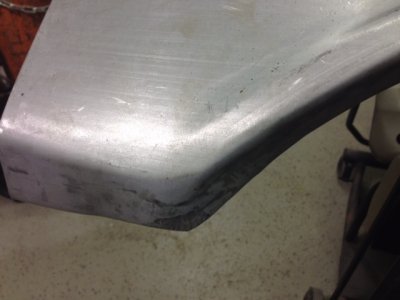
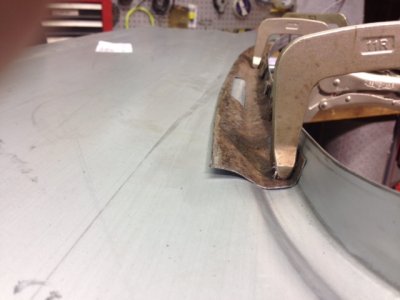
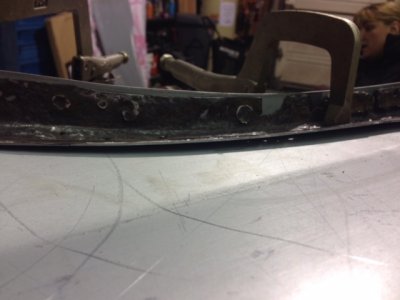
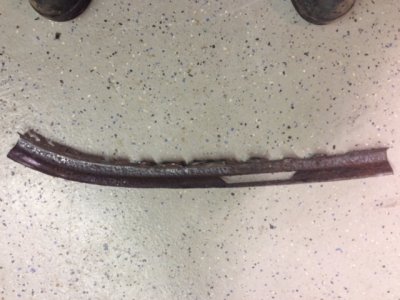
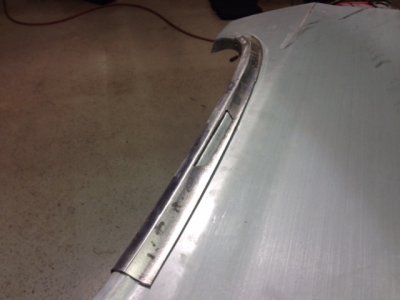
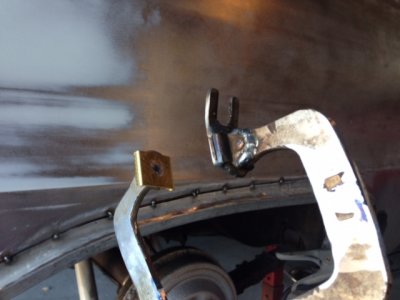
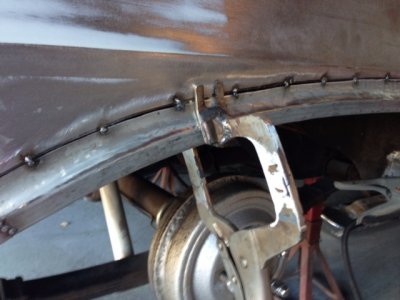
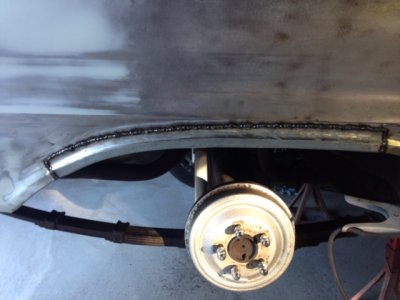
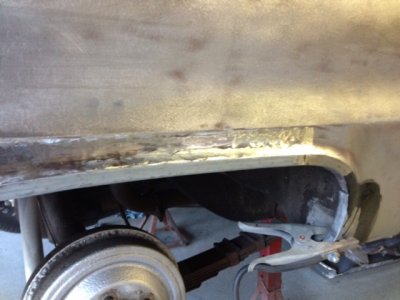
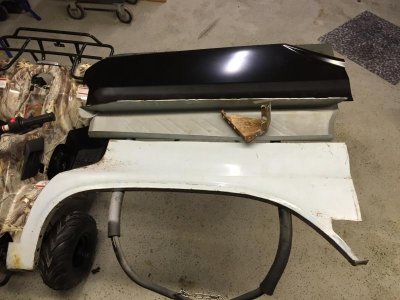
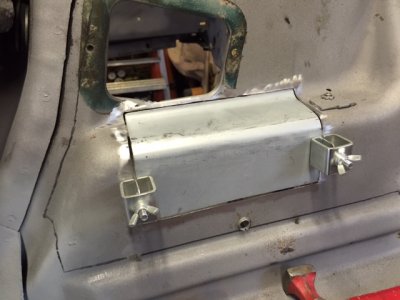
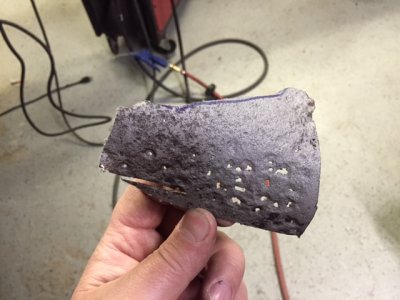
As most anyone who's ever tried to fix a 66-67 b-body will know, the Sherman replacement wheel house patches are garbage. I decided to cut away as little as possible and needed to hand form a replacement lip using the sherman part as a starting point. I've put the cutout part against the sherman part to show how bad they are off. Edges are not as crisp and corners are round.
IMG_0005.JPGIMG_0007.JPGIMG_0009.JPGIMG_0012.JPGIMG_0013.JPGIMG_0016.JPGIMG_0019.JPGIMG_0024.JPGIMG_0028.JPG

- - - Updated - - -

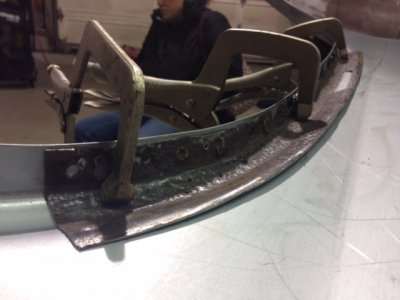
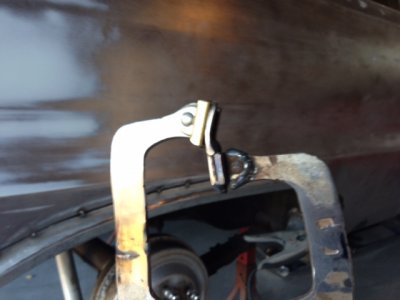
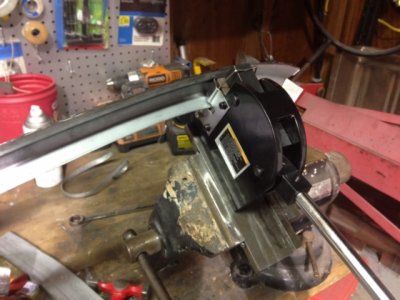
Some shrinker / Stretcher action and a cool backing tool I made out a old set of vise grip clamps to back the weld.
IMG_0031.JPGIMG_0033.JPGIMG_0034.JPGIMG_0036.JPG

- - - Updated - - -

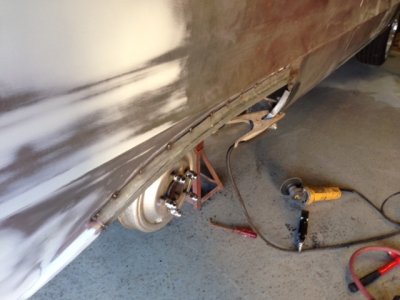
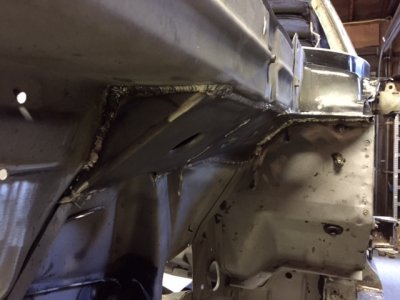
Some welding and grinding
IMG_0040.JPGIMG_0043.JPGIMG_0044.JPGIMG_0045.JPG

- - - Updated - - -

IMG_0041.JPG

- - - Updated - - -

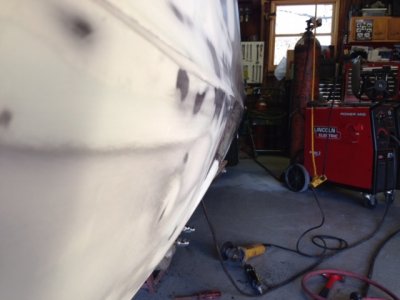
66-67 body lines are a total bitch to get straight.
IMG_0026.JPG

- - - Updated - - -

2 wet coats of SPI epoxy, 4 coats of SPI 2K high build
IMG_0011.JPGIMG_0029.JPG

- - - Updated - - -

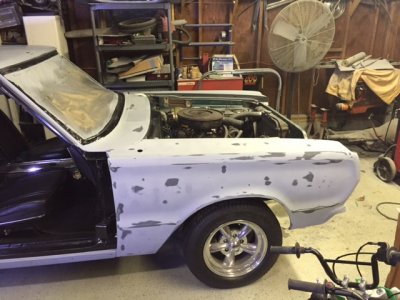
Right fender was a total loss. So found a solid replacement. Left fender needed a lower patch but was usable.

- - - Updated - - -

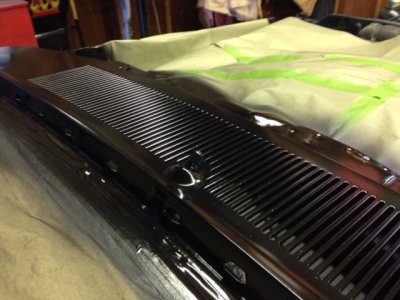
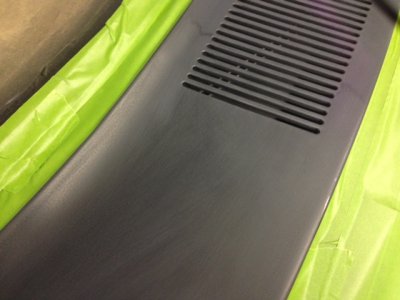
Doors in good shape, lots of work in the cowl to windshield area.

- - - Updated - - -

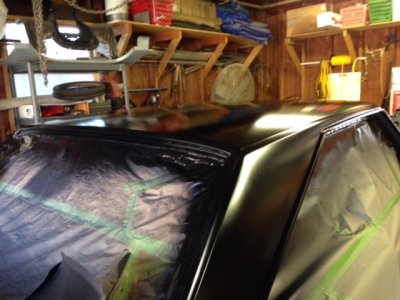
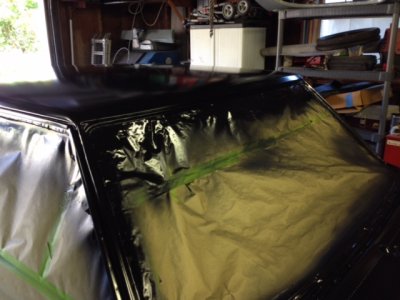
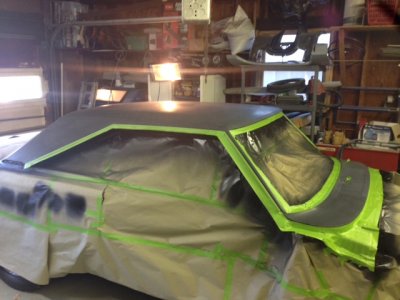
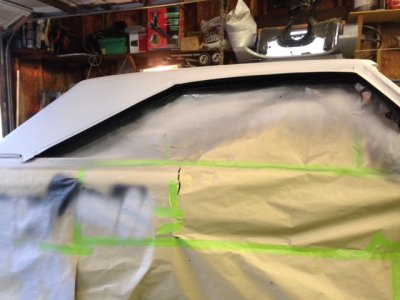
Roof getting done.
IMG_0030.JPGIMG_0032.JPGIMG_0035.JPGIMG_0038.JPGIMG_2946.JPGIMG_2947.JPGIMG_2952.JPGIMG_2953.JPGIMG_2954.JPG

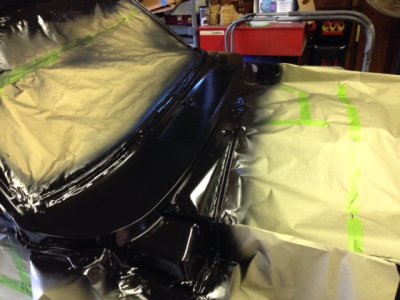
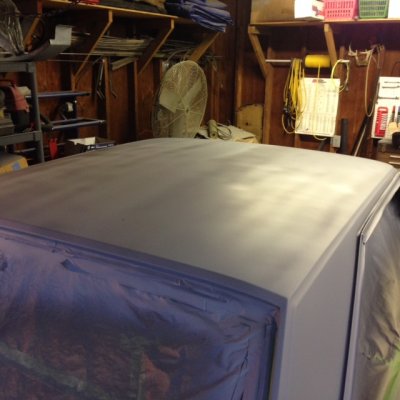
Roof, sail and cowl blocked out.
IMG_2966.JPGIMG_2968.JPGIMG_2969.JPGIMG_2970.JPG

- - - Updated - - -

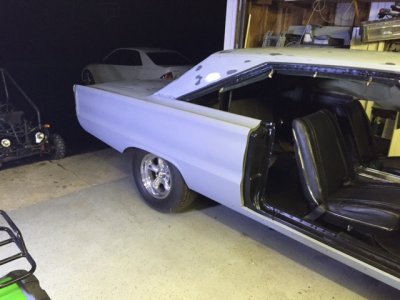
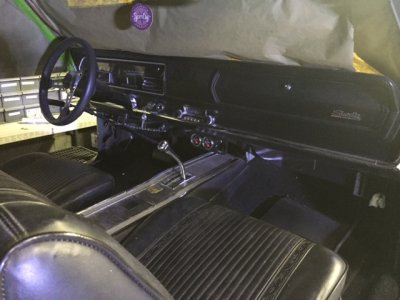
Interior was done a few years ago so i'm trying to be careful not to screw it up.
IMG_2967.JPG

IMG_0022.JPG IMG_0001.JPG IMG_0002.JPG IMG_0003.JPG IMG_0004.JPG IMG_0008.JPG IMG_0005.JPG IMG_0007.JPG IMG_0009.JPG IMG_0012.JPG IMG_0013.JPG IMG_0016.JPG IMG_0019.JPG IMG_0024.JPG IMG_0028.JPG IMG_0031.JPG IMG_0033.JPG IMG_0034.JPG IMG_0036.JPG IMG_0040.JPG IMG_0043.JPG IMG_0044.JPG IMG_0045.JPG IMG_0026.JPG IMG_0041.JPG IMG_0011.JPG IMG_0029.JPG IMG_2966.JPG IMG_2968.JPG IMG_2969.JPG IMG_2970.JPG IMG_2967.JPG IMG_0030.JPG IMG_0032.JPG IMG_0035.JPG IMG_0038.JPG IMG_2946.JPG IMG_2947.JPG IMG_2952.JPG IMG_2953.JPG IMG_2954.JPG
 
The right quarter on my 67 GTX looked smooth as glass, but had an inch of bondo in spots when stripped. I am beginning to think they came this way from the factory. LOL The body lines are a bitch!
 
I still need to do driver qtr. I am taking a different approach on this side. I was fortunate to find a decent wheel house from a 4 door and cut it out. (Thanks Cliff) This guy is so awesome, cant remember him user name on FBBO but he cut me out and shipped the inner and outer wheel house, Driver & pass rear fender splash shields (in perfect condition) and a perfect Pass fender, For a very reasonable price. I'm going to pair the 4 door wheel house with an AMD rear qtr patch and hopefully it will go a lot smoother.

- - - Updated - - -

People don't realize how many concave surfaces are on these things. Makes blocking difficult. I have about 12 different shaped blocks I use.
 
It is looking real good. I think you got lucky with that previous owner being straight up as he could have easily told you to pound sand tell you he wants his car back after he got the title with his name on it.
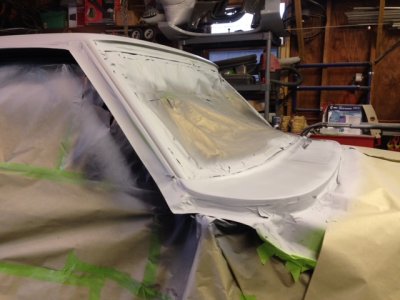
 
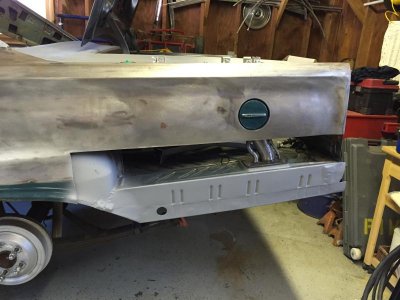
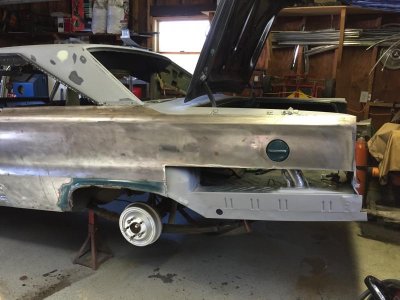
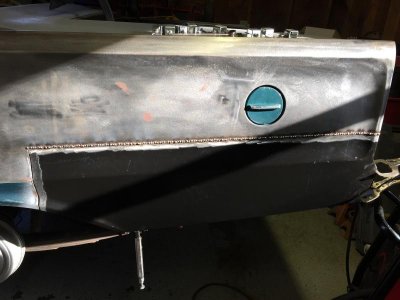
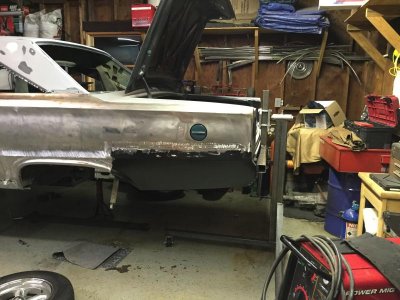
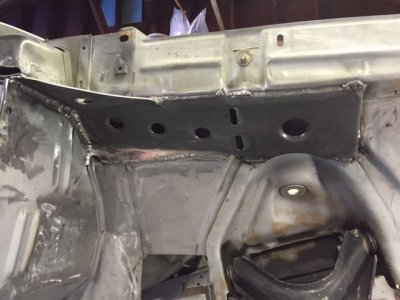
Installing driver AMD lower quarter patch and wheel lip removed from a 4 door (Thanks CAL) Really wish AMD made a full quarter for theses cars.

- - - Updated - - -

IMG_3451.jpgIMG_3452.jpgIMG_3453.jpgIMG_3456.jpgIMG_3457.jpgIMG_3458.jpgIMG_3459.jpgIMG_3460.jpgIMG_3463.jpgIMG_3515.jpgIMG_3516.jpgIMG_3517.jpgIMG_3520.jpgIMG_3521.jpgIMG_3726.jpgIMG_3727.jpg

- - - Updated - - -

- - - Updated - - -

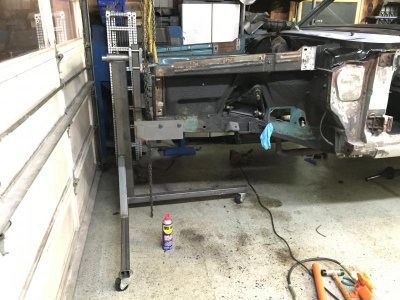
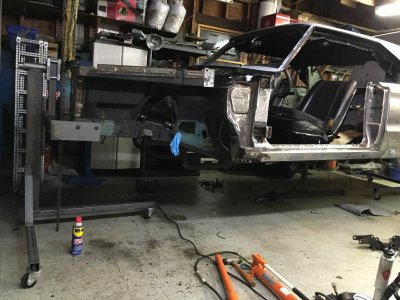
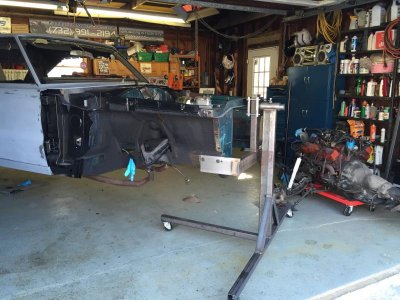
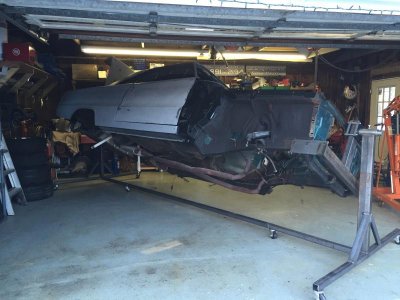
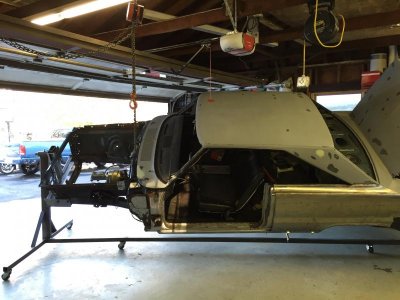
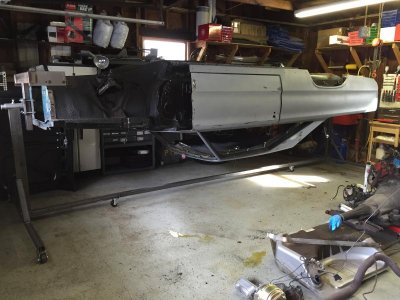
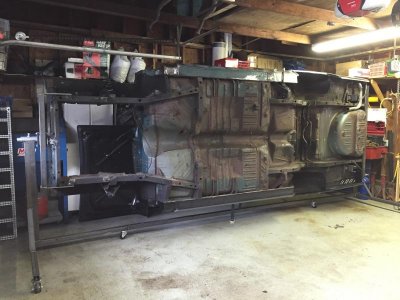
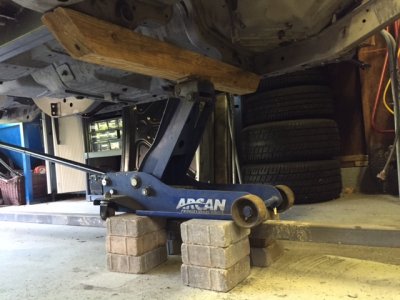
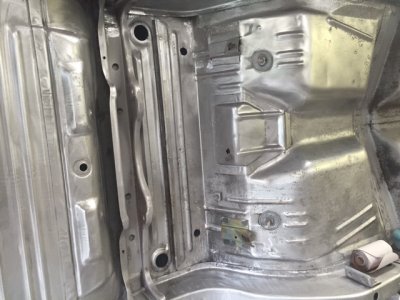
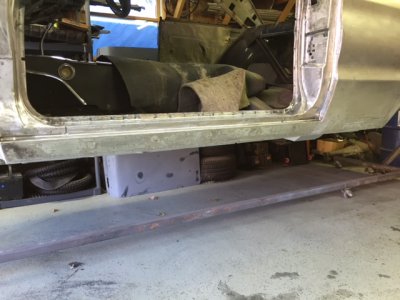
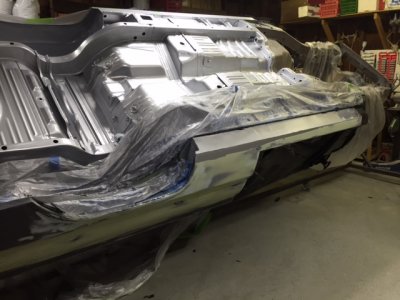
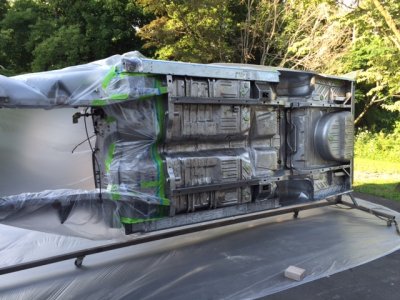
I decided to build a rotisserie and address the surface rust under the car.

- - - Updated - - -

IMG_3728.jpgIMG_3729.jpgIMG_3730.jpgIMG_3736.jpgIMG_3740.jpgIMG_3743.jpgIMG_3760.jpgIMG_3761.jpg

- - - Updated - - -

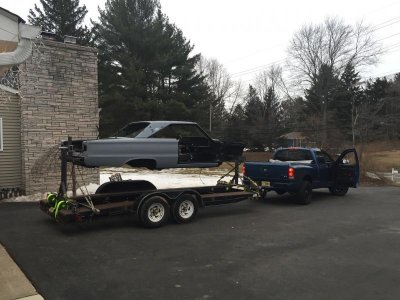
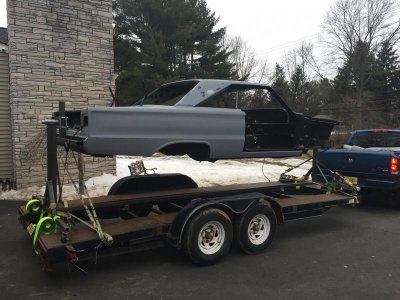
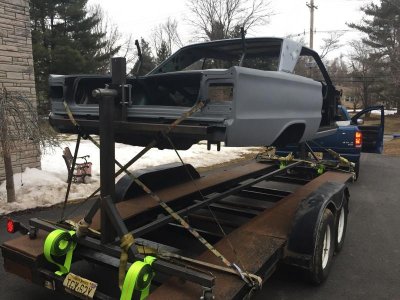
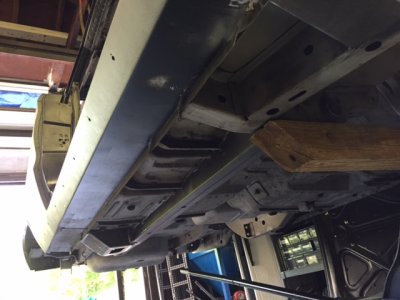
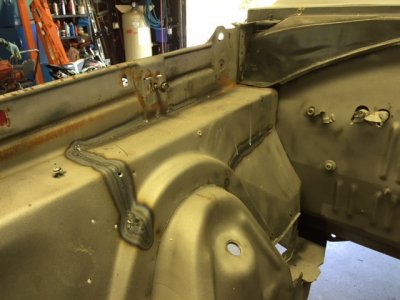
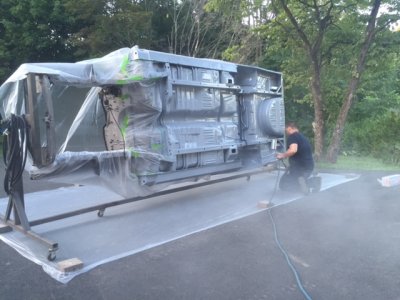
Loaded on the trailer on its way to be wet blasted. Probably should have done this from the start. Live and learn I guess.
- - - Updated - - -

IMG_3770.jpgIMG_3771.jpgIMG_3772.jpg

- - - Updated - - -

IMG_3451.jpg IMG_3452.jpg IMG_3453.jpg IMG_3456.jpg IMG_3457.jpg IMG_3458.jpg IMG_3459.jpg IMG_3460.jpg IMG_3463.jpg IMG_3515.jpg IMG_3516.jpg IMG_3517.jpg IMG_3520.jpg IMG_3521.jpg IMG_3726.jpg IMG_3727.jpg IMG_3728.jpg IMG_3729.jpg IMG_3730.jpg IMG_3736.jpg IMG_3740.jpg IMG_3743.jpg IMG_3760.jpg IMG_3761.jpg IMG_3770.jpg IMG_3771.jpg IMG_3772.jpg
 
Nice score, thank goodness that guy was willing to help with the title (doesn't always go that way). Your progress is looking top notch especially given what you poor 66&67 owners have to work with.
 
So how's the blasting coming along??? I can't wait to see updates!!!
 
2quick, don't leave us hanging!!!!! My dad is restoring his '66 that appears to be the exact same color as yours!! It's like dejavu!!!
 
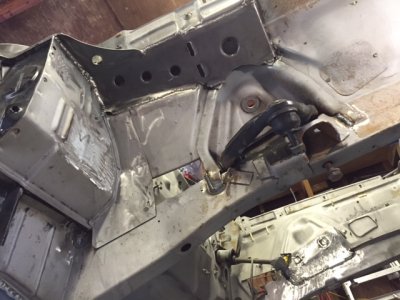
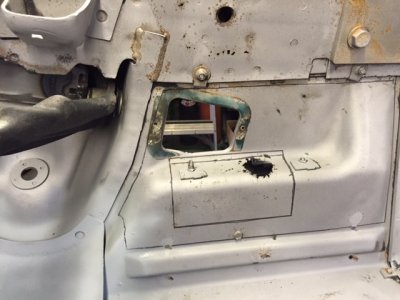
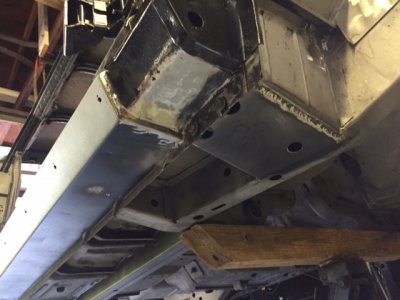
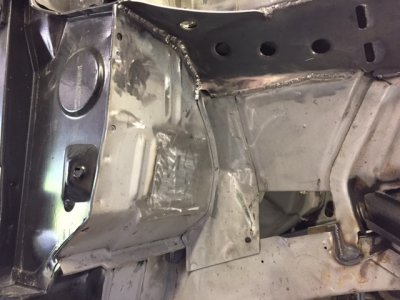
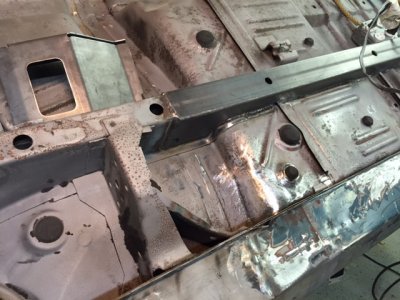
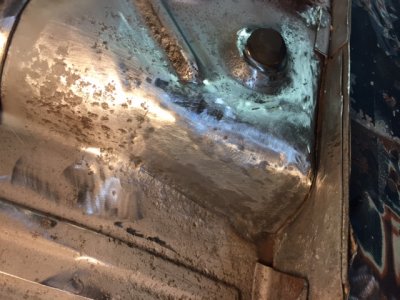
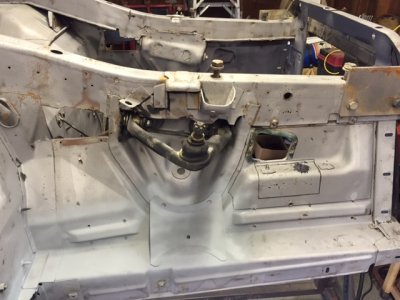
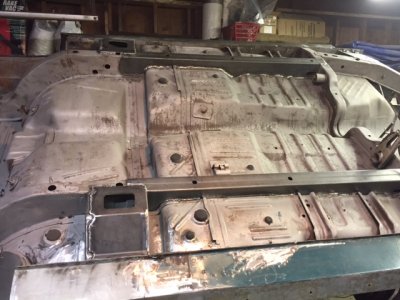
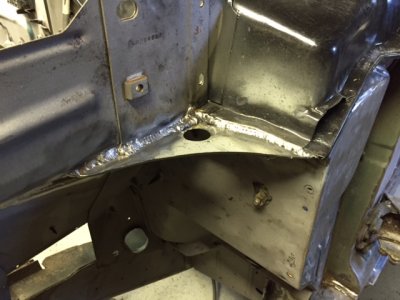
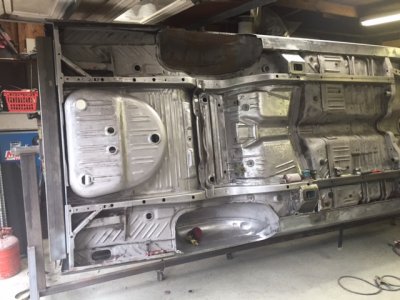
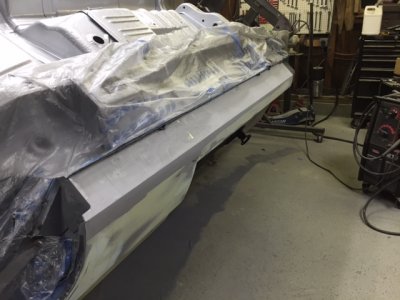
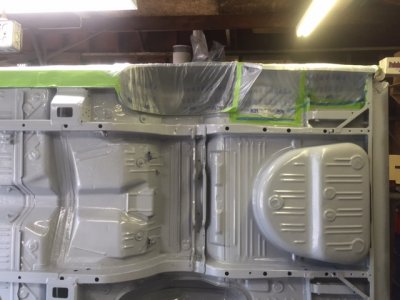
OK so updates on pictures. Got it back from blasting looked OK but needed alot of Hand finishing, also some more rust showed up but otherwise I'm pleased.

1A6ACC4C-B0A4-4FB9-9708-DAFBB7E1B91C.JPG2ED4C8A0-C7D4-44EE-8533-3A95F465B85E.JPG6A9E4E82-EE2C-4BFA-AF2B-1ACBD525D3DC.JPG22E2F485-3044-4882-87D1-A468E620E46E.JPG503999EE-ADE2-40E1-84FE-44EF5639D735.JPGA75D0E58-359D-4FE4-9625-118AC43BBFD1.JPGAB29825B-299B-472C-9EF4-6E2FFA0CBCCB.JPGAE38F01B-846C-4163-91A8-2C13A6A81DCB.JPGB6D69FAC-1344-494D-A0E3-EC8F68A07BD3.JPGD65E54F8-66A3-498A-A04E-802A741E9E72.JPGE2272190-C454-426E-8D1A-13D7C1E7FFAA.JPG

- - - Updated - - -

03FCF787-C5D8-4961-8429-8BFF3454E7FD.JPG3E95B458-5C6D-4B8D-A6DC-94C914B87D62.JPG5ADD98C4-E0A8-445C-9B53-FEB5DF3B7A52.JPG55C04649-E22B-4508-B8A5-407286B76006.JPG66B59C07-9989-4F4D-A3E1-2C18A7DC114D.JPG151635C8-628A-47B6-B31D-262F66452C41.JPGCD84452A-07A9-4AF6-ACB0-94E781D318EB.JPGE9317B34-8E00-4DFD-B1DC-113BB0C9DBB3.JPGF5DF7CBE-A7D8-447D-832F-DE6F9641CA09.JPGIMG_3880.jpgIMG_3882.jpg

- - - Updated - - -

Sorry Pictures not going in proper order but you get the point.
- - - Updated - - -

1BCDA8EB-CB08-46F2-8BB0-C6A0CDF4E4D3.JPG3F36A7F1-06B5-4FE8-9AFE-26CD5B995D64.JPG5D313233-CDC5-4CE7-AFD7-B6501A8F3DB1.JPG8CC4252F-DD76-43FC-B294-FC5348343982.JPG685BA33E-62F2-47F2-9962-9828FB03B2A3.JPG59982170-2890-4053-BC8B-9F44E35853FC.JPGView attachment 292756A364B895-F097-4F00-8689-041AD6B593A2.JPGCC3C2F48-904D-48B1-9BD3-40268A6264B6.JPGView attachment 292759EE86CC97-AA52-45BE-AD4B-87E0FBEAC310.JPG

- - - Updated - - -

IMG_0533.JPGIMG_0535.JPGIMG_0545.JPGIMG_0600.JPGView attachment 292765IMG_0604.JPGView attachment 292767View attachment 292768IMG_0611.JPGView attachment 292770View attachment 292771View attachment 292772View attachment 292773

- - - Updated - - -

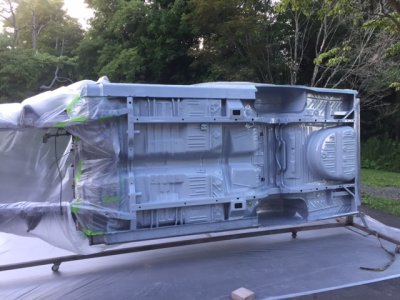
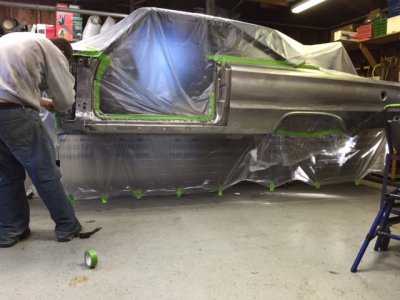
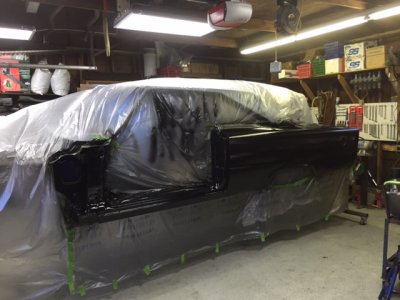
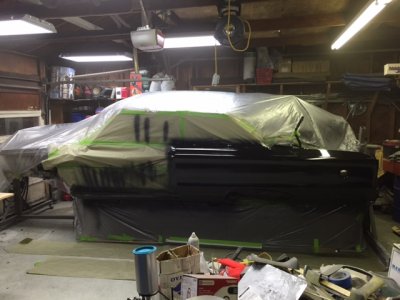
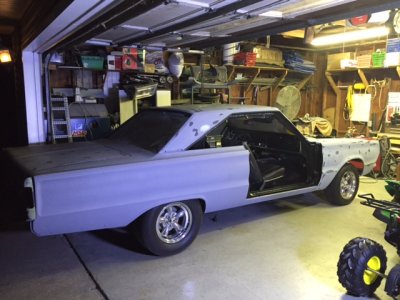
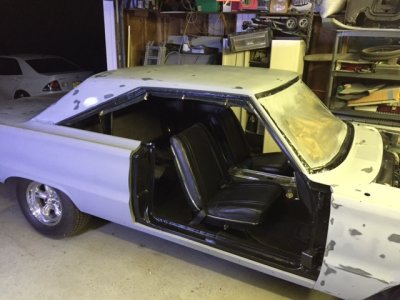
So Its been a long time since I updated pictures so I just dumped them in. A lot are out of order but at least you see whats going on. At this point Middle of November all the metal work is done (No more welding) :toothy5: and all rough body work done. Everything is in a least 4 coats of SPI High Build in various stages of blocking. I have at least 3 wet coats of SPI Epoxy on bare metal and another 2 coats over filler. I used SMC All metal over any repair work and under the rocker panels as it is impervious to moisture. I still need to prep, Epoxy, High Build, and Block engine bay and hood (New Fiberglass) Color is Viper Silver as seen on undercarriage. It has 3 coats SPI gray epoxy, followed by 3 coats PPG Deltron Viper Silver, then 3 coats SPI Universal Clear. It came out very good (even with the pock marks I refused to fill and sand smooth)
- - - Updated - - -

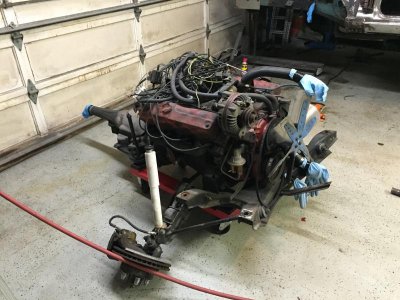
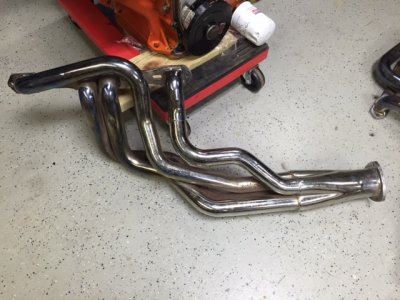
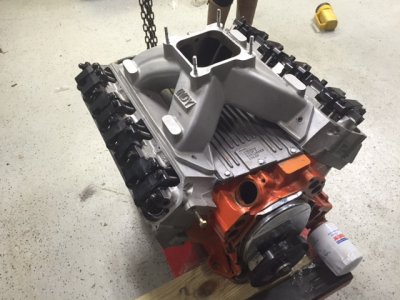
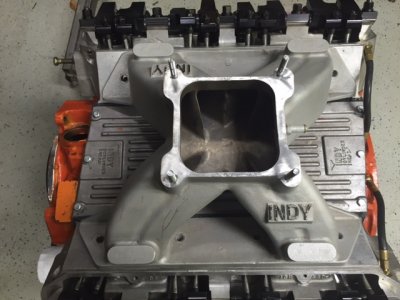
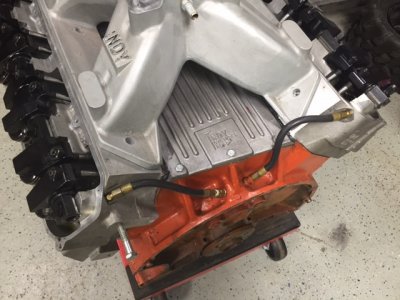
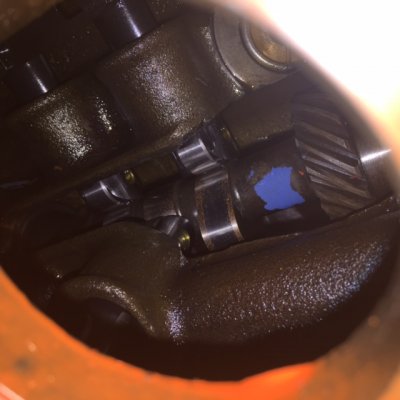
Here is the motor I picked up. Going to do what I can to run on street. I'm wanting a 11.50 or better and this should get me there. I hope. Yes a little wild but I like nasty!!

Here are specs.
· Stock Stroke 440 .30 over
· Stock LY Rods Resized w/ARP bolts
· Pistons TRW Forged Flat Top 10.5-1
· Professional Products Damper
· ARP Main Studs
· Comp Solid Roller
Duration - .278 in. / .281 ex. @ .50
Lift - .681 in. / .660 ex.
Lobe Separation – 108
· INDY 440-1 Heads (Professionally Ported) Approximately 330cc intake volume
· INDY Roller Rockers (Offset) 1.5 ratio
· ARP Head Studs
· Indy 440-2 Intake (4500 flange)
· 2” Primary TTI Headers

- - - Updated - - -

IMG_0649.JPGView attachment 292786IMG_0655.JPGView attachment 292788IMG_0657.JPGIMG_0658.JPGView attachment 292791View attachment 292792View attachment 292793IMG_0664.JPG

- - - Updated - - -

attachment.jpg


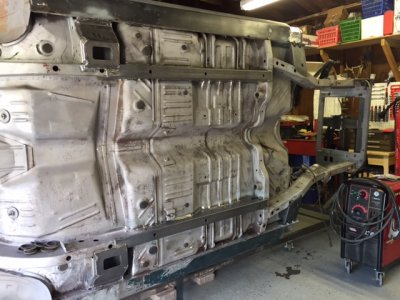
Before Wet Blast


attachment.jpg


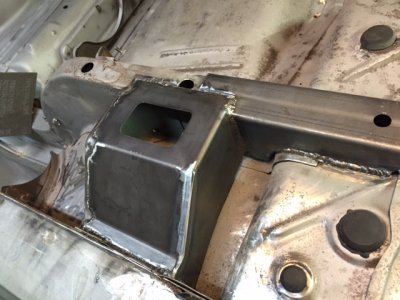
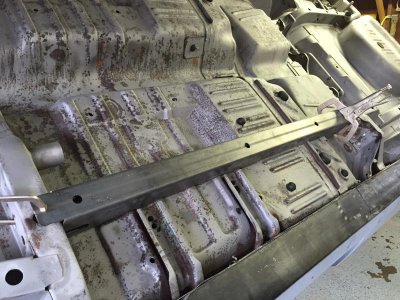
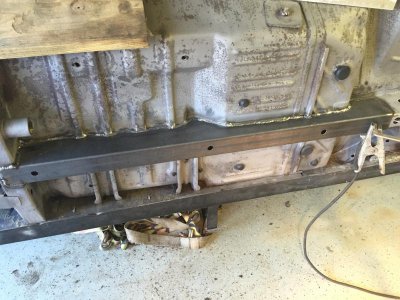
After Wet Blast with frame connectors installed


attachment.jpg


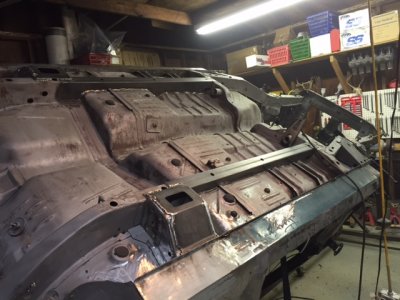
Lots of hand finishing with 80 grit DA and 2" Fiber Disc on air grinder (Prepping for paint)


attachment.jpg


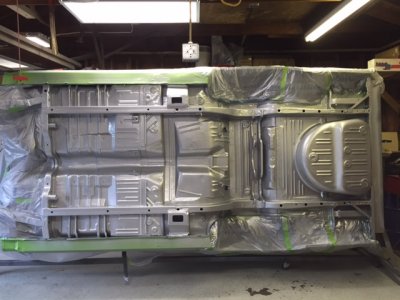
3 Coats SPI epoxy

attachment.jpg


3 Coats Viper Silver

1A6ACC4C-B0A4-4FB9-9708-DAFBB7E1B91C.JPG 2ED4C8A0-C7D4-44EE-8533-3A95F465B85E.JPG 6A9E4E82-EE2C-4BFA-AF2B-1ACBD525D3DC.JPG 22E2F485-3044-4882-87D1-A468E620E46E.JPG 503999EE-ADE2-40E1-84FE-44EF5639D735.JPG A75D0E58-359D-4FE4-9625-118AC43BBFD1.JPG AB29825B-299B-472C-9EF4-6E2FFA0CBCCB.JPG AE38F01B-846C-4163-91A8-2C13A6A81DCB.JPG B6D69FAC-1344-494D-A0E3-EC8F68A07BD3.JPG D65E54F8-66A3-498A-A04E-802A741E9E72.JPG E2272190-C454-426E-8D1A-13D7C1E7FFAA.JPG 03FCF787-C5D8-4961-8429-8BFF3454E7FD.JPG 3E95B458-5C6D-4B8D-A6DC-94C914B87D62.JPG 5ADD98C4-E0A8-445C-9B53-FEB5DF3B7A52.JPG 55C04649-E22B-4508-B8A5-407286B76006.JPG 66B59C07-9989-4F4D-A3E1-2C18A7DC114D.JPG 151635C8-628A-47B6-B31D-262F66452C41.JPG CD84452A-07A9-4AF6-ACB0-94E781D318EB.JPG E9317B34-8E00-4DFD-B1DC-113BB0C9DBB3.JPG F5DF7CBE-A7D8-447D-832F-DE6F9641CA09.JPG IMG_3880.jpg IMG_3882.jpg 1BCDA8EB-CB08-46F2-8BB0-C6A0CDF4E4D3.JPG 3F36A7F1-06B5-4FE8-9AFE-26CD5B995D64.JPG 5D313233-CDC5-4CE7-AFD7-B6501A8F3DB1.JPG 8CC4252F-DD76-43FC-B294-FC5348343982.JPG 685BA33E-62F2-47F2-9962-9828FB03B2A3.JPG 59982170-2890-4053-BC8B-9F44E35853FC.JPG A364B895-F097-4F00-8689-041AD6B593A2.JPG CC3C2F48-904D-48B1-9BD3-40268A6264B6.JPG EE86CC97-AA52-45BE-AD4B-87E0FBEAC310.JPG IMG_0533.JPG IMG_0535.JPG IMG_0545.JPG IMG_0600.JPG IMG_0604.JPG IMG_0611.JPG IMG_0649.JPG IMG_0655.JPG IMG_0657.JPG IMG_0658.JPG IMG_0664.JPG
 
Looking sweet 2quick!! Glad to see you back. I know the frustration of having something stripped/blasted or whatever and finding more "surprises" than expected. I commented on your engine thread and think you got a killer deal on that engine. I'd just give it a fresh look and drop it in, see what you do or don't like about it to determine what changes you should make before biting the bullet. I can't wait to see paint on the car. What color is the exterior going to be, matching silver?
 
Dodge Viper Silver metallic (Yes to match the bottom) I was going to respray the LL1 Turquoise but changed my mind. Cars not really worth anything being a factory poly car so just went with want I liked. Tell you what going through and posting all these pics makes made me realize how much works actually got done. You almost forget...
 
Dam that's looking good! Did you build your own rotisserie? It looks perfect for what I have to do.
 
Dodge Viper Silver metallic (Yes to match the bottom) I was going to respray the LL1 Turquoise but changed my mind. Cars not really worth anything being a factory poly car so just went with want I liked. Tell you what going through and posting all these pics makes made me realize how much works actually got done. You almost forget...

I was hoping for the LL1 turquoise since my dad's is that color, but his is a factory Super Commando 4 speed car with power everything, but it's your car and you're right, paint it the color you like and with it being a factory poly car it isn't a high prized possession like the big block cars. You have done a lot of work, and it definitely shows. It's looking great.
 
Yea built the rotisserie myself in about a day, have to hold the car in place with ratchet tie downs (so it don't rotate) but it works great.

2x2x.120 square tubing fro the legs
2x4x.120 rectangular tubing for the verticals
2.25 soilid shaft inside 2.5 hollow shaft for rotater
2x2x.120 angle iron for braces
6 casters I found at work

All from McMastercarr.com
 
Auto Transport Service
Back
Top