idrivemopar
Well-Known Member
Hi Everyone, I wanted to share the process of restoring Beep Beep or Meep Meep horns, which ever one you prefer.
Here is what you need to do the job
1. Correct color paint, i got the Delstar PPG paint from YearOne
2. 1 File Folder and a water repellent or sealer
3. A good fine wire wheel on your bench grinder or drill
4. A derusting solution - I used evapo rust
5. A self etching primer or appropriate primer for bare metal
6. E-10-ST Steel Rivets with Zinc coating - Available from Hanse Rivet Supply - If you need some let me know, i had to buy mininum of 100 so i have extras!
7. HT-171 Hand Rivet Clinch tool for 3/16 inch rivets
Ok, once you have all the stuff ready the process is pretty easy.
1. Drill out the rivets and remove the screw posts that hold the mounting bracket on.
2. Clean the rust and old paint off with wire wheel - as much as you can here.
3. Soak the parts in de-rusting solution to get the rest, then rinse and clean any remaining paint.
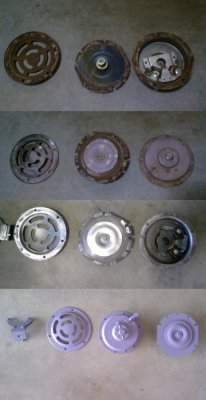
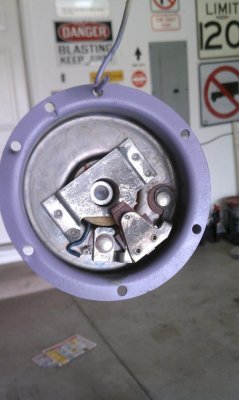
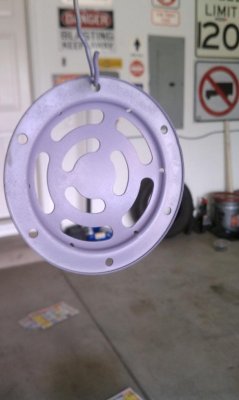
4. This next part is important to prevent future rust. The inside of the grill and the inside edges of the body and bellows should be pre-primed and painted before assembly. I dont think they did this at the factory hence the large amount of rust inside the horn. So, you will want to primer all parts inside and out, except you dont need to do the inside of the horn body, just the edge. (See Pictures below)
5. Once you have pre-painted these surfaces, you can move on to assembly.
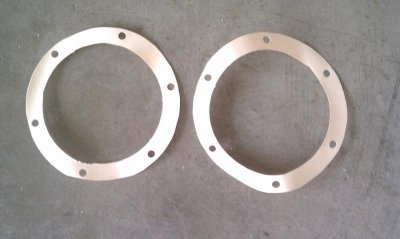
6. Use the file folder mentioned above, cut two gaskets from the folder, you can trace around the outside edge of the horn body to get the outer diamerter, and you will want about 1/4 inch in to get the inner diameter. Also when tracing the outer diameter, trace the hole locations, you can use a paper hole punch to cut those out.
7. Once you have your paper gaskets cut, spray them with a sealer, i used scotch guard.
8. Assemble the parts in this order, horn body, then gasket, then bellows, then 2nd gasket, then grill.
9. Before riveting back together, i used screws to hold the horn together and tested to make sure it still works, and gave it a rough tune with the adjustment screw on the horn body. Make sure to clean the primer and paint off the horn grill where the mounting bracket makes contact with the horn grill, you will need bare metal here for good ground contact, and its easy to remove with a dremel with small wire wheel.
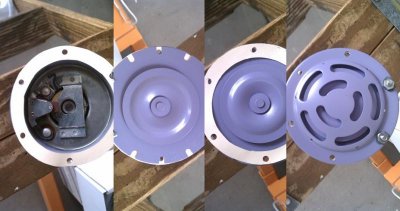
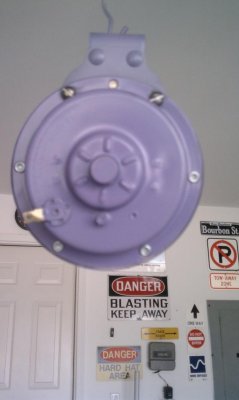
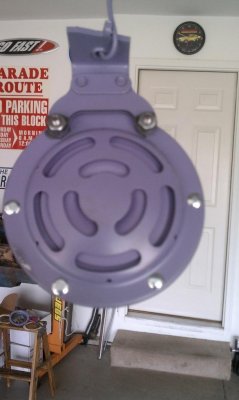
10. Once you are satisfied everying is working, the next step is to insert and clinch the rivets, make sure you orient them properly with the clinched side on the same side as the horn body. ( See photos)
11. Once you have riveted back together, attach the horn mount leaving the bare metal to contact the horn grill.
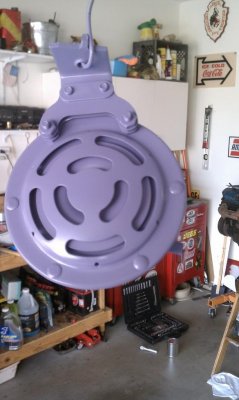
12. Next do the final paint of the horn. Make sure to get inside the grill as you may see the edges of the paper gaskets.
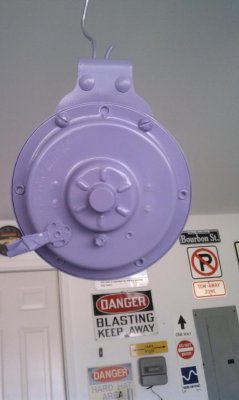
Here are some photos of the process along the way.


Last edited by a moderator:


