• When you click on links to various merchants on this site and make a purchase, this can result in this site earning a commission. Affiliate programs and affiliations include, but are not limited to, the eBay Partner Network.

What did you do to your Mopar today?

Finally went down and finish adjusting axle side play. Put on tires and hub caps. Tomorrow adjust rear brakes and waiting for spring.
Next is change input shaft seal on 65 Dodge.
 
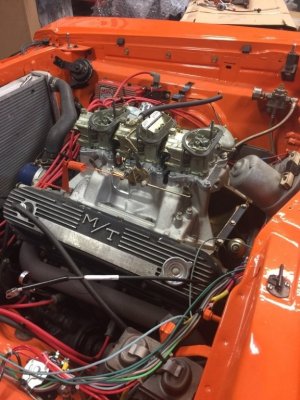
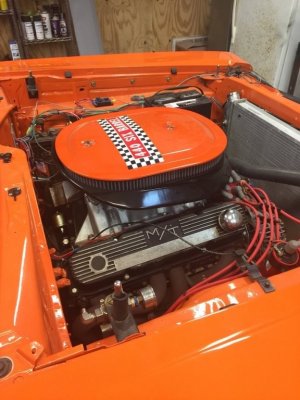
Mocking up the 70 am gonna be putting in a modern air grabber for the blown HEMI.
IMG_1254.JPG
IMG_1258.JPG
 
IMG_0072.JPG
Try to clean off some of the grease & grime from the front before putting the front suspension back together. Actually started with a plastic scraper I stole from the wifes pampered chef stuff. You can see the original gold color now. I'll grab a scrub brush and simple green next to clean more off. Need to run to my brothers soon to get control arm bushings replaced hopefully blast a bunch of the parts clean and paint them too.
 
Try engine degreaser.

I'll have to try the simple green first. Garage is attached to the house and sometimes the chemical smells can set off the wife's migraines. Though I have a couple warm day so I could open the garage for a while to let it air out. Thanks for the suggestion mmissile
 
Removed my non functioning A/C box. A prior owner had already deleted everything A/C from the firewall forward. Now I just need to decide whether to attempt a restoration of the box or go with a Classic air system. I'm leaning towards Classic air...
 
Still fighting with this passenger side rear quarter panel . . . it's fighting me the whole way . . .

Got a base coat of epoxy primer ( lot of bare metal showing through ), then high build primer, followed by a skim coat . . . found a bunch of high and low spots, so I've got the first coat of body filler in them. Then I got them all sanded down, and another coat of epoxy primer ( once again, lots of bare metal ) as I tapped down the highs . . . more fighting the rest of this week too ( probably ) . . .

sm_bodywork115.jpg


Can you guess where I filled in all the body side molding holes on this panel ? ? ? Pretty obvious . . .
 
Make sure you test fit the gauges to the dash to see if they clear the stuff already in there.
That won't be a problem, there's not much there.


I've got it narrowed down to the bottom left and second from the top right.
 
I like the second from the top right. Looks like the bottom left will really make the edges thin too.
 
Soon, you'll find it easy. Keep up the patience and good work.
 
Installed PS pump, compressor, and alternator bracket.

Hooked up fuel line and started on heater hoses.

Whoever made the adjustment bolt for the PS pump go into the water jacket- :(

If you need to paint multiple washers, put a saw tooth bend in a coat hanger-

Scored this drill press from one of my tenants.
Check out the roll around base with cam lock/lift casters.

IMG_20170116_143301.jpg
IMG_20170115_160748.jpg
IMG_20170116_130604.jpg
 
I'm curious why. Mine seem to transmit a lot of engine vibration.
the vibration is why i took them off. a couple hours of that was enough for me. if someone has a big cam and loud exhaust they won't notice the vibration but stock builds will be notice it. they're too firm for stock resto stuff.
 
They were designed and made for people who whip on their cars. If ya don't, the expense is uncalled for.
 
Auto Transport Service
Back
Top