You are using an out of date browser. It may not display this or other websites correctly.
You should upgrade or use an alternative browser.
You should upgrade or use an alternative browser.
69 Charger rustbucket
- Thread starter green1
- Start date

green1
Well-Known Member

You inspire me. :icon_super: I’m looking forward to getting to your point of progress soon.
Superfreak
Well-Known Member
Keep it up and lets see more pics of this project/
green1
Well-Known Member
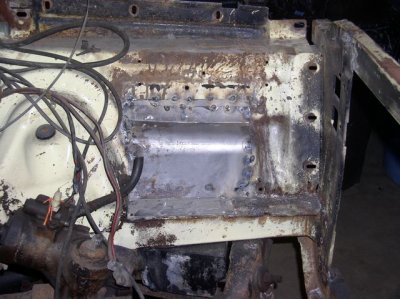
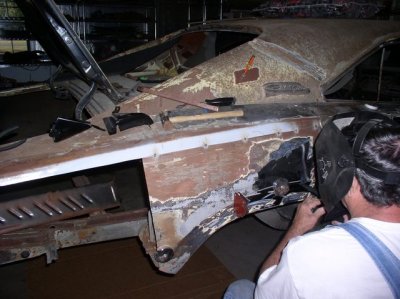
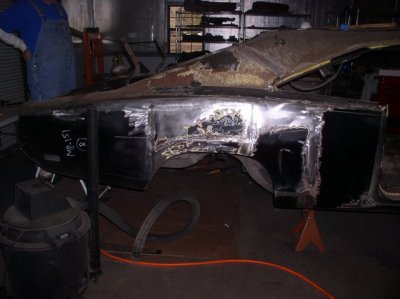
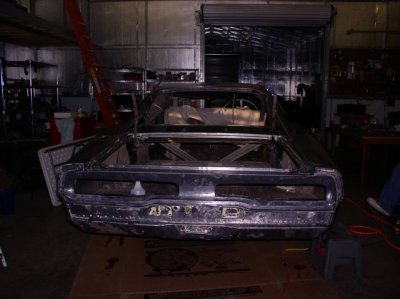
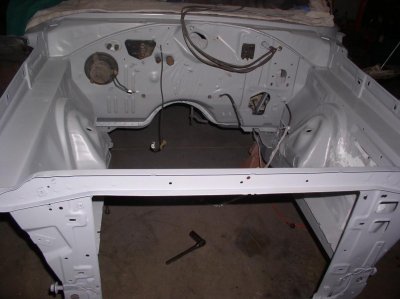
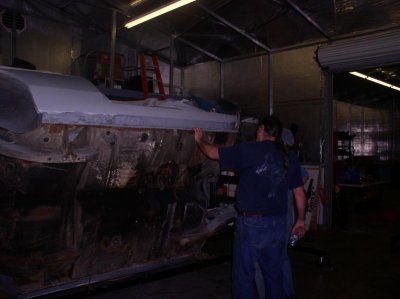
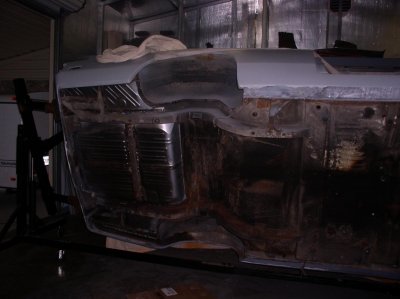
Thanks, it is my buddy's car, and we need inspiration. This heavy-duty body work by us newbies is hell. We read up(we thought), and cut out the old rot; cut the replacement 2" bigger, screwed it on the car. Then took a die grinder with a 5/64" thick disc, and cut through both panels at the same time, putting butt welds in as we went. WRONG. Use a thicker disc, even jumping all over, and using wet rags, evidently the gap was too small. After the warpage, read that welds contract when cooling, and the metal had to move- our problem. So we cut out some welds, and hammered back in, re-welded. Crapola.
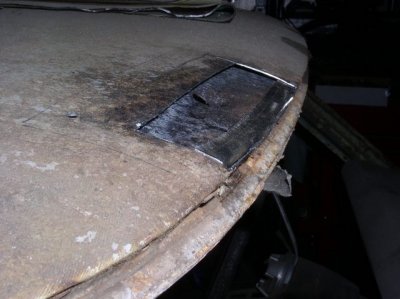
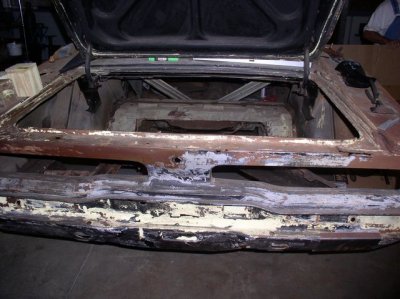
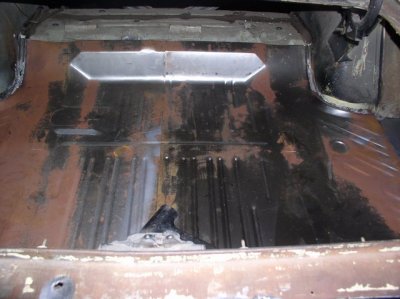
AMD is almost perfect. And a Hobart mig (gas) with infinity dials kicks a Hobart flux wire's butt. And using a torch, and wet rags will help, but only on a small oil canning area (learned that on the rear deck; cut slices, heat/cool; got some out. Took a big hammer, heated, and smacked it down until no more oil canning, then welded the slits back up).
Neophyte country boys, but it is working. (can't wait for the gurus to pop in here, as they weren't any help. Wrong phrase; the" gurus" that only want a post count.).
Your friends are: 17" air body file, 3m paper from 45 to 220 grit (Norton kept clogging), The Harbor Freight discs for a grinder, just for welds(looks like a flapper, but on the face $5), ospho ($17 at Ace Hardware), a heated shop ( kerosene torpedo from Home Depot), and massive amounts of beer.
67Charger
Well-Known Member
Keep it up, man! I'm diving in headlong right alongside you, as you can see in the post "My 68 Charger restoration." The more I uncover, the more I find. My dad came along today and said, "Geez! I didn't see all that! If you ever get this back together I will be beyond impressed." Thanks for the vote of confidence...
426HemiCharger
Well-Known Member
Holy Cow! That's awesome work. Keep it up 
68sportsatelliteragtop
Well-Known Member
Try using a can of heat sink putty, kinda like Playdo, make a snake out of it and place around the area you are welding. It is reusable and does help with the warpage. I got mine from local welding supply.
426HemiCharger
Well-Known Member
Holy Cow! That's awesome work. Keep it up
I got a resto page on cardomain: www.cardomain.com/ride/3160504
it might help you out. Also check out www.69hemi.com it's pretty cool
plymouth67
Well-Known Member
The most important thing is to just tack and dont do it right next to the other one . Jump all around and just tack until finally you have the whole thing welded. Take your time and you shouldnt have that much warping. The best way to get it straight is to sand it manually with a long board. Its a ton of work but it will be as straight as the time you put in it.Keep up the good work and keep us all posted!
Bens69PlymouthSatellite
Well-Known Member
Nice work! I am a body beginner as well! So this is very inspirational! Also backing your welds w/ heavy copper/brass plating reduces warping that I can see and allows for a nice bead puddle. Eastwood sells the welders helper kits for a reasonable price that comes w/ everything u need.
roadrunnerman
Well-Known Member
i'm not the best welder either but i'm learning by doing.you guys have done good so far.keep up the good work.
green1
Well-Known Member

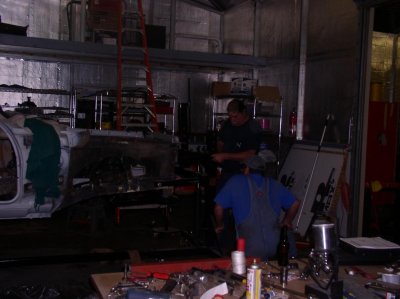
You guys aren't body men!?! That sure looks like a body shop.
green1
Well-Known Member
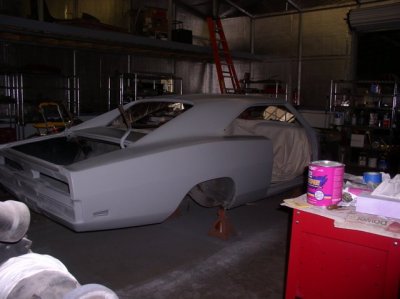
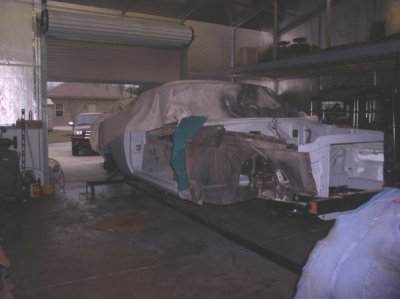
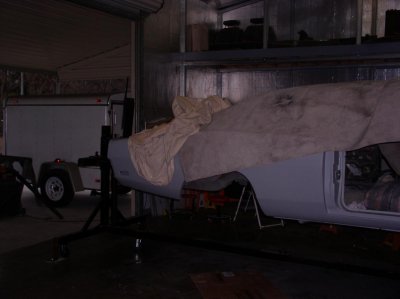
It hasn't been in the sun yet. finished (I thought) filler primer on my 70 Duster; it warmed up, so had garage door open, sun hit the car-crap, ain't done yet.
detmatt1
Well-Known Member
- Local time
- 11:42 PM
- Joined
- Dec 8, 2008
- Messages
- 4,683
- Reaction score
- 749
- Location
- Detroit Metro Area
Looking good, nice work.
roadrunnerman
Well-Known Member
for claiming not to be bodymen,you guys are doing a darn fine job.What else do you claim not too be.:headbang:
green1
Well-Known Member
Front end guys. I used to be a front end Chebby mech. We could not get the bushings out of the control arms to save our butt, using chebby and ford tricks. I have never had to replace bushings in a mopar- that says a lot in itself. Had to farm it out. Then after pulling k member, found pass side strut bent in; talked to prior owner, yeah, hit a ditch that bent the pass side wheel under the car. We did get that damage fixed on the 20 ton press today.
Tommorrow, the 2 neophytes start trying to figure out how the rottissorie that came with missing instructions and no pictures works. And bolt it to the floor; doesn't look stable.
Tommorrow, the 2 neophytes start trying to figure out how the rottissorie that came with missing instructions and no pictures works. And bolt it to the floor; doesn't look stable.
green1
Well-Known Member
It was a pain with that pos, too much engineering/ rigging on our part. What lousy instructions.
Attachments
Coledavis01
Well-Known Member
Looking good, keep it up!
It's progressing much quicker than my Bee-finally going to have to break down and get a decent heater so I can't whine about it being cold out.
Are you going to go back to sunfire yellow/black top when you paint it? That combo looks great on the b-bodies in my opinion but I'm a bit biased.
It's progressing much quicker than my Bee-finally going to have to break down and get a decent heater so I can't whine about it being cold out.
Are you going to go back to sunfire yellow/black top when you paint it? That combo looks great on the b-bodies in my opinion but I'm a bit biased.
Similar threads
- Replies
- 1
- Views
- 289
- Replies
- 5
- Views
- 365
- Replies
- 0
- Views
- 245
- Replies
- 0
- Views
- 323


