• When you click on links to various merchants on this site and make a purchase, this can result in this site earning a commission. Affiliate programs and affiliations include, but are not limited to, the eBay Partner Network.

67 Coronet restoration 472 Hemi play toy

snakeoil24

FBBO Gold Member
FBBO Gold Member
Local time
2:07 AM
Joined
Jan 23, 2009
Messages
6,461
Reaction score
5,298
Location
New Jersey The State of Tax Theives
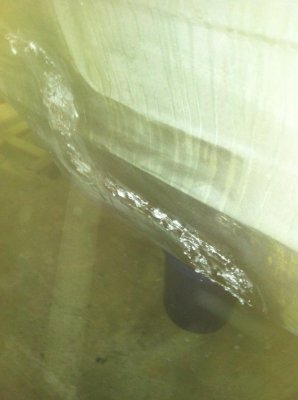
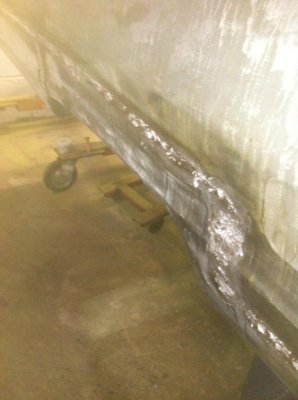
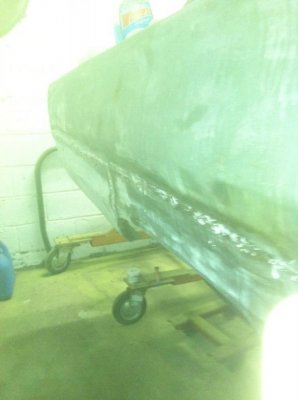
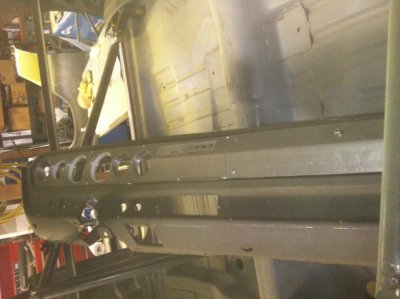
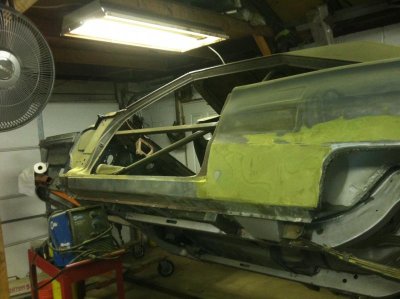
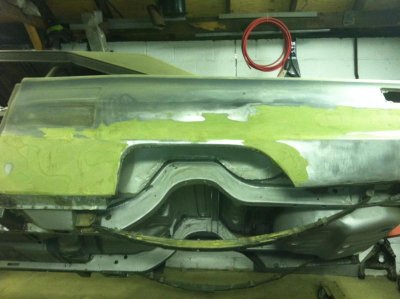
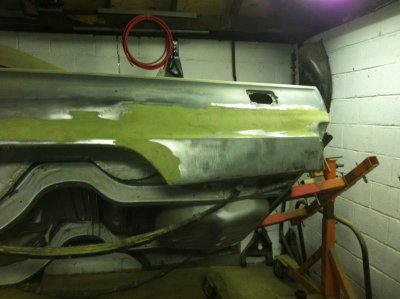
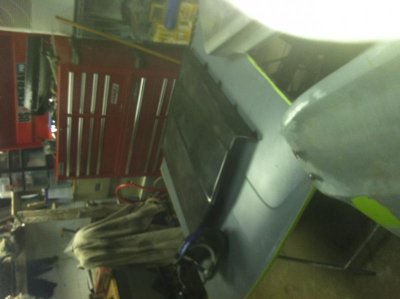
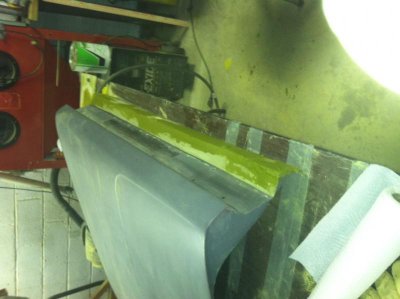
Take a look at this 67 Coronet Restoration. I wanted to post a few shots of this restoration going on. I have been working on this over 2 years a lottle at a time. Not much to look at but if you recognize this car and the work it takes you will appricate it.
 
Here are the pics sorry i hate computers and had to attach pictures

2010-02-14 17.25.08.jpg


2010-02-14 17.25.19.jpg


2010-02-14 17.25.38.jpg


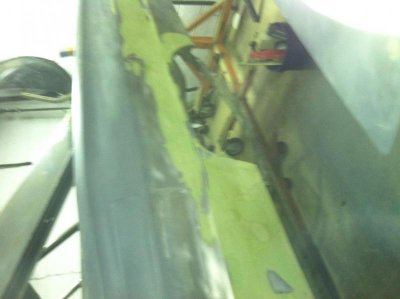
IMG00124-20100121-2106.jpg
 
You can also learn the upload of pictures. ;)
Nice body-work at your Coro.
 
looks good, dont get frustrated with the time it takes. I took me about 6 years!

It will all be worth it in the end.
 
Keep the pics coming "love the 67's".
 
I wanted to post a few pics of the body work progressing on the 67 Coronet. Merry Christmaslead work 3.jpglead work.jpglead work2.jpg

- - - Updated - - -

dash Insert.jpgdriver quarter.jpgdriver side blocked.jpgdriver side blocking.jpgdriver side1 after lead.jpg here is a few more Pics of the Dash Insert, 1/4 panel shots after lead work.

- - - Updated - - -

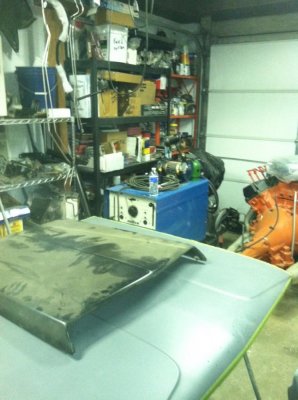
scoop.jpgtrunk lid.jpg A few more pics of Trunk Lid and scoop

- - - Updated - - -

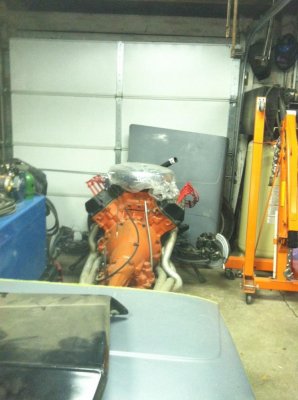
hemi.jpgspace.jpg
 
Man I hope to see one of those Hemis sitting in my garage one day "nice ". Car looks like it's coming together, keep on plugging away.
 
Snakeoil,
Thanks for posting this great thread!
-Wow, looking good man!
-Where are you getting your replacement panels...AMD?

Again, great job, great car!
PS: You putting that Hemi in that GTX?
 
Looking good snakeoil, and your leading looks great. It seems like leading the body is becoming a lost art. Any tips/tricks/lessons learned about leading that you could pass on? I am about do a cowl replacement on my 67 belvedere and would like to lead the seams near the base of the 'a'pillars. I am a little worried about acid from the flux causing issues...
 
Old school lead work...Awesome!!!! Nice to see that craftsmanship still around. Works looking good.
 
Looking good snakeoil, and your leading looks great. It seems like leading the body is becoming a lost art. Any tips/tricks/lessons learned about leading that you could pass on? I am about do a cowl replacement on my 67 belvedere and would like to lead the seams near the base of the 'a'pillars. I am a little worried about acid from the flux causing issues...
Lead work is a Royal pain in the ***. First thing is Don't buy from Eastwood. Go To Johnson Supply they sell lead at 1/2 the price of Eastwood. To do a Cowl you have to use lead.

1. Buy 80/20 Lead.
2. Beg Borrow or steal a Plumbers Torch and get a Rose Bud tip.
3. Every thing has to be so clean you can see your *** crack in the reflection.
4. Get an old masons Float with handle. Dip it in Oil or Bees wax.
4A. Remove all under coating, electroplate or any paint or primer with Wheel avoid overheating with Grinding wheel.
5. Clean again and polish til it shines. With Rubbing alcohol.
6. Apply the Flux 50/50 Lead/tin with Flux to surface. Generally 6 inch area at a time. Heat with torch til flux turns brown and wife quickly in one direction with Wetted Paper towel with Distilled water left behind is going to be a tinned surface.
7. Lead is applied in small alternating sections, 6 inches at a time then skip. Keep a cold rag to keep skin temp on metal surrounding down to avoid panel warpage.
8. Lead is transferred in small mounds to surface, be happy with that.
9. using a masons trowel quick heat press lead into panel and flatten.
10. Once your done File the lead smooth with 1/2 round file dipped in transmission Fluid. This keep file clean and avoids clogs.
11. Once your done filing never ever grind lead. It will heat up and lift off. Also we do not want to breath fumes so get a duel cartridge Respiratory and use only for this. File never grind.
12. Once your done remember to wash the surface with baking Soda to dissolve the Flux and Neutralize.
13. Wash again with Rubbing alcohol.
14. Coat over the Lead with Hair Clausen makes a fiber reinforced Glass available at Albert Kemperle for 29.00 gallon. Only use short hair.
15 Sands the Hair and finish with skim of Bondo.
16. Apply Epoxy over bondo.


Cowls need to be done in Lead, the new Tin stuff cracks right away and is to hard for newbies to use since it melts at 600 instead of 430 F for Lead.

Clemul Pick up a few six packs and a bag of weed Ill come help you.
Even the new Bondo can not flex like 80/20

Not that I forgot gloves, hair net, extra gloves single use respirator, bucket to catch drippings and you can do it.

- - - Updated - - -

The hemi is going into the car. It is a Coronet RT Clone. I am just to lazy to do it any faster. Pluis my so called friends mooch my time for other projects so I dont get much time.
 
Snakeoil,
Thanks for posting this great thread!
-Wow, looking good man!
-Where are you getting your replacement panels...AMD?

Again, great job, great car!
PS: You putting that Hemi in that GTX?
Super bee I made the 1/4 from three different patch panels. Sherman Brothers in Canada, which I found out later can be ordered from Rock Auto for the cheapest price of anyone. Amd does not make any panels for 67 bodies. So look at Sherman and order from Rock auto.
 
LMAO "mooches huh" they'll get ya everytime. Never done lead yet but want to try it.
 
Thanks for the leading write up snakeoil, your voice of experience and knowledge learned by doing is much appreciated. I will definitely take you up on your offer of help (mooch)...forget the six pack, I'll get two kegs of your choice, one for the shop, one to take home...
 
Auto Transport Service
Back
Top