moparstuart
Well-Known Member
- Local time
- 6:06 PM
- Joined
- Jul 19, 2008
- Messages
- 6,587
- Reaction score
- 1,024


")
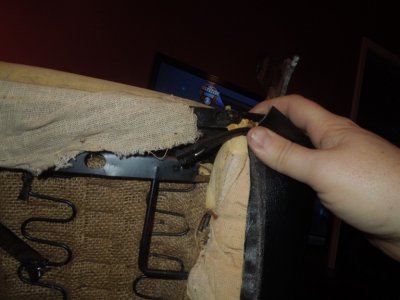
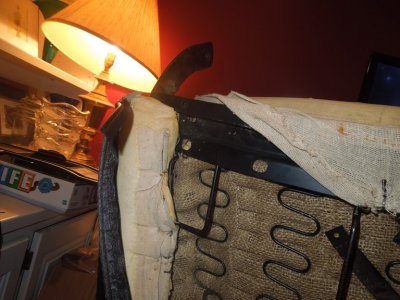
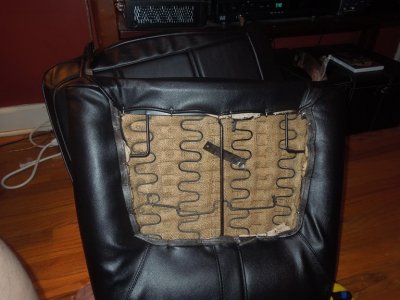
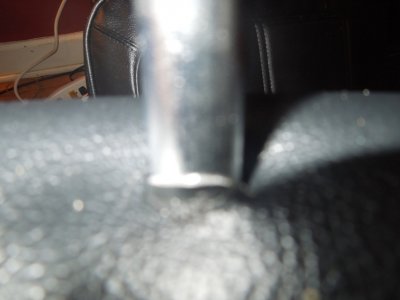
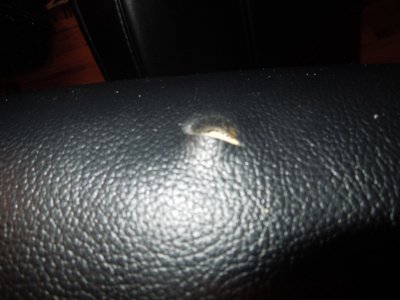
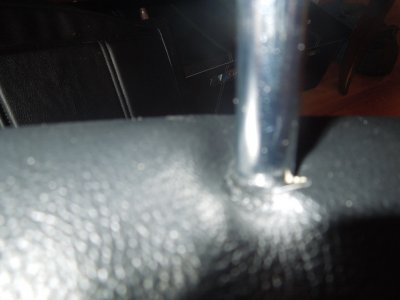
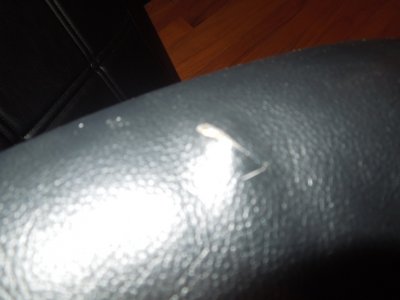
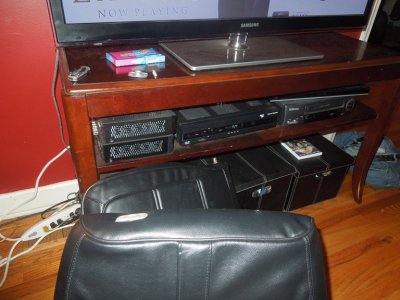
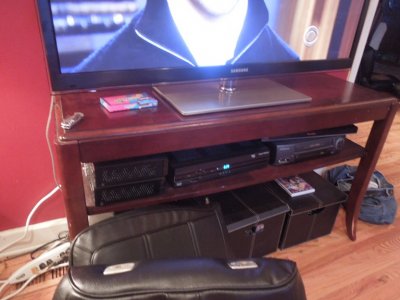
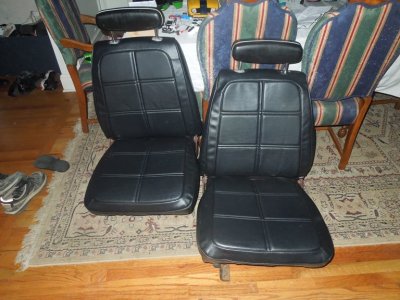
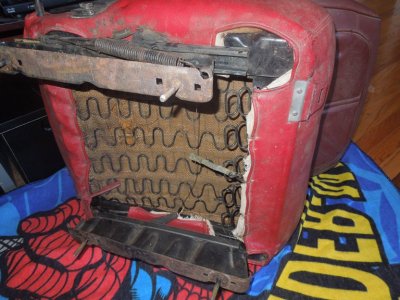
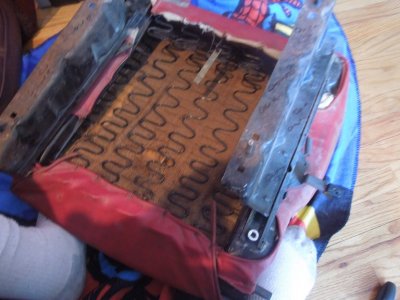
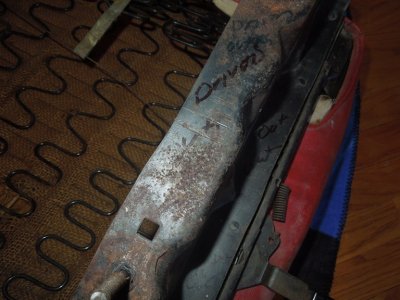
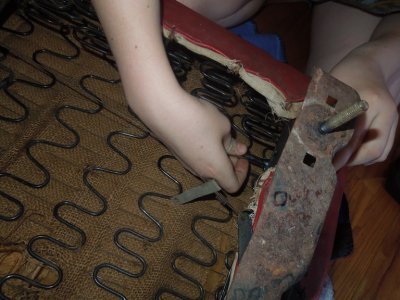
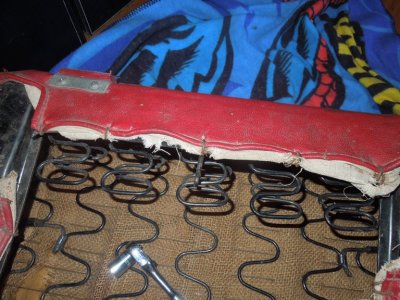
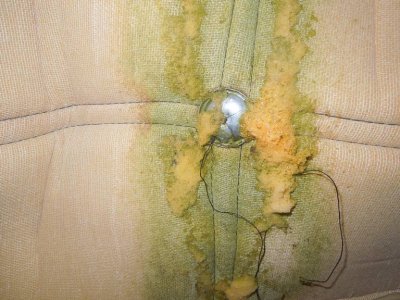
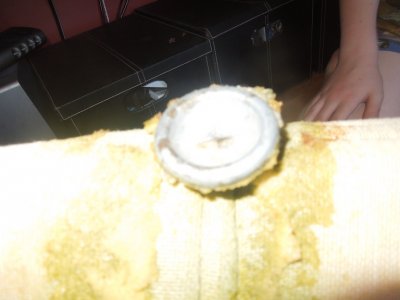
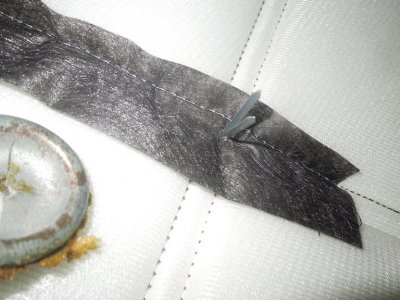
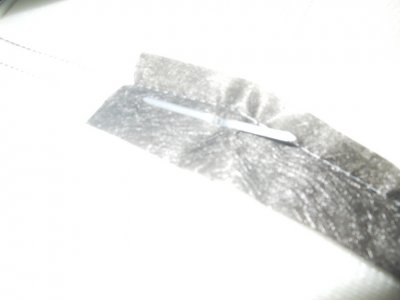
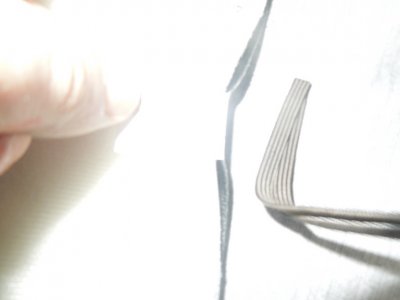
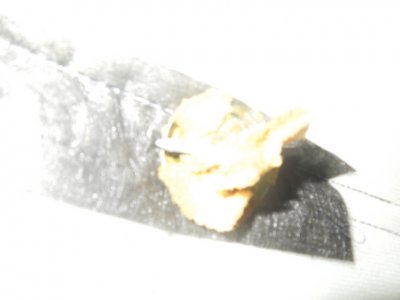
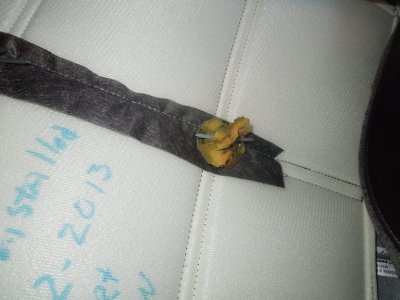
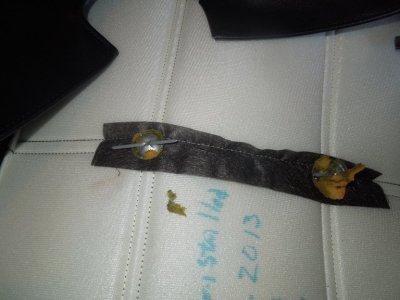
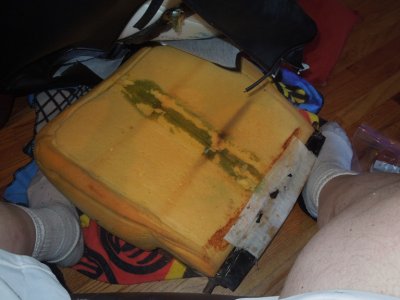
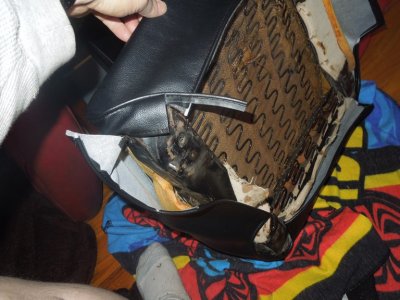
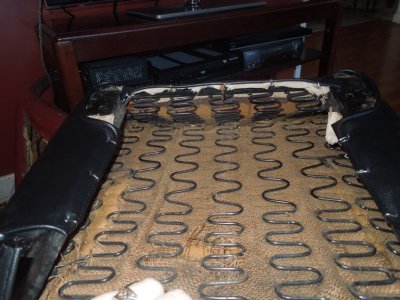
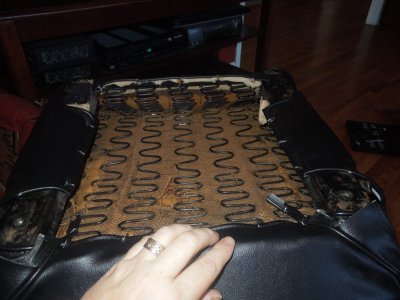
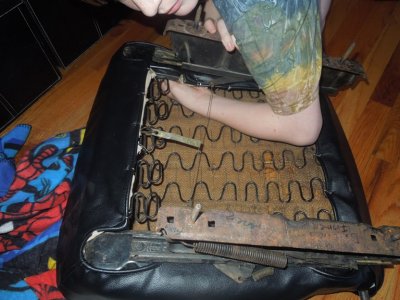
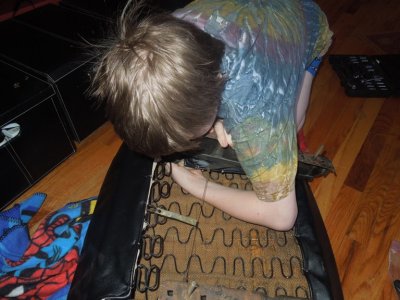
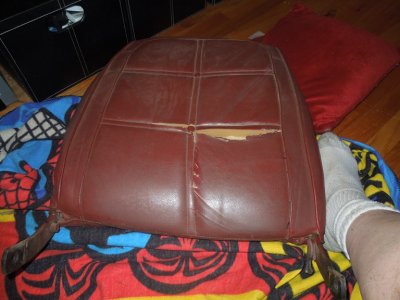
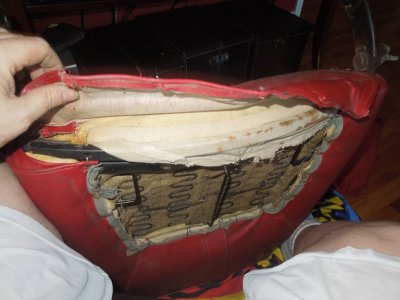
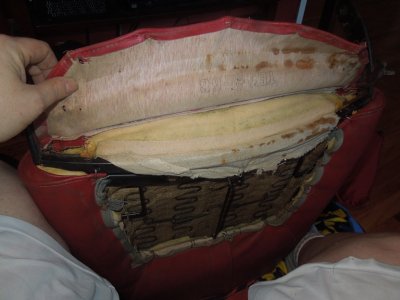
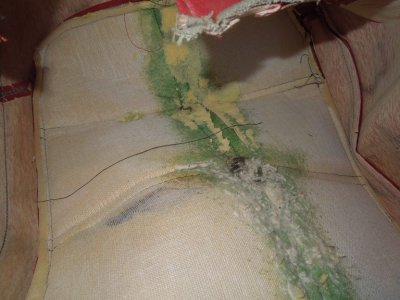
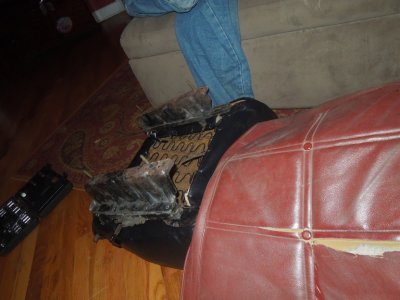
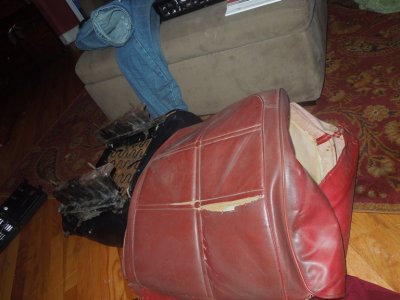
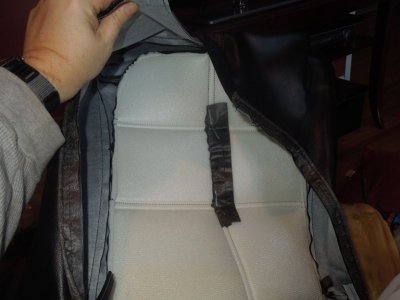
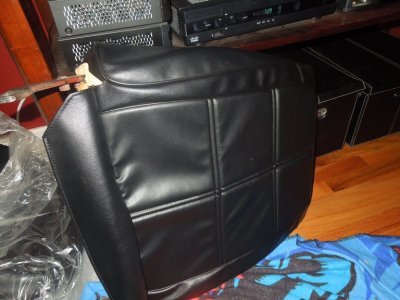
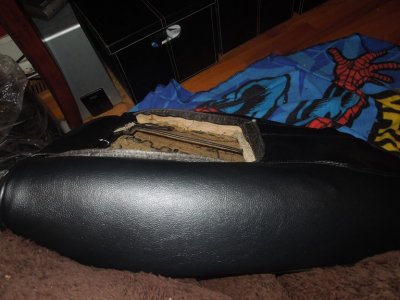
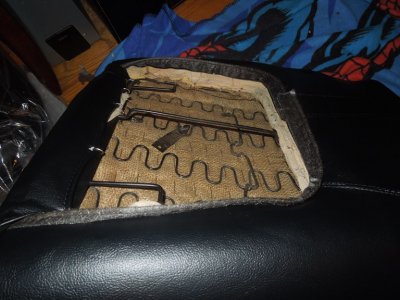
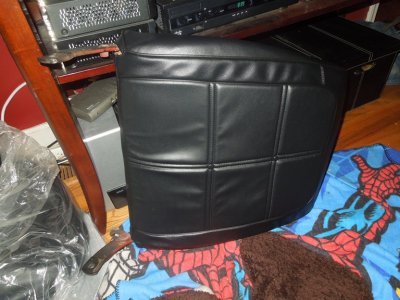
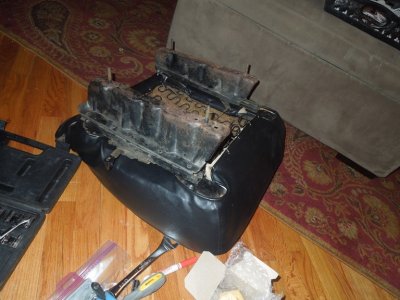
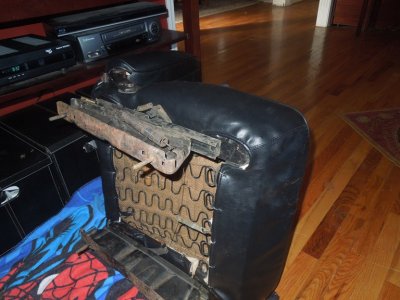
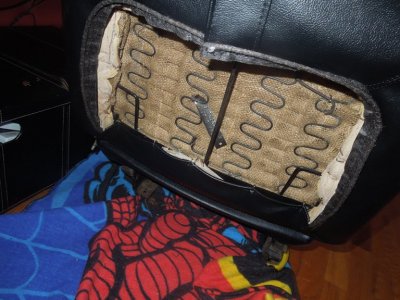
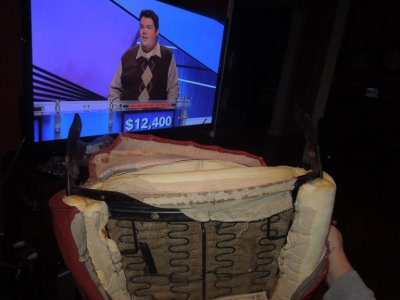
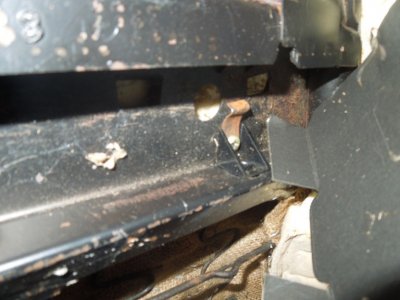
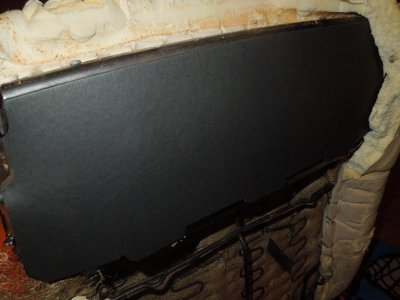
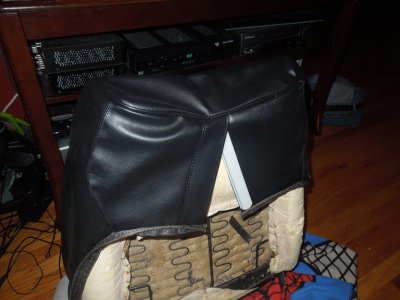
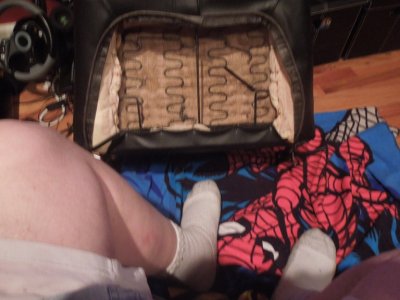
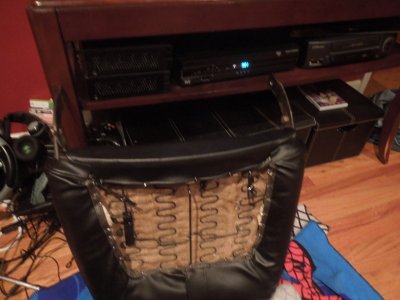
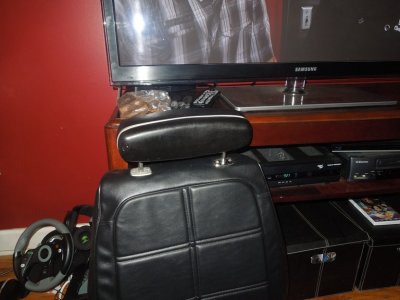
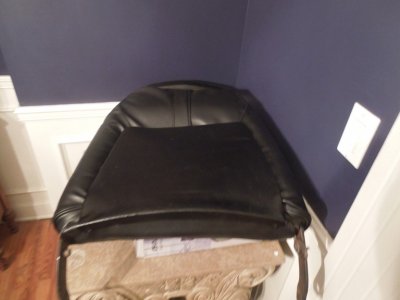
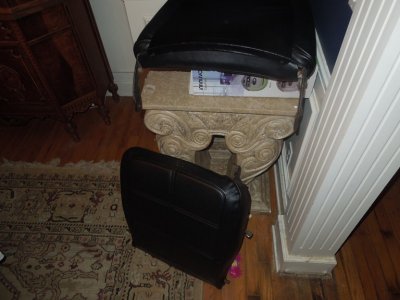
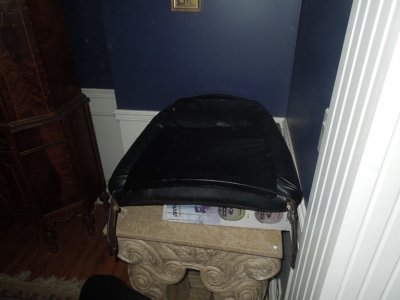
I hate to be negative but that is not the proper way to install those quality Legendary covers. You should have removed all the padding and seat foam buns, and then replaced that rotten burlap with some new burlap. The burlap should have been stretched tight and then replace the foam and padding if it is in usable condition.
I always see the self installed covers at the shows and after they have been used for a short time the rotten burlap starts deteriorating and it looks like shredded wheat all under the seat all over the carpet.
I think it is great when guys try to show others how to do something. It is even better when it is done right. I think if you send this "how to" , to the folks at Legendary they are going to agree with what I am trying to explain here. There is a lot more to proper installation than shows here. Good burlap is the foundation for a quality repair, and just throwing a new set of covers on them just hides what they actually needed to be repaired for lasting comfort and beauty. I am not trying to be insulting or offensive. I am just saying there is a lot more to proper installation than what you have done. For many years I was a pro.
If you would like I could post photos of how it is done by the pro's, with a detailed guide to show what I am trying to describe. Just trying to help.
Gee !! I just realized you are a staff member so I hope I don't get banned. lol
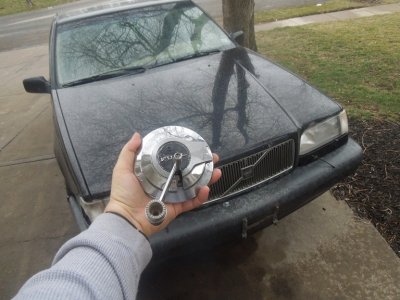
Is that a lip ring ya got there Stu?
I hate to be negative but that is not the proper way to install those quality Legendary covers. You should have removed all the padding and seat foam buns, and then replaced that rotten burlap with some new burlap. The burlap should have been stretched tight and then replace the foam and padding if it is in usable condition.
I always see the self installed covers at the shows and after they have been used for a short time the rotten burlap starts deteriorating and it looks like shredded wheat all under the seat all over the carpet.
I think it is great when guys try to show others how to do something. It is even better when it is done right. I think if you send this "how to" , to the folks at Legendary they are going to agree with what I am trying to explain here. There is a lot more to proper installation than shows here. Good burlap is the foundation for a quality repair, and just throwing a new set of covers on them just hides what they actually needed to be repaired for lasting comfort and beauty. I am not trying to be insulting or offensive. I am just saying there is a lot more to proper installation than what you have done. For many years I was a pro.
If you would like I could post photos of how it is done by the pro's, with a detailed guide to show what I am trying to describe. Just trying to help.
Gee !! I just realized you are a staff member so I hope I don't get banned. lol


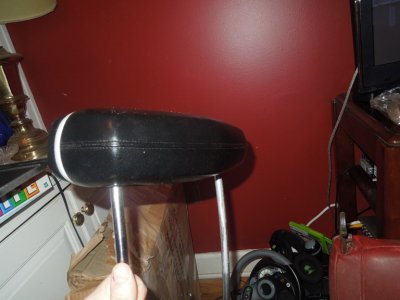
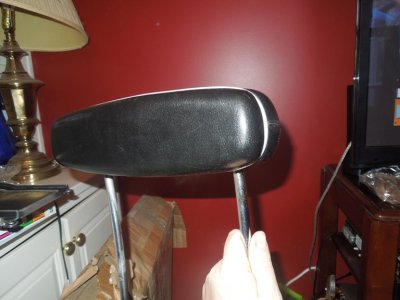
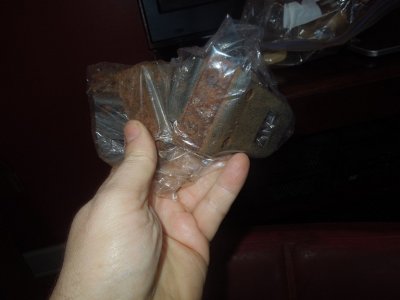
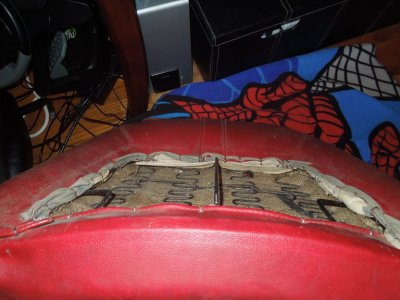
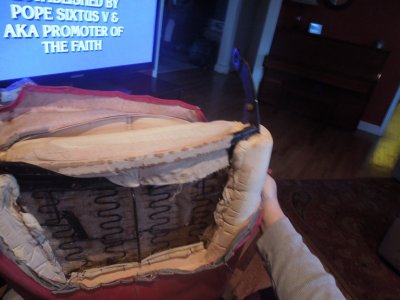

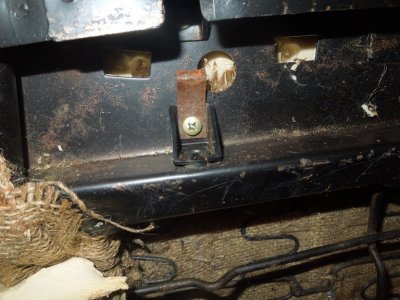
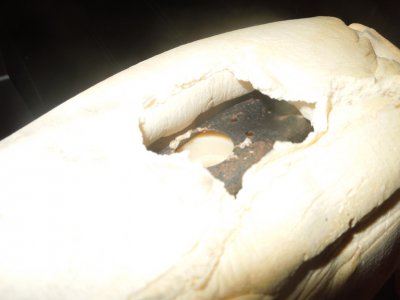
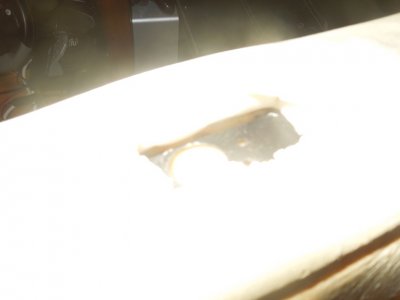
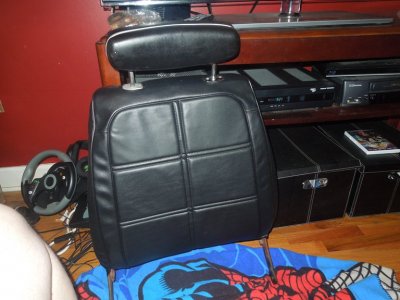


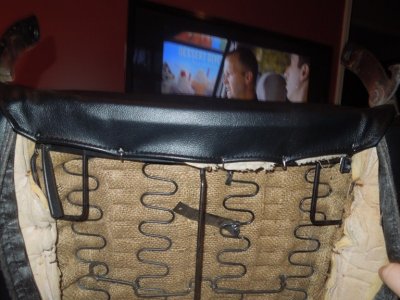
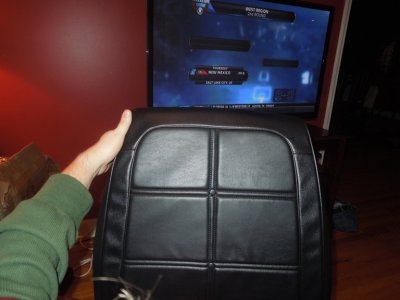
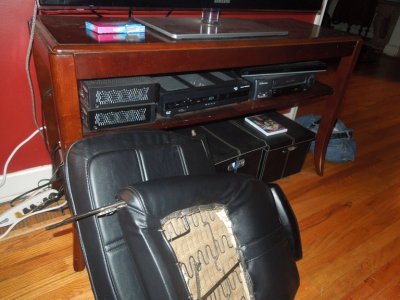
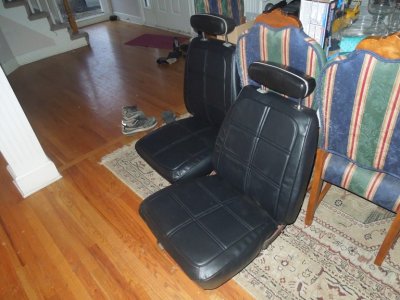
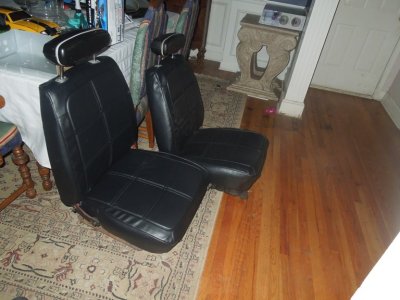
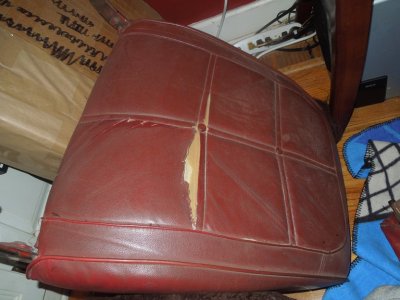
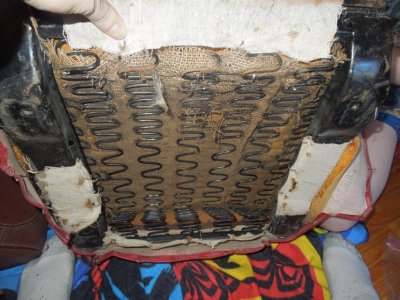
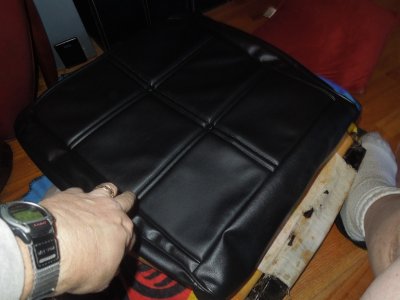
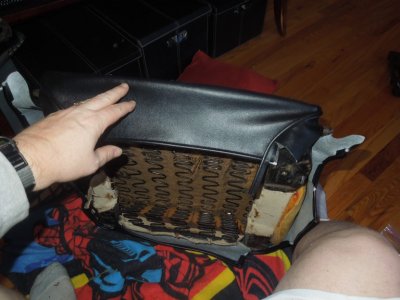
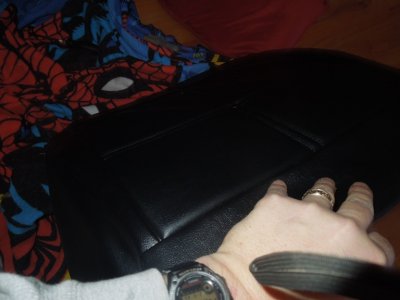
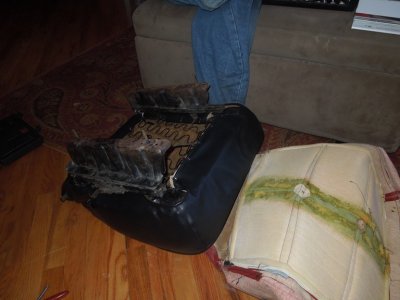
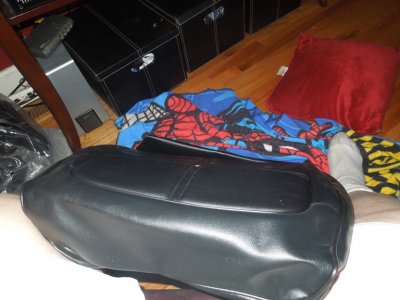
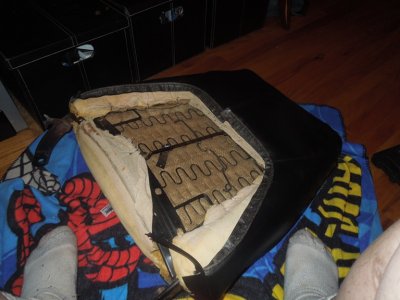
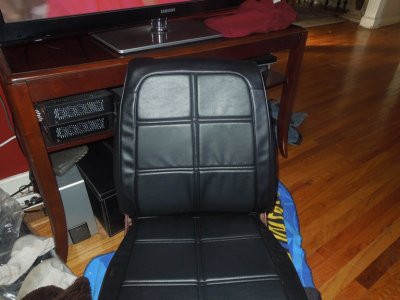
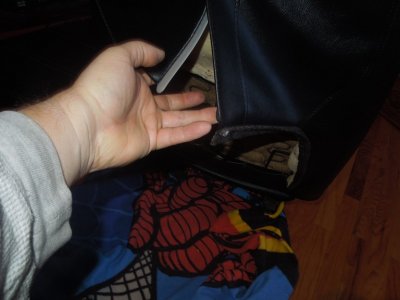
Again its not a fully restored car and its just a driver being done on a budget , so thanks for your imput but its not a concorse or restoration job , just putting buckets in a driver style car . Also adding headrests to a early production 69 built in 68 that didnt come with them . Thanks AgainI hate to rain on the parade but that job needs to be redone. The seat springs/brackets/frames needed to be cleaned up and painted for one. Also, everything under the seat covers looked like it needed to be replaced IMO. Nothing worse than a restored car with seat foam and burlap blowing around when you are cruising down the highway. I commend you for tackling the job however I would advise that you be more thorough next time. Stuff like this is why most "restored" cars are not actually restored, just spruced up. Not that there is anything wrong with that I just don't see the difference being pointed out often enough.
I apologize if I sound like a jerk but it really bugs me when people look at some pictures of a car in an internet auction or ad and come off with statements about how it should be priced without looking over the car. I have had quite a few sellers get irritated with me and Chandra for asking too many questions and spending too much time looking over a car. We have a system and team up on area's of the car and then double check each others work basically going over the car twice. Attention to detail while restoring a car car easily double it's value.
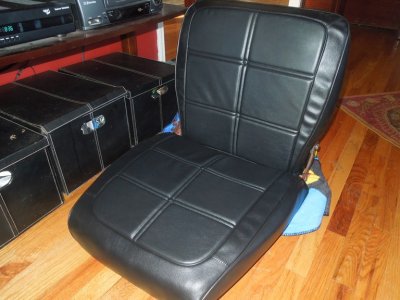
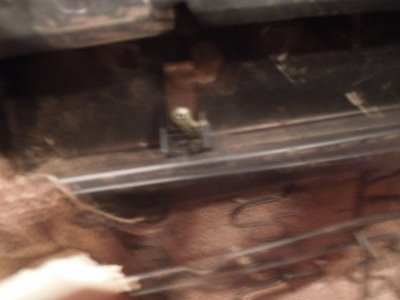
That said I have come to the opinion that powder coating the seat frames if the way to go. Painting them wastes too much trying to get every angle of the springs while the powder clings to everything. Also I think replacing the seat foam on any of these 40+ year old cars is pretty much mandatory. The new seat covers fit much better with new seat foam IMO. Also be cautious and look over the seat covers very carefully. I have seen several sets of high dollar seat covers that were sewn crooked and did not allow the pattern to line up seat top to seat bottom.