• When you click on links to various merchants on this site and make a purchase, this can result in this site earning a commission. Affiliate programs and affiliations include, but are not limited to, the eBay Partner Network.

Seat Repair Done My Way.

trimmer

Deceased, But not forgotton
Local time
2:02 PM
Joined
Jul 4, 2009
Messages
329
Reaction score
238
Location
Alabama
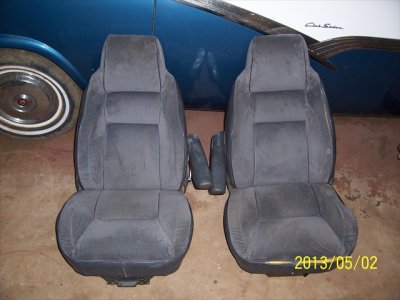
Here is a pair of bucket seats out of a 1992 Dodge Ram. 100_7254.JPG
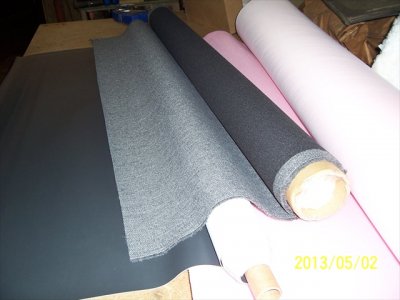
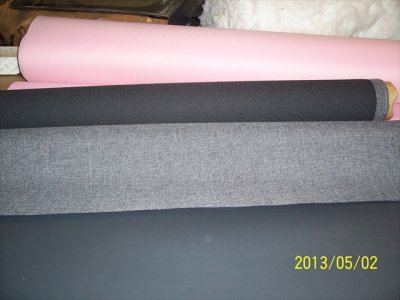
I intend to reupholster these and repair the foam so they will be nice. I will be using these two fabrics and new sew foam.100_7272.JPG100_7271.JPG
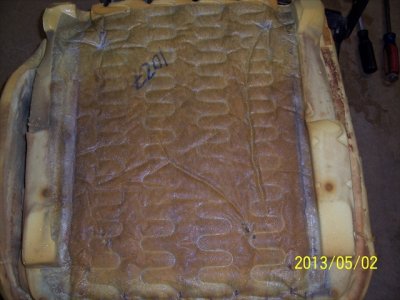
This foam is already reinforced and in pretty good shape.100_7262.JPG
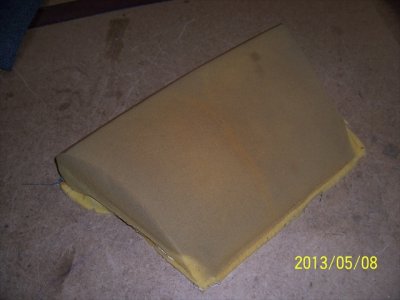
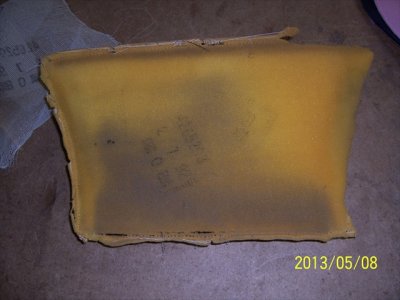
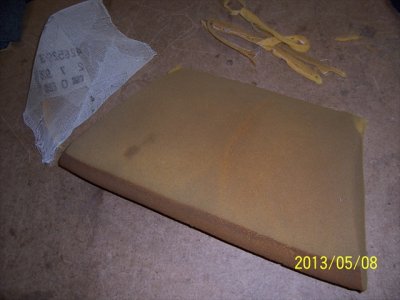
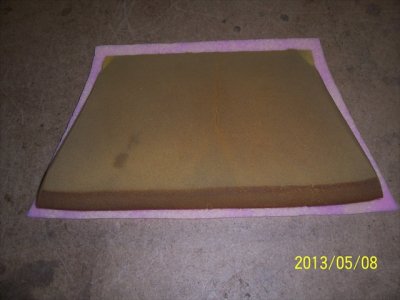
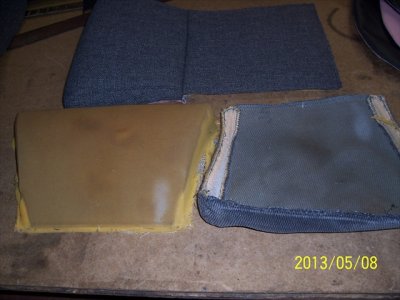
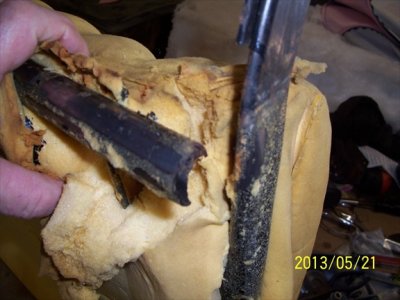
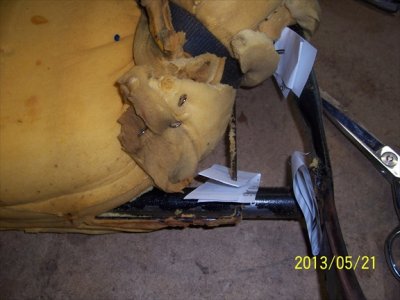
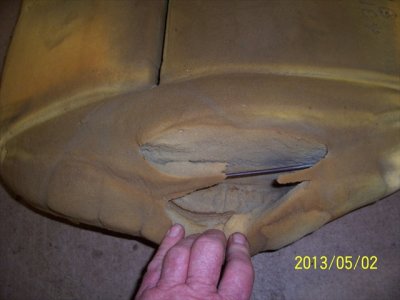
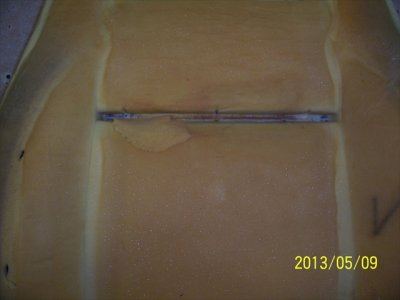
We will need to repair this cushion foam as you can see.100_7264.JPG
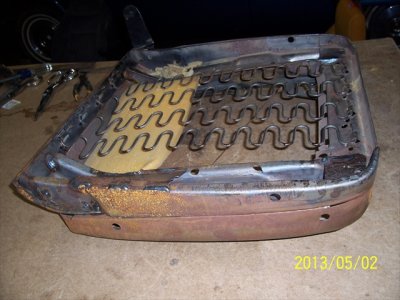
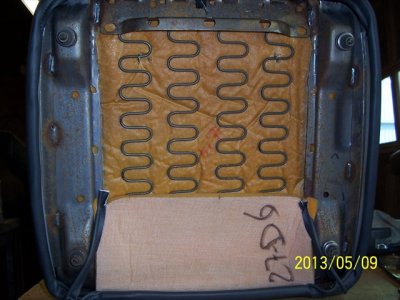
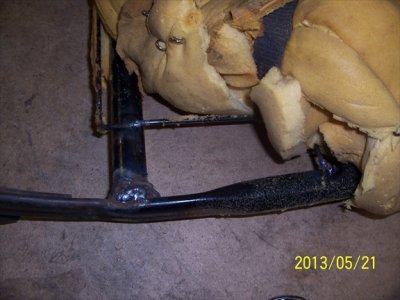
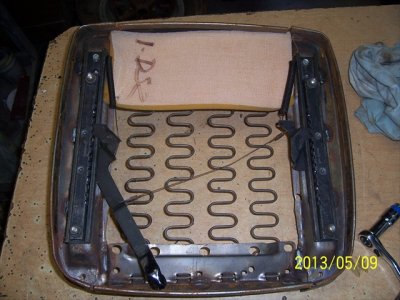
These seat frames are very sturdy.100_7267.JPG
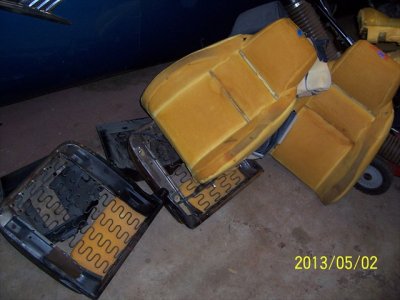
Now they are all dismantled.100_7269.JPG
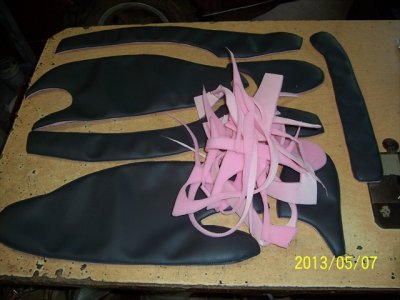
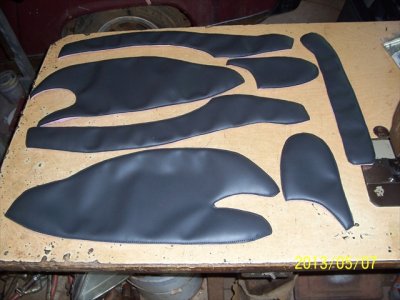
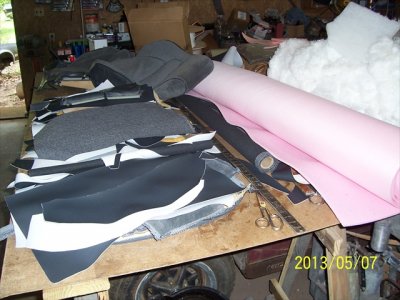
All the pieces cut out. Sometimes I pattern this stuff, other times I tailor it. These seats are a little bit of both.
100_7275.JPG
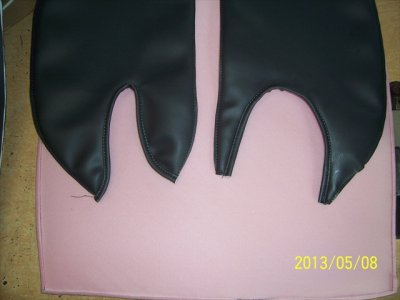
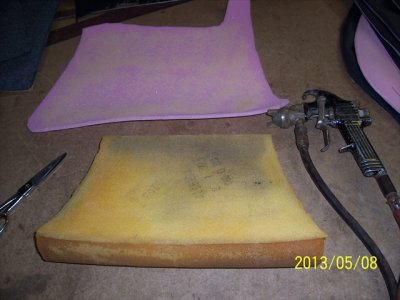
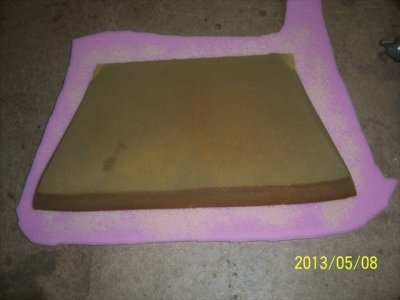
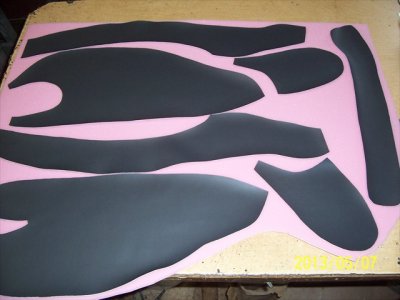
We lay all the pieces out on 1/4 sew foam.
100_7276.JPG
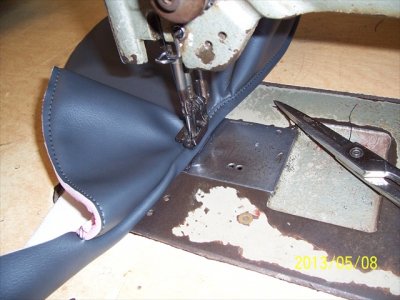
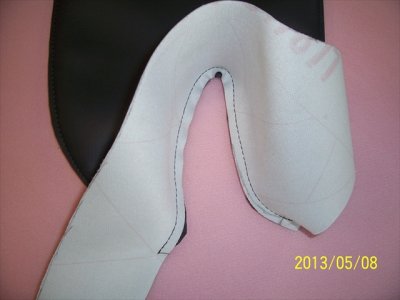
Now we sew all around the outside edge of these parts. Sometimes we glue the fabric to the foam, but not on these as I want the fabric to move independent of the foam.
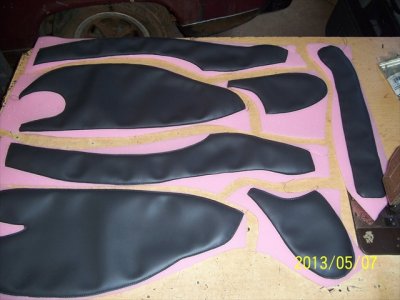
100_7278.JPG
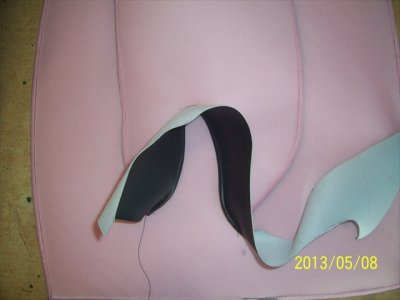
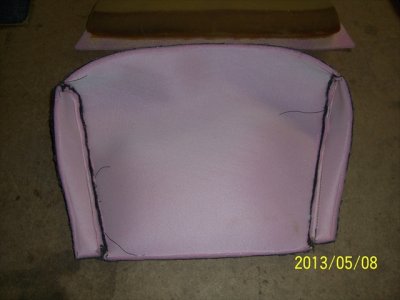
Next we trim off the excess foam.
100_7279.JPG
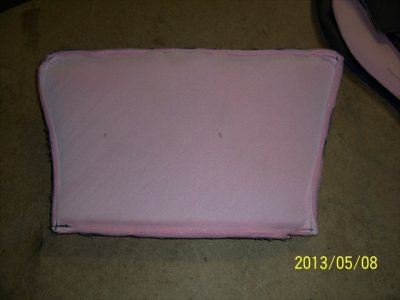
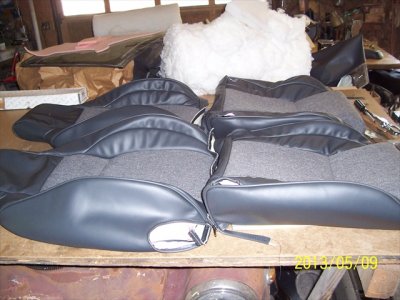
Now they are ready to be assembled.
100_7280.JPG
This will be all for now. I do have these completed, it is just taking me for ever to put them on here. I will finish posting more later....Bill
 
Here is a pair of bucket seats out of a 1992 Dodge Ram.View attachment 120745
I intend to reupholster these and repair the foam so they will be nice. I will be using these two fabrics and new sew foam.View attachment 120757View attachment 120758
This foam is already reinforced and in pretty good shape.View attachment 120759
We will need to repair this cushion foam as you can see.View attachment 120760
These seat frames are very sturdy.View attachment 120762
Now they are all dismantled.View attachment 120763
All the pieces cut out. Sometimes I pattern this stuff, other times I tailor it. These seats are a little bit of both.
View attachment 120764
We lay all the pieces out on 1/4 sew foam.
View attachment 120766
Now we sew all around the outside edge of these parts. Sometimes we glue the fabric to the foam, but not on these as I want the fabric to move independent of the foam.
View attachment 120767
Next we trim off the excess foam.
View attachment 120768
Now they are ready to be assembled.
View attachment 120769
This will be all for now. I do have these completed, it is just taking me for ever to put them on here. I will finish posting more later....Bill

Cool, can't wait. :happy1:
 
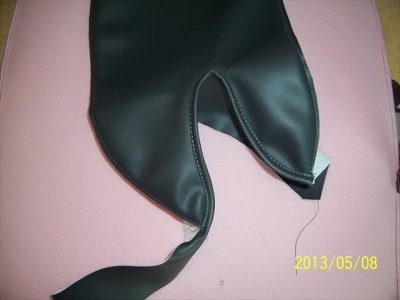
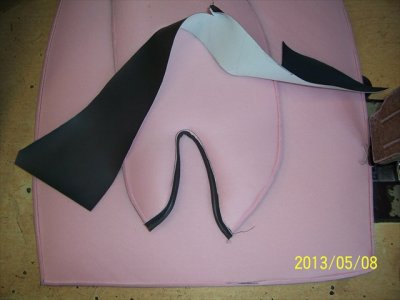
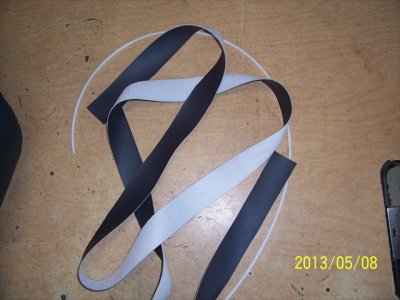
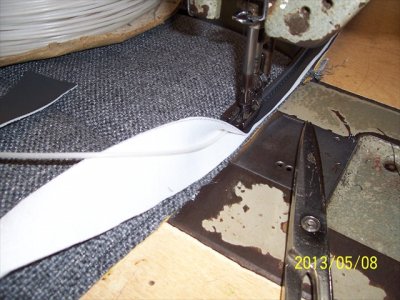
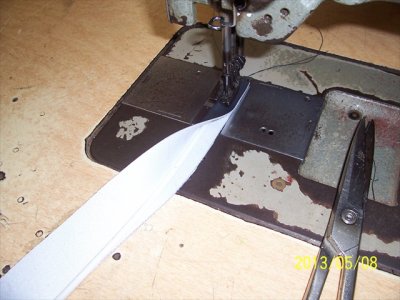
I like to take care of all the rough edges I can before actually sewing up the covers. So we take a piece of scrap fabric with a strait edge and sew it to the part.
100_7287.JPG
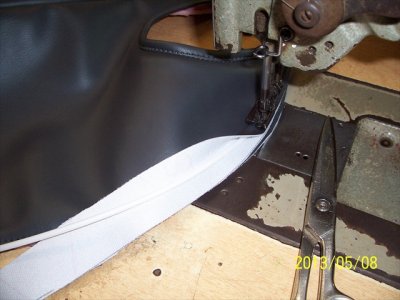
Then fold it under and sew it again.
100_7288.JPG
Done sewing.
100_7289.JPG
The back side.
100_7290.JPG
Trim off the excess.
100_7291.JPG
Finished parts.
100_7296.JPG
I elected to reuse the knee bolster foam but I will have to repair them a bit first.
100_7300.JPG

100_7301.JPG
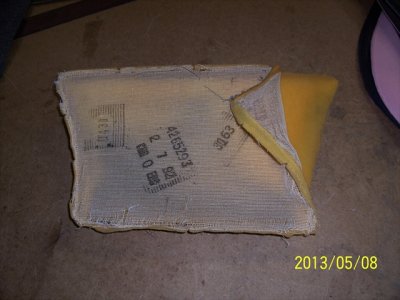
I removed the backing and cut off the outside edges.
100_7302.JPG

100_7303.JPG

100_7304.JPG
Then glue a new piece of foam to the old one and trim the edge to about 1/2 inch larger than the old piece.
100_7305.JPG

100_7306.JPG

100_7307.JPG
Then sew the new cover to the bolster.
100_7308.JPG

100_7311.JPG
You can see my cover has foam sewn to it as the original one does not.
100_7312.JPG
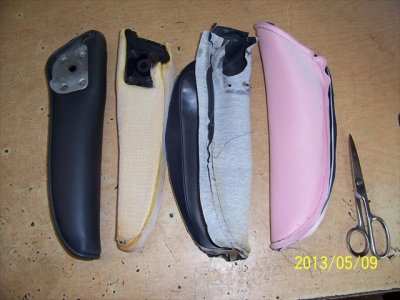
The arm rests from left to right. The new done one, cover removed, original cover, and mine also sewn to foam and the original one is not.
100_7314.JPG
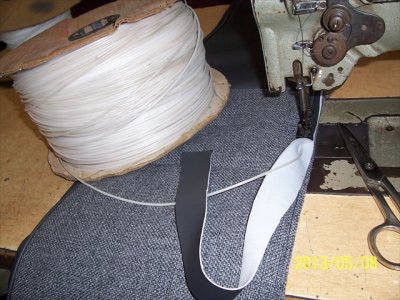
Now time to sew it all up. Start with the welt cord. Small diameter for the inserts and large diameter for the rest.
100_7297.JPG

100_7284.JPG

100_7285.JPG

100_7298.JPG

100_7299.JPG
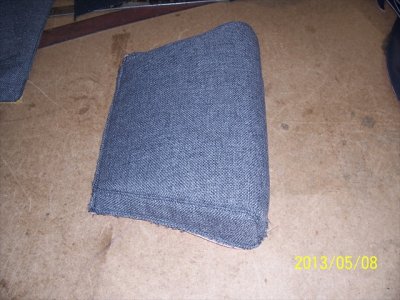
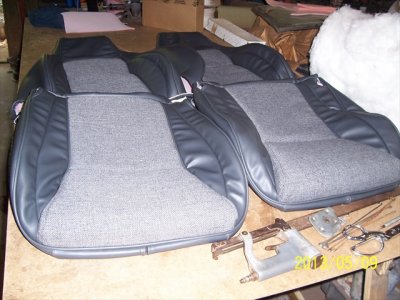
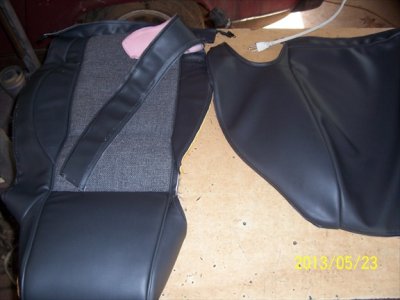
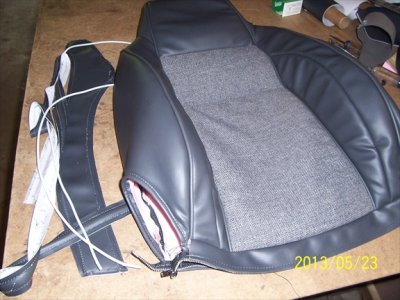
All the covers are together.
100_7315.JPG
Ready to be installed.
100_7316.JPG
This will end this for now, I'll add more later.....Bill.
 
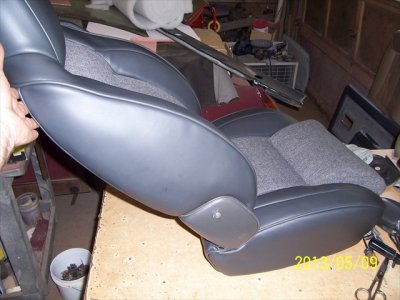
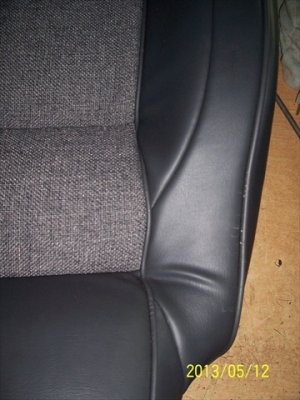
100_7327.JPG-5.jpgNow i have already installed the cushion cover after I had repaired the foam, but as I am not accustom to taking pictures of my work I forgot to take pictures of that. So to show how to repair the foam I will use this photo of the factory repair. In this photo you can see where they glued a piece of foam into the bad area and then trimmed it into the shape to fit their needs. I did the same thing to the cushion.
100_7317.JPG
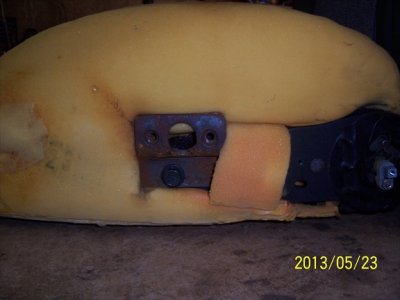
In this picture you can see how easy it would be to eliminate the arm rests. Just remove the bracket and fill in the area with foam. These seats would look cool with the arm rests gone.
100_7335.JPG-5.jpg
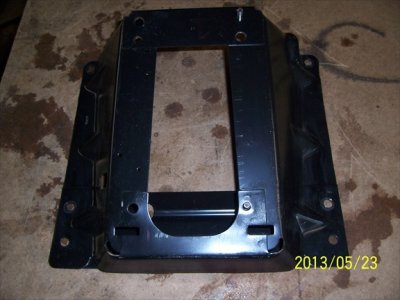
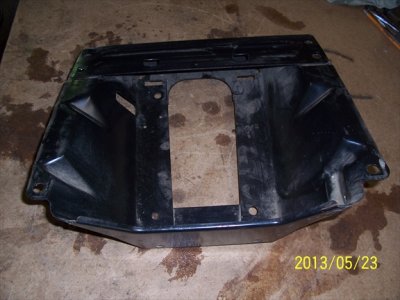
These photos show the bottom without and with the seat tracks. As you can see these would be very easy to install in some other vehicles
100_7318.JPG

100_7328.JPG-5.jpg

100_7330.JPG-5.jpg

100_7331.JPG-5.jpg

100_7332.JPG-5.jpg

100_7333.JPG-5.jpg

100_7334.JPG-5.jpg
$45.00 Later. I cut out the defective parts and replaced them.
100_7338.JPG-5.jpg

100_7339.JPG-5.jpg

100_7324.JPG
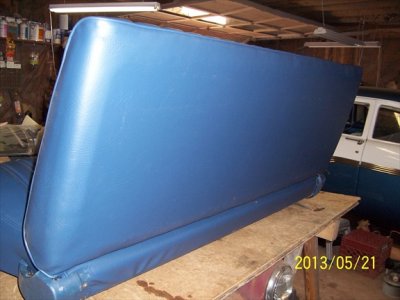
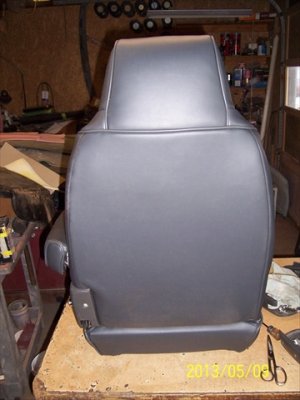
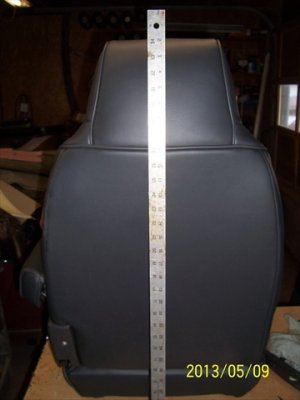
A view of the back.
100_7319.JPG
Another back view,
100_7320.JPG
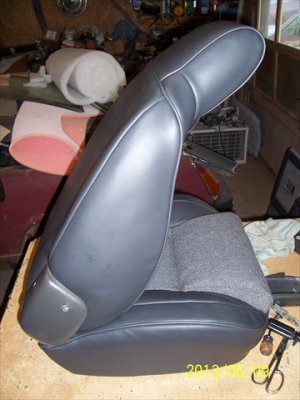
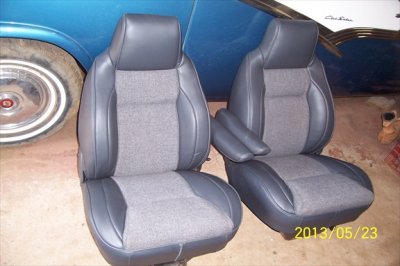
The seat in the forward position.
100_7321.JPG
Reclined.
100_7322.JPG
I had not imagined how fast this seat was going to recoil after I pulled the release handle. It sprung forward and smacked into the head of my sewing machine. It scuffed the welt cord and a panel. I will have to cut this back apart and order more fabric and replace those parts.SHHHHH.
100_7326.JPG
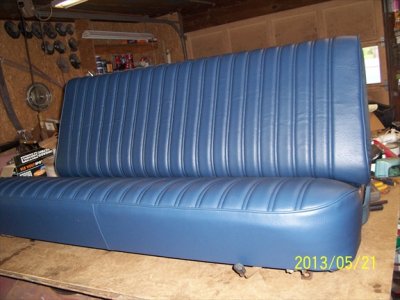
So while I am waiting on the fabric to arrive I knocked out this chevy truck seat.
 
I don't know how all my photos got jumbled around. The seat risers for the buckets.
100_7343.JPG-5.jpg

100_7344.JPG-5.jpg
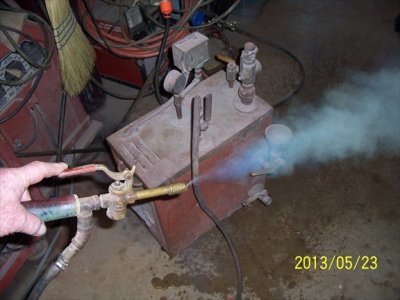
This is my steamer.
100_7340.JPG-5.jpg
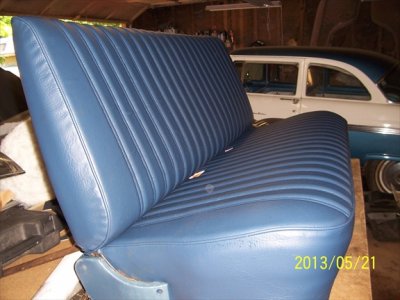
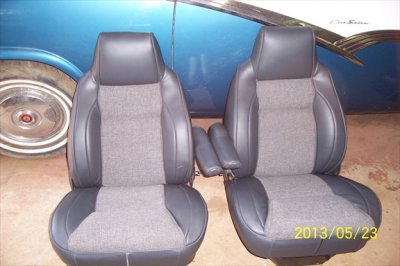
And finally the finished seats.
100_7345.JPG-5.jpg

100_7346.JPG-5.jpg
I can picture in my mind these seats being done in a bunch of different ways.Here are a few photos of some Dart seats I did a while back.100_0214.JPG-5.jpg

100_0221.JPG-5.jpg

100_0222.JPG-5.jpg
I sewed all these covers and I have come to the conclusion that I can do seats much faster than I can do the picture lay out. I must admit that I came real close to introducing this computer to my .45. (LOL) I hope y'all enjoy this and it gives you some idea of why the cost is high. Later....Bill
 
Nice work Bill. Now I see where the name trimmer comes from. lol
 
Just for my own shopping in the future....what would the cost be to just replace the center sections of the seats with velour material??
 
Just for my own shopping in the future....what would the cost be to just replace the center sections of the seats with velour material??

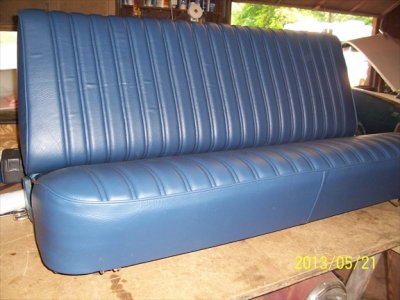
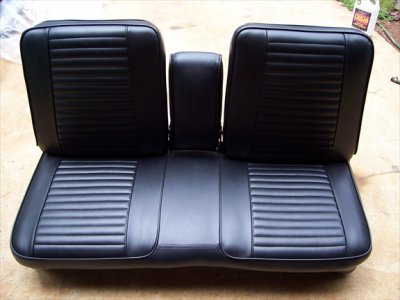
It would be very hard to price any upholstery work without seeing the actual job that needs to be done. Just to give you some idea of what my charges are, these two bucket seats and two door panel inserts (you can see one of the door panels in the photo of the seat in the reclined position) cost $750.00. You also have to realize I supplied all the materials and necessary commodities to do these. The blue bench truck seat was $400.00 and I also supplied all necessary items to complete this job as well. I always tell everyone to check in their own local area for prices (at a quality trim shop) and compare them to mine. I am a retired professional trimmer and it will be very tuff to beat the quality of my work. For those of you that do not know me my real name is Bill Holbrook and over the years I have received many awards in many magazines and at many shows. Now that I am retired I still enjoy doing this type of work as it allows me to use some of my creative skills. So I am always interested in custom work as well as installing your store bought covers. For high quality reproduction covers I highly recommend Legendary for anything else I recommend me. lol.
 
I wish I was closer to you I would bring you my seats with out a dought I was quoted $1500 to my Coronet bench seat.That was with me getting the material from SMS.
 
I wish I was closer to you I would bring you my seats with out a dought I was quoted $1500 to my Coronet bench seat.That was with me getting the material from SMS.

I imagine the cost of living is much higher in your area than it is in mine. Maybe a road trip should be in your near future.

I am trying to figure out who or what sms is as I have seen references to them on here lately but I have never heard of them prior to these posts.

Upholstery like eggs are cheaper in the country. lol.
 
Had a pair of those early 90's seats in my 79 D300 Adventurer SE. I got them when they were new and were decent seats and made that truck a joy to drive! It's pretty amazing how much difference a seat can make in the way a vehicle feels.....
 
Had a pair of those early 90's seats in my 79 D300 Adventurer SE. I got them when they were new and were decent seats and made that truck a joy to drive! It's pretty amazing how much difference a seat can make in the way a vehicle feels.....

One thing I have discovered, is no matter how fast it is or how much power it has if it ain't sitting comfortable it usually ain't much fun to drive. Comfort is very important to any cool ride.
 
It would be very hard to price any upholstery work without seeing the actual job that needs to be done. Just to give you some idea of what my charges are, these two bucket seats and two door panel inserts (you can see one of the door panels in the photo of the seat in the reclined position) cost $750.00. You also have to realize I supplied all the materials and necessary commodities to do these. .
I think that sounds VERY fair....and I forgot that I will need the door panels done as well...what part of Bama you in? I may visit family and bring them with if youd be interested?
 
I think that sounds VERY fair....and I forgot that I will need the door panels done as well...what part of Bama you in? I may visit family and bring them with if youd be interested?

I am always interested in being able to use my trimmer skills. I live about 15 miles south of I-20 off of the first exit entering Alabama, leaving Georgia. P.M. me if you would like my address and phone number.
 
Ive seen some of Trimmers work first hand from an earlier visit. He can do just about anything. Taught me a lot just by listening to him. Good work on the seats. That's 1 thing I don't think I would have the patience to do for myself even if I had the proper tools.
 
Auto Transport Service
Back
Top