• When you click on links to various merchants on this site and make a purchase, this can result in this site earning a commission. Affiliate programs and affiliations include, but are not limited to, the eBay Partner Network.

Must Read: Torsion Bar Front Suspension Rebuild Steps

themechanic

Oklahoma is OK
Local time
7:14 AM
Joined
Nov 11, 2012
Messages
16,531
Reaction score
19,517
Location
Moore, Oklahoma
I need to rebuild the front suspension on my Coronet. But how do I go about it? I searched the internet and found this great article at Moparmax. There's lots of clear color photos and a step-by-step discussion from start to finish. So, be sure to bookmark this page or the page the link is to for future reference. Words and photos by Steve Magnante.

http://www.moparmax.com/tech/2011/vi_10-torsiontips-1.html
 
Very informative, and with nice clear, digital photos to boot! I'm not at this stage of the restoration on my Polara just yet but this article will come in handy - hopefully sooner vs. later! :)
 
If only mine came apart that easily.... :)
 
I pulled my bars out with the lower control arm useing that as my leverage point I used a block of wood to free the lower arm with a big hammer... then once free of the rear socket I used the bar like a slide hammer to free it from the LCA. I don't use a pickle fork... I use a upper control arm bushing remover/installation tool and on the drag link and on rod ends I use a bolt with the same thread as the castle nuts threaded on a few turns on each and pound the bolt saving the nut and the rod end.. I would recommend moog parts and energy suspensions poly bushing kit... at least for the lower arm....
 
I used the pickle bar to remove my torsion bars slight pressure against the K member and it popped loose.
 
Excellent find. I never thought about the front clip sag. Hence I did have a tough set to remove once. Possibly that was a factor. Thanx for the post. I may take this to FABO if it's not there already.
 
Who remembers that car show where they had mopar they know nothing about and was redoing the suspension and instead of taking out the torsion bars properly they took a sawzall to them and cut them out because they couldn't figure out out to get them out. Anyone remember that show?
 
Who remembers that car show where they had mopar they know nothing about and was redoing the suspension and instead of taking out the torsion bars properly they took a sawzall to them and cut them out because they couldn't figure out out to get them out. Anyone remember that show?

The Red Green show?
 
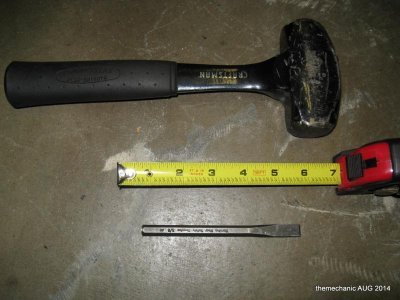
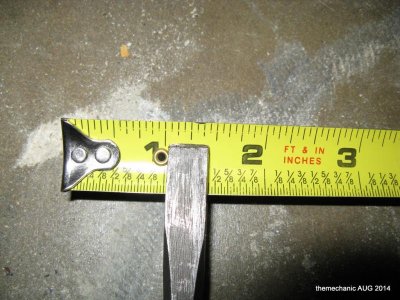
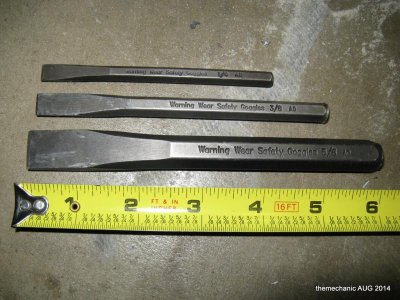
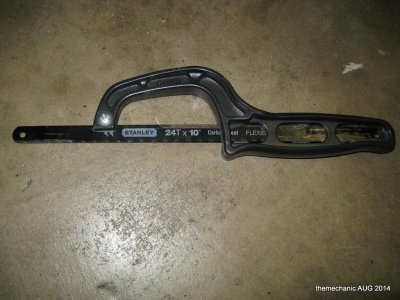
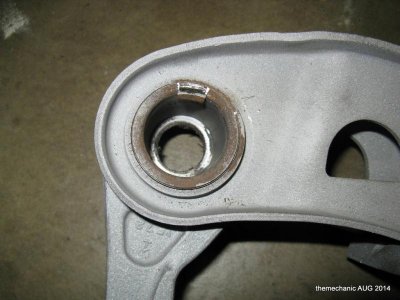
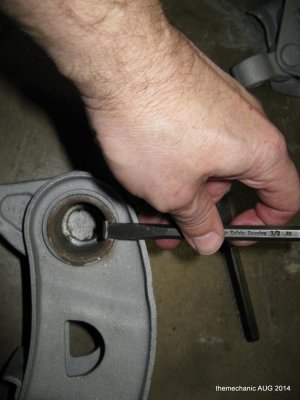
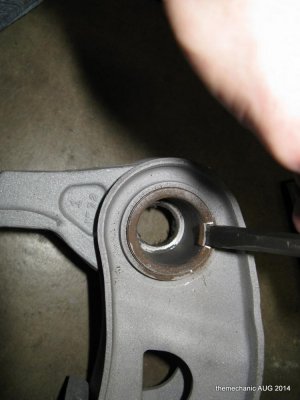
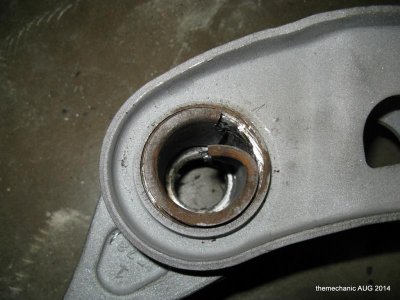
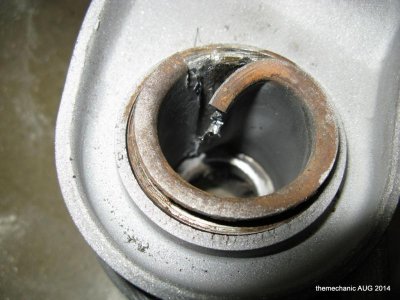
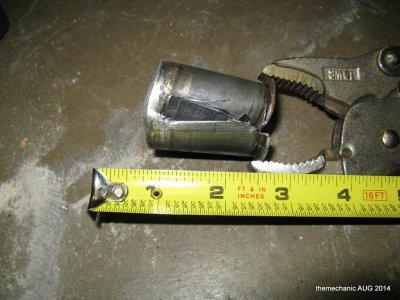
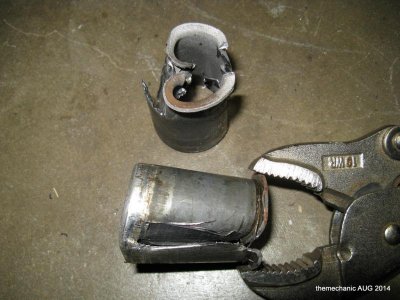
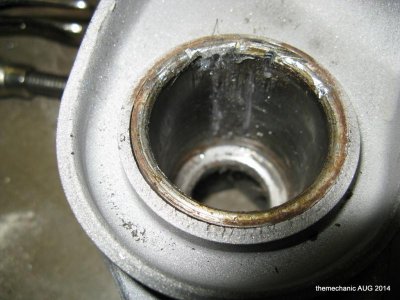
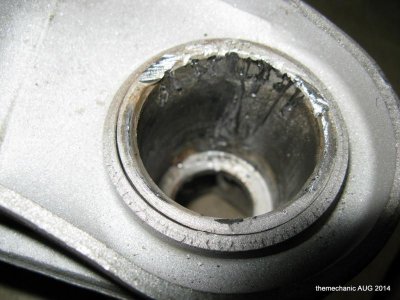
Here are the photos I took today of how I removed the lower control arm bushing with a hack saw, a hammer and chisel.

It comes out easy enough if you can manage to get the chisel started between the sleeve and the control arm hole. Use the hack saw to cut the sleeve flange then chisel that up so you can get the chisel started between the sleeve and control arm hole. Once you do just drive the chisel all the way down the sleeve to the bottom. Then chisel the opposite side of the cut inward to loosen the sleeve and pull it out with vise grips or pliers.

It scars the edge of the hole, which will need to be sanded smooth, but it will be hidden by the new bushing.

The first one I tried cutting the sleeve on opposite sides but that didn't work as well as just cutting one side.

Next time I'll take it to have a washer welded on and pres the sleeves out.

Enjoy.


IMG_0203.jpgIMG_0204.jpgIMG_0211.jpgIMG_0212.jpgLower Control Arm Bushing Removal.jpgLower Control Arm Bushing Removal-001.jpgLower Control Arm Bushing Removal-002.jpgLower Control Arm Bushing Removal-003.jpgLower Control Arm Bushing Removal-004.jpgLower Control Arm Bushing Removal-005.jpgLower Control Arm Bushing Removal-006.jpgLower Control Arm Bushing Removal-007.jpgLower Control Arm Bushing Removal-008.jpg
 
Auto Transport Service
Back
Top