• When you click on links to various merchants on this site and make a purchase, this can result in this site earning a commission. Affiliate programs and affiliations include, but are not limited to, the eBay Partner Network.

73 lemon twist roadrunner

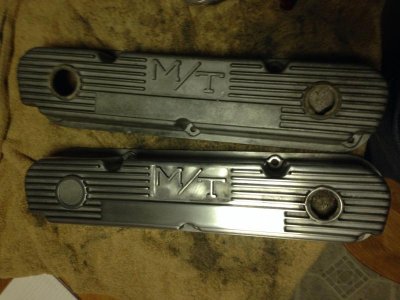
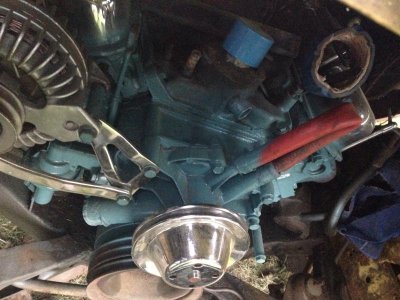
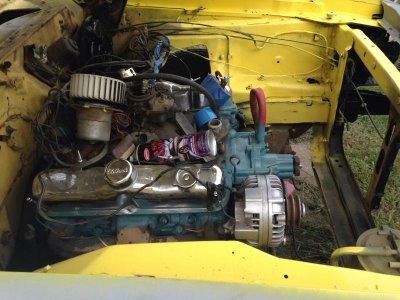
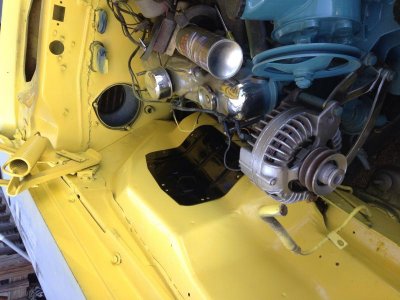
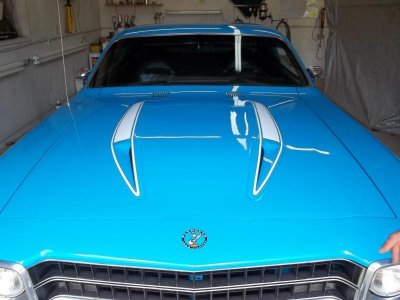
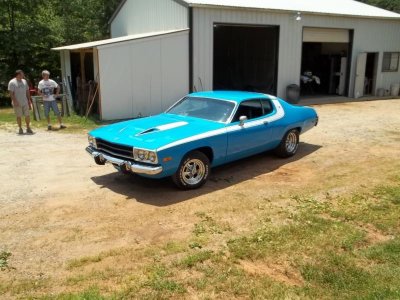
Haha funny story basket case the women that drove this car around for years was a smoking hot blonde,and when I was 14 I would do anything to be around her I would polish valve covers and anything else I was asked to do. I got to drive this car when I was 15 and by 16 I was tryin to be her new husband lol. I wish my bird had a 4 speed. I was thinking of changing it but we will have to see what the future holds.
 
Here's some pics of parts resto,I told my wife if u can't afford it,restore it! image.jpgimage.jpgimage.jpgimage.jpgimage.jpgimage.jpgimage.jpgimage.jpgimage.jpgimage.jpg
 
I did this all to my 73 and man, it does save some money and honestly it was fun to redo them, You have them looking very good and next to that popping color, they will look killer for you!!!

Cool outcome for you, and YOU did it! That i know i speak a lot of but it really does make a huge difference when were done and can say "I did it!"

- - - Updated - - -

View attachment 174741 here you go thanks for sharing your photos

That's a beautiful ride sitting there!!!
 
Thanks a lot Ron ,very good feeling of acomplishment outta this car.im kinda to broke to afford new.i like dirty and cheap lol and I love working on little parts,which On this car there's a ton. The engine bay is starting to look good.a lot of wires are going to get replaced,also going to loom it all as it has that crapppy tape on everything. The brake lines are getting replaced one by one.the front won't have that dance nice wire wound stuff it came from factory with but maybe in the future it will I just want to drive it and won't be taking it to many serious shows.just ordered the hei style distributer for it got a pretty polished aluminum one. Waiting for a swap meet in October to find a nice 4 bbl intake want something big high and gas guzzling lol.but here's some pics of today's lil bit of fun.sorry couldn't get the last one to turn over.
 

Attachments

  • image.jpg
    image.jpg
    49.7 KB · Views: 246
  • image.jpg
    image.jpg
    73 KB · Views: 255
  • image.jpg
    image.jpg
    76.9 KB · Views: 254
  • image.jpg
    image.jpg
    76.1 KB · Views: 255
I hope this helps some AND works! Looking good and wish you G-luck with the intake you want!!! :)

image - Copy.jpg
 
You might want to investigate the need for a different gas and vapor tank before buying a Dania for your 73. In 72 the gas tank is smaller and vaper tank is smaller and located in front of tank instead of drivers wheel well for Diana cars.
 
I never ended up getting the Dana couldn't get a good price on it. But anyway got the braces behind the grill area back on,primed the dash.gauges are done. Gotta wait to get more castblast paint to finish off the suspension painting. Tried some cheap crap paint on the colum and it turned out like crap go figure lol. Sanding it and starting over with it.i don't know if it's supposed to be but I'm painting it with the same paint I'm using for the dash( black metalic) after some reading on the subject I have decided to keep my dash pad original ,I'll keep the cap I case I change my mind. But a lot of people say it's not bad so just leave it alone. But so far so good.

- - - Updated - - -

Just noticed mopar 3 b the picture mirrored it's all reversed lol the tank is actually on the passenger side.
 
Must have moved it in 73 as 71 & 72 are on the drivers side. Good to see you doing the little stuff and dueing the work your self. Keep working on it an you will have a nice car when done.
 
Thank you mopar3B. Well there's been a lot of sanding,sanding and more sanding oh ya and a lil filler. The body had a lot of dips and imperfections to work out. Temps dropping like crazy here in ny so I'm tryin to get most of the body in primer before snow flies. Then I'm stuck in a carport thing. The interior should be in soon I have restored most of the inside pieces. I kinda scared to do the head liner but I have seen it done a million times and helped put a couple in.so I'm gonna do it and try not to mess it up. Other then that I'm pretty confident with dirt tracking out of the way I should get this done soon.
 
I live south and west of you and yep, the temps are dropping, i told a guy helping me with my garage tonight (carport with sides/front,back inclosed) that its next months temperatures now, not this month, i burn wood and using it now lol, I do wish you luck with your headliner, im sure helping others and seeing it done it will work out great!!! There HAS be good some decent weather yet to come!!! :)
 
Thank you Ron ,and we started burning last week lol good thing I got a nice pile this past summer. So I got some more sanding and filling done. My sander quit on me and I'm really to broke to buy another till Friday so until then I'm sanding by hand. And man it's hard my arms are so sore and I work out a lil bit and lift pianos for a living. Also got my youngest to help with the sanding he had some fun. Also painted the dash and colum and it turned out so crappy. It had like tiny bubbles and running from the bubbles I was pissed but it was prolly bad paint. Wasn't cheap but was on clearance at the parts store lol.so I'm just gonna sand it down and paint it semi gloss black .really wanted the original paint but it's not that big a deal as long as I get to drive it lol. Anyway here's some pics of the last couple days.
 

Attachments

  • image.jpg
    image.jpg
    57.3 KB · Views: 231
  • image.jpg
    image.jpg
    75.5 KB · Views: 215
  • image.jpg
    image.jpg
    64.5 KB · Views: 207
Your young one looks like he is enjoying his first Mopar project! Pretty cool... Yep, shame we need to start the wood stuff so early but, it works.. I don't know what sander your using but i do hope you get another for the work ahead, I found out that with these cars so large, the best hand sanders are the 15 inch because of the size of fenders and q-panels they give you a more uniform sanding process.. I hope this link helps and hope i got your pic's turned right, its worked in the past! :)


http://www.eastwood.com/adjustable-flexible-sander-15-inch.html

RR 1.jpg

RR 2.jpg

Sander: SANDER HAND.jpg
 
Thanks Ron ,I have a couple of that style block. My electric sander died.i put a thread up in the tech section but I'll ask here too I need some pics of the center of the header panel,mine was crushed and had to fill it and need a couple reference pics.thanks in advance. Well more sanding went on today and after some consideration I figured the paint on my dash went back because of cheap primer. So I stripped off all the paint reprinted it and will repaint this weekend.
 
these may help with the hood filler panel. good luck on the build and it looks like you have some good help.l8r,postcar.
 

Attachments

  • new folder (4) 003.jpg
    new folder (4) 003.jpg
    49.6 KB · Views: 199
  • new folder (4) 011.jpg
    new folder (4) 011.jpg
    81.7 KB · Views: 216
Thank you postcar.i love that blue runner.my dad had the same one that's what I wanted at first but couldn't find one.yes the pics were some help but I still need a overhead view of the point in the center. If anyone has one?
 
Thanks Ron ,I have a couple of that style block. My electric sander died.i put a thread up in the tech section but I'll ask here too I need some pics of the center of the header panel,mine was crushed and had to fill it and need a couple reference pics.thanks in advance. Well more sanding went on today and after some consideration I figured the paint on my dash went back because of cheap primer. So I stripped off all the paint reprinted it and will repaint this weekend.

I think the picture 68postcar put up will do if im reading right with the header panel, i will leave a slightly different angle and hope it helps some... old pic, but...

Picture 034 (Medium).jpg
 
Yes thank you I got it pretty good I think,by looking at the pics I could see I needed to use my grill as a template so to speak. But after about 12 hours of sanding yesterday I have a few more spots to fix and should be getting the rear quater bottoms soon. Also gotta put a new rocker on the passenger side but trying to get the filler and glazing going. Also getting a lot of small stuff done. I'm going to be painting the headlight bezels with the same yellow as the car but I painted the headlight trim rings black, I think they will look really nice. I tested the blower motor and wiper motor both work so I cleared them and painted them. Also spent about 3 hours on the valve covers and there still not done . But they are looking so much nicer then the plain aluminum they were. Any way back to the bitterbird. I'll just leave these here.lol
 

Attachments

  • image.jpg
    image.jpg
    72.5 KB · Views: 184
  • image.jpg
    image.jpg
    60.1 KB · Views: 177
  • image.jpg
    image.jpg
    111 KB · Views: 190
  • image.jpg
    image.jpg
    68.1 KB · Views: 179
  • image.jpg
    image.jpg
    60.4 KB · Views: 172
  • image.jpg
    image.jpg
    120.6 KB · Views: 184
Hello mopar heads lol. Well on this beautiful Sunday the cowboys won but nothing was done to the bitterbird. But I found some other pics that weren't posted. And in the suspension picture with it looking good it was just set it in place,and the complete car pic is what it should look like when done.image.jpgimage.jpgimage.jpgimage.jpgimage.jpgimage.jpgimage.jpgimage.jpgimage.jpgimage.jpgimage.jpg
 
LOVE the white faces on the gauge panel, i have them myself and think there cool! And i sure like that last picture, its so cool to see the cars like this before the make over! Thanks for posting!
 
Auto Transport Service
Back
Top