cr8crshr
Well-Known Member
- Local time
- 7:16 PM
- Joined
- Feb 13, 2009
- Messages
- 6,586
- Reaction score
- 11,759
- Location
- Northwest Nevada
You're in cow town right? not too far from me.
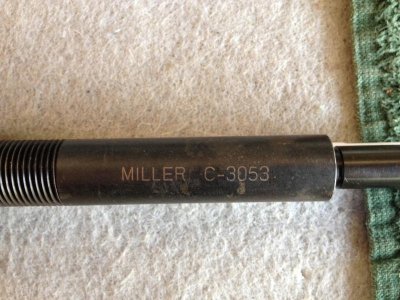
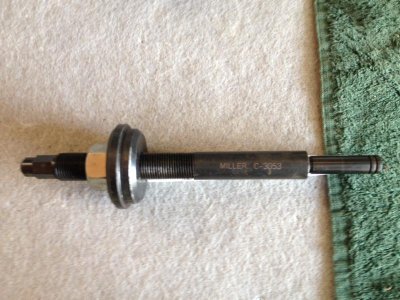
Yep sure am JB. I will get pics up later for those interested. MeepMeep...That bushing should not be loose in the block. That is the purpose of the burnishing tool. It seats the bushing against the block hole it resides in causing it not to spin or turn. The distributor shaft spins inside the bushing while the bushing remains tightly against its hole. I bet dollars to doughnuts that that is the cause of JB's first failures and the wearing down of the bronze tooth gear. I hope I am wrong but in my experience that process is always over looked and results in similar failings such as JB's. I could be wrong too but when it comes to re-building engines especially MOPARS, I follow the FSM and the MOPAR specific build books to the letter. I have never had a failure such as this by doing the burnishing step...cr8crshr/Tuck
") I think Meeps true name should be the Professor, sharp as a scientist and experienced. Unless all those old parts hanging off his shop walls are failed build attempts? WHAT!? LMAO J/K
I think Meeps true name should be the Professor, sharp as a scientist and experienced. Unless all those old parts hanging off his shop walls are failed build attempts? WHAT!? LMAO J/K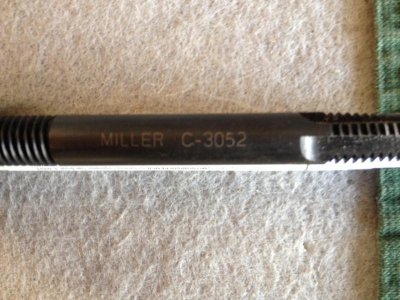

.jpg")
.jpg")


