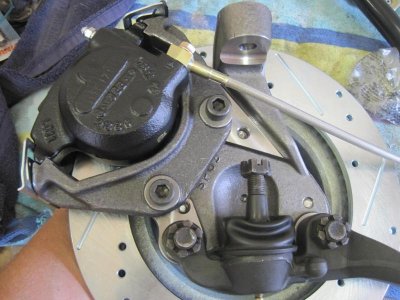
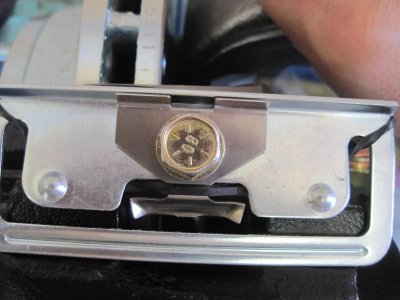
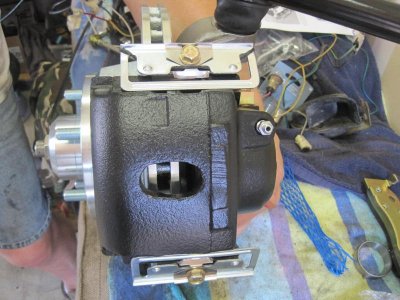
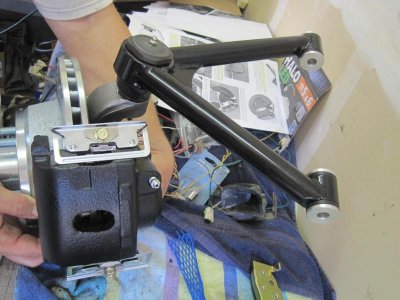
Let me start by saying, yes, this is another disc brake conversion how-to. There are scores of threads in this forum on disc brake selection and install (I know, during my research I probably read almost every single one). In addition Rick Ehrenberg's Disc-o-tech article is a must read (btw, he updated his original piece in the newest MA issue - Dec 14). And of course there's Google to fill in any gaps. So to all you members who have done this swap already, this is about the time you'll probably want to move on to a more stimulating topic. And to all you that have posted your brake swap experiences, thank you for the invaluable information that helped me do mine.
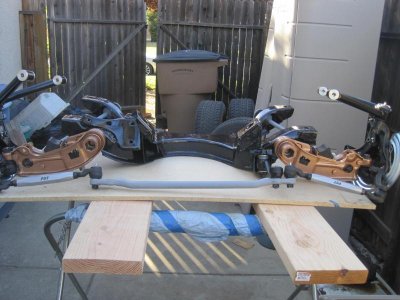
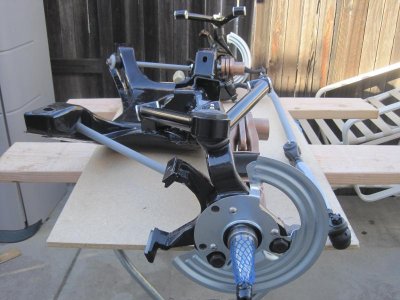
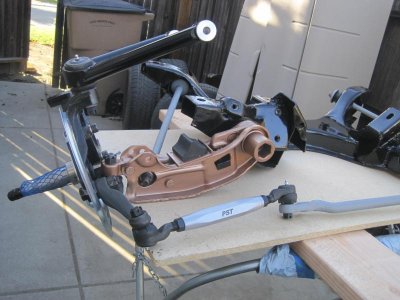
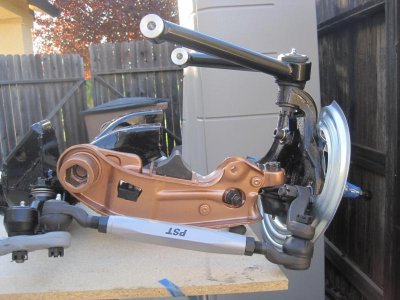
I have a 69 Coronet that had OEM power drums. I'm in the middle of a light restoration, the drivetrain has been removed and the car will be painted so as part of the brake conversion I dropped the K member and will upgrade the suspension at the same time. I will be keeping the rear drums. And btw, I am a shade-tree mechanic at best - I've done my share of driveway disc brake jobs but this is my first conversion.
There are dozens of conversion kit manufacturers and 10X as many distributors. I was on a budget so during my research I had eliminated the more expensive brands - Wilwood, SSBC, Baer, etc. Plus I wanted a kit that used repop Mopar parts so I could easily source replacement parts in the future. Lastly I was looking for at-the-wheel kits only because I'll be going with a Bendix style power booster with m/c and didn't want to purchase them in a kit to have them laying around my garage waiting for the car to be painted. The list of distributors is endless - YO, Classic Industries, Summit, PST, Pirate Jacks, POL, Mancini. If you're on a tight budget the cheapest kits I found were at Summit (free shipping) and Classic Industries (sku MD7785) less than $400 when you use their 20% off coupon. All these companies sell kits with the 11" rotor. I decided to go with the "big rotor" 11.75" that was standard on 78 Cordobas. If you decide to go with the bigger rotors the number of conversion kits drops dramatically.
I narrowed my search down to two companies. The first one is Wayne at RamMan. If you do nothing else, check out the how-to videos on his website, they're awesome. Wayne is a Mopar man all the way, he only sells Mopar brake parts (well, maybe some Ford on the side, but nobody's perfect :laughing7 He's more expensive than the big supply houses but two things about his kits I liked: i) he doesn't sell the rotors, unless you want to buy his upgraded slotted/drilled set. As he says - why would I sell you a rotor that you can buy at any auto parts store in the country? I liked the fact that I could choose the quality of rotor to put in my car. I had planned on purchasing Raybestos slotted/drilled discs off of Rock Auto; ii) he sells RH and LH specific spindles for sway bar mounted cars. That way you're not swapping spindles from L to R and twisting up the flex hose. My Coronet doesn't have a sway bar so it was a moot point for me, but it's important if you have sway bars and have to mount the caliper on the rear of the spindle.
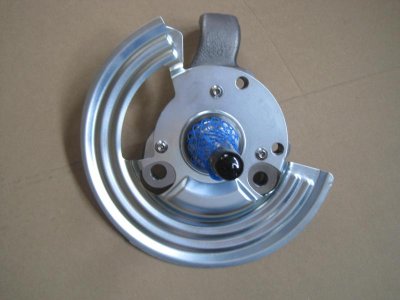
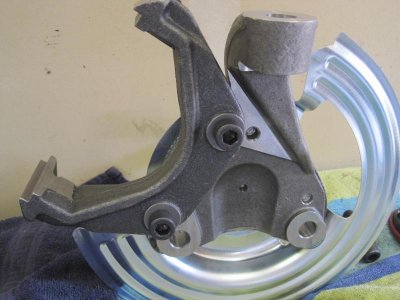
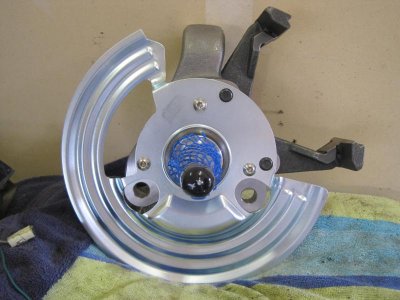
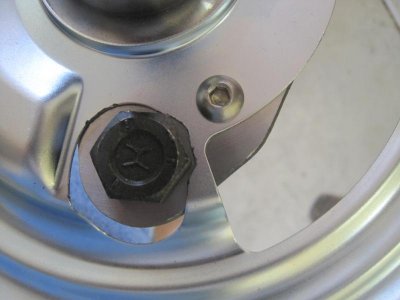
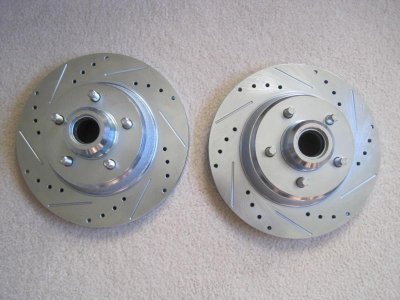
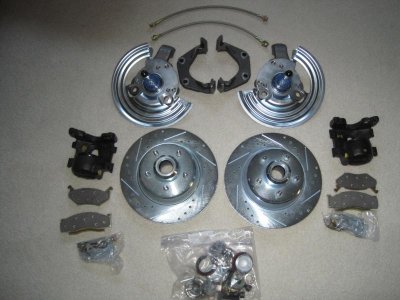
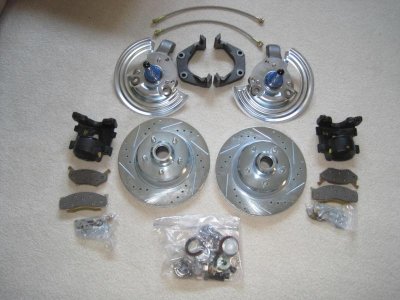
In the end, I went with Cass at Quality Body Shop Drivetrain - Dr. Diff. Cass is awesome - he picks up the phone every time and answered all my dumb questions via e-mail. He even e-mailed me a link from Moparts that showed his install with pics. I didn't go with RamMan simply because Wayne and I couldn't hook up over the course of a week and a half. I would call and leave a msg, he would call back the next day but then I was busy at work. He always returned my calls but after playing phone tag several times I called Cass and never looked back. I got the 11.75" slotted/drilled rotors and proportioning valve. His kit came with everything you need down to the cotter pins. The only thing you don't get is instructions - he assumes you have a FSM for guidance. Not having instructions was a minor inconvenience - the link he provided helped a lot.
I have a 69 Coronet that had OEM power drums. I'm in the middle of a light restoration, the drivetrain has been removed and the car will be painted so as part of the brake conversion I dropped the K member and will upgrade the suspension at the same time. I will be keeping the rear drums. And btw, I am a shade-tree mechanic at best - I've done my share of driveway disc brake jobs but this is my first conversion.
There are dozens of conversion kit manufacturers and 10X as many distributors. I was on a budget so during my research I had eliminated the more expensive brands - Wilwood, SSBC, Baer, etc. Plus I wanted a kit that used repop Mopar parts so I could easily source replacement parts in the future. Lastly I was looking for at-the-wheel kits only because I'll be going with a Bendix style power booster with m/c and didn't want to purchase them in a kit to have them laying around my garage waiting for the car to be painted. The list of distributors is endless - YO, Classic Industries, Summit, PST, Pirate Jacks, POL, Mancini. If you're on a tight budget the cheapest kits I found were at Summit (free shipping) and Classic Industries (sku MD7785) less than $400 when you use their 20% off coupon. All these companies sell kits with the 11" rotor. I decided to go with the "big rotor" 11.75" that was standard on 78 Cordobas. If you decide to go with the bigger rotors the number of conversion kits drops dramatically.
I narrowed my search down to two companies. The first one is Wayne at RamMan. If you do nothing else, check out the how-to videos on his website, they're awesome. Wayne is a Mopar man all the way, he only sells Mopar brake parts (well, maybe some Ford on the side, but nobody's perfect :laughing7
In the end, I went with Cass at Quality Body Shop Drivetrain - Dr. Diff. Cass is awesome - he picks up the phone every time and answered all my dumb questions via e-mail. He even e-mailed me a link from Moparts that showed his install with pics. I didn't go with RamMan simply because Wayne and I couldn't hook up over the course of a week and a half. I would call and leave a msg, he would call back the next day but then I was busy at work. He always returned my calls but after playing phone tag several times I called Cass and never looked back. I got the 11.75" slotted/drilled rotors and proportioning valve. His kit came with everything you need down to the cotter pins. The only thing you don't get is instructions - he assumes you have a FSM for guidance. Not having instructions was a minor inconvenience - the link he provided helped a lot.


