• When you click on links to various merchants on this site and make a purchase, this can result in this site earning a commission. Affiliate programs and affiliations include, but are not limited to, the eBay Partner Network.

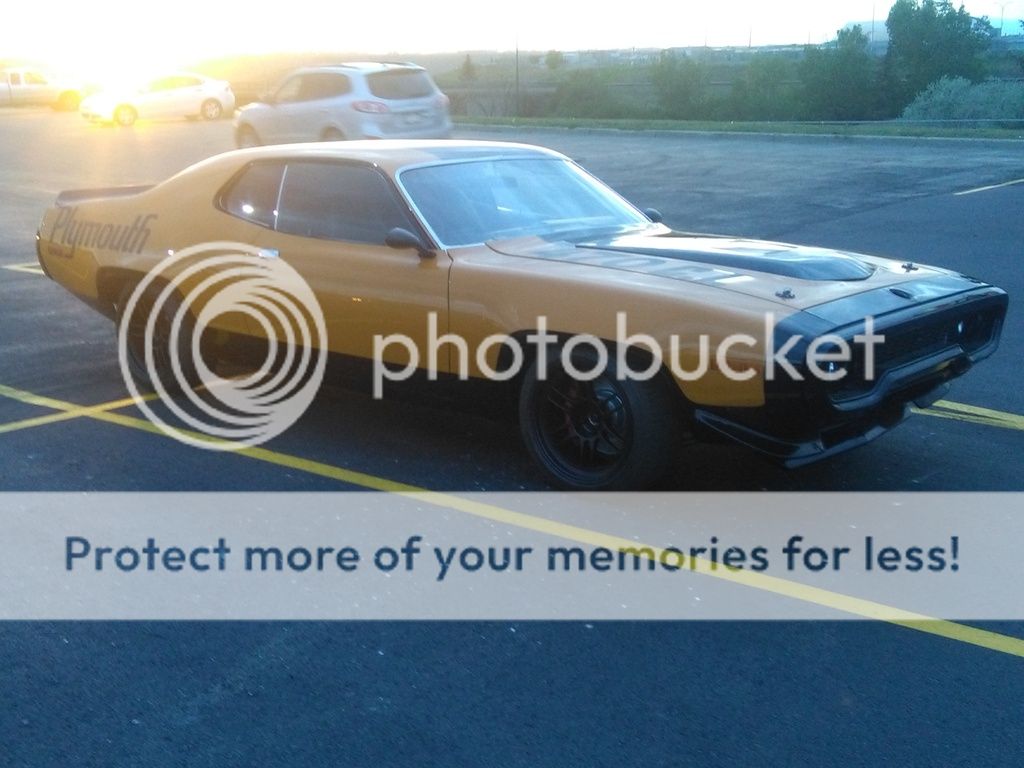
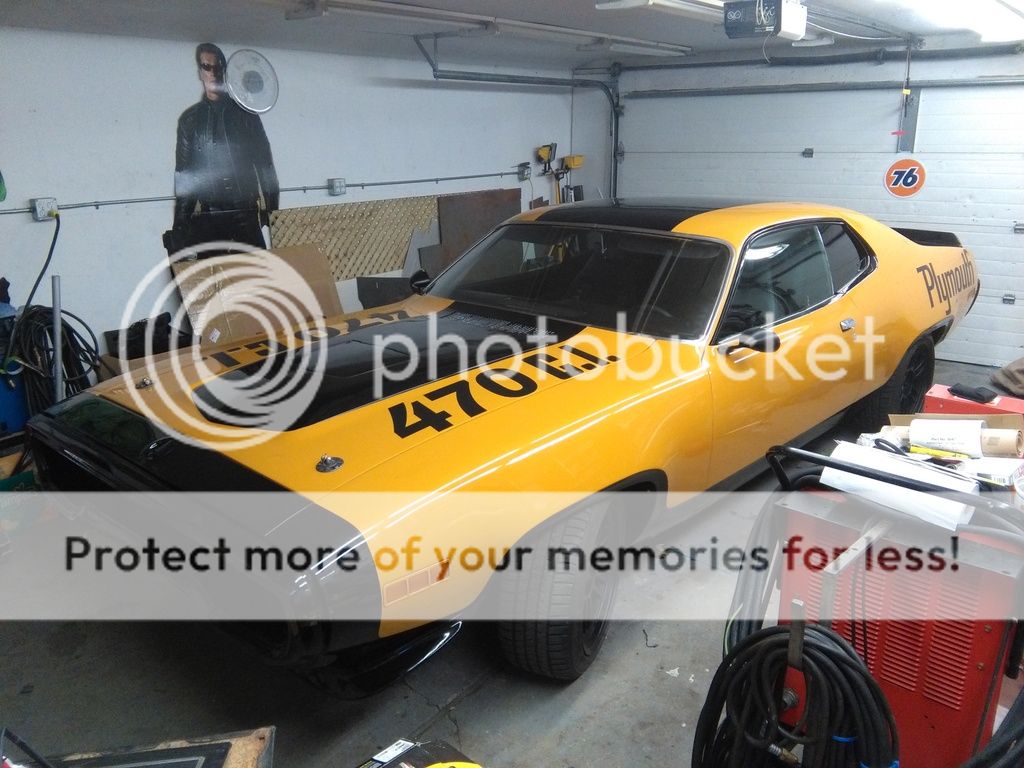
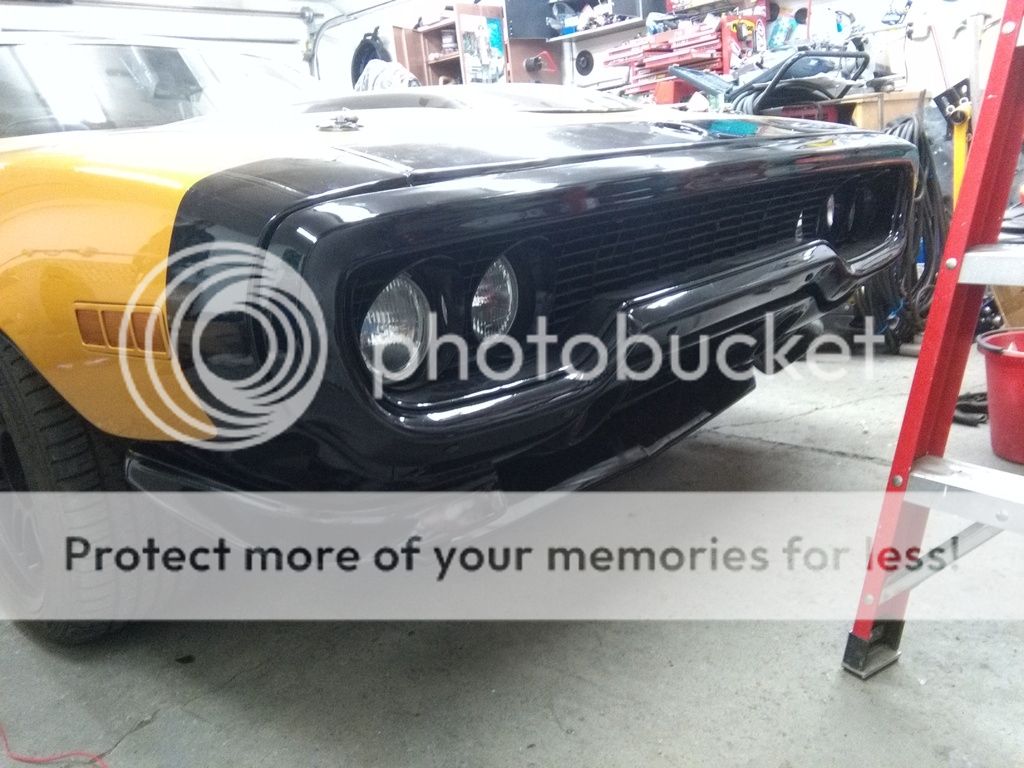
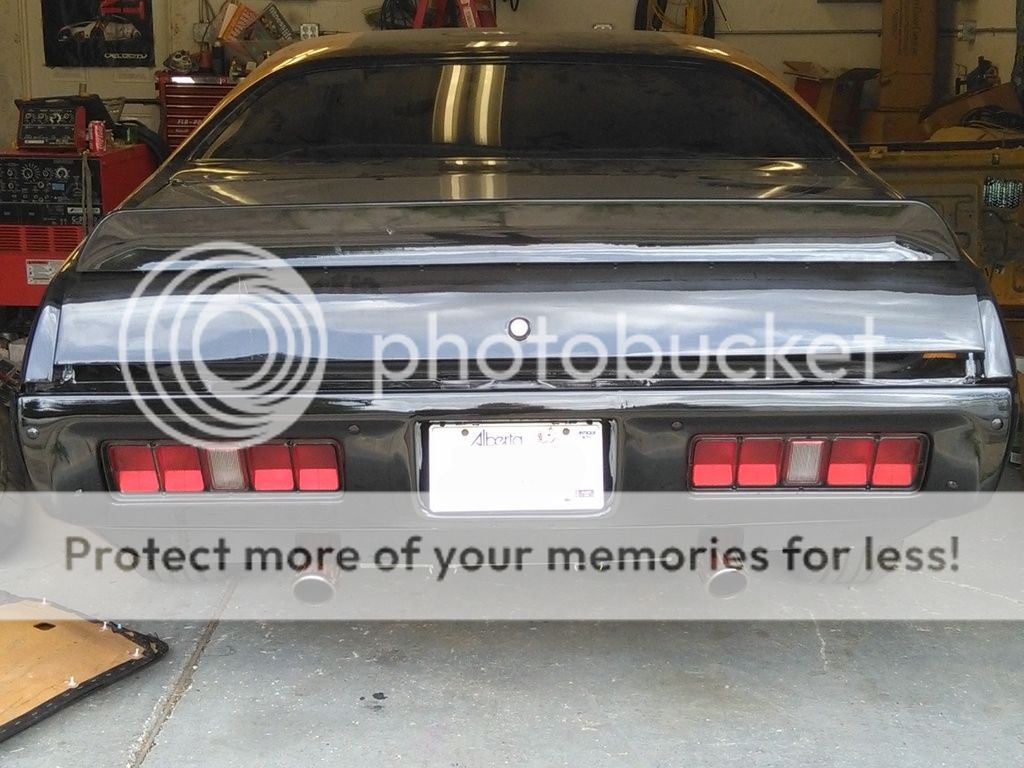
1971 Speedipus Rex

That's pretty cool. And carbon fiber glass frames?:)

u betcha!

Next on the list is my custom hub and steering wheel setup - I got sick and tired trying to find a aftermarket hub for our bbodies so I decided to get one made. I like the bigger grips of the aftermarket wheels available for my big mits. I bought this hub, its for an ebody (what a heavy beast) but it gave me enough matierial to shave off what I needed.

20140526_183718_zpsccffa7eb.jpg

20140625_144408_zps097475d3.jpg


I had a machine shop shave it down to this:

20140710_114031_zps391a1415.jpg


got it powdercoated black

20140722_174822_zps38f9d65b.jpg


old height stock wheel 5 3/8" deep

20140725_142351_zpsb316d31a.jpg


new height with MOMO steering wheel 3 1/8" deep

20140725_142510_zps288fa4f7.jpg


New 350mm MOMO wheel compared to the stock OEM one

20140725_142647_zpsf37b5f41.jpg


I bought a 1970 steering wheel decal and was hoping it would be big enough to fit the whole MOMO button and it did, what I didn't know is about the 1970 decal is that the sticky side is on the picture side not the back side, so I took it to a local decal shop and got some made:

20140911_083651_zps899c4f13.jpg


sanded the MOMO button (it has raised lettering with wet sand paper until she was flat:

20140911_165307_zps137e568b.jpg


20140911_165910_zps56458b99.jpg


TA-DA! The end result!

20140911_173401_zpsbdc5b22c.jpg

20140911_174750_zpsb30c7366.jpg


I also should note that I had to bend the flasher more straight so it wouldn't interfere with the new wheel setup!
 
Nice. I've got a Momo wheel too. Love it. Perfect ergo. Don't have the cool center though, that looks factory. Nice job.
 
so I work 12hr days 4 on 4 off 4 nights 4 off. But the past month and for the next 2 months I have been working 2-3-even 4 of my days off trying to save up so we can build our dream house, and dad gets the shop he's always wanted. Needless to say I haven't been working on the car, but I have finally uploaded most of the pics I have, sadly I lost alot of good pics somewhere, I need to have this car finished by spring, correction, I HAVE to finish this car by spring or it'll never get done if were building a house. Im close but still oh so far...

bought blank aluminum valve covers and had my buddy tig weld the plates on he cut from his small home cnc machine:

20140722_142829_zps323c66d3.jpg

20140812_124739_zps75cda2b3.jpg

20140812_1315150_zps71f9e332.jpg

20140828_163007_zpscd7bdfb8.jpg


painted the front of my rad support with plastidip, just in case if i didn't like it, i could always peel it off

20140818_170822_zps0e86b233.jpg

20140819_114740_zps8fe90f6a.jpg


Didn't like the look of a huge aluminum square in the front of my car so I painted it black, I've read alot of circle track guys do this anyways so I don't see the harm:

20140902_140107_zpsb0998d34.jpg

20140902_143755_zps786a7bb3.jpg


installed!

20140912_200039_zps27b4e707.jpg


So AutoX cuda inspired me to do a similar setup for my breathers, like the old trams am racers, I bought aluminum 1 1/4" tubing (sorry not sure were the photos went) and 1 1/4" aluminum 90 degree bends, two 1 1/4" K&N breathers, and 2 goodyear 1 1/4" rad hoses Part #60083, had my buddy weld it up the lips on the valve covers to mount them, and weld up the pipes. Got it powder coated black, I think it looks really good! It also clears the airgrabber setup on my hood:

20140912_194805_zps5cb526c1.jpg

20140912_193843_zps42f92953.jpg

20140912_193832_zps0905df74.jpg


got tired of waiting for my MP viscous fan setup so I went to the yard and bought this fan from a 90 dodge truck with a 318

20140811_120952_zps25bf787c.jpg


got it powdercoated, new clutch and fan shroud and installed

20140911_222934_zps433bca26.jpg


bought a new heatercore (it was bugging me that it was the only thing that hasn't been replaced) to my surprise (not really) it was no where near where I needed it mounted so I had to resolder the mounting plate

20140918_183508_zps923c797a.jpg


I didn't like the fact that the only option for a torque strap out there was a $100 option, So I made this for les than $10, grade 8 fine thread rod, 3/8" heim link and the washers/bushings from my prothane kit that were suppose to be for a stock sway bar, but seeing how I'm running the bigger Hellwig's, they were perfect!

20140925_200553_zpsdc60f7b1.jpg


my almost 2 year old son decided that he wanted to install it!

20140925_201948_zpsff7f7cbe.jpg


I installed the TTI exhaust with the dougs cuttouts, fit pretty good, the only thing I had to modify was the pipe from on the passenger side from header to cutout:

20140911_223042_zps220e72a3.jpg

20140912_004149_zps9be0d1a7.jpg


I bought some premium 2/0 cable for my battery relocation, I wanted 1/0 but this is what my buddy had, he's in the custom stereo business and even at his price it was $7.50 a foot, but as big as this stuff is, you can bend it around your wrist, its that flexible! And the amp draw you can pull on this stuff makes welding cable look like yesterdays knob and tube. This pic is the comparison of the two.

20140917_004652_zpscb57e424.jpg


I bought 3/4" wheel spacer adapters for all for corners, premium quality all made with grade 10 bolts, the reason behind this was
1) To clear the long hub on the front of the car for my wheels
2) widen the track as much as possible

Since I'll be running the Enkei RPF1 18X9.5" +15mm on all 4 corners these will push those wheels out as far as I'd like to go. Now that I have the wheels I could have went with the 18X10.5" +15mm but I would have to extend the wheel studs and use a 10mm spacer. So for now I'm gonna use these rims and do the bigger rims down the road.
I am a little bit too close for comfort in the rear so I have shaved the inner lip as much as I possibly could to get more clearance, as you can see it was never a straight line to begin with, I gained as much as 3/8" in some areas and as little as 1/8." overall I have about 1/2" clearance from the tire to the inner lip, I'll get more pics on that later:

20140918_201354_zps06253a01.jpg


Last but not least I finally got my hands on a radio delete bezel!!!!! and a tach option dash as well!!!! (paid way to much for them) This is so cool I just wanna mount it on my wall! I restored the guages like I did with my other bezel, used my 150 mph speedo, cleaned it all up nice, I may do a layer of clearcoat on the bezel, haven't decided yet...

20140912_195459_zps4e56ab5f.jpg

20140912_195240_zps9fe3cfbf.jpg


finished my custom slave cylinder, Had to put two clearance dents on the header but other than that I think this should work awsome! I could not for the life of me drill any holes in the clutch fork(must be made up of adamantium) So I had to weld on the extend plate for the clutch (i wanted to have it bolt on originally), tapped the push rod all the way, heres what I got so far:

20140615_171715_zpsbdac895e.jpg

20140615_171314_zpsbf0e8da0.jpg

20140608_174745_zpse35cc0e2.jpg

20140621_120614_zps9cbc88b7.jpg

20140621_112828_zps128f0407.jpg


So that's kinda where I'm at at the moment :)
 
Looking great Dangina! I think your right about not getting it done if it's not done by Spring (I was building our home when I bought my car and it sat until the house was done). Don't look like that should be a problem though, Good luck
 
Fantastic work and as always excellent pictures and updates Dan

Love the valve covers and that cluster looks amazing

20140828_163007_zpscd7bdfb8.jpg
 
Really can't wait to see this car flying down the road. I agree with the rest of the fella's, great build to follow.

Keep up the good work man!
 
thanks guys, its getting close, time is not my friend, i just don't have enough of it, I've only had 2 days off the past 2 months and I only have one day off till christmas, I need like a good week off to get what I need done. I'm no metal worker lol I do try to get whats in my head to those who can do..
 
With what you've been doing and the excellence you've shown, if you get a week off your car will be up and runnin' down the road.
 
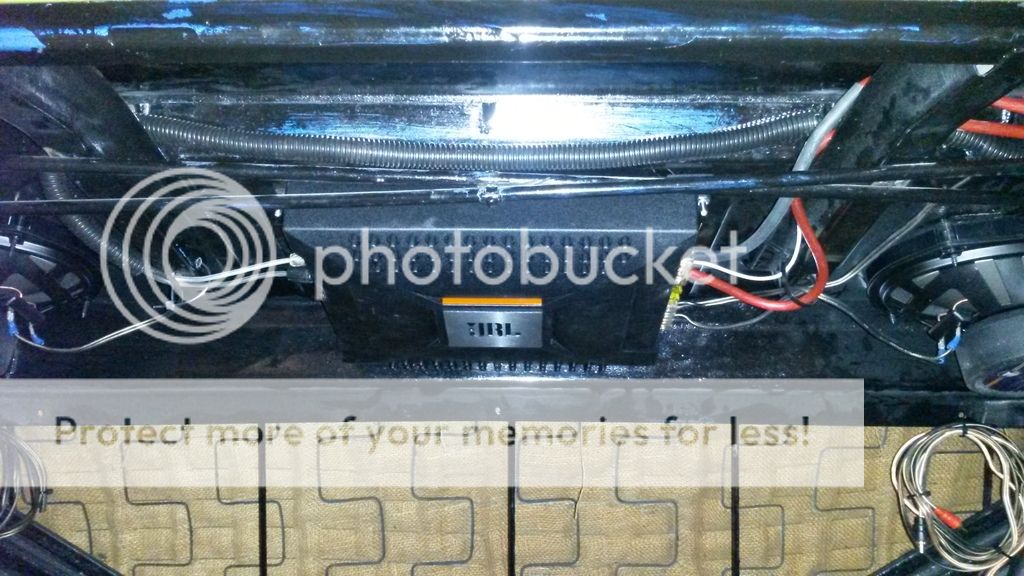
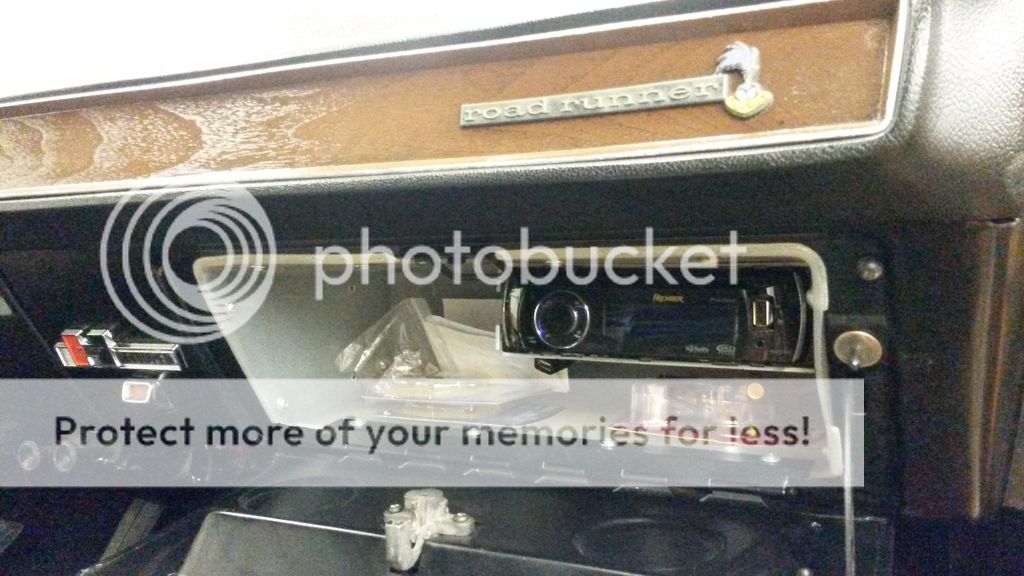
so its been awhile since my last post, been working mostly on the new wiring for the car, its kinda hard to see what lies hidden, but all the wiring in the interior of the car is now done, just currently working on the engine bay harnesses. Finished my wiring guide, I have also got around to finishing up some loose ends:

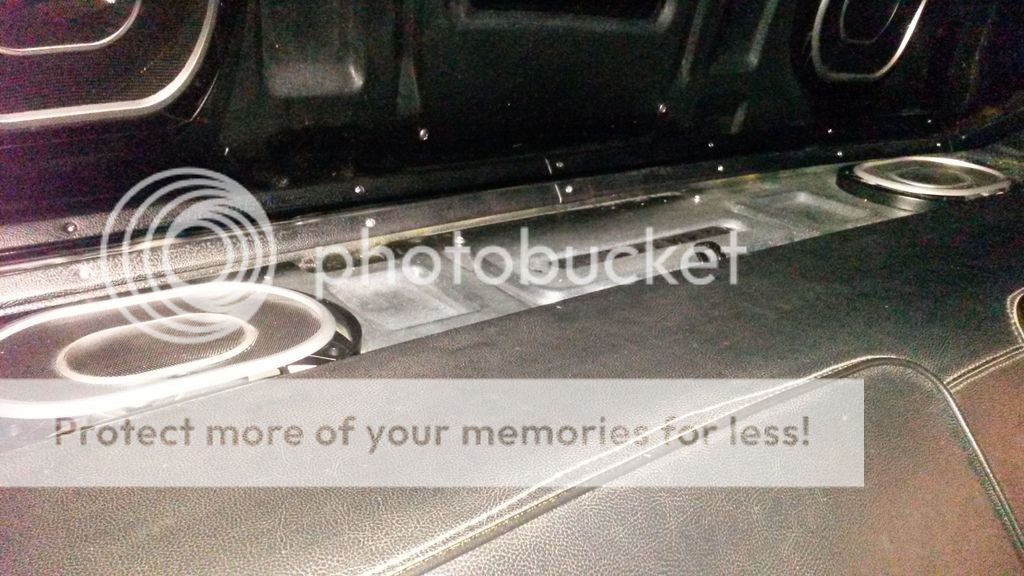
wired my amp under the package tray out of sight

20150409_094107_zpsi65m6qhd.jpg


radio now in the glovebox

20150328_201207_zpsuvwqsoat.jpg


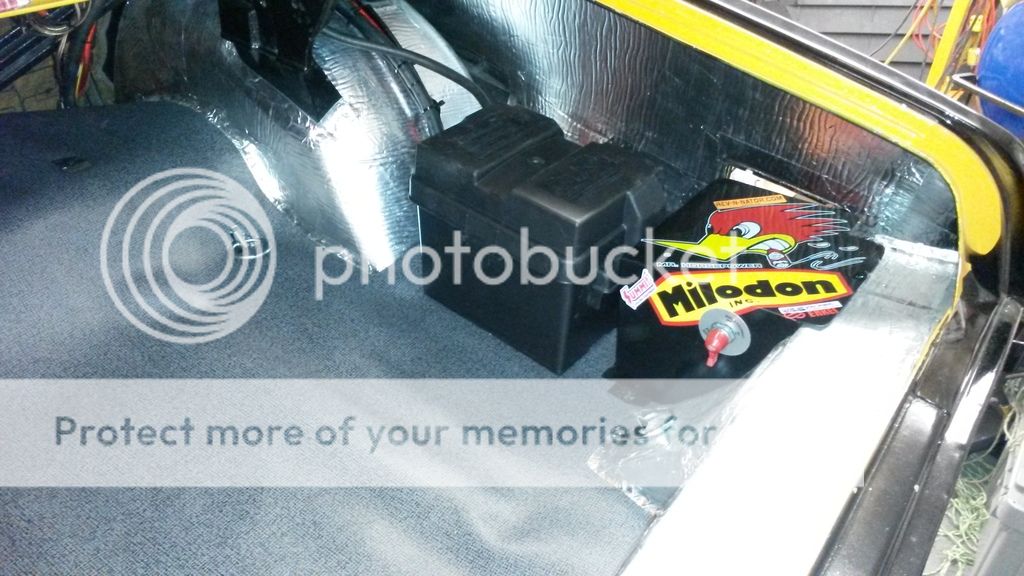
battery in the back complete with all my relays hidden and battery disconnect in the trunk (for now)

20150408_183753_zpswxgqgycb.jpg


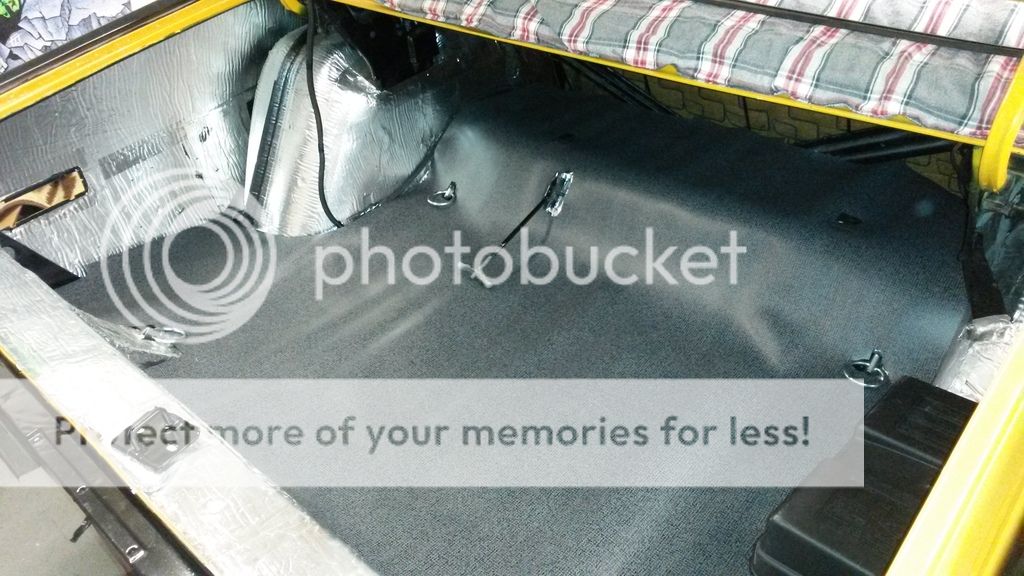
floor mat all done

20150408_183810_zpsm40hjpp6.jpg


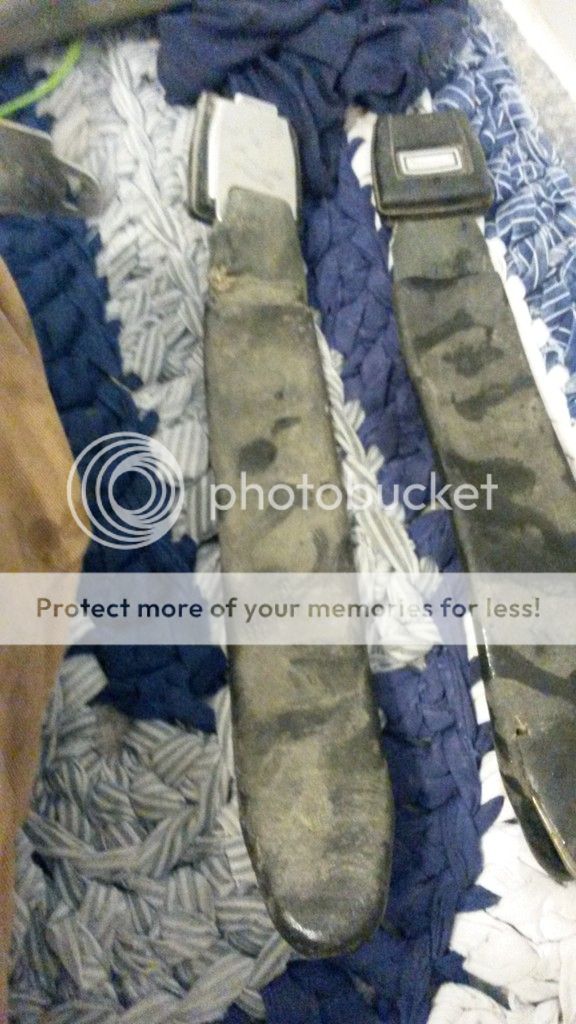
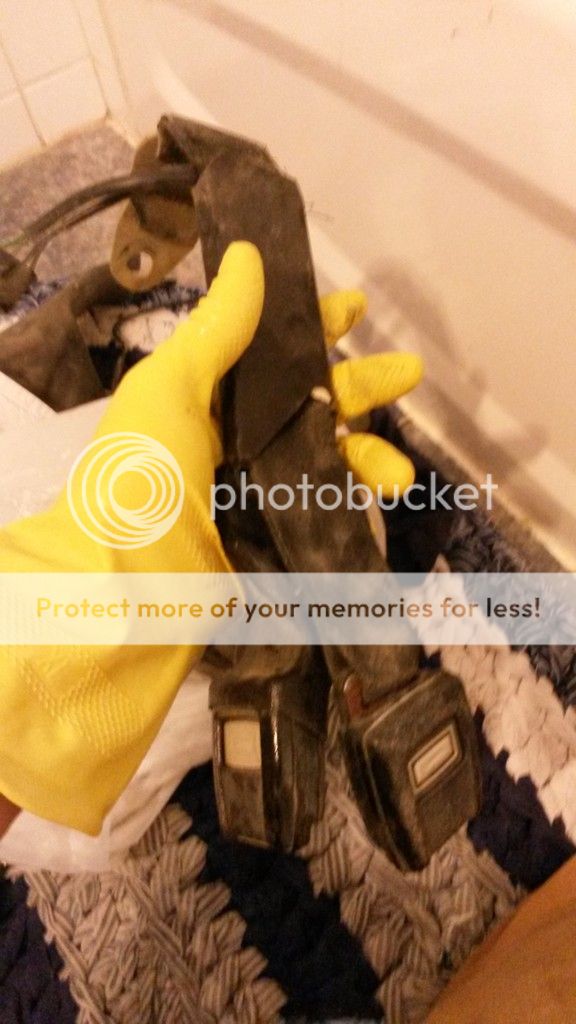
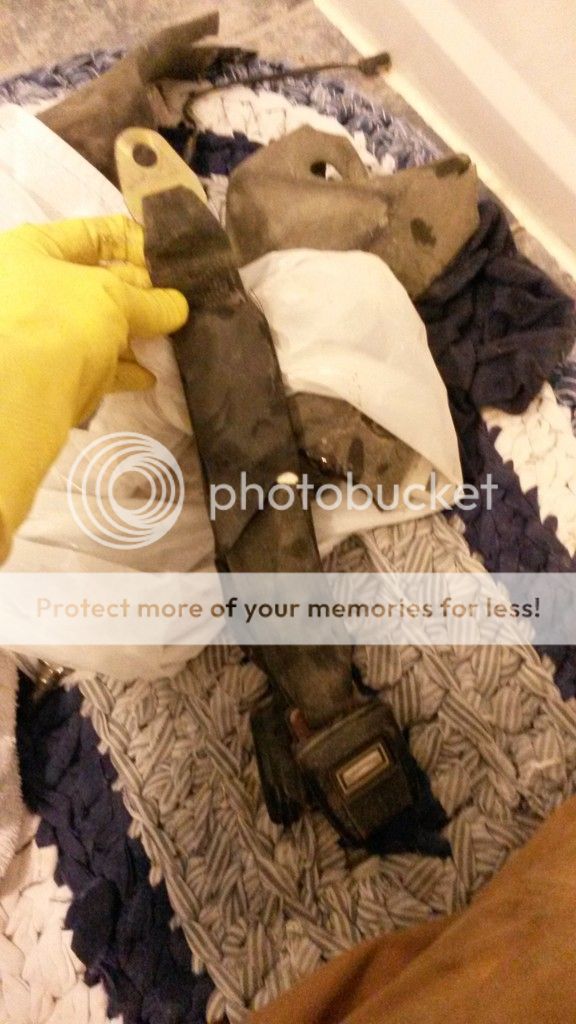
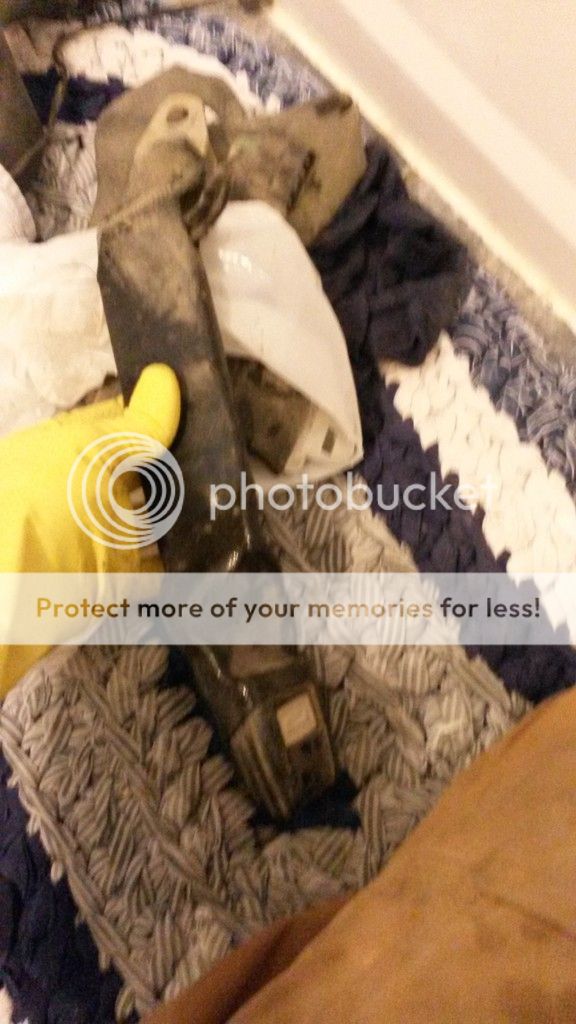
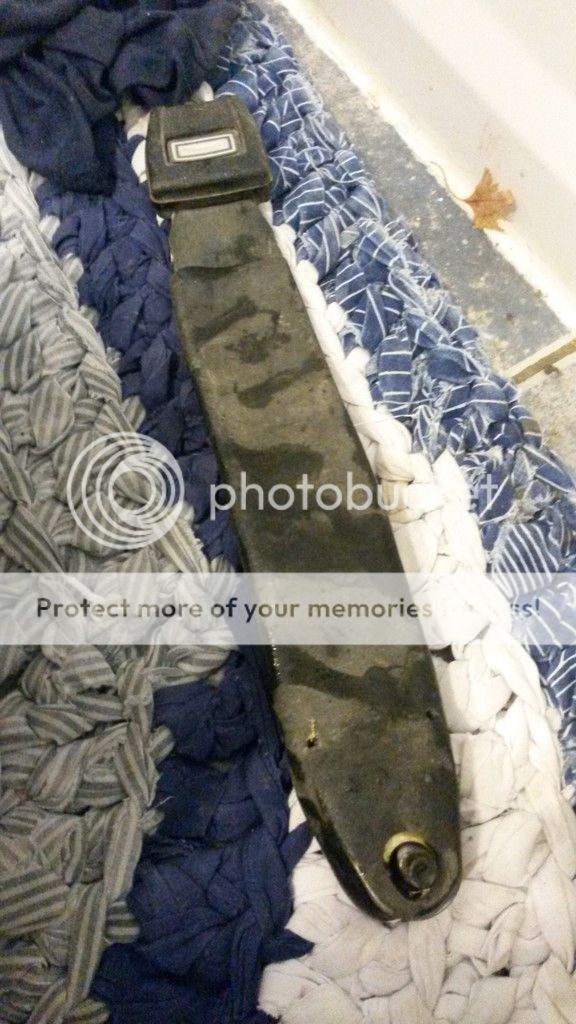
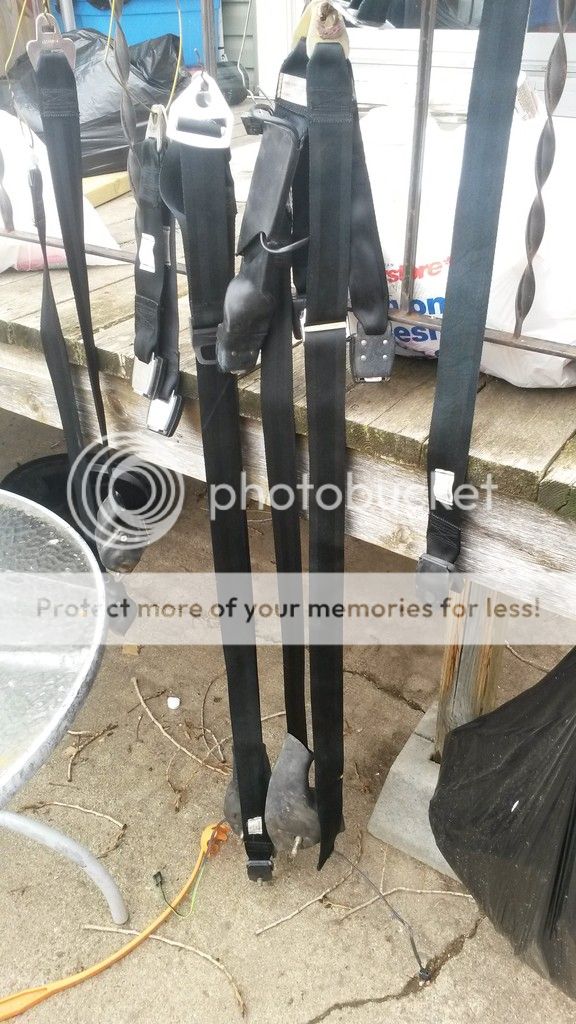
cleaned up all of my seatbelts ready for install:

20150319_114702_zpsjl13me1m.jpg

20150319_115252_zpsjcgykght.jpg

20150319_115257_zpsjn1voiu4.jpg

20150319_115303_zpsprrs0rzr.jpg

20150319_114644_zpsaxa5ycyl.jpg

20150319_144510_zpseo9b4owb.jpg


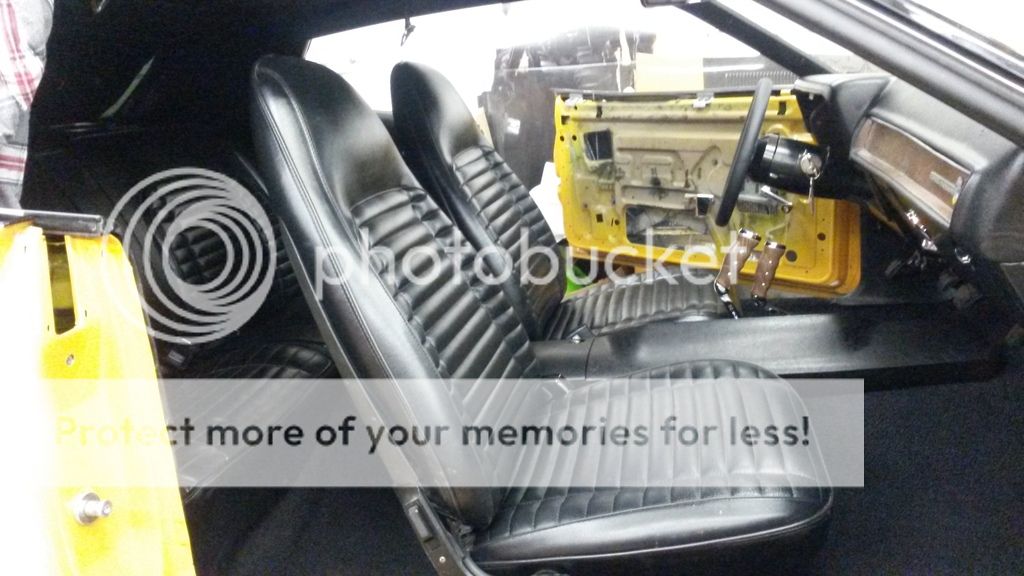
so I have two boys now, one in a baby seat, other in a child seat. We plan on maybe having one more down the road. You can buy child anchors for child seats, which I installed here in the package tray in front of the speakers and one in the middle:

20150409_094211_zpslfmvk5cz.jpg


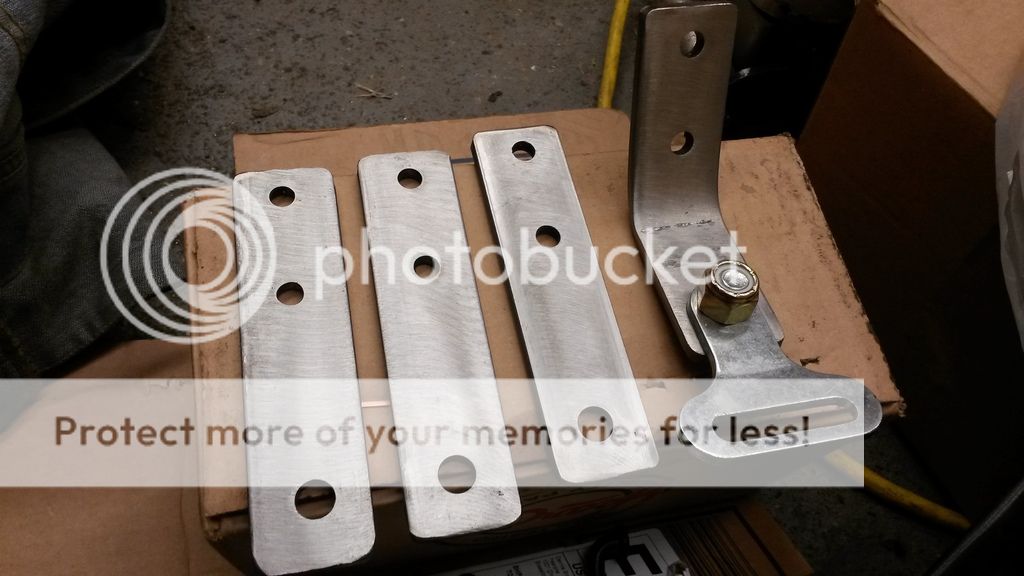
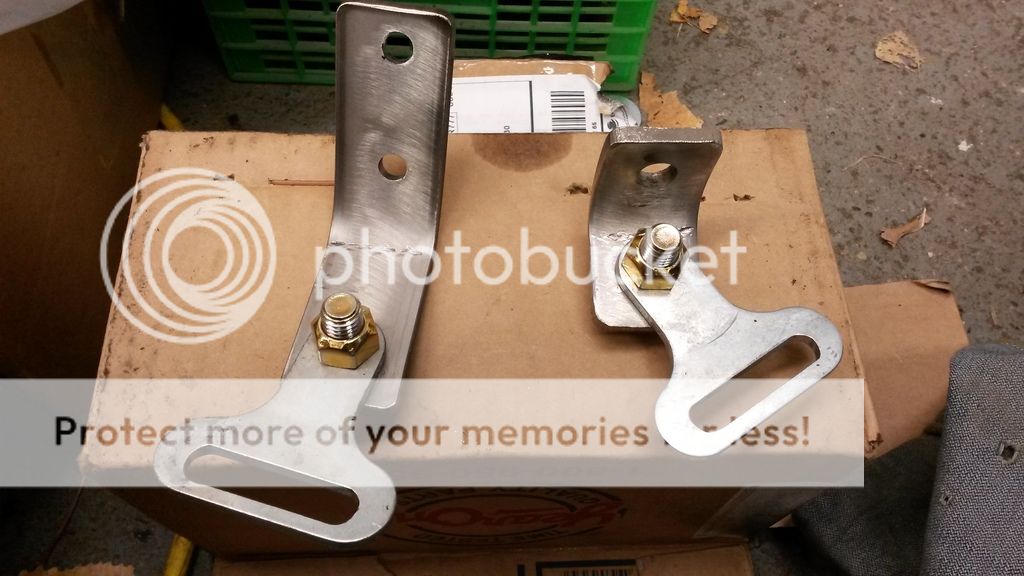
The problem is this. No one, and I mean NO ONE sells a set of the lower metal latch systems used on baby seats that are in all of the modern cars today, I've tried aftermarket, dealerships ect. So realizing this I came to make up my own I made from used racing belt anchors, heck if it can hold back a 300lbs adult, a 20 lbs baby should be easy. I had to dremel the holes out about a 1/16" so the latches from the seat could hook onto them. The brackets are made from 1/4" flat bar and grade 8 hardware, (overkill I know) but they are holding my baby boys!

20150327_115108_zpsj0xpuo7o.jpg

20150327_145435_zpsnefymvwu.jpg


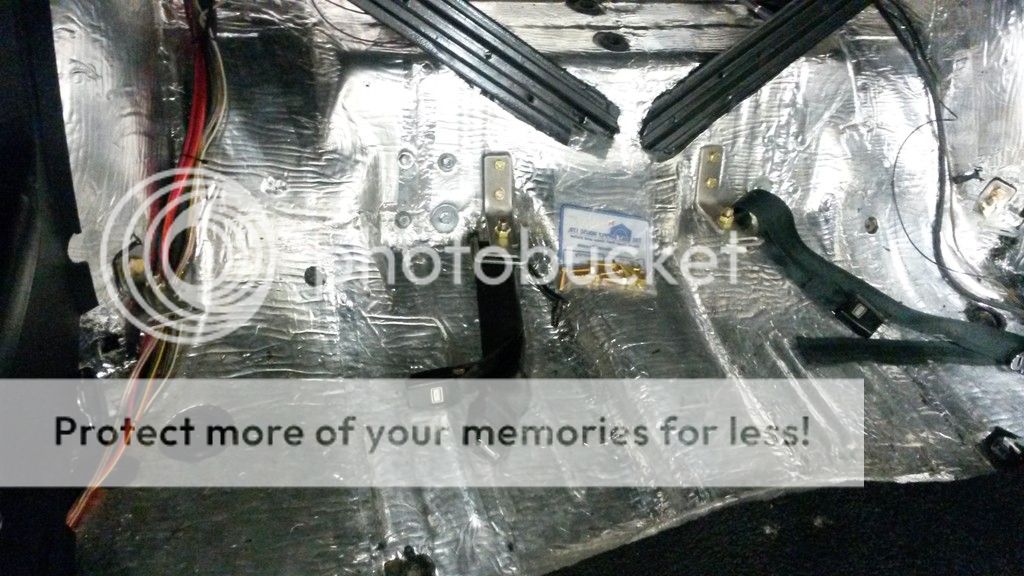
I had to cut two of them down to mount on the wheel well and angle the hooks with the top half of the rear seat in so they are about 1/4 -1/2" sunk in out of sight until you need them.

20150327_192037_zps79mpzvmn.jpg


once the seats were installed, you can't see them until you push them back for use! So now I can have 3 babies in the rear seat, or 3 children, or a combination of the two!

20150408_183446_zpsdnhmzzqn.jpg

20150408_183508_zpsklszriwq.jpg

20150408_183418_zpsuxspu4vv.jpg

20150408_183428_zpsv6twzy4i.jpg

20150408_183531_zpsaaj6cc25.jpg

20150408_183541_zpsk5qvxh7u.jpg


with that out of the way I can finish the interior!

20150312_143000_zps44eqhk5s.jpg

20150328_202439_zpsmfvqx5nt.jpg

20150328_202504_zpsohqgyooq.jpg


I should mention that all the seats are original :)

- - - Updated - - -

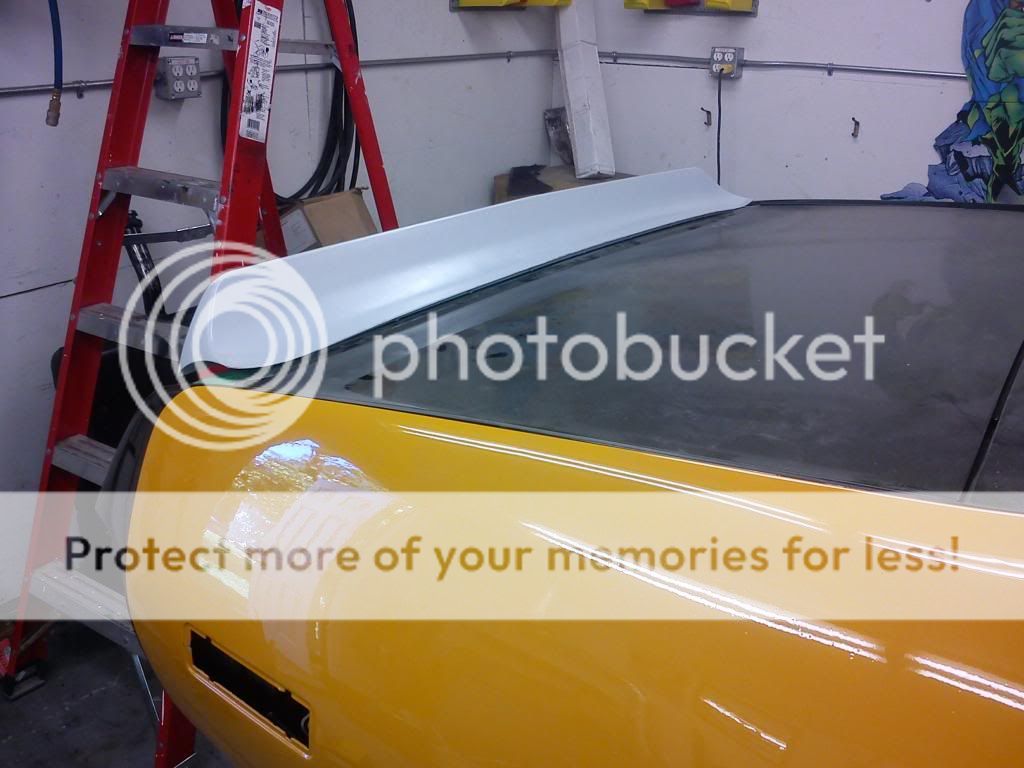
I had also got to finishing mounting my rear 69 Camaro spoiler, Here it is from start to finish:

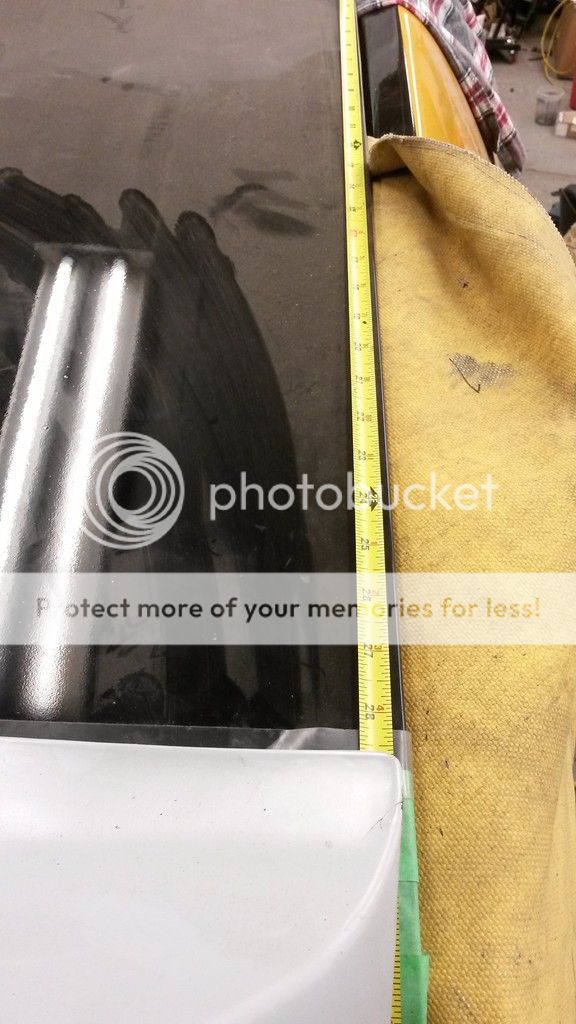
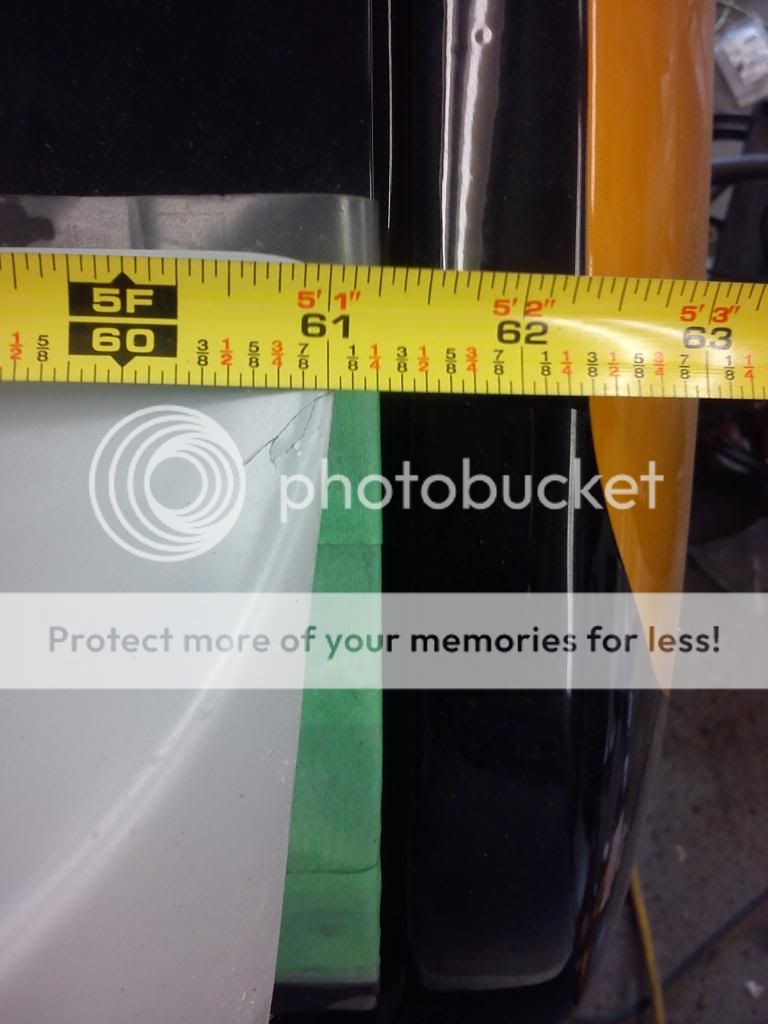
First mask off the area your with green painters tape, saves the paint for underneath and allows you to mark on it. Position where you want the spoiler to sit, and with a measuring tape mark where the tips of your spoiler will sit, I measured from the trunk edge, then from the sides, the tips sit about an 1/4" from the edge:


20150319_190033_zpsmsbivhla.jpg

20150319_190020_zps9n7vl4l0.jpg

IMG_20130618_173410_zps73001e96.jpg


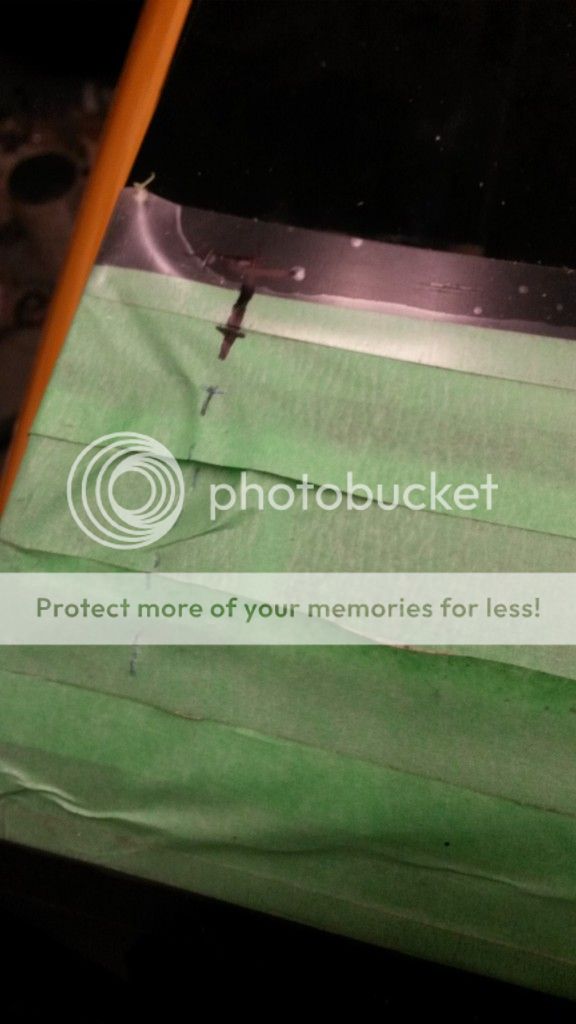
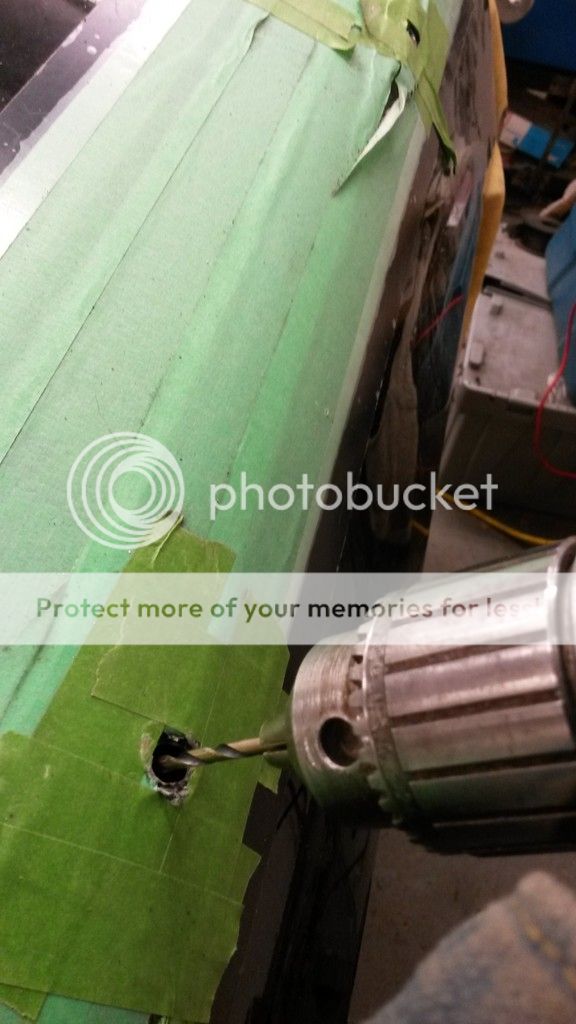
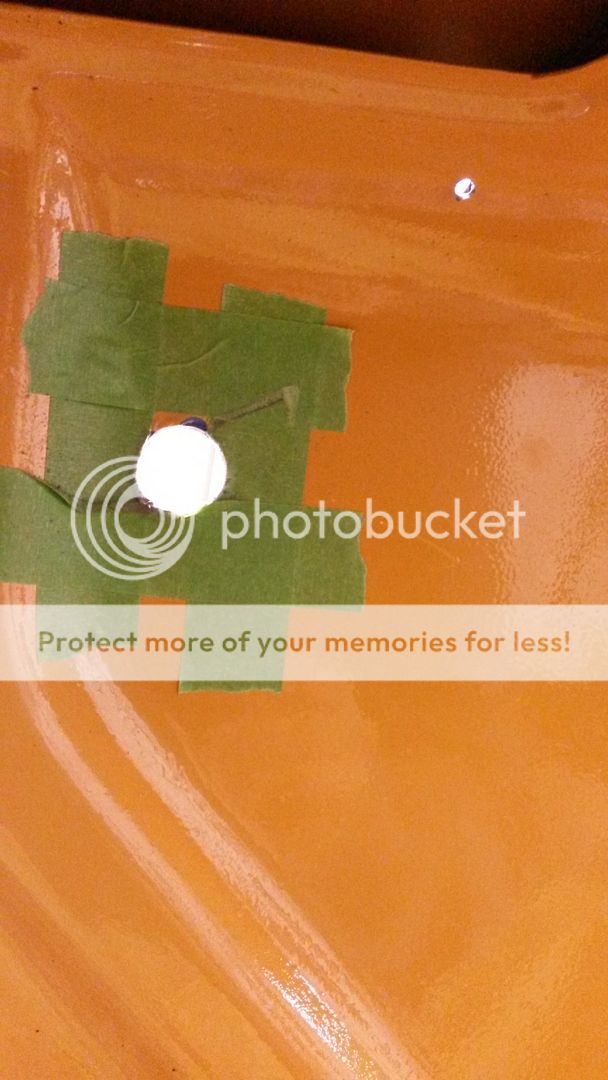
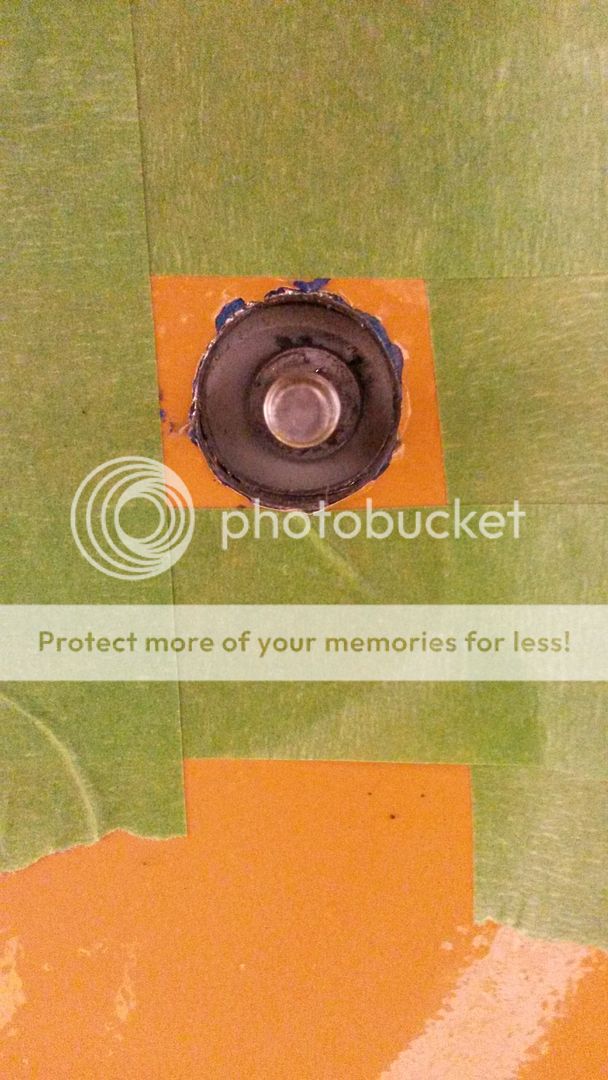
When you figured out where she' gonna sit, you wanna mark out the stud locations for the spoiler and drill small holes and see if that's where they need to be before making them bigger (I bought two spoilers 69 and a 68, the 68 is 2" shorter so I sold it) they have the same stud location and both of them came with a template, but I noticed that the studs weren't mounted in the same place, even though they were both made by the same company, they could get up to almost a 1/2" out. ouch. After you have the size of the holes you want I drilled in the center from the outside going in so I know where to drill them underneath:


20150318_163808_zps8v9ox7yb.jpg


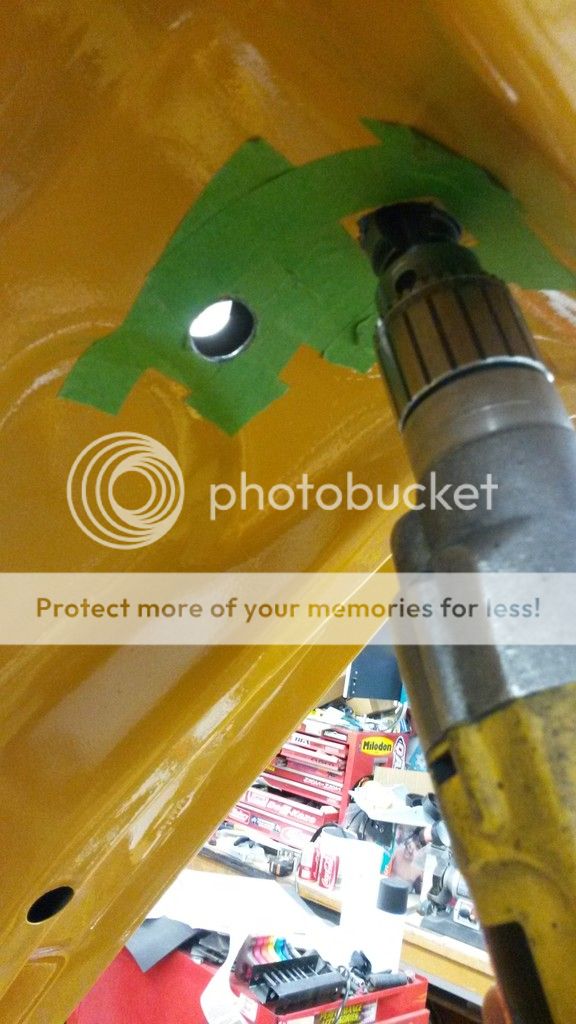
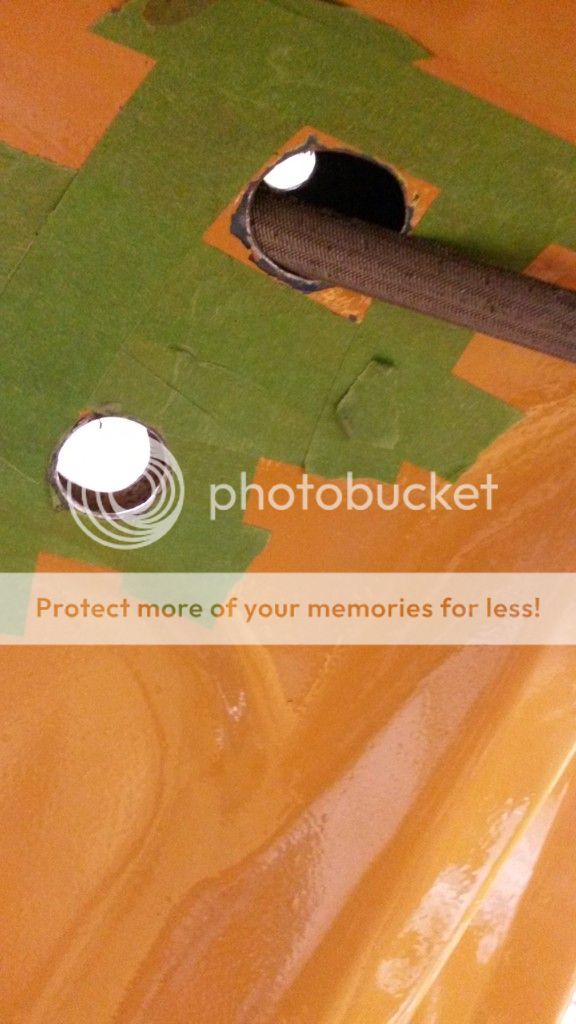
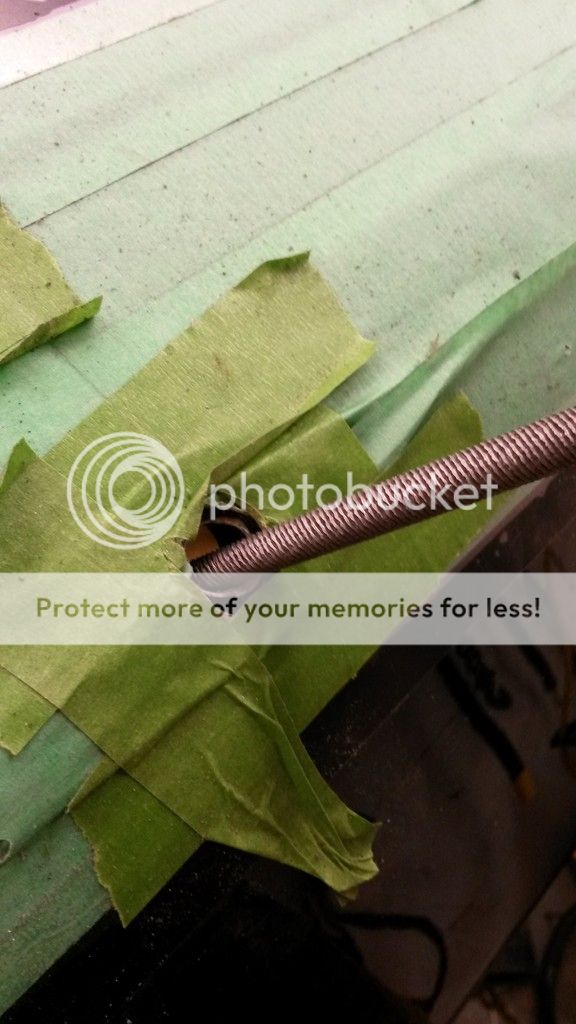
Underneath I would mask the area off around the hole and drill out to the size you want:


20150318_163839_zpssvxxef8p.jpg


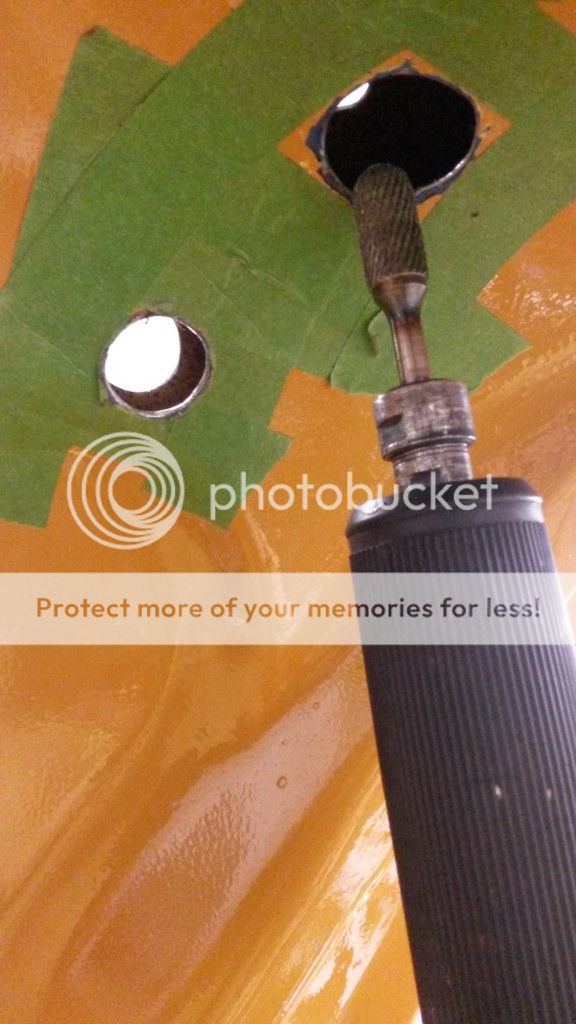
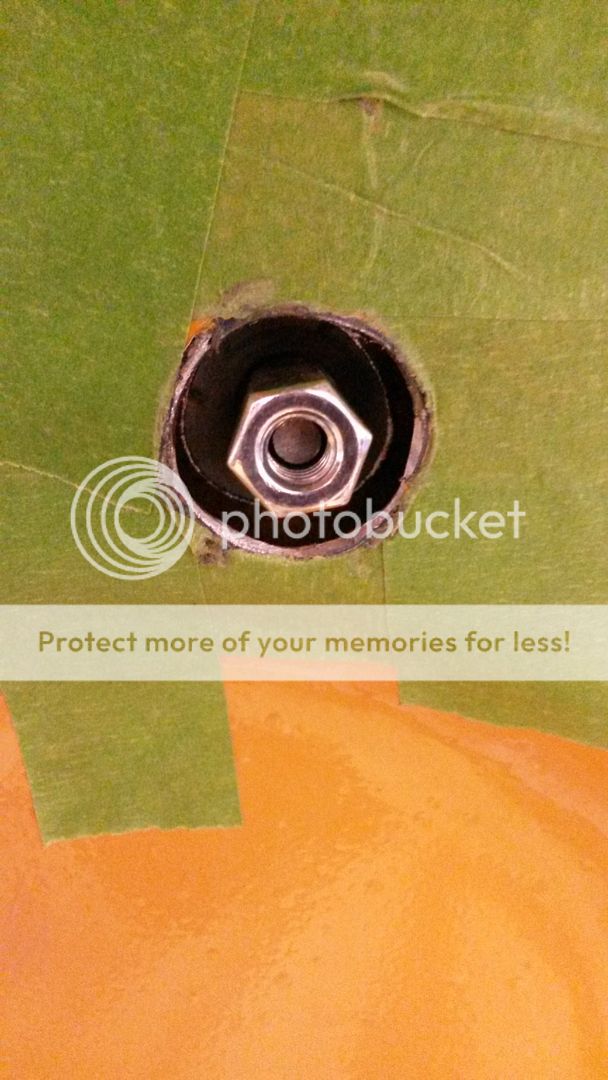
I went a little bigger than I thought, I was thinking maybe down the road if I had to buy another rear spoiler for whatever reason(carbon fiber perhaps?), I would have plenty of room for the studs if they end up being off like the ones I had. you can use a hole saw, I used a stepper bit for the weird corner ones and cleaned up with a dremel, and don't forget to file off your sharp edges!


20150319_190112_zpsvhyspofq.jpg

20150319_190130_zpsdgvszcpp.jpg

20150319_190200_zpsjn1wjy56.jpg

20150319_190240_zpsgasacq9c.jpg

20150318_161019_zpsaeqtz1jn.jpg


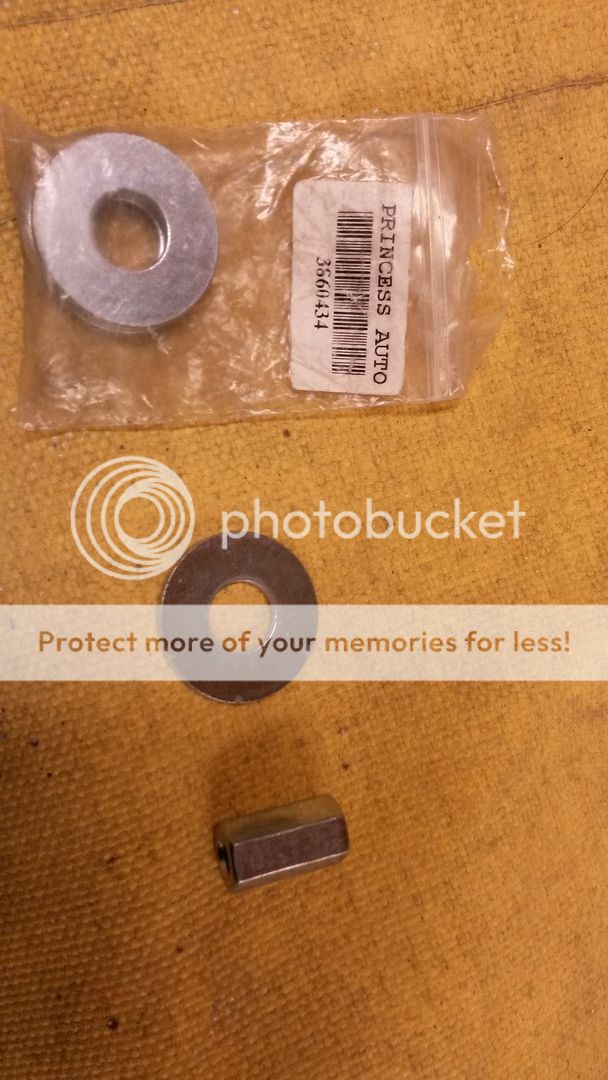
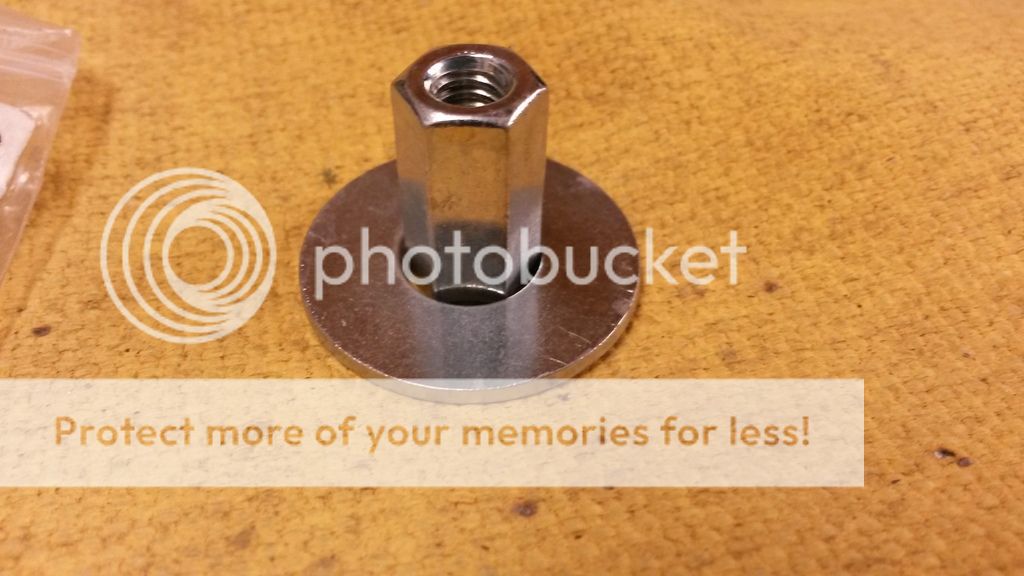
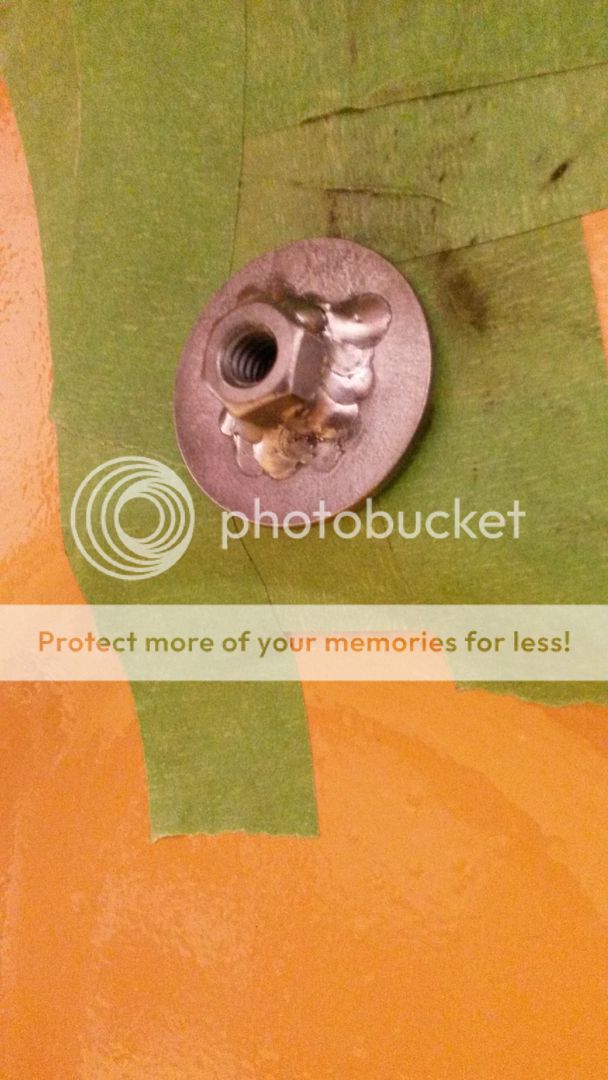
Now that we have all the holes done were gonna have to mount this somehow. The 4 studs on the back of the trunk can be held down with your standard washers and locknuts, but the front studs being more accessible I have a better Idea, I bought these flat washers and these allthread connectors that fit inside the washers:


20150319_190534_zpsznhso9zl.jpg

20150319_190547_zps1kqxb5rd.jpg


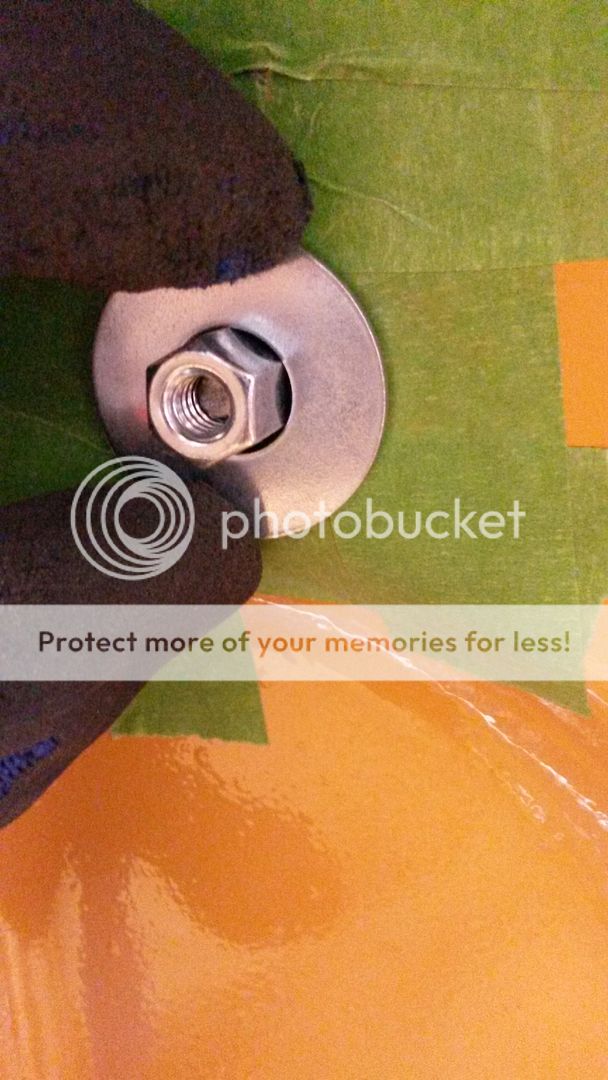
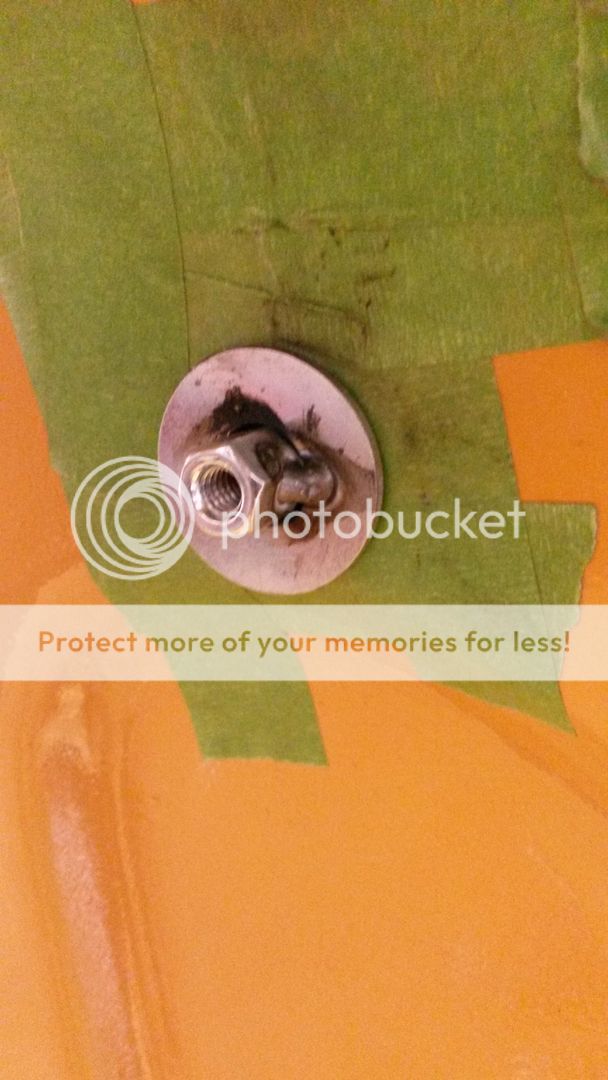
With the spoiler in place, thread the connector all the way till it bottoms out, the back it off a couple turns and weld the washer in place:


20150319_190741_zps5f1pbta2.jpg

20150319_190808_zpsu7r9yf30.jpg


I put a spot weld just to hold it in place:


20150319_193005_zps18yf20yb.jpg


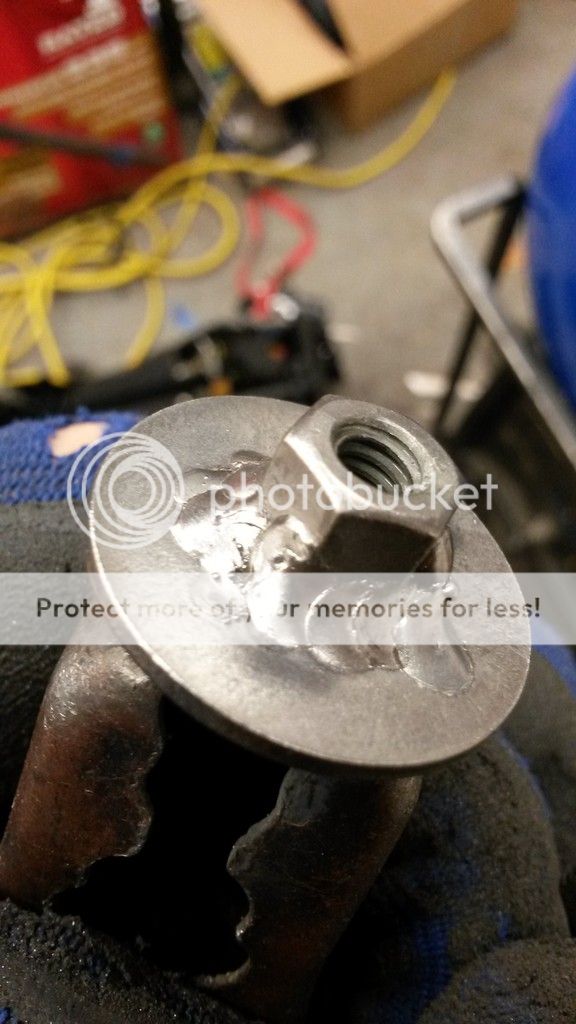
Then you can weld them up!


20150319_201533_zpst9asmzli.jpg


Now you have a custom nut that you can tighten all the way down and not worry about it bottoming out on the stud!


20150319_201610_zpskr8lbsdm.jpg


I painted them, but you could powder coat them:


20150320_132920_zpsrzyl9hch.jpg


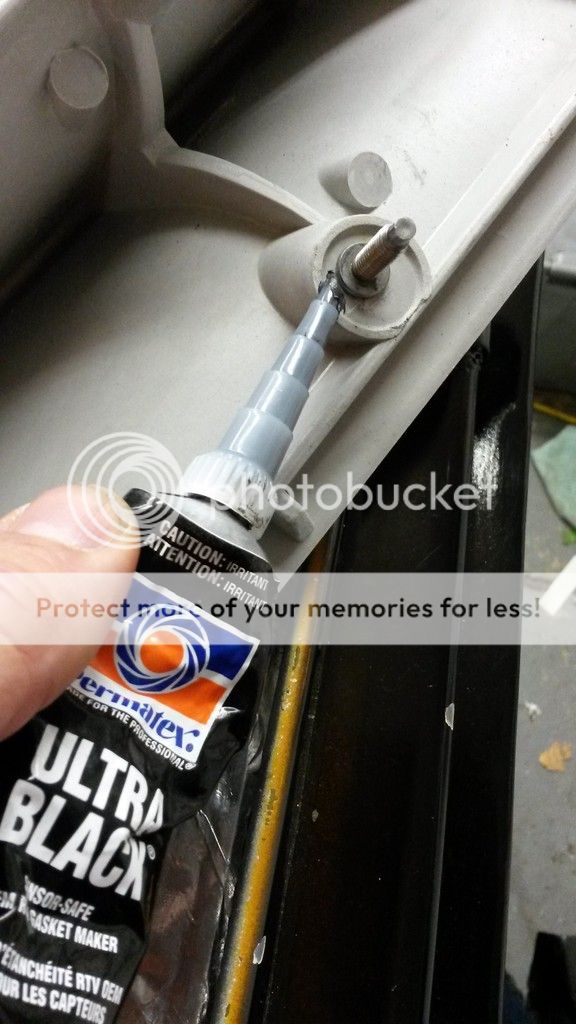
Before your put your spoiler on be sure to use some sort of gasket material, I'll be using gasket maker, doesn't harm the paint underneath and not bad to clean up.


20150408_184156_zpsp4mqk0op.jpg


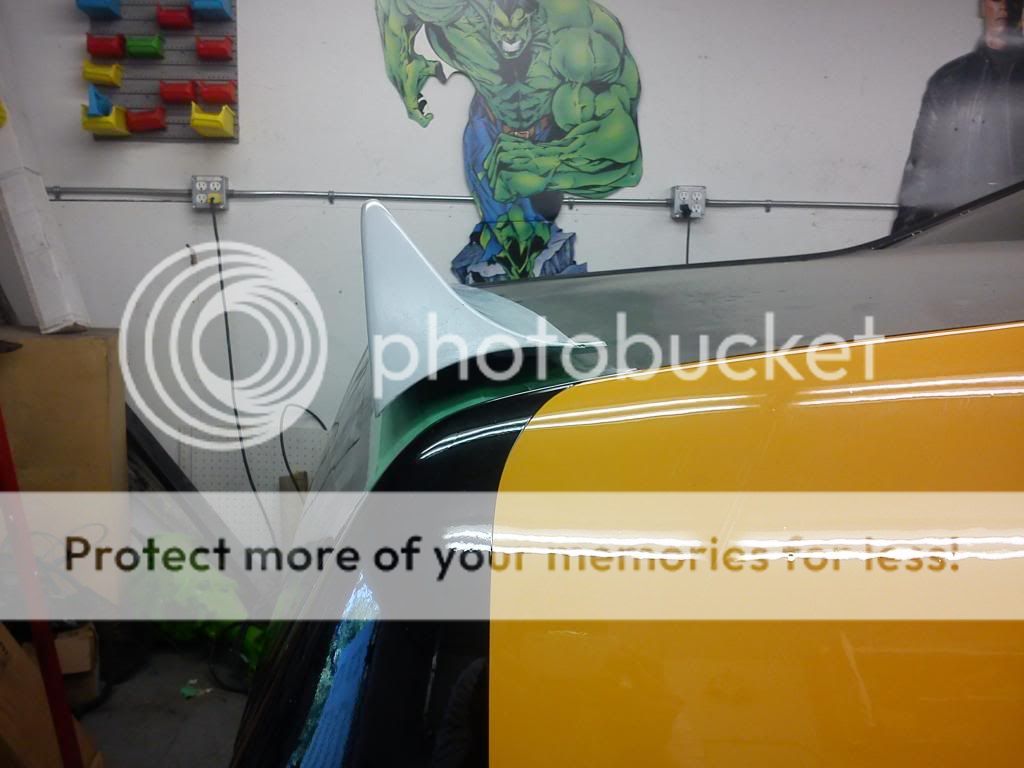
And it finishes off like this! I used 3/4" body plugs to hide the inner access holes for the rear studs, I did the outter access rear holes the same size as the trunk body plugs at 1 1/4" (Please excuse the flaking paint, something I have to have a talking to about with my painter in the very near future)

20150408_183253_zpsy53lccpt.jpg


Hopefully you have something similar to this when your finished! (without the painters tape and the spoiler painted lol)

IMG_20130702_175233_zps6412ffee.jpg

IMG_20130702_175218_zps4c2e7fe8.jpg
 
wow I'm in serious need of an update!!! Here's what I got in photos on here so far, I gotta upload more her in the next few days....

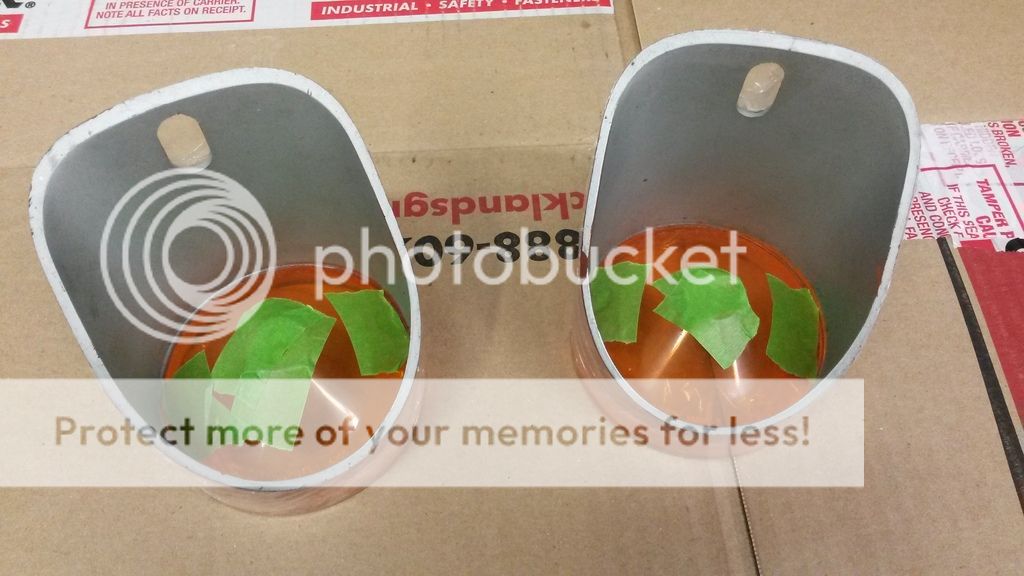
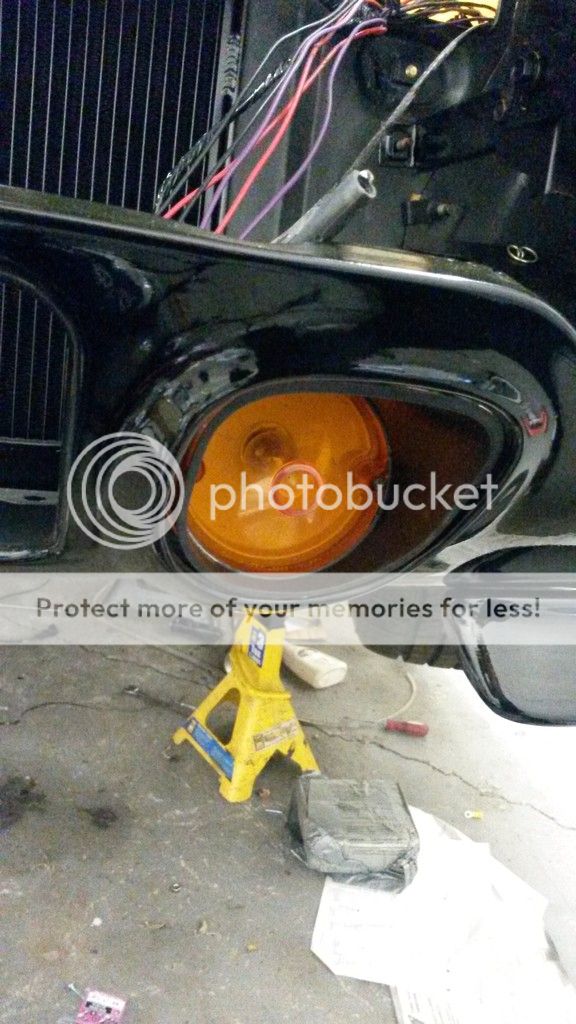
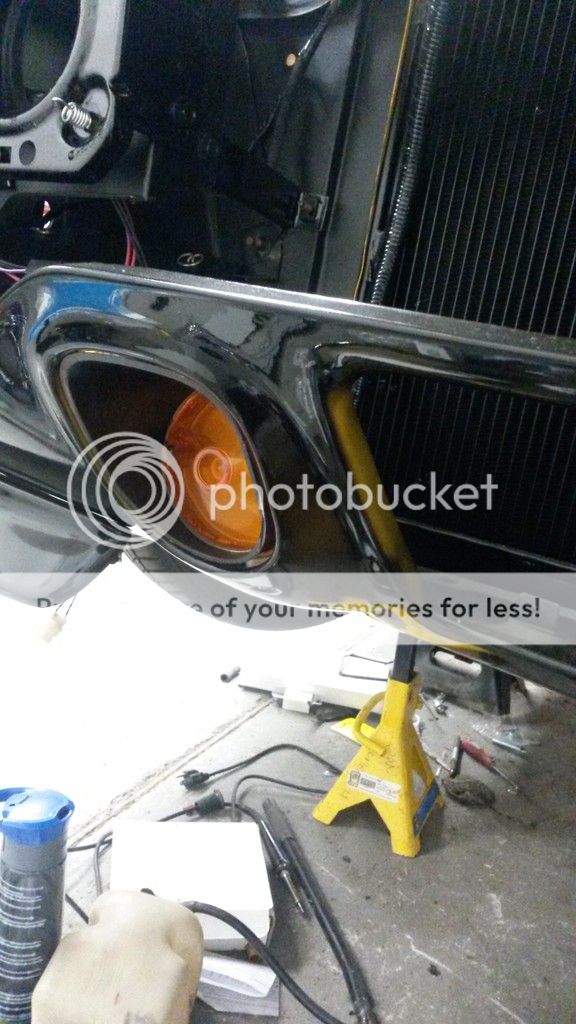
so I plastidipped the front marker lights so I don't ruin the originals (I love this stuff!)
20150525_234348_zpsj00bz4ky.jpg

20150531_111949_zpsa3id7ann.jpg

20150531_111952_zpsctizsg4s.jpg


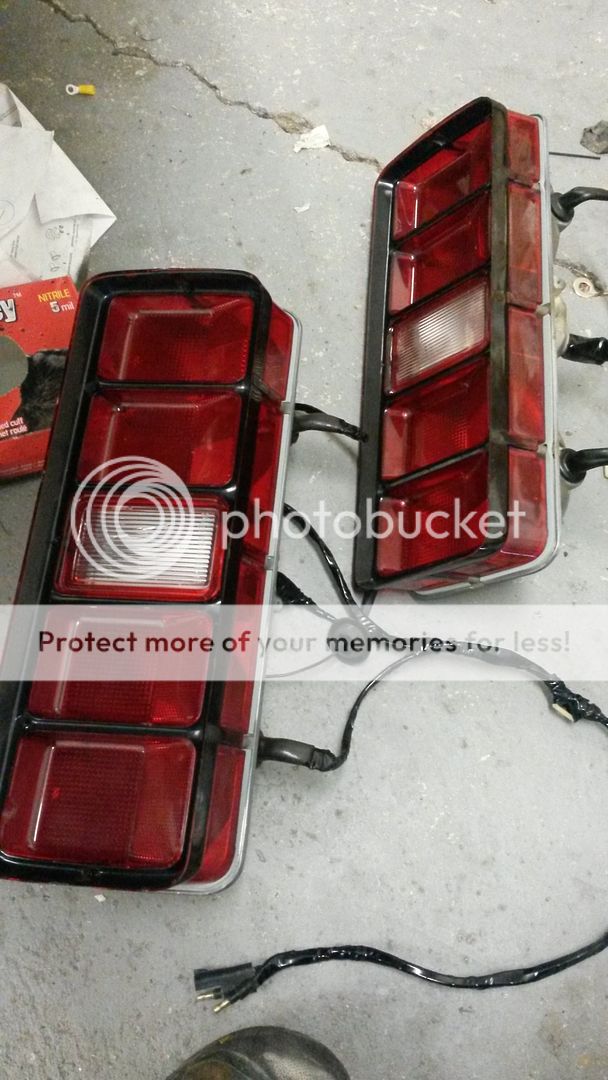
Re-did the rear taillamp wiring harnesses:

20150531_112039_zpsbrgyhhaq.jpg


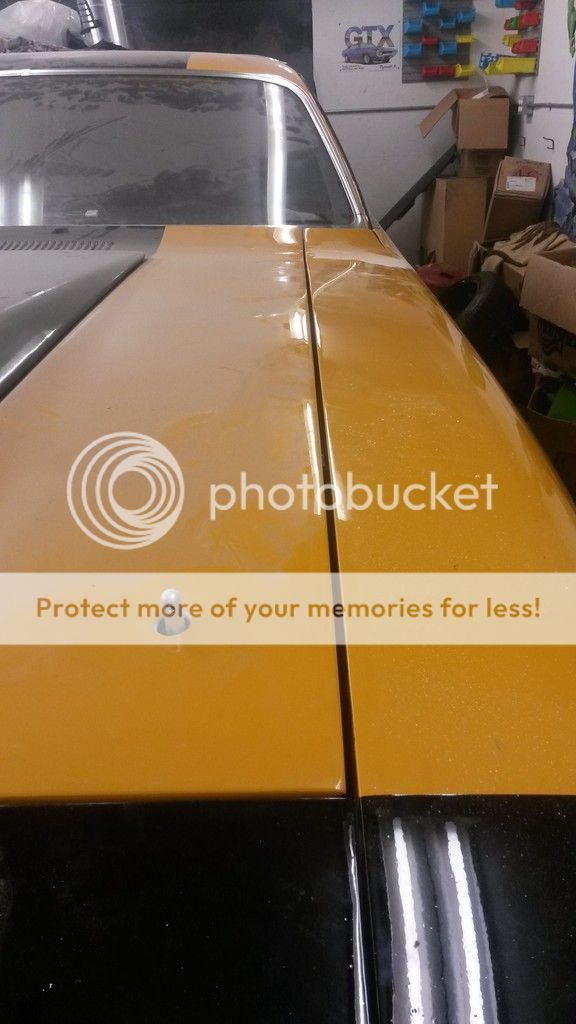
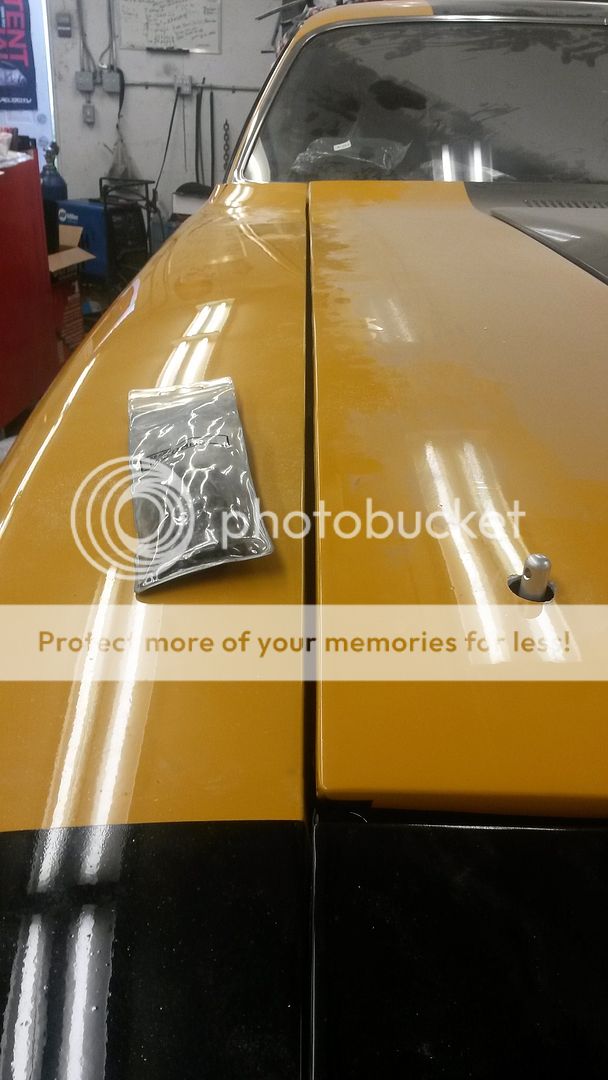
tried lining up the fiberglass hood more so the fitment is better (I give it a 7 outta 10, but what can you do) and drilling my new hotchkis hood pins:

20150612_181328_zps1wo88uvo.jpg


20150612_181336_zpslu9izcav.jpg


IMG_20160323_182758888_zpsenciazze.jpg


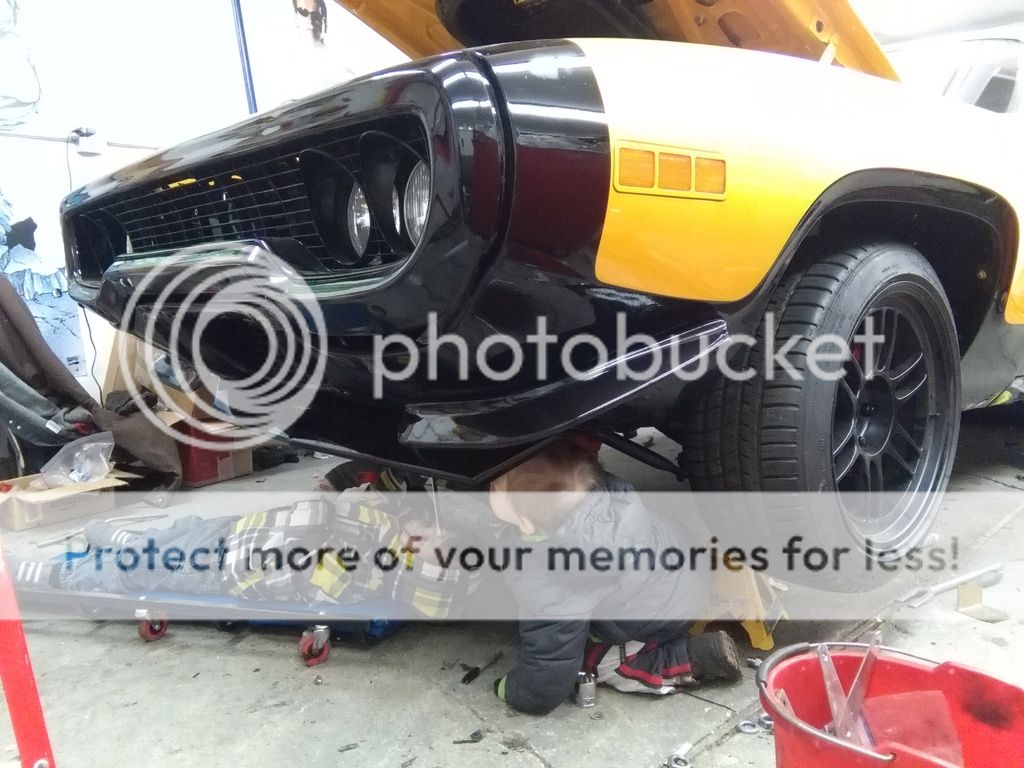
Been working on it so much this past year my boys have gotten in on it!

IMG_20160211_103011391_zpsv66tll0n.jpg


found a good spot for my exterior emblems

IMG_20160323_182722889_zpsymovo6ye.jpg


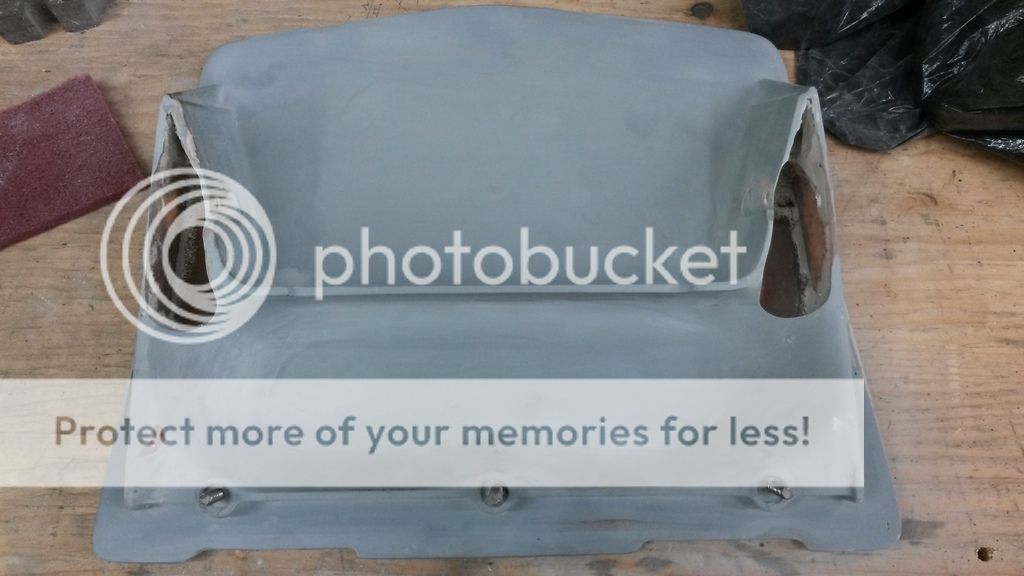
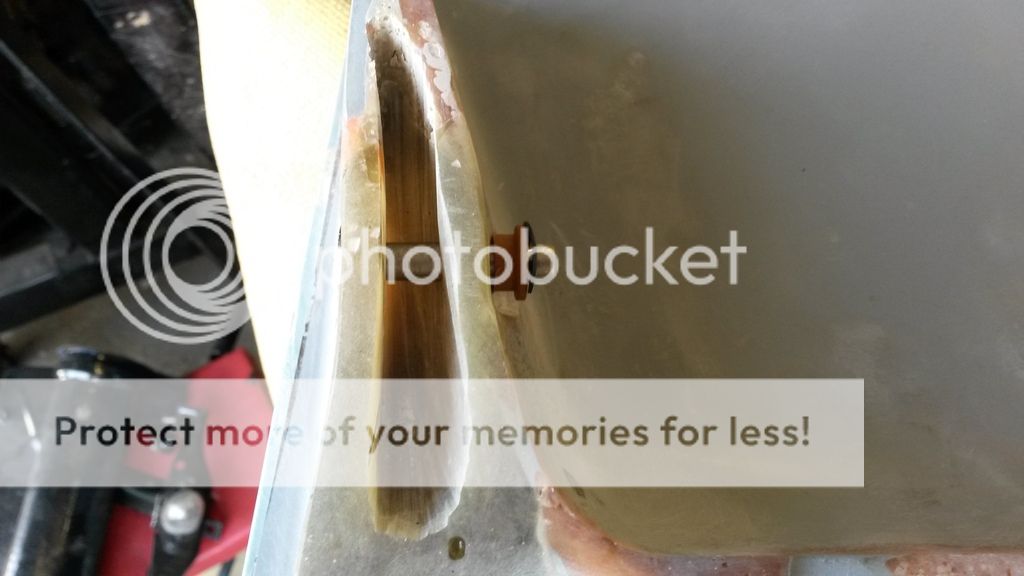
So making a functional fiberglass airgrabber hood is a PITA, I had to chop out where the arms mount, fill them with fiberglass (lots of time and layering) and cut out where the arms go again:

20150612_034107_zpsjdjkk81p.jpg


20150625_085038_zpsleoztjpe.jpg


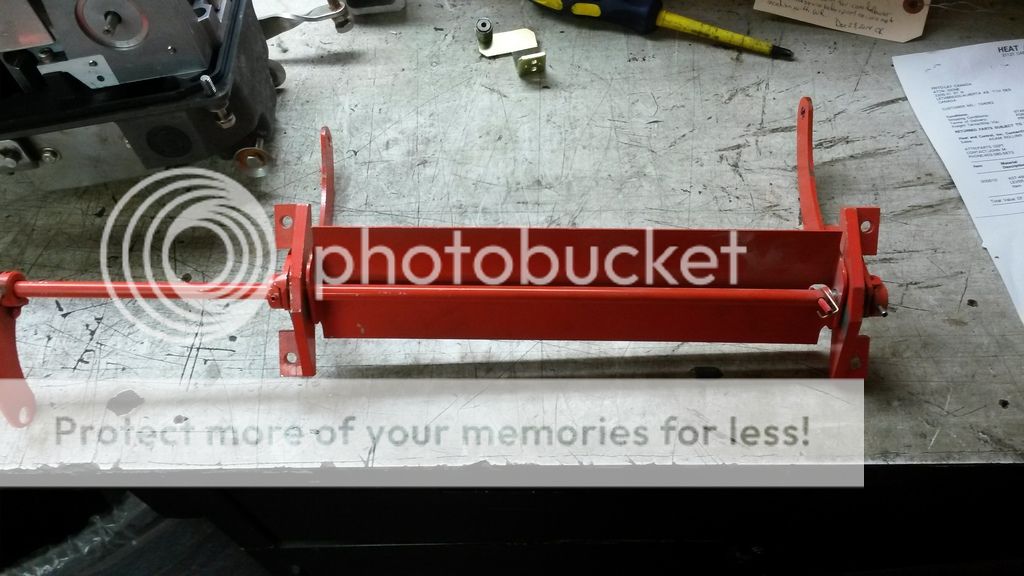
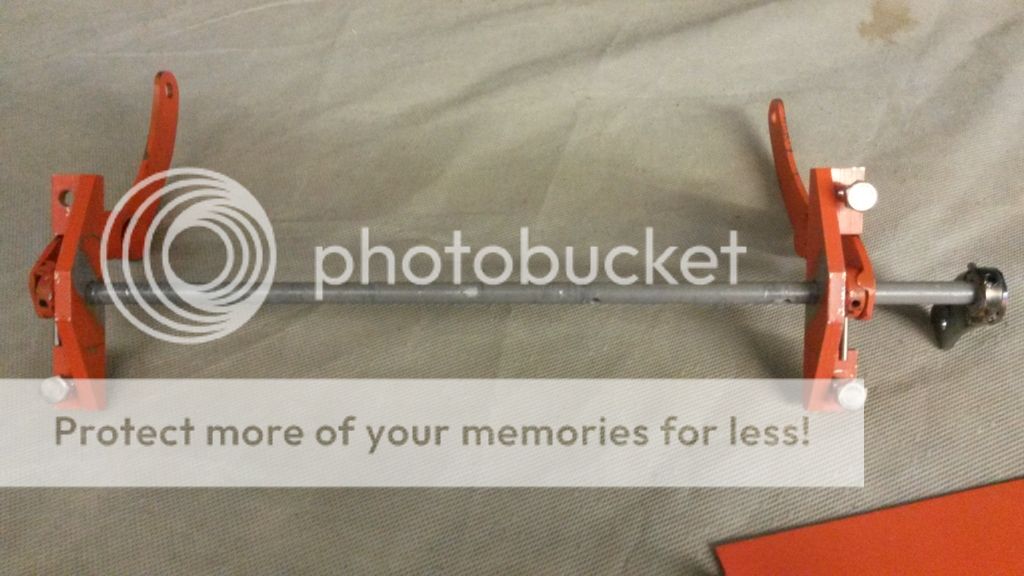
I wanted to convert this to a manual pull lever setup like the old air grabbers, so this is what I had gotten(bought at same place as the airgrabber setup ( I wouldn't recommend this, get oem)

20150611_013023_zpscroe3bgi.jpg


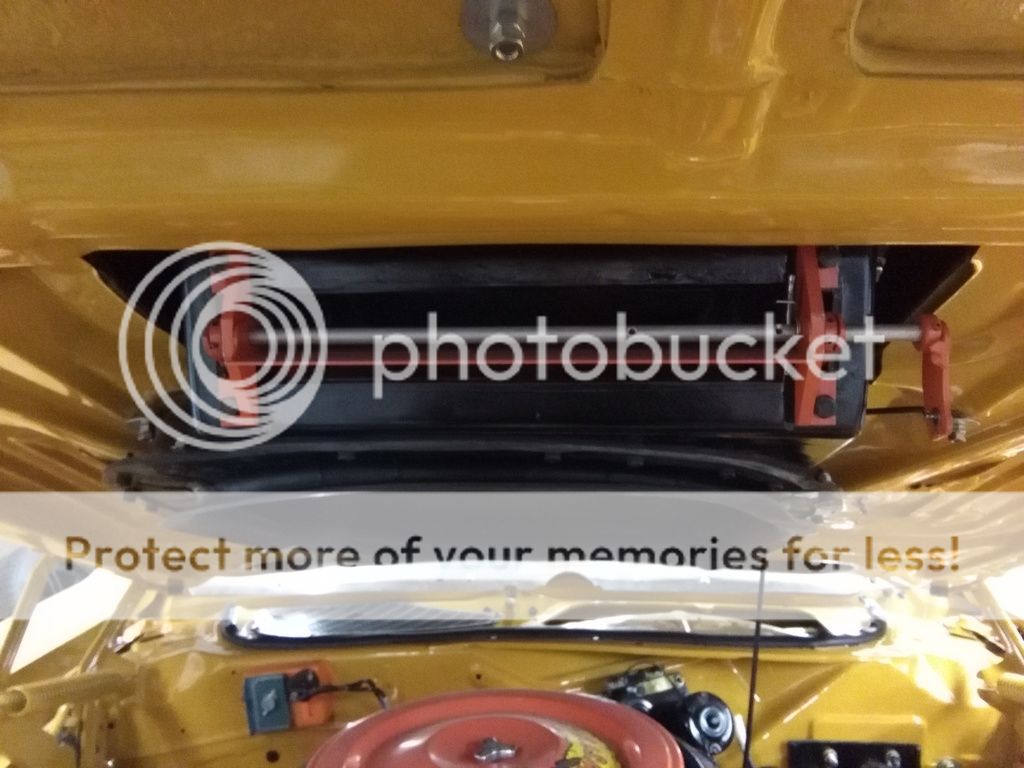
I cut the rod and flipped and welded the plate on the drivers side:

20150629_1844570_zpsn03bdpcn.jpg


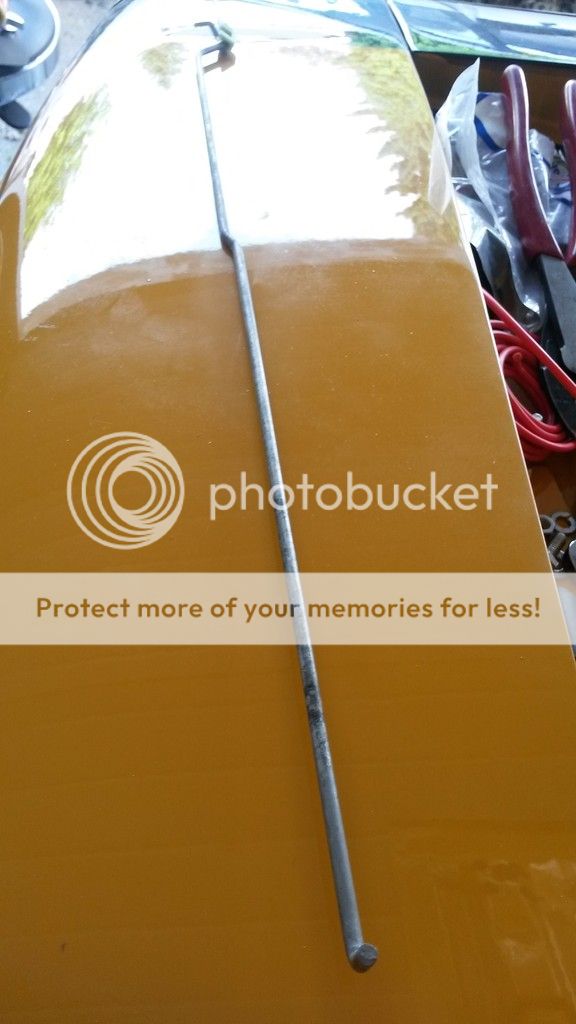
found a rod normally used inside the doors, I'm now using this as my extension rod for my airgrabber setup:

20150625_092936_zpskd6flgei.jpg


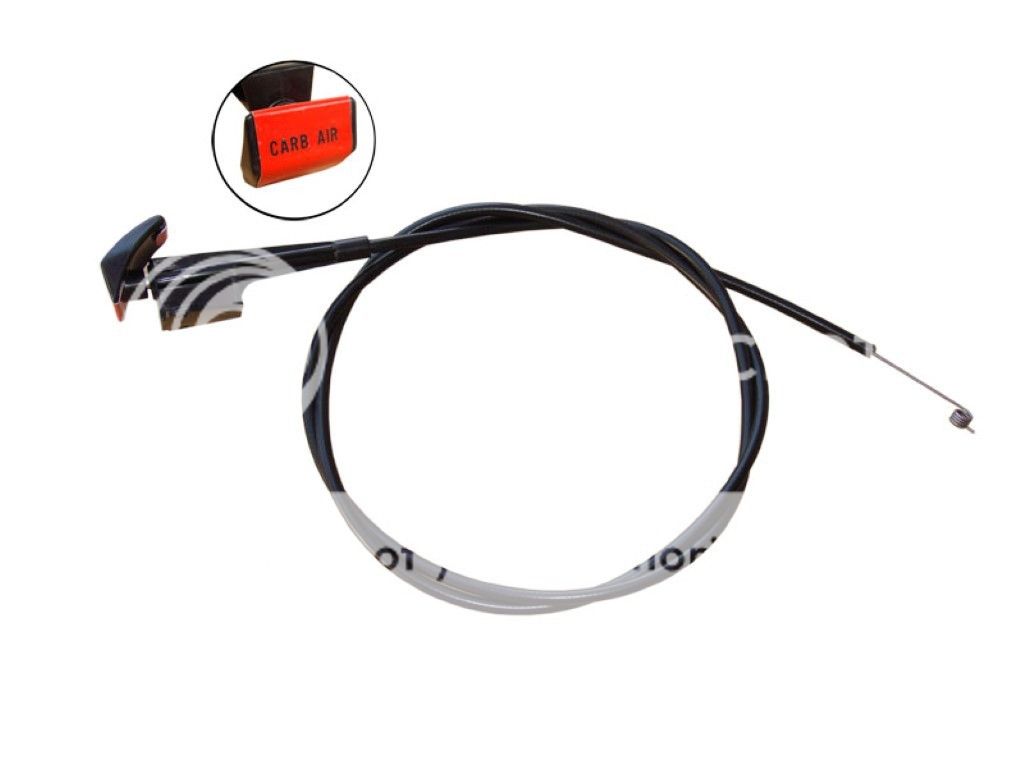
bought this cable and its what I will be using for this airgrabber:

carbair_zpsw0wy7nc5.jpg


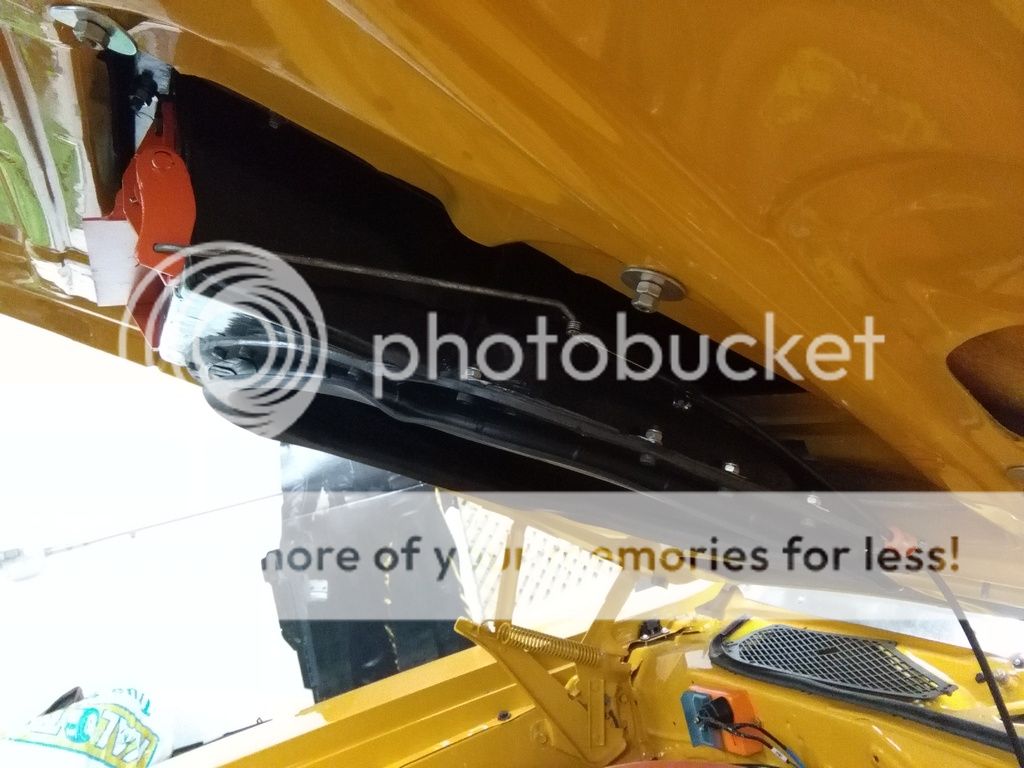
Put them together and this is what I came up with:

IMG_20160323_182108075_zps7yx0xgid.jpg

IMG_20160323_182016338_zpsjrdlj5ff.jpg


I mounted the the handle in the exact same spot as if you had a 71 runner with a hemi and a choke! works good too!!! wish the cable was longer but its the best I could have done for now

20150616_152334_zps7jdkltkl.jpg


stay tuned! got more to come very soon as I'm ready to drive this bird!!!
 
Me, too. Very informative. Great work & some cool ideas. Helpful for all of us who own 71 or 72 birds.
 
Auto Transport Service
Back
Top