• When you click on links to various merchants on this site and make a purchase, this can result in this site earning a commission. Affiliate programs and affiliations include, but are not limited to, the eBay Partner Network.

backseat window help

mightymopar

Well-Known Member
Local time
3:16 PM
Joined
Nov 12, 2010
Messages
372
Reaction score
94
Location
WNY St.
Anyone know the procedure for removing the rear seat window(drivers side if important to know that) and hardware from the car? '67 Coronet 500 two door hardtop. The window gets about 1/2 way up and the mech. starts clicking and jumping and I have to help it up the rest of the way.
 
Anyone know the procedure for removing the rear seat window(drivers side if important to know that) and hardware from the car? '67 Coronet 500 two door hardtop. The window gets about 1/2 way up and the mech. starts clicking and jumping and I have to help it up the rest of the way.

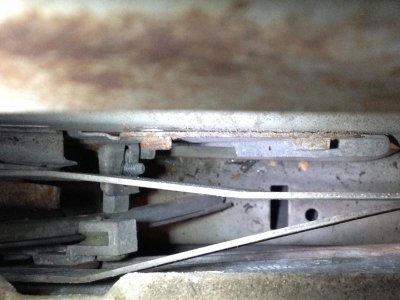
Do you have a FSM...Factory Service Manual???? If not then get one or at least bookmark this site and scroll down to the '67 FSM for the Coronet on file. Hope this helps...cr8crshr/Tuck
 
Yes, I do have an FSM but havin a hard time figuring it out. Thought maybe there was an easier answer out there.
 
I have to get mine out for blasting. I will likely do so today. I will take pictures and notes and post them here. It's a 67 Coronet 500 as well. Hope this helps. :)
 
I have to get mine out for blasting. I will likely do so today. I will take pictures and notes and post them here. It's a 67 Coronet 500 as well. Hope this helps. :)
Thanks so much man. I really appreciate it.
 
Rear window removal...

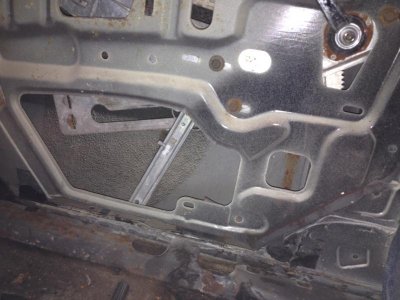
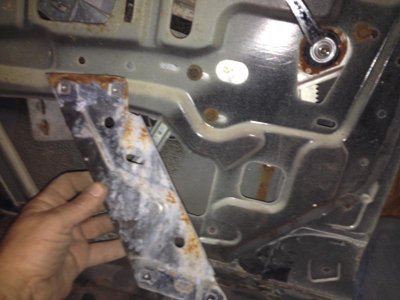
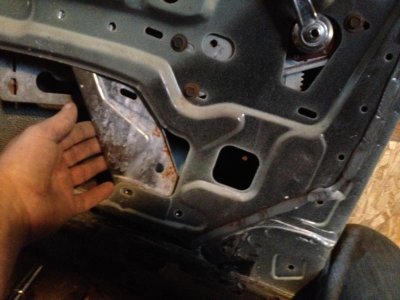
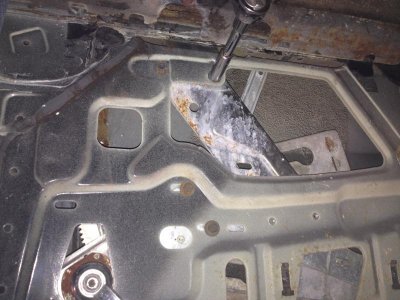
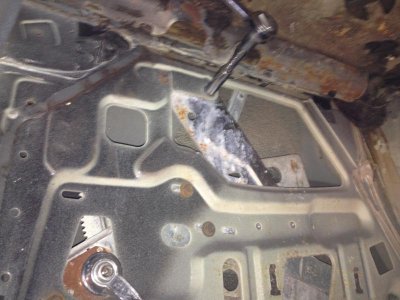
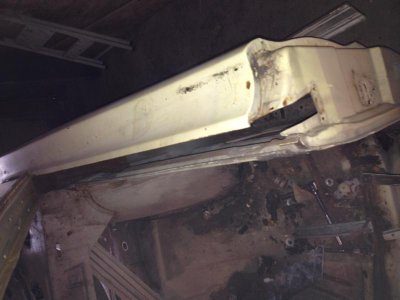
OK so here's what I did to get mine out today. First i'll describe it, drivers side, then post pics, reverse all for passenger side. First, if you have the panel and plastic barrier off you can roll the window down a little until you can see the bottom of the glass through the inside cavity panel. There's two bolts holding the glass to the frame. They go through the glass. Take them out. You can now grasp the glass and slide it out of the body through the top. I assume you have the rubber door / window gasket removed from the top of the door jamb.
Next, if you look down at the bottom of the inside panel there's a large cutout with a metal piece inside that is about 5 inches wide or so and runs diagonally from the top left to the bottom right of the hole. It has 4 bolts holding it in. If you look down through the window channel at the inside of the cavity you can see with a flash light a single nut holding this panel onto the mechanism from the backside, the stud it's on points to the rear. Take this nut off and then remove 4 outside bolts and take the panel out. It's about 9 or 10 inches x 5 or 6.
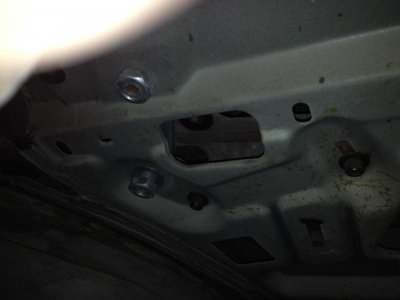
Next, you will see above 3 large nuts , about 15/16ths or so big, take them off. the studs they are on are really covers over studs, they have a hex head of their own that if you turn they will also come off. Just let them fall down inside the panel. Up and to the left as you sit on the floor inside of the drivers door looking at the back window body cavity, just reverse this for passenger side, there is a L shaped bracket on the inside of the cavity with a rubber pad on it. It has one bolt holding it on. it's the upper limit stop for the glass. Remove it and set aside. Rotate the window crank down until you see the rear window channel through the cutouts. Take the two bolts out and pull it out. It's about 8 inches long and curved. Next the front vertical channel has to be set free. remove the bolts to loosen it. Now remove all other bolts and nuts that you see and the whole shebang will fall down inside, loose. Work it all around in there until you can get the front channel to go horizontal, then slide it out of the guides an remove from the cavity. Now take hold of the rest and rotate it all up and forward clockwise to slide it all out of the top of the cavity through the front most part of the slot the window glass comes up through. Retrieve all of the parts and pieces that fell inside and that's it. Now pics... IMG_0760.jpgIMG_0775.jpgIMG_0774.jpgIMG_0773.jpgIMG_0768.jpgIMG_0767.jpgIMG_0766.jpgIMG_0765.jpgIMG_0764.jpgIMG_0763.jpgIMG_0776.jpg
 
Thanks so much. The info and pictures will be of tremendous help. It gets really annoying when you ask for help and the answer is "get the FSM"' Sometimes they are hard to understand the photos for the most part are not very good. Thanks again, Dave
 
You are very welcome! I don't claim to be a master mechanic but just a normal car nut with a few tools who is not afraid to pull something apart using a little common sense and some investigative ability to see how **** comes apart. You need anything else just pm or ask. If I can help I will be glad to do so.
Randy.

PS.. How I did it might not be the "right" way but it worked and didn't damage or break anything.
 
You can use a magic marker to mark adjusting nuts with a line down threads and nut to make re install a little easier. Small stipple marks made with a fine tip punch can be used to index bolts to body location prior to removal. Line up parts on bench as you disassemble in order that they came off and keep parts together. Do final adjustments as per factory service manual.
 
Auto Transport Service
Back
Top