Rodney
Well-Known Member
what diameter brake lines are those? 3/16
what diameter brake lines are those? 3/16


Why not just knock the hole out to the size needed? Sorry, I'm cheap and as a result think cheap haha.
A little warning for you on the brake booster, I also have a plated booster and after one summer of use the plating looks like chit. It looks like water spots that will not come off, I polished on it until I went threw the plating and never got them off so it's getting pulled the winter for some paint. might have just been a cheap plating on mine but thought I'd mention it now??????? Progress is looking great
guess the one on the left is a little different but it is yours if you want it.
I may have the one you need it is on a 73 Charger.
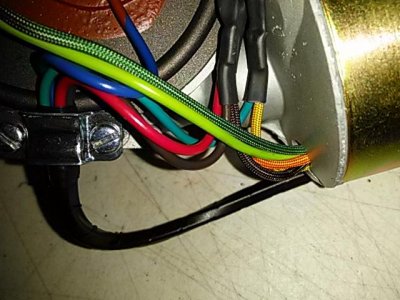
the angle of the image of the brake lines made them look big !1 /4 in I have seen guys do bigger before but 3/16 is what I find works for us.
View attachment 230313


why did you chose the booster you have now?
It looks like one that fits my 76 class C motor home.
I have never had a booster on any of our '70 B bodies so not sure what the OE looks like. {muscle cars don't need no stinkin' power brakes :}
") in my muscle car!
in my muscle car!
I have another 73 charger parts car which has the power brake assembly complete if it would do you any good, the booster would need to be rebuild if it would do you any good.


I agree Hawk, wiring can be a headache. It looks like you got a good handle on it though. I put my dash loom in after the dash. I've never had my body in so many awkward positions before, on my own I mean lol.
AMEN Brother!!This thread has been so helpful! I'm probably going with a FI setup too and I wasn't considering the under dash wiring. Was planning on reattaching the dash harness and installing the dash right after paint. Makes sense to install the ECU wiring first. I hear ya - between reading glasses, a cranky back and 50+ year old joints rolling around underneath a dash is not my idea of a good time!
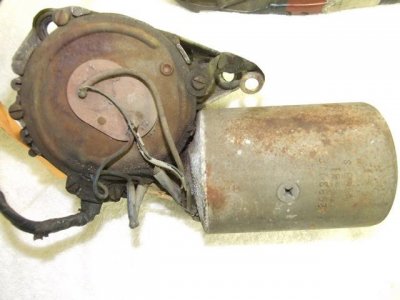
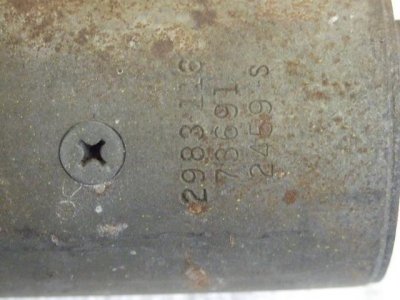
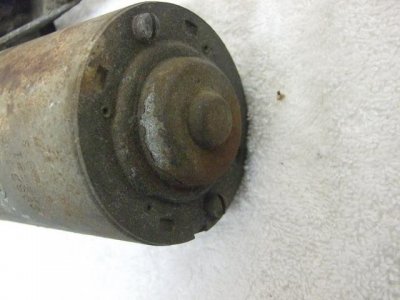
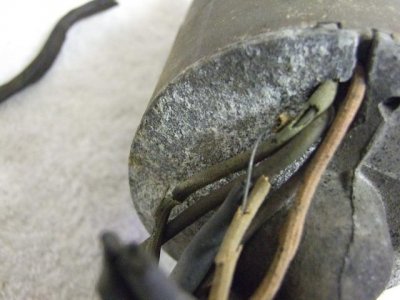
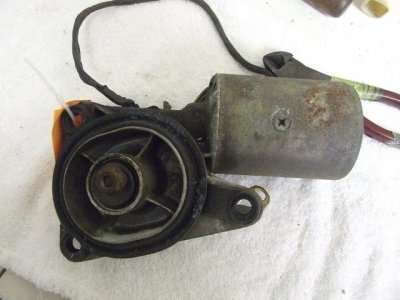
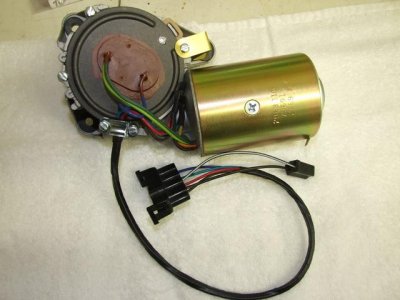
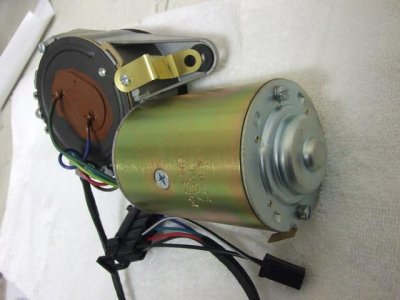
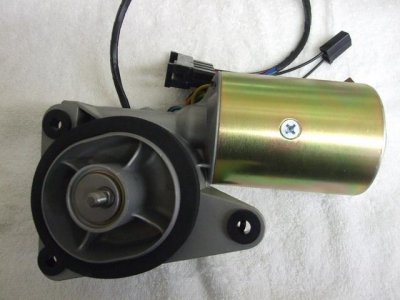
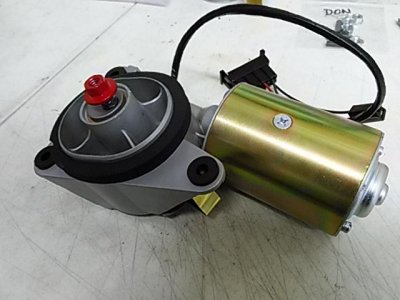
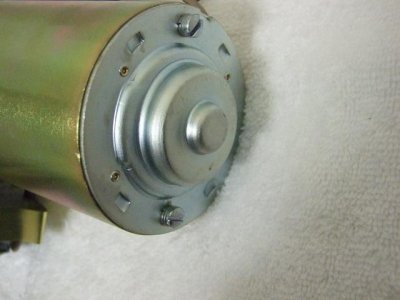
Hawk told me I could sneak in over here with my contribution to the project and I'm honored to be able to do that. So, let me help with that wiper motor. Photos of how I received the motor and how it is now, ready to return


