- Local time
- 4:02 PM
- Joined
- Oct 16, 2013
- Messages
- 1,447
- Reaction score
- 2,286
- Location
- Kiel Germany (back again)
Hey guys,
I have just finished rebuilding my heater box. Before I began, I couldn't find a whole lot of 'how to' info on the net so I thought I would share my experiences.
The first thing to know is that it definitely is not 'rocket science', but you must be careful and methodical and documentation is a must. Make sure you take plenty of digital photos.
I bought my rebuild kit from DMT and it is a good one. It has all of the parts that you need and some instructions with it.
Step 1: Disconnect tubing
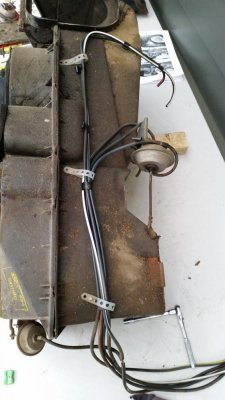
Step 2: Disassemble all of the plastic parts
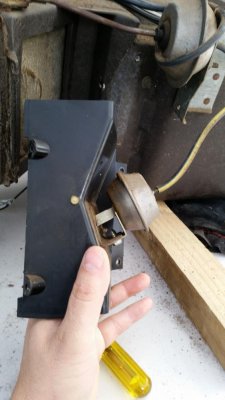
Step 3: Remove spring clips and gently pries open the two halves. They will be quite stuck as there is a gasket between the mating surfaces. They have been together for 40 plus years so it's no surprise. Its important to note that the box is quite brittle and will break if forced, so be careful.
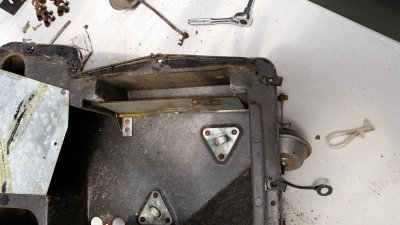
Step 4: Remove heater core and ac evaporator (if equipped).
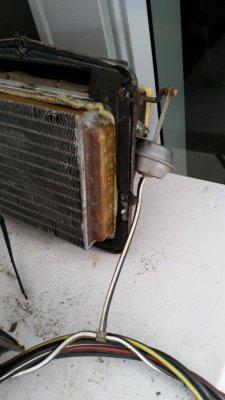
The inside of your box will undoubtedly look similar to this.
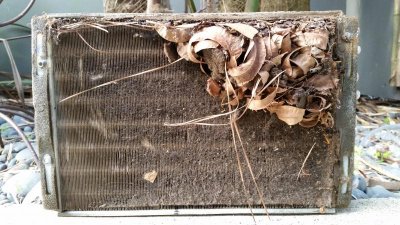
Step 5: Strip all remaining items like actuators and brackets from the housing. Then thoroughly clean it. I used a couple of methods. First I pressure washed it (not heavy) and then to remove the stubborn gasket material, a blade and a light wire wheel.
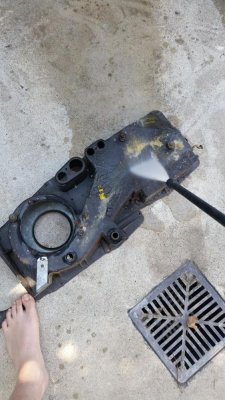
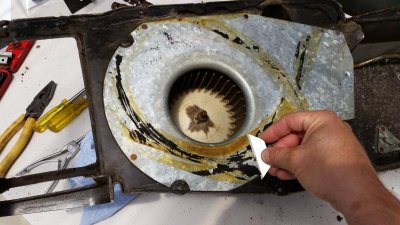
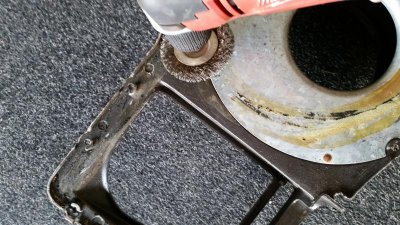
Step 6: Remove all the sticky residue. Use denatured alcohol to make sure you get good adhesion for your foam.
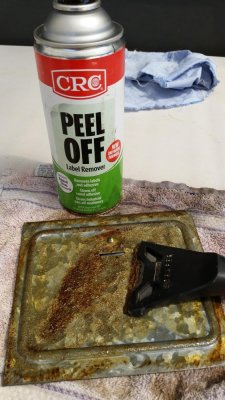
Step 7: Treat and paint all rusty brackets, actuators, screws etc.
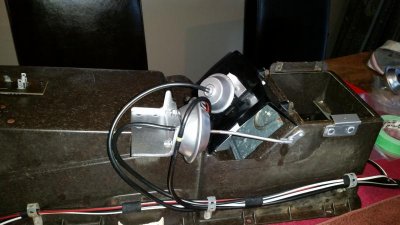
Step 8: Visually inspect and pressure test ac evaporator and heater core. Flush R12 freon out of evaporator so it can be replaced with R134a. You must never mix different refrigerants.
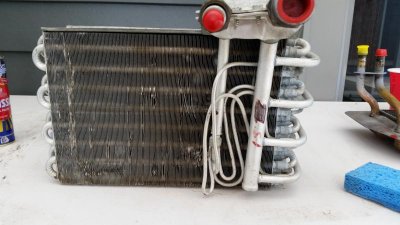
Step 9: Continue to install the rest of the foam and reassemble the box.
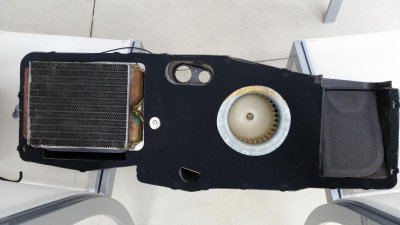
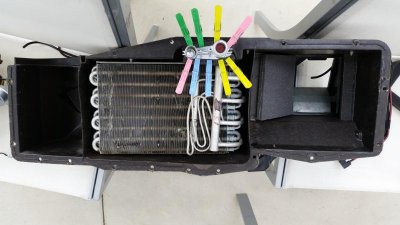
Step 10: Re-install the heater core and evaporator. In my case, the box was quite weak and broken around the screw holes for the evaporator. The evaporator has a bit of weight in it and the jarring from driving would have caused this to happen.
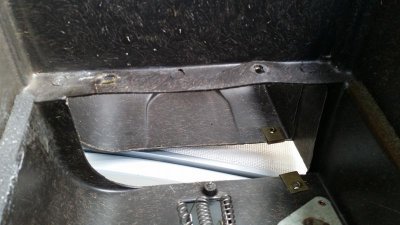
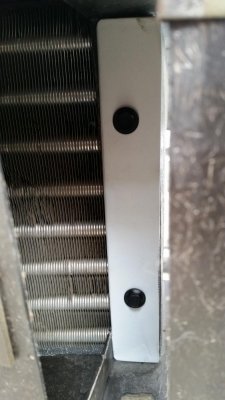
I made a steel plate to install as a washer to mitigate the problem.
Step 11: Clean and reconnect up the tubing. Inspect it for cuts and splits.
Step 12: Test with a vacuum pump for functionality. The last thing you want, is to install it into your car and it doesn't work properly.
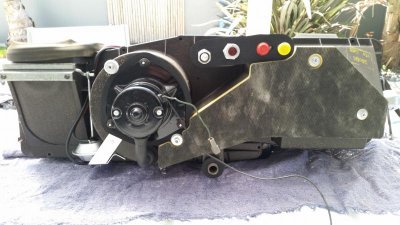
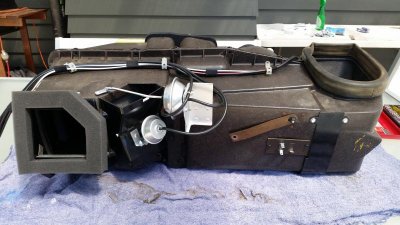
I hope this helps people that are wanting to tackle this task. Good luck.
I have just finished rebuilding my heater box. Before I began, I couldn't find a whole lot of 'how to' info on the net so I thought I would share my experiences.
The first thing to know is that it definitely is not 'rocket science', but you must be careful and methodical and documentation is a must. Make sure you take plenty of digital photos.
I bought my rebuild kit from DMT and it is a good one. It has all of the parts that you need and some instructions with it.
Step 1: Disconnect tubing

Step 2: Disassemble all of the plastic parts

Step 3: Remove spring clips and gently pries open the two halves. They will be quite stuck as there is a gasket between the mating surfaces. They have been together for 40 plus years so it's no surprise. Its important to note that the box is quite brittle and will break if forced, so be careful.

Step 4: Remove heater core and ac evaporator (if equipped).

The inside of your box will undoubtedly look similar to this.

Step 5: Strip all remaining items like actuators and brackets from the housing. Then thoroughly clean it. I used a couple of methods. First I pressure washed it (not heavy) and then to remove the stubborn gasket material, a blade and a light wire wheel.


Step 6: Remove all the sticky residue. Use denatured alcohol to make sure you get good adhesion for your foam.

Step 7: Treat and paint all rusty brackets, actuators, screws etc.

Step 8: Visually inspect and pressure test ac evaporator and heater core. Flush R12 freon out of evaporator so it can be replaced with R134a. You must never mix different refrigerants.

Step 9: Continue to install the rest of the foam and reassemble the box.


Step 10: Re-install the heater core and evaporator. In my case, the box was quite weak and broken around the screw holes for the evaporator. The evaporator has a bit of weight in it and the jarring from driving would have caused this to happen.

I made a steel plate to install as a washer to mitigate the problem.

Step 11: Clean and reconnect up the tubing. Inspect it for cuts and splits.
Step 12: Test with a vacuum pump for functionality. The last thing you want, is to install it into your car and it doesn't work properly.


I hope this helps people that are wanting to tackle this task. Good luck.
Last edited:


