• When you click on links to various merchants on this site and make a purchase, this can result in this site earning a commission. Affiliate programs and affiliations include, but are not limited to, the eBay Partner Network.

Introducing "Project Odyssey" a 1972 "Super Satellite"

Dibbons

Well-Known Member
Local time
7:17 AM
Joined
Nov 29, 2014
Messages
4,752
Reaction score
5,460
Location
La Paz, B.C.S., Mexico
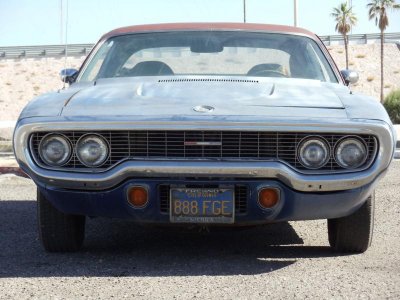
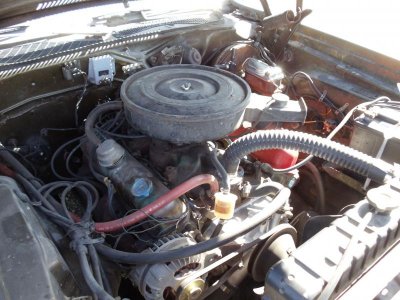
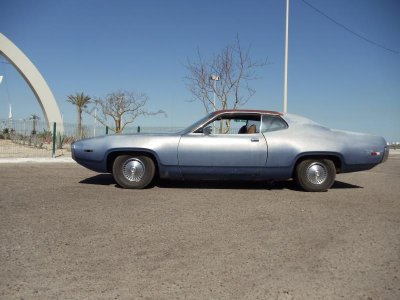
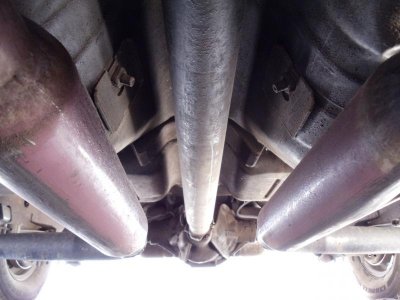
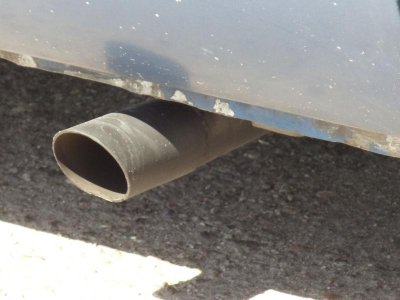
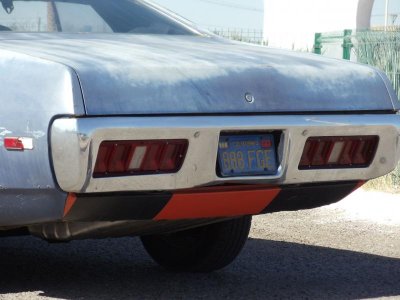
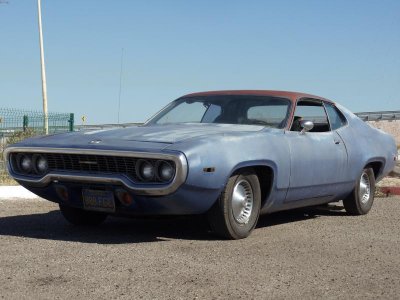
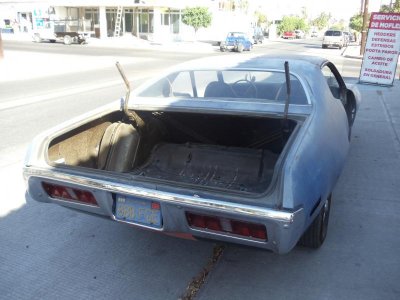
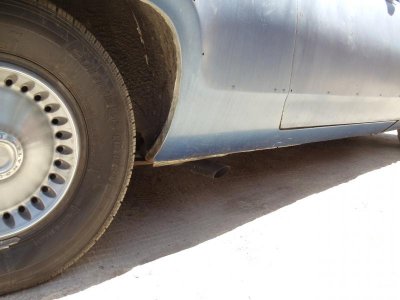
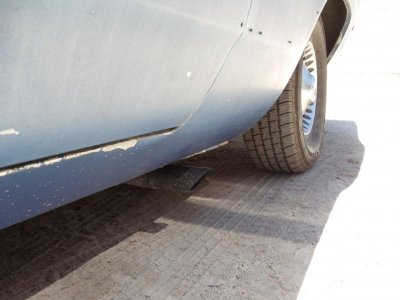
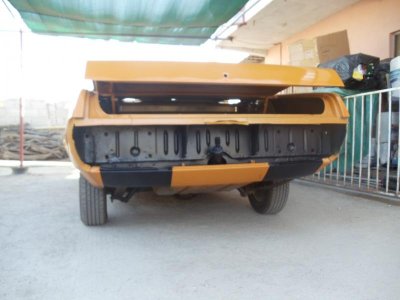
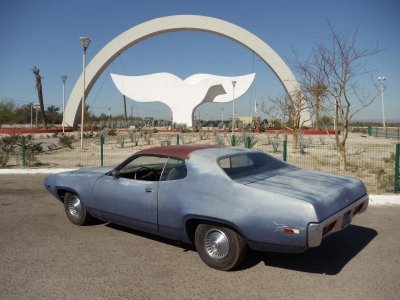
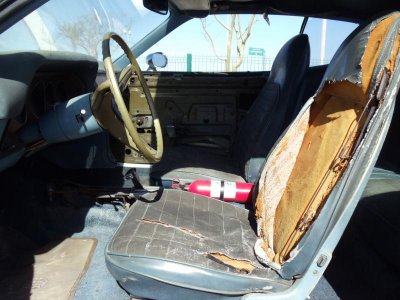
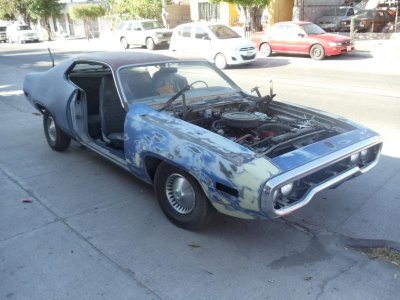
"Project Odyssey" will entail the transformation of a Frenso, California based 1972 Plymouth Satellite Sebring Plus (matching numbers 318) into a never produced 1972 "Super Satellite". The inspiration for this vehicle is the Model Products Corporation (MPC) 1/25 model kit #6282 of the 1971 Plymouth Roadrunner (Superbird option). Certain modification have already been made during the reassembly of the vehicle from the torn down version as purchased in 12/2014 for the drive to Baja California Sur (04/2015) where the restoration/transformation is now taking place. Those pre-trip mods were #1: 1971 rear bumper, tail lights, and rear valance (my personal preference-never was satisfied with the 1972 bumper/tail light arrangement) and #2: semi-NASCAR style dual side exhaust using "purple hornies" mufflers. To replace the clumsy looking 1972 side marker lights, 1971 versions will soon be adapted.

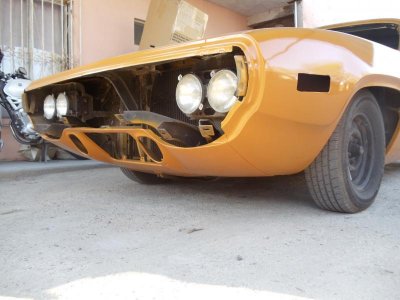
The Chrysler 1971 experimental wind tunnel rear wing and nose will be adapted along with a genuine 1972 Roadrunner grille or scaled down 1972 facsimile grille (depending on final grille cross section size) to distinguish this vehicle from any previously custom-fabricated 1971 Plymouth Superbird models already completed.

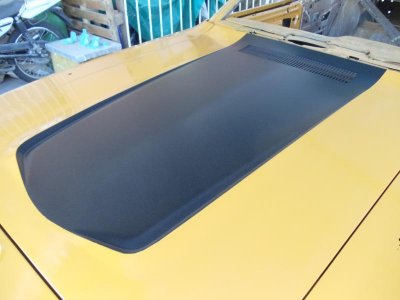
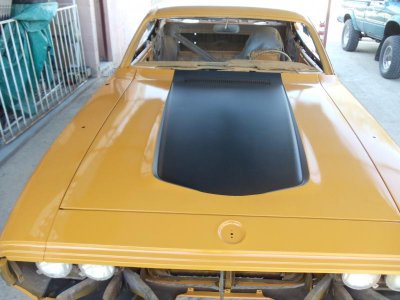
Other tentative details: #a-no fender scoops (no reason for them thanks to the slick 71-72 fuselage styling); #b-no air grabber or hood scoop to conform with NASCAR styling/aerodynamics; #c-factory style back light louvers (1971 style) because they look good and add some style; #d-displacement displayed on hood (via NASCAR rules) of "305 CU IN" assuming wing cars in 1972 would have been prohibited from using a larger displacement motor (if at all possible, a true 305 motor will replace the factory 318); #e-regardless of displacement, motor will utilize factory correct 1972 Thermoquad carburetor and factory correct 1972 cast iron intake manifold from production 1972 340 motors.

The just rebuilt original 904 automatic, 2.71 ration 8 1/4 differential, and factory cast iron exhaust manifolds will be retained in accordance with what Chrysler engineers would have offered the general public if such a 1972 "Super Satellite" had ever seen production. If Hayes "recall rims" or facsimiles are not located (my personal "wow factor" choice) then factory 1972 Satellite wheel covers may simply be used with the present 21570R14 tires and factory rims. DSC00051.jpgDSC00043.jpgDSC00033.jpgDSC00019.jpgDSC00038.jpgDSC00055.jpgDSC00028.jpgDSC00024.jpgDSC00031.jpgDSC00045.jpg


DSC00051.jpg DSC00031.jpg DSC00024.jpg DSC00028.jpg DSC00055.jpg DSC00038.jpg DSC00019.jpg DSC00033.jpg DSC00043.jpg DSC00045.jpg
 
Last edited by a moderator:
This could be a fun project to watch! Are you building all your own parts from scratch or looking for influences from places like http://www.71wingcars.com/view_item.aspx?page=4&id=79 for your build?

I don't think there'll be much room for a '72 grill in that pointy nose though. Will you go with the two level rear spoiler?
http://www.forbbodiesonly.com/moparforum/showthread.php?12147-71-Wing-Cars&highlight=dayclona

The 305 won't be too easy. I believe the 305 that was running in the #22 car in 1971 was similar to the Keith Black engines built for the 5 liter trans am series, and they're pretty scarce.
 
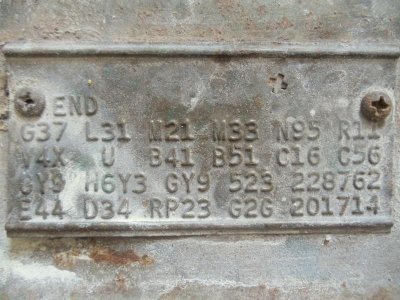
Body work is now underway! Ready to remove windshield/backlight/bumpers. Pictures provided of key areas before refinishing: fender tag, solid trunk floor, solid doors, and solid quarter panels.fender tag.jpgready to remove windsheild:backlight:bumpers.jpgsoild trunk floor.jpgsolid driver side fender.jpgsolid driver side quarter.jpg

fender tag.jpg ready to remove windsheild:backlight:bumpers.jpg soild trunk floor.jpg solid driver side fender.jpg solid driver side quarter.jpg
 
Last edited by a moderator:
I have asked the 71 wing car people if they are selling any of their wing kits and they are not.
All wing kits were made in house by them out of aluminum.
 
1971 side marker light conversion

I did not deem it feasible to indent the fenders/quarter panels like the factory had done. In order to mount the markers flush, I decided to cut the hole to the full size of the side marker. Then I fabricated a stainless steel template that will be glued/welded? to the inside of the fender/quarter panel to mimic the indentations molded into the factory 1971 bodies. Hopefully, this will give a factory appearance.

driver front before.jpg
driver front after.jpg
template foto1.jpg
 
Last edited by a moderator:
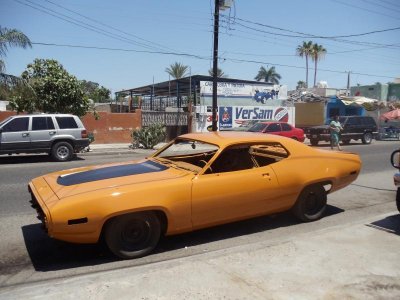
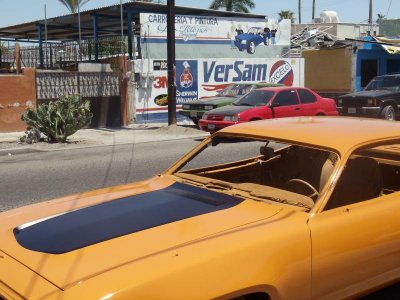
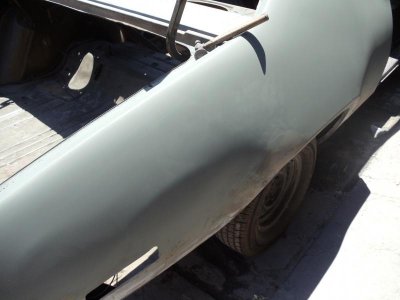
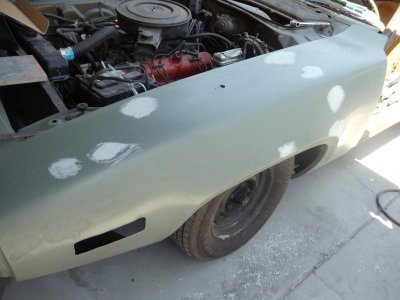
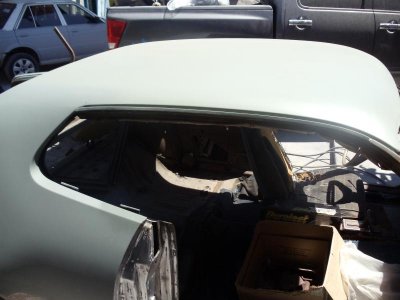
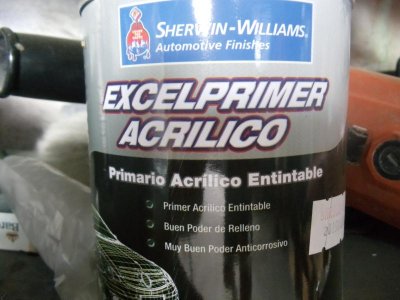
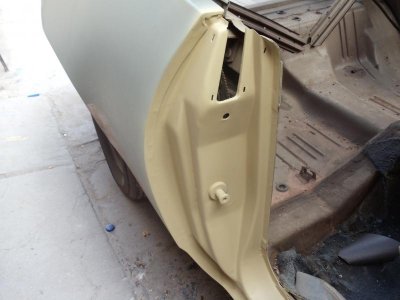
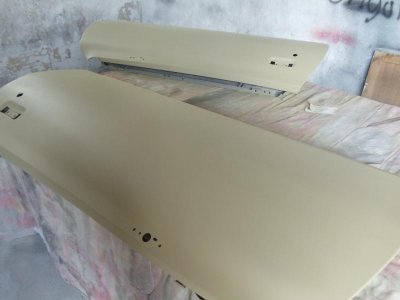
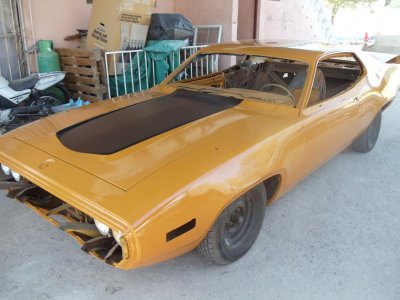
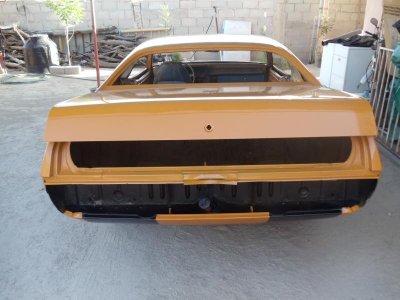
Body shop has completed the refinishing in 13 working days. The charges of $20,000 Mexican Pesos (about $1,400 US dollars) included both labor and materials. We tried to match a 1971 Bahama Yellow color and included flat black accents on both hood and rear valance. After stripping the old paint, an olive green polyester primer was followed by a yellow tinted primer.

DSC00377.jpg DSC00379.jpg DSC00339.jpg DSC00302.jpg DSC00299.jpg DSC00303.jpg DSC00306.jpg DSC00311.jpg DSC00309.jpg
 
A few more fotos of recent paint

This color really seems to change significantly depending on the light and shade conditions.

DSC00381.jpg DSC00382.jpg DSC00383.jpg DSC00384.jpg DSC00385.jpg DSC00386.jpg
 
Quite the project Dimmer - keep the thread going. I'd like to follow it......
 
Very cool color - looks like a butterscotch color. Keep up the good work!
 
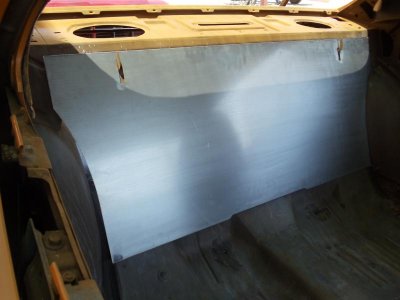
Restoration Update: Trunk Partition

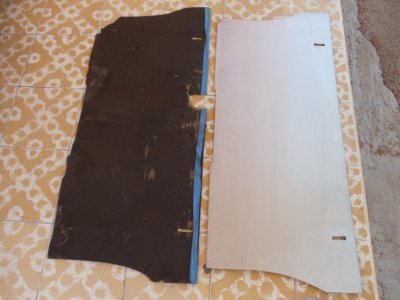
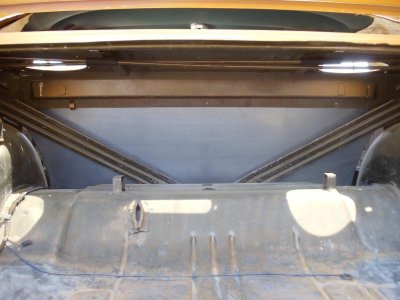
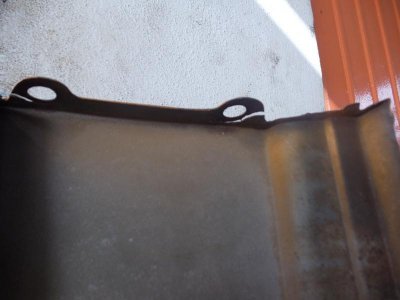
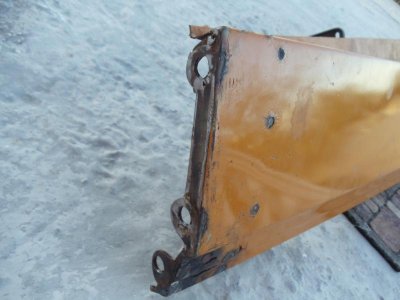
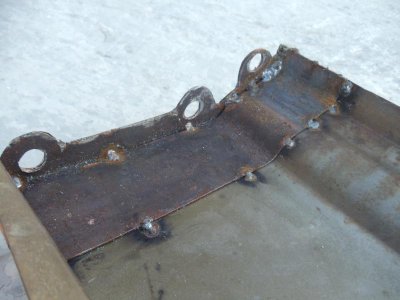
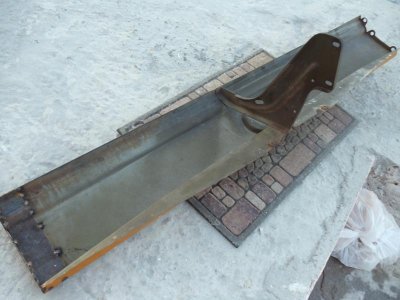
Progress update: Paid $100 (U.S.) for an 18 gauge stainless steel trunk partition. I used the old flimsy factory cardboard one for a template. The new one does not seal completely, there remains a small gap on the sides, I suppose that is how the original partition fit.
 

Attachments

  • DSC00411.jpg
    DSC00411.jpg
    45.5 KB · Views: 831
  • DSC00412.jpg
    DSC00412.jpg
    53.8 KB · Views: 817
  • DSC00413.jpg
    DSC00413.jpg
    39.7 KB · Views: 756
Last edited:
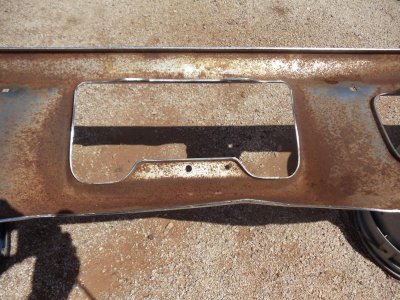
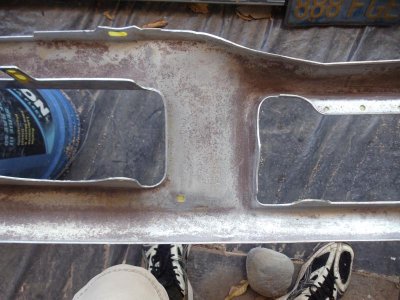
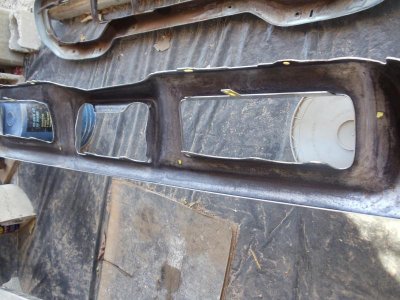
Restoration Update: Bumpers

First foto: Rust on inner driver-quality rear bumper
Second foto: After detergent wash, naval jelly treatment, and a little sanding
Third foto: After application of Rust Oleum brush-on Rust Reformer
Fourth foto: After application of brush-on Rustoleum Rusty Metal Primer
 

Attachments

  • DSC00323.jpg
    DSC00323.jpg
    108.8 KB · Views: 811
  • DSC00327.jpg
    DSC00327.jpg
    75.2 KB · Views: 800
  • DSC00346.jpg
    DSC00346.jpg
    78 KB · Views: 782
  • DSC00356.jpg
    DSC00356.jpg
    70.1 KB · Views: 744
Restoration Update: Hood Extension Repair

The passenger side of the hood extension kept popping up out of place. I found the perforated sheet metal had failed on that side. A local fabricator fixed it up for $17.00 US funds. No big deal, but now we need to paint it all over again.
 

Attachments

  • DSC00435.jpg
    DSC00435.jpg
    40.9 KB · Views: 754
  • DSC00442.jpg
    DSC00442.jpg
    45 KB · Views: 784
  • DSC00440.jpg
    DSC00440.jpg
    49.3 KB · Views: 775
  • DSC00444.jpg
    DSC00444.jpg
    56.6 KB · Views: 741
Restoration Update: Front and rear light bezels

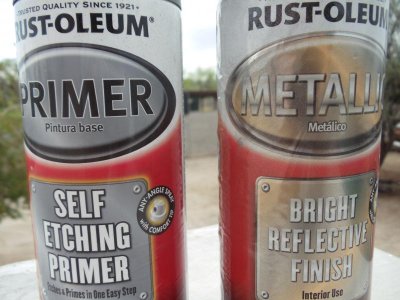
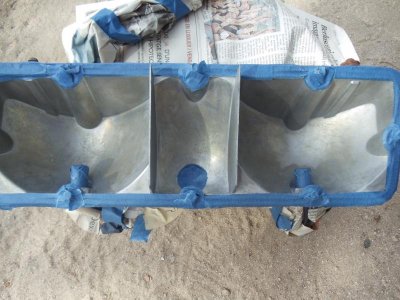
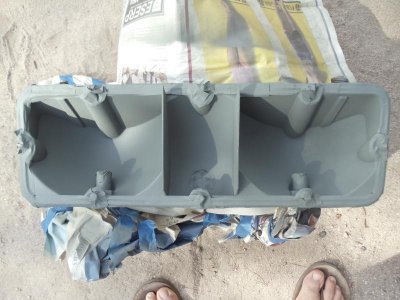
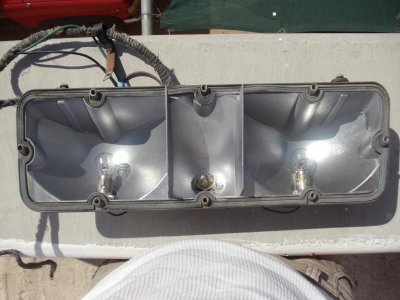
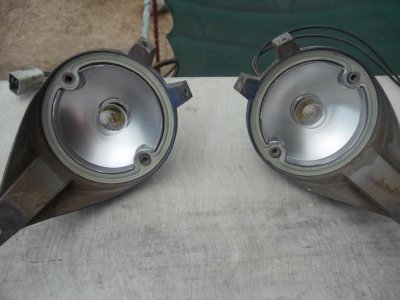
I found when using my usual initial cleanup procedure of scrubbing with water and laundry detergent was a bad idea for the inside of turn signal housings. That silver reflective coating is fragile and flakes off with any pressure at all. This required sanding, priming, and applying another reflective coating. The final coat, a metallic reflective finish supplied by Rust-Oleum, is recommended for indoor use. I can only hope that the factory lens gaskets I re-used will continue to keep the inside of the lenses dry and prevent the new shiny paint from damage. Fotos (in order) show paint labels, and then sanded, primed, and final coated housings. The after-market light sockets I purchased don't really fit (except for the back-up lights) so I recommend reconditioning them rather than trying to swap them out for something new.
 

Attachments

  • DSC00439.jpg
    DSC00439.jpg
    67.1 KB · Views: 738
  • DSC00407.jpg
    DSC00407.jpg
    73.8 KB · Views: 743
  • DSC00408.jpg
    DSC00408.jpg
    65.2 KB · Views: 709
  • DSC00410.jpg
    DSC00410.jpg
    59.2 KB · Views: 738
  • DSC00436.jpg
    DSC00436.jpg
    50 KB · Views: 691
Auto Transport Service
Back
Top