tommyg29
Well-Known Member
I just purchased a 72 Runner and going head first into a lot of small projects.
One of the first projects is sorting out and cleaning up the panel. The car seems to runs and drive fine, but I wanted to replace the IMO ugly grant GT steering wheel (and the horn doesnt meep meep, so thats a priority!!), so among a few other projects I started by purchasing a tuff wheel with the adaptor. Digging further and further... I know you all know how it goes, since I have the wheel off, might as well check out converting the old auto on the column collar with something more correct for my console shift converted car.
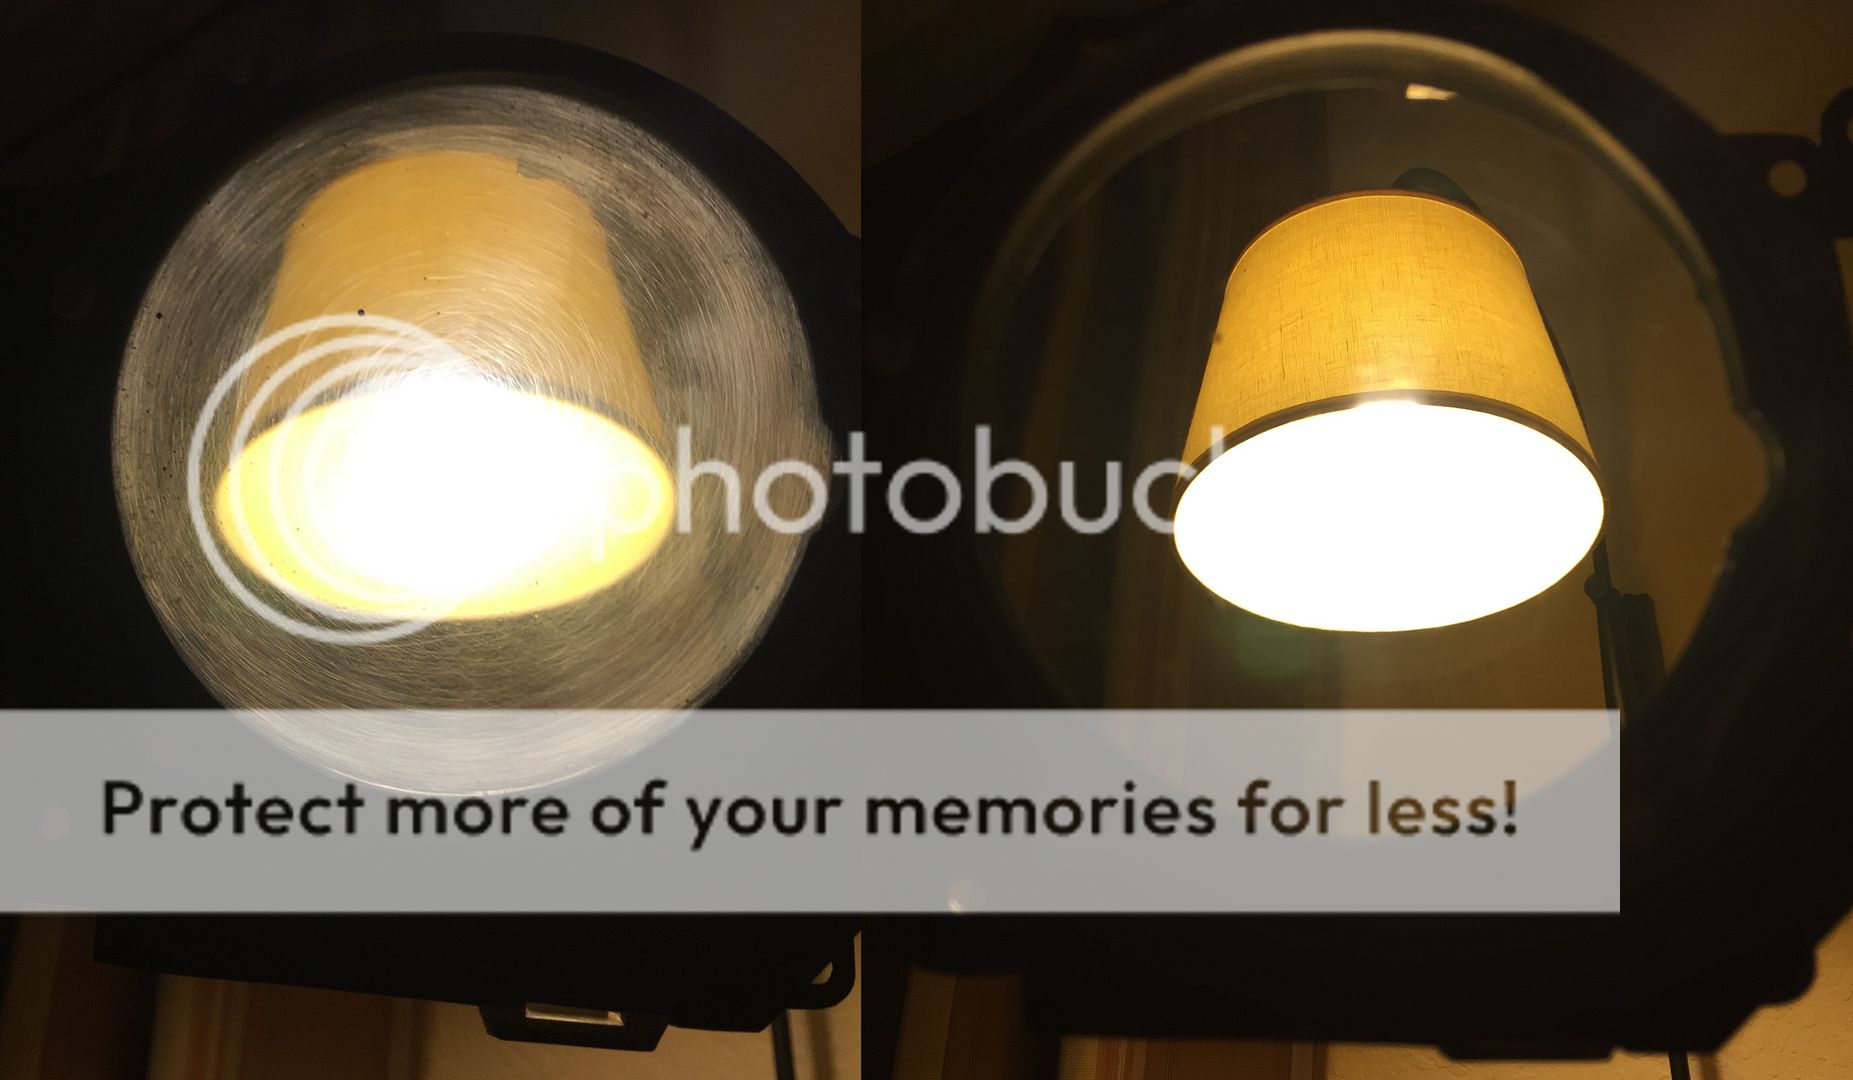
Then it was might as well pull the instrument panel, since I cant stand the ugly wood grain and been thinking about painting it gray. I know Im in good company about the fake grain. Even John Herlitz hated it. For those of you wincing about me messing up a perfectly good roadrunner, I hear you, but my car had a blue interior, and now its black. Frankly, I like the black, and I dont want to start changing it back, so loss of the original color on the panel is no big deal. Anyways, now I have everything out and started cleaning and polishing things up. I dodnt realize how messed up the instrument lenses were until I looked at them at a light. Before and after below after about 5 minutes polishing with plastic headlight polish with a buffing wheel on a drill.
Yeah, Im exciting on a saturday night with the wife out of town:
And a picture of the panel itself. Actually very clean, so just some compressed air to blow out dust, and very light cleaning, ordered some new led bulbs, and should start putting it back soon. Of course after I tear down more of the dash, which is cracked, but think I will just install a cap. After all, Ive come this far.

- - - Updated - - -
Oh, and almost forgot, next step is pulling the dash insert on the passenger side. Need to for proper fitment of the dash cap, and I need to paint it to match the instrument panel anyway. Going to use the silver/chrome paint as recommended for all the surround trim after the dove gray color paint drys. Got a rattle can of colorbond interior vinyl and plastic paint for the gray, and a marker applicator for the surrounds. I heard it works well and is durable.
Ill let you know how many times that insert makes me curse.
One of the first projects is sorting out and cleaning up the panel. The car seems to runs and drive fine, but I wanted to replace the IMO ugly grant GT steering wheel (and the horn doesnt meep meep, so thats a priority!!), so among a few other projects I started by purchasing a tuff wheel with the adaptor. Digging further and further... I know you all know how it goes, since I have the wheel off, might as well check out converting the old auto on the column collar with something more correct for my console shift converted car.
Then it was might as well pull the instrument panel, since I cant stand the ugly wood grain and been thinking about painting it gray. I know Im in good company about the fake grain. Even John Herlitz hated it. For those of you wincing about me messing up a perfectly good roadrunner, I hear you, but my car had a blue interior, and now its black. Frankly, I like the black, and I dont want to start changing it back, so loss of the original color on the panel is no big deal. Anyways, now I have everything out and started cleaning and polishing things up. I dodnt realize how messed up the instrument lenses were until I looked at them at a light. Before and after below after about 5 minutes polishing with plastic headlight polish with a buffing wheel on a drill.
Yeah, Im exciting on a saturday night with the wife out of town:

And a picture of the panel itself. Actually very clean, so just some compressed air to blow out dust, and very light cleaning, ordered some new led bulbs, and should start putting it back soon. Of course after I tear down more of the dash, which is cracked, but think I will just install a cap. After all, Ive come this far.

- - - Updated - - -
Oh, and almost forgot, next step is pulling the dash insert on the passenger side. Need to for proper fitment of the dash cap, and I need to paint it to match the instrument panel anyway. Going to use the silver/chrome paint as recommended for all the surround trim after the dove gray color paint drys. Got a rattle can of colorbond interior vinyl and plastic paint for the gray, and a marker applicator for the surrounds. I heard it works well and is durable.
Ill let you know how many times that insert makes me curse.


")


