baablackgoat
New Member
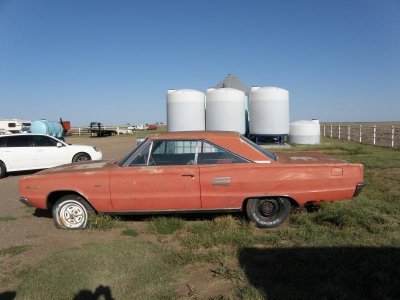
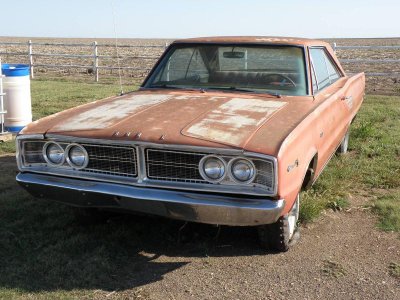
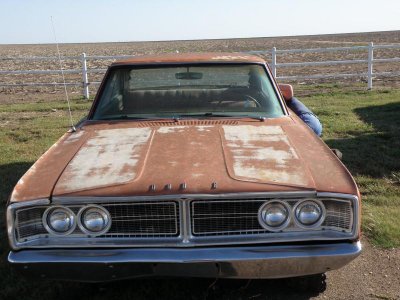
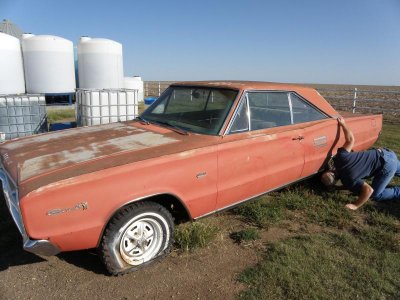
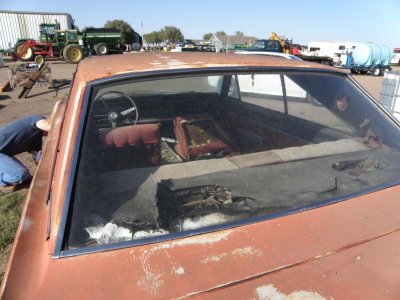
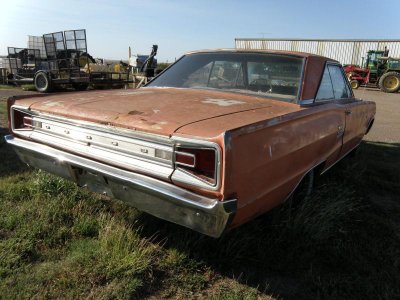
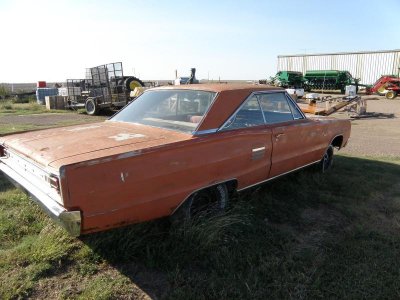
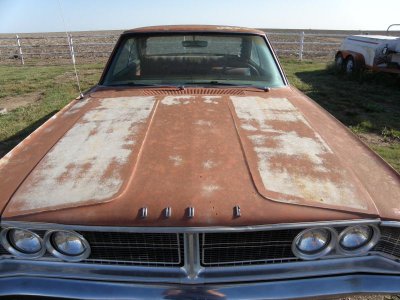
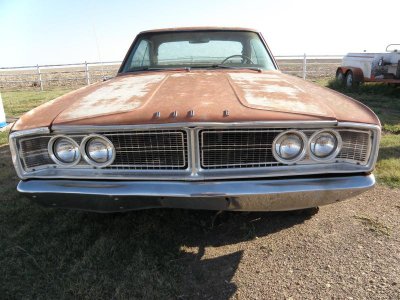
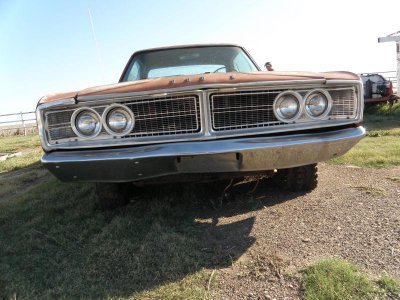
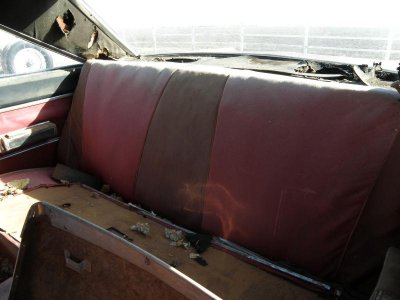
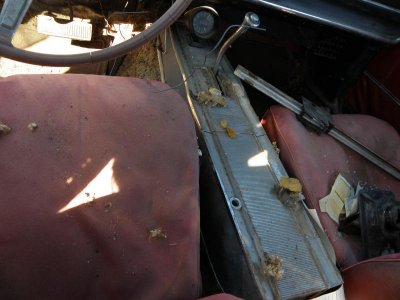
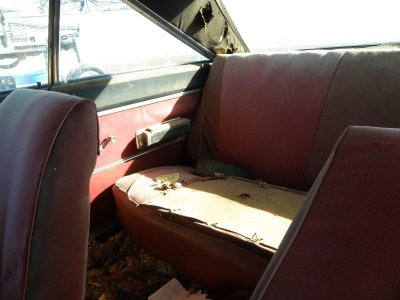
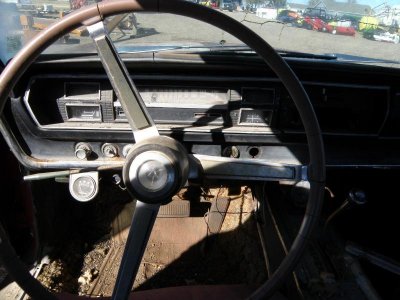
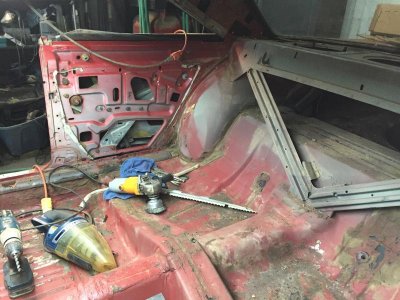
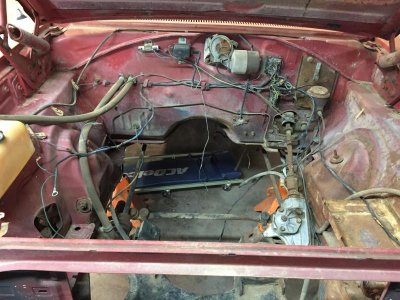
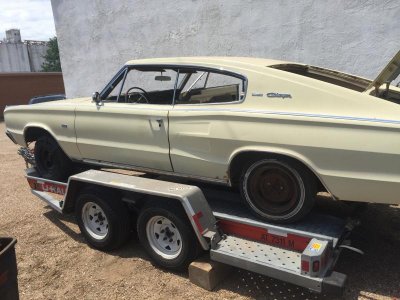
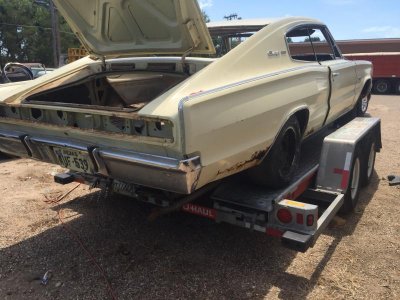
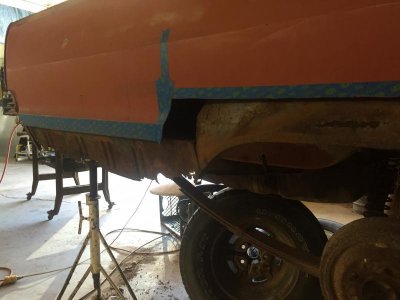
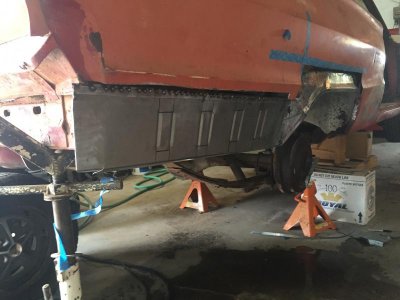
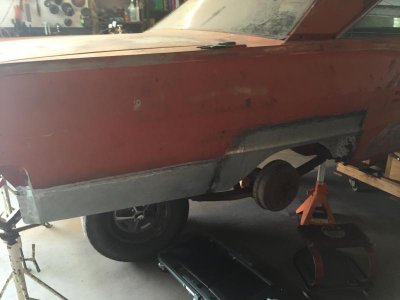
I picked up this car at the beginning of the year and am now scouring the internet for parts. I was told to post here from another website to share the restoration experience. The car is originally red with a 383 4bbl and an automatic. The engine and transmission were not in the car when I purchased it but I have another 383 and transmission I plan on freshening up and installing after all the bodywork is finished.
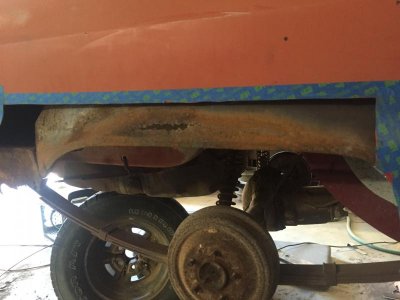
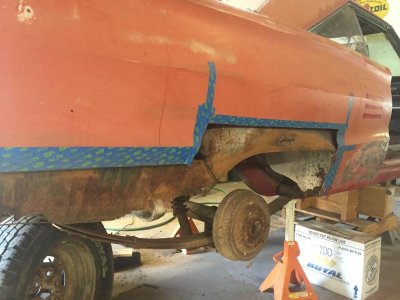
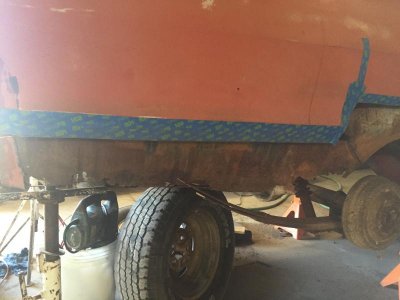
First impressions: Finding reproduction parts for this thing is nearly impossible, I bought the car on a whim as a project and didn't do enough research. I seem to have found all of the patch panels I need but bumpers and trim are a different story. I'll cross that road when I get to it.
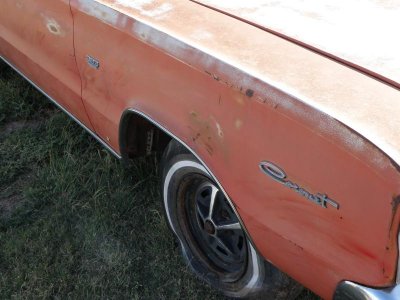
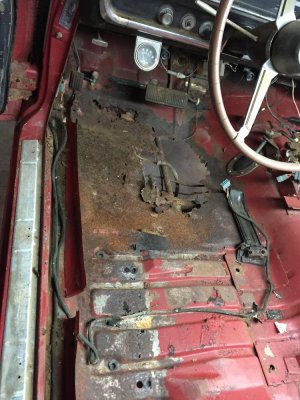
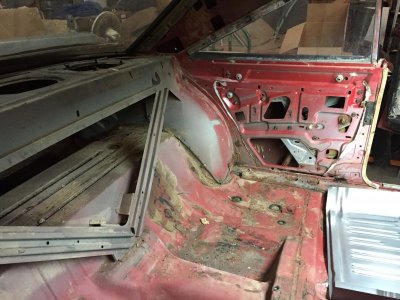
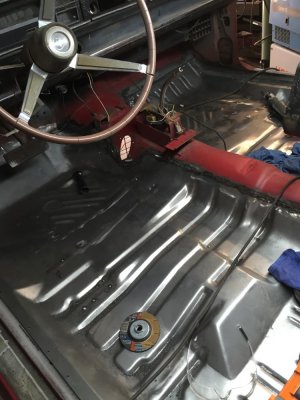
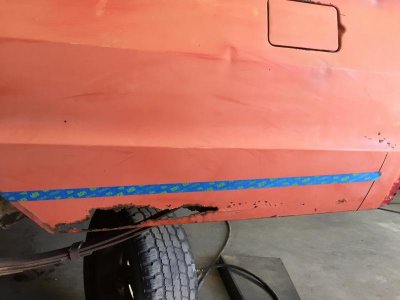
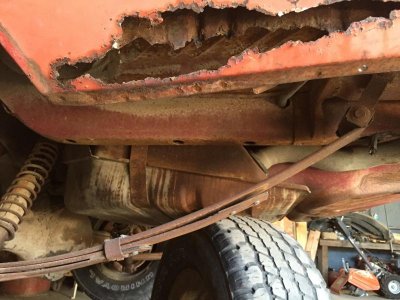
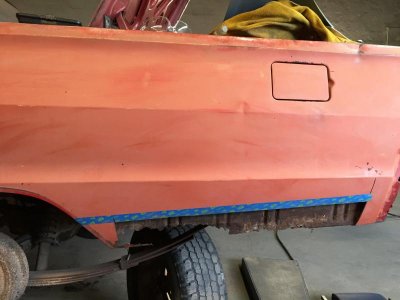
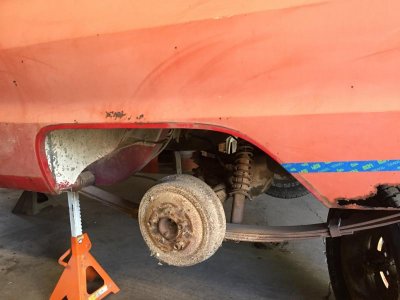
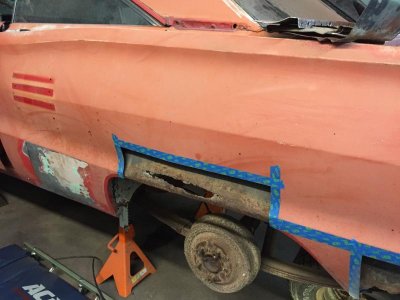
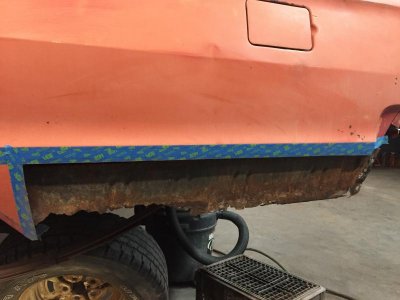
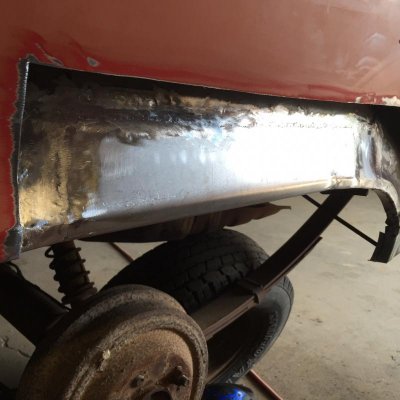
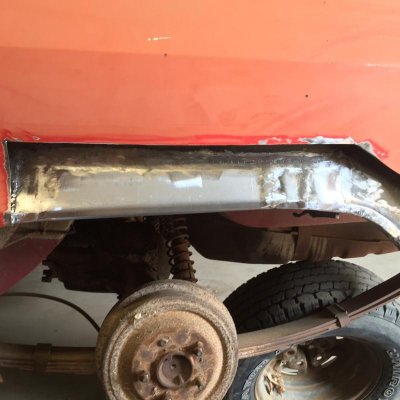
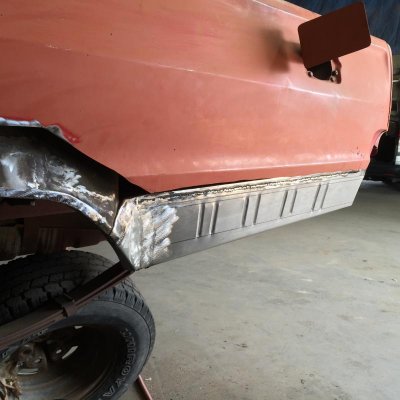
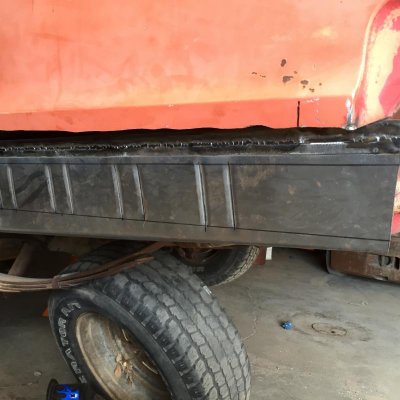
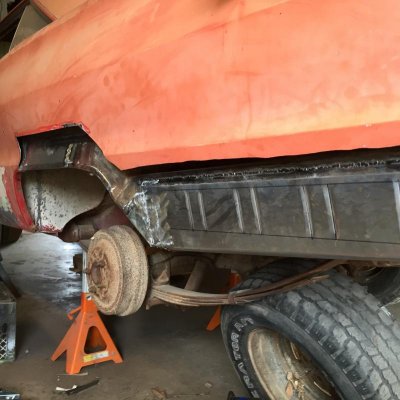
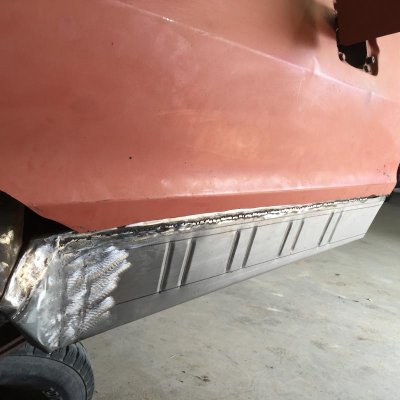
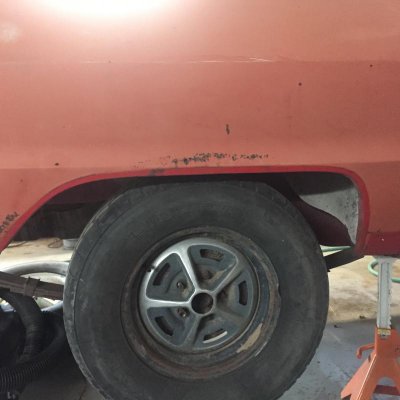
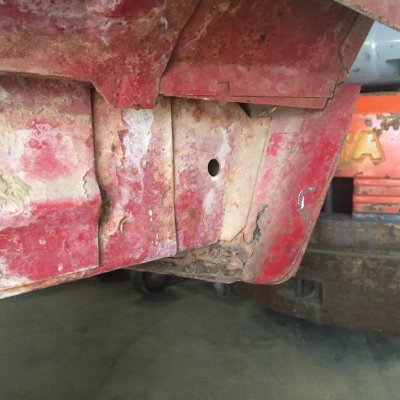
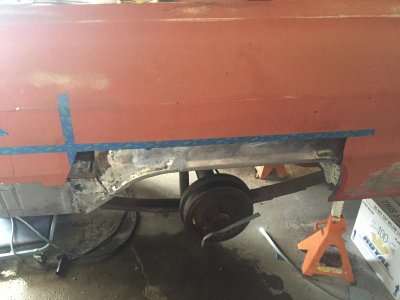
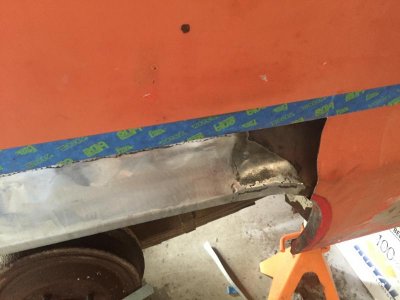
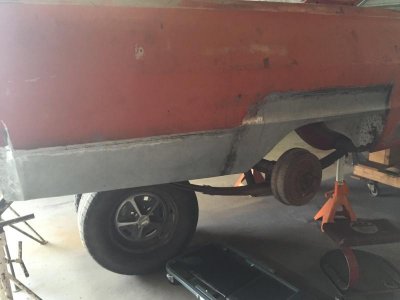
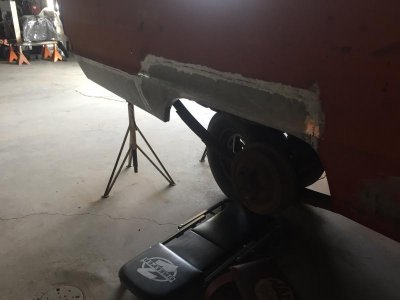
So far I've replaced the floor pans that I purchased from www.autobodyspecialt.com and am starting on the quarter panel rust repair I got from the same website (they are pretty rough and body lines aren't nearly as crisp which is what I expected). I wish I had ordered the whole floor as it would've cut down my man hours immensely! This is my first project and that was my first time welding in sheet metal. It was certainly a learning experience.
Feel free to share tips and suggestions, I hope ya'll enjoy!
First impressions: Finding reproduction parts for this thing is nearly impossible, I bought the car on a whim as a project and didn't do enough research. I seem to have found all of the patch panels I need but bumpers and trim are a different story. I'll cross that road when I get to it.
So far I've replaced the floor pans that I purchased from www.autobodyspecialt.com and am starting on the quarter panel rust repair I got from the same website (they are pretty rough and body lines aren't nearly as crisp which is what I expected). I wish I had ordered the whole floor as it would've cut down my man hours immensely! This is my first project and that was my first time welding in sheet metal. It was certainly a learning experience.
Feel free to share tips and suggestions, I hope ya'll enjoy!
Attachments
-
 P9290077.jpg59.6 KB · Views: 474
 -
 P9290078.jpg100.1 KB · Views: 514
 -
 P9290080.jpg82.4 KB · Views: 500
 -
 P9290081.jpg77.7 KB · Views: 474
 -
 P9290083.jpg68.4 KB · Views: 427
 -
 P9290084.jpg85.6 KB · Views: 409
 -
 P9290085.jpg74.5 KB · Views: 413
 -
 P9290090.jpg62.5 KB · Views: 410
 -
 P9290091.jpg76.7 KB · Views: 397
 -
 P9290092.jpg92.6 KB · Views: 407
 -
 P9290093.jpg93.4 KB · Views: 434
 -
 PB020344.jpg48.8 KB · Views: 399
 -
 PB020347.jpg52.7 KB · Views: 402
 -
 PB020348.jpg57.5 KB · Views: 405
 -
 PB020349.jpg48 KB · Views: 420
 -
 PB020351.jpg72.5 KB · Views: 415
 -
 2015-03-17 10.39.10.jpg129 KB · Views: 421
 -
 2015-03-17 10.15.09.jpg80 KB · Views: 386
 -
 2015-03-17 10.14.55.jpg86.5 KB · Views: 402
 -
 2015-03-17 10.14.31.jpg75.9 KB · Views: 389
 -
 2015-03-17 10.14.26.jpg81.1 KB · Views: 399
 -
 2015-03-20 18.25.31.jpg95.4 KB · Views: 394
 -
 2015-04-25 18.43.42.jpg45.8 KB · Views: 406


")


