• When you click on links to various merchants on this site and make a purchase, this can result in this site earning a commission. Affiliate programs and affiliations include, but are not limited to, the eBay Partner Network.

My 69 Coronet project

And Hawk, check out the shock tower. After taking all precautions, covering the entire drivers side with towels, checking all connections, some brake fluid still dribbled down the inner fender. :angryfire:

I feel your pain - $#@*&! brake fluid is a PITA!!! I still need to get with Mark and get mine cleaned up, but I am still not sure the master cylinder is 100% sealed. I don't trust it yet, and I'll be damned if I am going to have the inner fender all painted just to have it messed up again!

Car is looking great, and your attention to detail is paying off!

BTW, one suggestion. Start marking things that need to be torqued or need a small clip, etc. I used blue painter's masking tape, but use whatever system works for you. It is hard to remember all the small things that need to be completed before you try a road test. I remember being worried that my car was going to come apart in some spot or another because I forgot to tighten something!

Hawk
 
. I remember being worried that my car was going to come apart in some spot or another because I forgot to tighten something!

Hawk

That's what got me into this in the first place lol… I've been using the white board for my punch list.
 
Just a heads up I've had trouble getting my MP black wrinkle valve covers to seal near the firewall. Even with a good Moroso silicone perm align gasket. Either mine aren't milled flat or maybe the gasket is overflowing the rim someplace I can't see. Most people don't seem to have this problem but just throwing it out there so you know.
 
Just a heads up I've had trouble getting my MP black wrinkle valve covers to seal near the firewall. Even with a good Moroso silicone perm align gasket. Either mine aren't milled flat or maybe the gasket is overflowing the rim someplace I can't see. Most people don't seem to have this problem but just throwing it out there so you know.

Was thinking along the same lines. I applied a thin bead of RTV around both lower bolt holes.
 
After a couple of weeks in early February of making huge strides finishing up the car, the past couple of weeks have knocked me off schedule. Preparing for a wedding is a lot of work - I thought Maria was going to take care of it all, lol. Met with the caterer, DJ, bakery. And we started taking dancing lessons so we would look half-way coordinated during our first dance. Lets just say I'm more Mark Worman than Fred Astaire. The last two weekends we've had company over. Last weekend my cousin from back East was out on business so he stayed Saturday night. We see each other only about once every 10 years so it was good visiting. This Saturday myself, my brother and several friends are spending the night in Reno for my bachelors party. Probably catch a show, visit some art galleries, help feed the homeless; just a quiet Saturday night. :icon_study: :downtown: Good times no doubt, but it cuts into garage time.

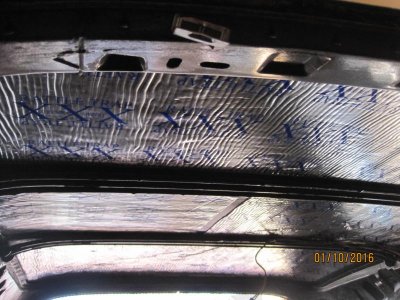
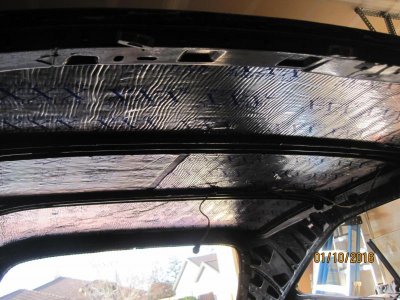
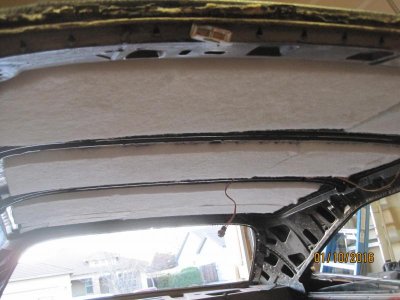
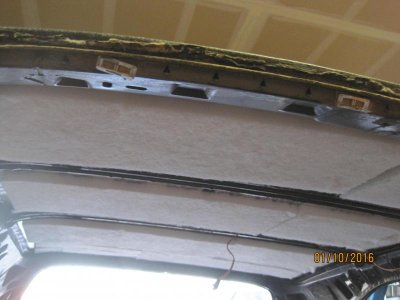
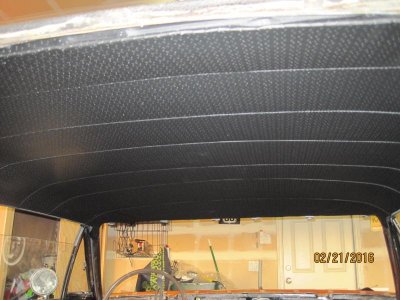
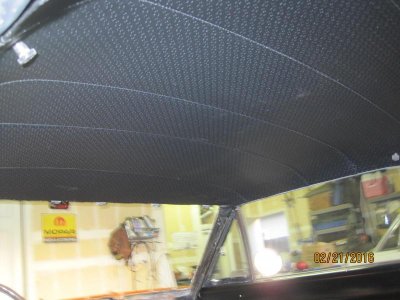
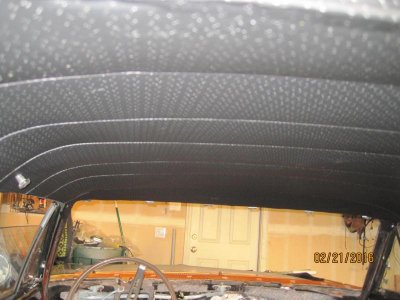
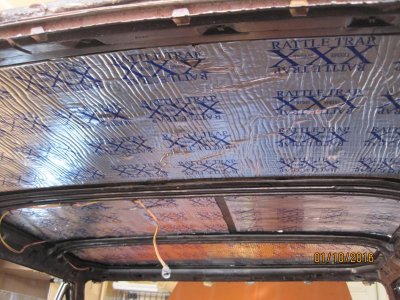
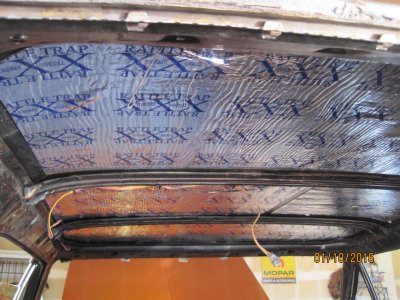
I did make some progress. The same guy who stitched up my seats came to the house and installed the headliner. It's the OEM black perforated. Only took him about 2 hours - amazing.

Started out with POR 15, then Fat Mat Rattle Trap, glued 1" batting on top, then headliner. Should be nice and quiet, and keep the interior cool in the summer.
IMG_3229.jpg

IMG_3228.jpg

IMG_3225.jpg

IMG_3224.jpg

IMG_3232.jpg

IMG_3230.jpg

IMG_3296.jpg

IMG_3298.jpg

IMG_3299.jpg

- - - Updated - - -

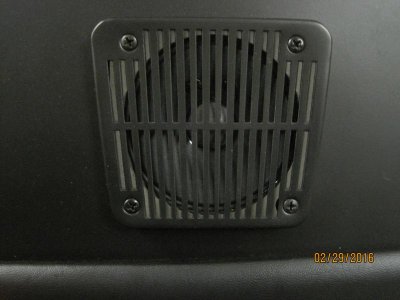
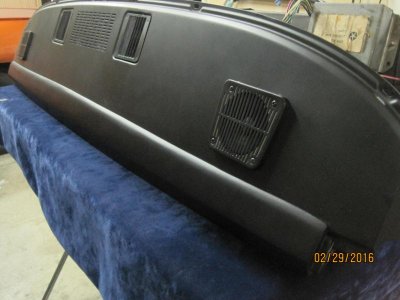
Working on the dash next. Got the new speakers in.
IMG_3304.jpg

IMG_3306.jpg
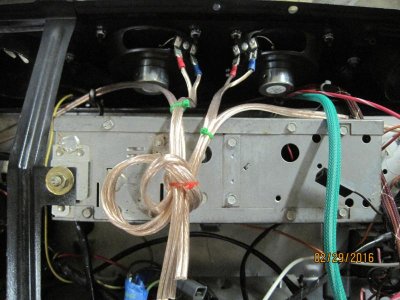
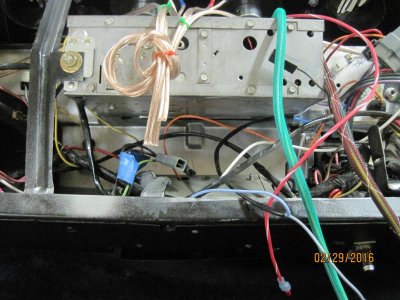
Pre-wired the speakers and zip tied them for now. I'm replacing the original AM/8 track player with a modern unit from RetroSound. They have recently released their Redondo line for early Mopars but the thumb wheel radios won't be ready until the end of March. Until then its just the sweet sound of the headers!
IMG_3309.jpg

The braided lines are from the Classic Air DER controller. Notice the OEM fader knob underneath the dash.
IMG_3310.jpg

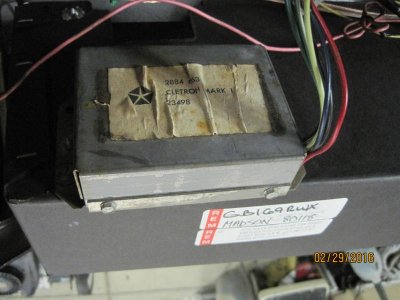
When I bought the car it didn't have a glove box, but the PO left a new one in the trunk, still in it's YO box. I took a quick peek inside, then closed it up and it's been sitting in the garage for the past two years waiting for this day. When I took the glove box out, sitting inside was the original Chrysler Cletron Mark I crossover box, part of the "premium" sound system with fader control. It doesn't work with modern electronics but I installed it in it's original place on top of the glove box, for the next guy who takes apart the dash.
IMG_3305.jpg
 
Check the clearance for the heater control cables to the center speakers. The magnets on your speakers look smaller than mine, so I don't think it will be an issue?
 
Check the clearance for the heater control cables to the center speakers. The magnets on your speakers look smaller than mine, so I don't think it will be an issue?

The magnets on the new center speakers are much smaller than the OEM 4 x 10. That being said, the control cables will be zip tied out of the way. The vent ducting will also have to be carefully routed. I have to give props to Classic Air, their Perfect Fit series is an accurate term.

- - - Updated - - -

Nice work.

Thanks 69.
 
Great work and progress. The only problem with your headliner installation was that your guy wasn't able to put the wrinkles in the back that I expertly put in mine! :grin:

All the time spent dressing the wiring will pay off later - nice work!

Hawk
 
Great work and progress. The only problem with your headliner installation was that your guy wasn't able to put the wrinkles in the back that I expertly put in mine! :grin:

All the time spent dressing the wiring will pay off later - nice work!

Hawk

It's amazing how the pros put in headliner. One man, two hours, no wrinkles. For whatever reason, wiring intimidates me. But then once I start digging in it seems to flow. I've lost precious time with "paralysis by analysis".

- - - Updated - - -

Beautiful work, love the descriptive pictures that self explain.

A picture is worth a thousand words, which is about 990 more than I could use to explain what Iv'e done.
 
The magnets on the new center speakers are much smaller than the OEM 4 x 10. That being said, the control cables will be zip tied out of the way. The vent ducting will also have to be carefully routed. I have to give props to Classic Air, their Perfect Fit series is an accurate term.

- - - Updated - - -
Thanks 69.

I didn't know it had a classic air system. I'd like to see more pictures of the classic air controls. Was this an original A/C car?
I used the vintage air system, but don't care for their hose routing.
 
I didn't know it had a classic air system. I'd like to see more pictures of the classic air controls. Was this an original A/C car?
I used the vintage air system, but don't care for their hose routing.

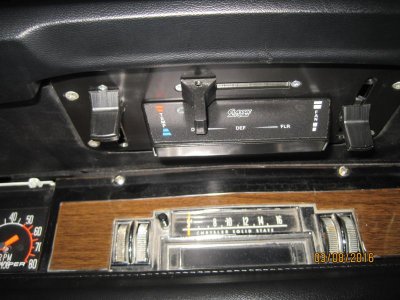
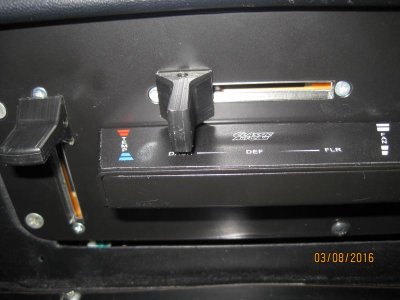
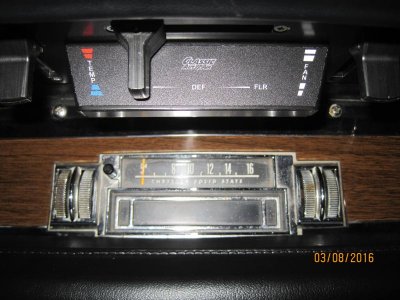
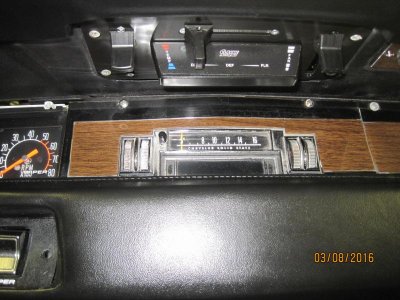
Here's a few close ups of the CA DER controller. It's literally a bolt in replacement. The Coronet was non-A/C originally. The CA kit came with a template to drill the additional holes in the firewall to install their system.
IMG_3311.jpg
IMG_3313.jpg
IMG_3317.jpg
IMG_3319.jpg
 
Looks familiar!

My system worked great on our cross country drive. I used the A/C on brutally hot days and the heat and defrosters when it was 28 degrees and we stayed at the Grand Tetons. Only issue is distribution of A/C to the back seat is tough, but that is seldom a problem since we seldom carry passengers.

Keep up the good work!
 
Looks great.

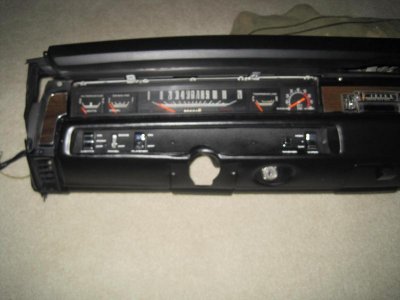
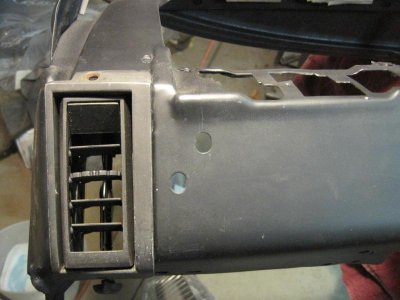
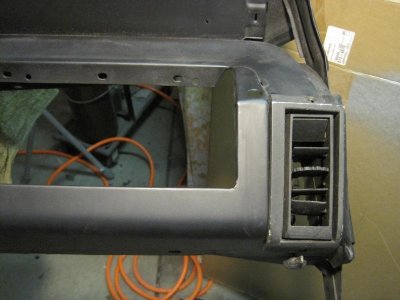
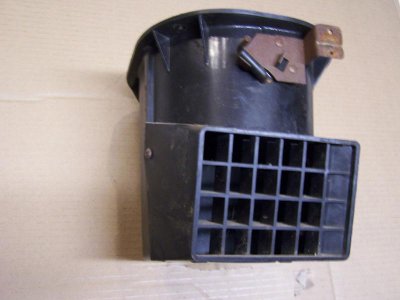
Can you still install the old vents on both sides? My car doesn't have them but it looks like they would fit.
 
Looks great.

Can you still install the old vents on both sides? My car doesn't have them but it looks like they would fit.

I installed OEM vents in the sides. Bought used ones off of a FBBO member.
IMG_2138.jpg
IMG_2096.jpg
IMG_2097.jpg

Check out post #93 for more detail.
 
CornetDuster, I'm doing the same thing, installing the OEM side vents. Did you put any type of vent in the middle. I have the middle vent but I don't have a AC dash pad. I'd really love to put it in. Does anyone make a repo AC dashpad? Thanks
 
Auto Transport Service
Back
Top