• When you click on links to various merchants on this site and make a purchase, this can result in this site earning a commission. Affiliate programs and affiliations include, but are not limited to, the eBay Partner Network.

1968 Coronet 500 Project

Long chat with Barry at SPI. He gave me some interesting pointers. My new quart of base will be here Monday and I will be trying it again. I will report the tips and the results after I give them a try.
 
Got the dog pen and tarp set up in the driveway. Since I am stalled on the paint I may as well spend a fun filled weekend sand blasting front end components and the K-Frame…..
 
So here are a few shots of the Coronet after 2 coats of SPI Universal Clear… but I noticed I did not clean the black overspray very good and I have dark streaks on the orange under the clear… Arrrggggggg…. Barry at SPI told me how to fix it….

DSC_0002.jpg
DSC_0004.jpg
DSC_0006.jpg
DSC_0001.jpg
DSC_0003.jpg
DSC_0005.jpg
 
So I spent the weekend wet sanding the 2 coats of clear so I can shoot a bit more base over my screw ups and cover up the dark smears under the clear…

DSC_0007.jpg
DSC_0009.jpg
DSC_0011.jpg
DSC_0008.jpg
DSC_0010.jpg


Put the doors on to make sure the paint blend nicely since the inner jambs now have base and clear on them. I am getting really good at installing doors by myself and without a jack :)

I also spent time sand blasting the front end, inner fender and miscellaneous parts. I was going to buy the Moog OEM rebuild kit for the front end but I am not seeing the reason to change out the ball joints. The boots are solid and the joints are still nice and tight after 45 years and 88,000 miles…..

I also removed the upper control arm bushings and removed the lower control arm bushing. My Energy Suspension kit does not include the lower control arm bushing.. that sucks. Had to order one from Hotchkiss.

DSC_0012.jpg
DSC_0013.jpg
 
Stopped by the auto body supply shop today. Here is a hint at the number 1 of the 3 big hitters in not having dust and dirt in your paint job per Barry at SPI. "Wise (painter) man never uses inexpensive brown masking paper if he wants quality paint job. He uses blue or green".
DSC_0001.jpg
 
All right I hit the mistakes of black overspray on the orange under clear with fresh base that arrived from UPS yesterday. The orange is now ready for clear.. I also ordered another quart of black and good thing I did as there are too many small orange specks in the black. I used my new dust free blue masking paper and it does work much better…

DSC_0005.jpg
DSC_0006.jpg


Waiting for the grease and wax remover to dry before painting the black.

DSC_0007.jpg


Now I MUST clean any overspray up COMPLETELY this time….

"Coronet Paint Job 2, the Search for Dry Air"

I also stopped by Ace and bought some pipe to make some water traps. I thought about how to arrange it and this is what I came up with. I did some sandblasting yesterday and it is clearly much better as I did not have water dripping out of the quick connector at the blaster tank! There was some half brained theory as to why this would best this way, I can't prove it one way or another but it does trap in the down spouts.

DSC_0008.jpg
DSC_0010.jpg
DSC_0009.jpg


Lastly I ordered a desiccant snake for the last batch of painting. Lets see if the small speckles are gone in the clear tomorrow morning..

DSC_0011.jpg
 
Oh my, I can't believe it! Under hood and trunk clear coated along with the door jambs. Letting the dust settle and the door jambs dry tonight so I can close the doors and I am ready for the last 4 coat of clear in the morning! I can't believe I am finally here. There is only one spot that should have been fixed but it is in the passengers door jamb at the back bottom. It still has the black smears under the original clear mess up. Most will be covered by the sill plate so I can live with it. There are only a few minor imperfections but they are not worth the effort to deal with.

The door jambs look great….. I hope the rest of the car looks as good after I spray it.

DSC_0002.jpg
DSC_0003.jpg
 
6 hours and 5 coat of SPI Universal Clear later here she is! The pictures look a little better than real life. It is good enough that a little wet sanding and buffing and it will will look like glass… It has been a hard long road but I can see the light at the end of the tunnel!

DSC_0005.jpg
DSC_0008.jpg
DSC_0003.jpg
DSC_0006.jpg
DSC_0001.jpg
DSC_0004.jpg
DSC_0007.jpg
DSC_0002.jpg
 
Congrats Jim, it's looking great.

So-so, if you look down the length of it there is a lot of texture in the clear. I will be wet sanding next weekend after it dries good and hard and see what I have. It took me till the 4th coat to get the hang of the gun flow of the UC.
 
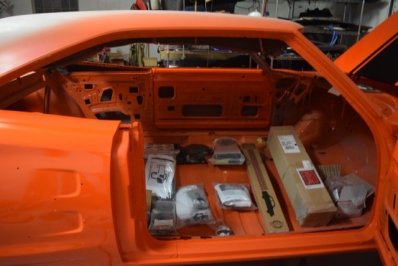
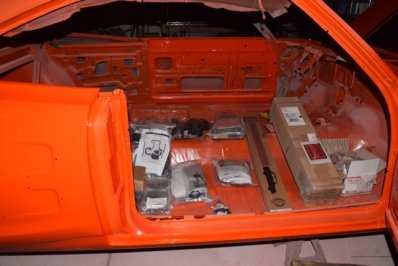
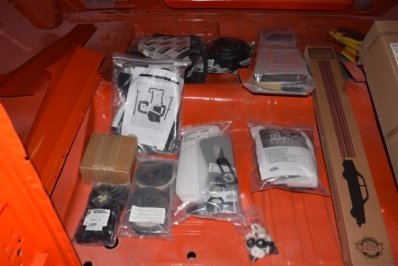
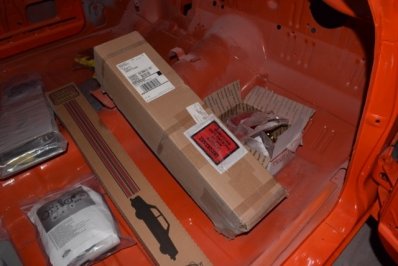
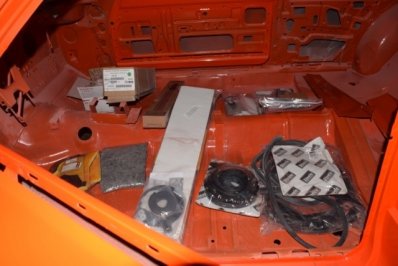
Took a break this week after the stress of the paint job I was cooked for a bit, plus I picked up some sort of flu that put me down for a few days. I am getting very anxious to start the assembly process.... I am not sure where all these parts came from.... I did not notice all that many UPS deliveries over the last few months dear......who? Classic Industries? I think I have heard of them....

DSC_0001 (1).jpg DSC_0002 (1).jpg DSC_0003 (1).jpg DSC_0004 (1).jpg DSC_0005 (1).jpg
 
Spent this afternoon getting ready to epoxy paint the front end suspension components. My Moog steering parts came in Friday along with my ball joint socket so I disassembled the control arms and installed the Energy Suspension upper control arm bushings. I made a video on how I did it as it turned out to be very easy to do without a press if you use some ingenuity....


The paint looks fantastic! I work at a hot rod shop that builds some pretty high end stuff to compete in shows like Detroit Autorama for the Riddler Award, and even in a heated semi-downdraft paint booth we get dirt nibs and textured/orange peeled clear. What matters is how it looks after weeks of wet sanding and rubbing the clear. I think you will be pleasantly surprised on how mint your paint will look after you give it some lovin' with some sand paper and compound! :thumbsup:
 
The paint looks fantastic! I work at a hot rod shop that builds some pretty high end stuff to compete in shows like Detroit Autorama for the Riddler Award, and even in a heated semi-downdraft paint booth we get dirt nibs and textured/orange peeled clear. What matters is how it looks after weeks of wet sanding a rubbing the clear. I think you will be pleasantly surprised on how mint your paint will look after you give it some lovin' with some sand paper and compound! :thumbsup:

Thanks, yes the more I look at it the more I agree that it is not that far from looking great.
 
Nice job with the bushings. Where did you get your front end rebuild kit?
 
Nice job with the bushings. Where did you get your front end rebuild kit?

Bushings:

http://www.energysuspensionparts.com/5.18105

You don't get the lower control arm bushing for the pivot shaft, I ordered a Hoschkis one from Classic Industries that came earlier in the week.

http://www.classicindustries.com/product/mopar/b-body-coronet/parts/h21366.html

The Ball Joints, Tie Rod ends and Idler Arm I ordered the individual restorers choice numbers from Classic. I did not buy the kits as they includes parts that I did not need as mine were like new and it saved me $50 or so.
 
Auto Transport Service
Back
Top