• When you click on links to various merchants on this site and make a purchase, this can result in this site earning a commission. Affiliate programs and affiliations include, but are not limited to, the eBay Partner Network.

1964 Polara Convertible Project

I forgot to post this interesting pic the other day when I brought the Polara home from the blaster's.

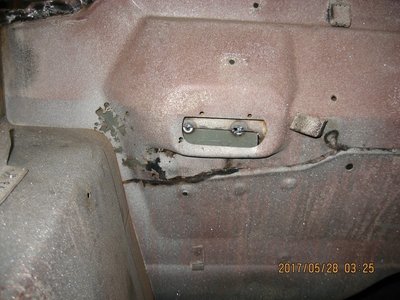
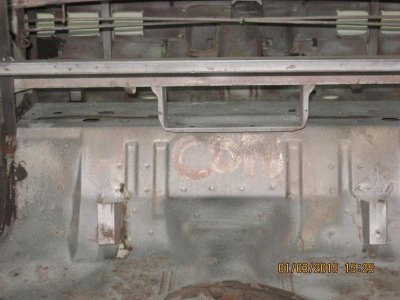
Underneath the dirt and thin layer of paint on the rear seat support, the sandblasting revealed 2 wide paint markings from the factory. In the center of the metal you can see the letters 'CON' and to the left of that in the photo you can see the letter 'H'. Since my car is a convertible that was built at the Hamtramck plant, I'm assuming that's what these markings indicate. I'm guessing that this area is structurally different on a convertible vs. a hardtop, so these paint markings could have told the assembly line guys that this stamped piece of steel was for the next convertible car frame coming down the line.
IMG_0833.jpg

- - - Updated - - -

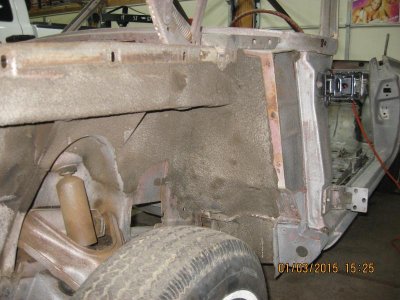
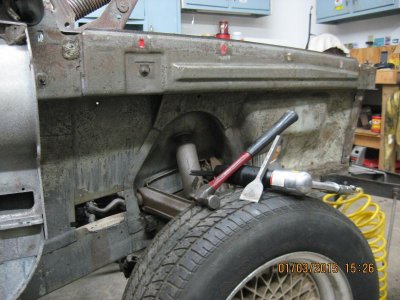
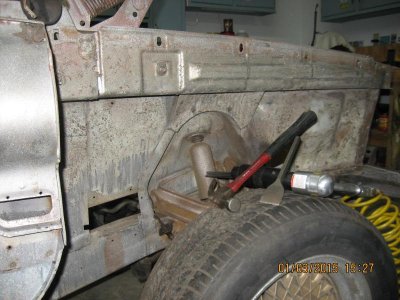
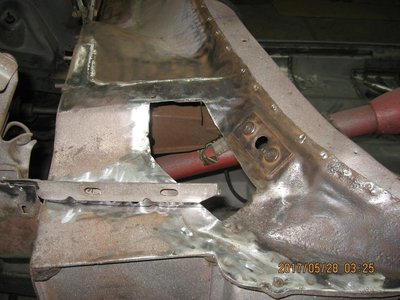
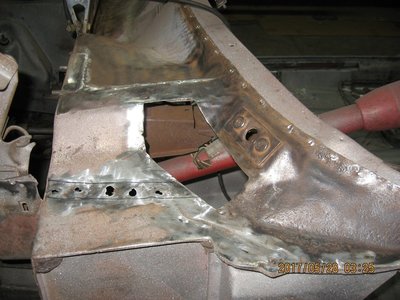
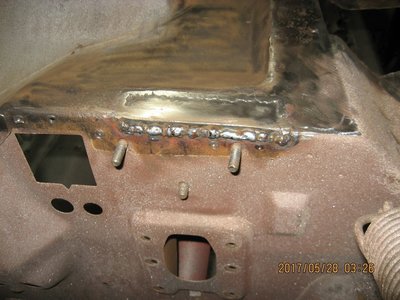
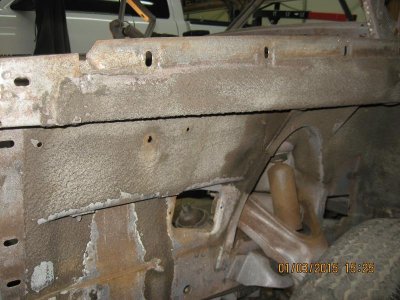
It was a rainy day here yesterday so I worked on the car for a bit, removing the factory undercoating from the inner passenger side fender area and lower firewall. (FYI...Sandblasting does not remove this stuff!) I found pretty good success using a wide cold chisel for the long, straight, flats on the fender followed by a needle scaler. It took me about 2 hours to get this fender area clean, and I'll eventually hit it with a wire wheel or sander to finish it up. The pic's show the drivers side of car (my before pics), and then several (after) pics of the cleaned up passenger side.

No rust here I'm happy to say, and after 50 years the factory undercoat was still going strong!
IMG_0834.jpgIMG_0835.jpgIMG_0838.jpgIMG_0840.jpg
 
A little heat with the propane torch and it will come off like warm butter. It may burn a little but will go right out. Then wire brush. Try it, you'll like it.
Doug
 
hey steve. this is rob. I never responded to the AMD question you asked me on my build page for the "my max wedge build". the AMD trunk fit great. The AMD floor fit "mostly" great. I had to massage it a bit to fit tight around the tortion bar crossmember and there where some gaps on the outer edges of the door sill, but overall fit as good as I could expect..
 
Thought I'd post here this morning to let you guys know that I'm still alive and working on the car - when other projects let me. Lol!

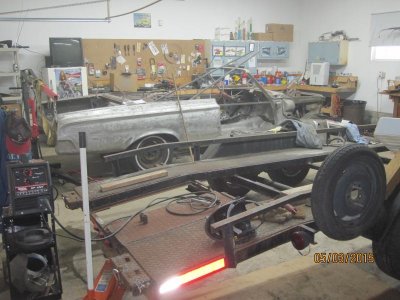
My garage has been full with several other tasks that I needed to work on since I last posted on this thread in January. The last 'other task' was modifying a car trailer so my brother could fit/haul his Kubota tractor on it. I also was sick for about 2 weeks during January (flu bug) and then the new AMD metal that I needed was back ordered from the supplier for about a month.

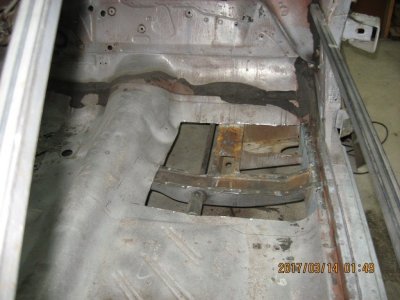
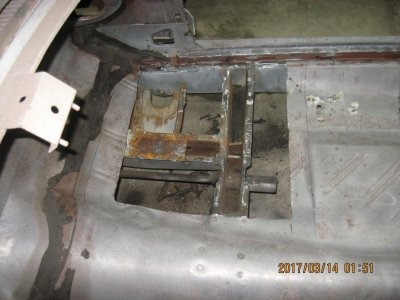
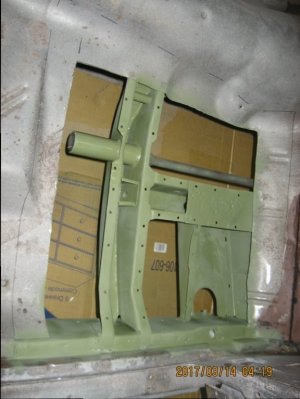
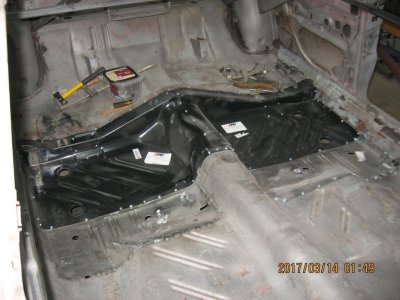
Btw.... I bought the rear seat 'feet' pans and a trunk extension piece from AMD thru Jeff at 521 Restorations. Like many before me have said here on the site, Jeff is a great guy to work with and I now know that first-hand. He took my order to get me 'in the que' at AMD, but he didn't ask for any money until the parts were available again and ready to ship. He stayed on top of things and was proactive in keeping in contact with ME vs. the other way around. Customer service like that just isn't found anymore in this day and age, so thanks Jeff!

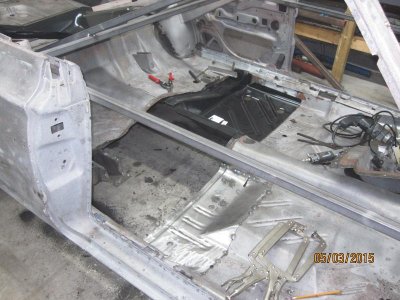
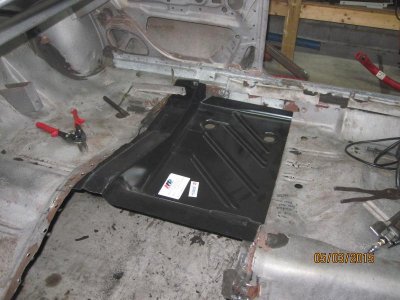
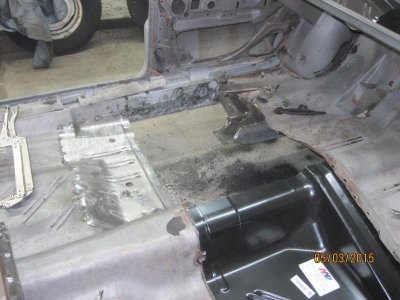
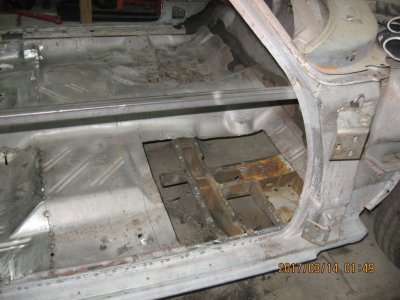
Here's a few pic's on where I am right now on my floor pans. The AMD metal looks like it's going to work out just great and I hope to get back on the old Polara sooner vs. later....

IMG_2543.jpgIMG_2545.jpgIMG_2546.jpgIMG_2547.jpg
 
Hi Guys,

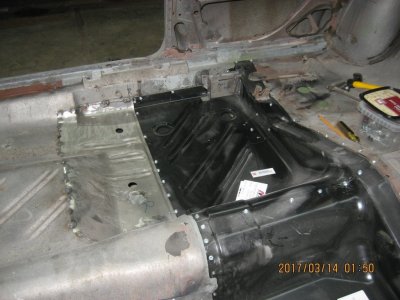
It's been awhile since I've posted on FBBOand even longer since I've been able to get back to the Polara but I have been able to resume work on her this winter. These pics are fairly recent but by now the front passenger pan is completely welded in and I'm working on removing the screws in the rear pans and welding them in too.

I bought an NOS Cowl from a member here this past Christmas, so after I weld the rear pans I'm going to pause on the floorpans and move up to the cowl area. I'm going to remove the old cowl to get to the rot I have under it, and then with the help of more experienced friend, make the repairs up there while he's available to help me.

I'll try to do a better job of posting pics as the cowl work progresses.... :)

IMG_1398.JPG IMG_1399.JPG IMG_1404.JPG IMG_1407.JPG IMG_1400.JPG IMG_1402.JPG
 
Lol! Thanks Glenwood. My friend is an experienced fabricator and body man so I'm hoping that with his help it won't be too painful. It's gotta be done though...
 
I have some writing on my 67 Belvedere convertible . . . too . . . I'll try and get a better picture
But it looks like 6-22 on the left side of the cross member ( I'm not going to paint over it - it's staying in the car )

194915-b37d13db452f9e17d9ce9f22aab91ae7.jpg


Cool stuff - and we may never know what it's for ( or what it meant )

Here's a little better picture . . .

144958-6f77a4e02bbd8cabaa5fa6e22320a328.jpg


Very interesting stuff Conv67bdere, thanks for sharing. And I agree....I don't think we'll ever know the reason behind everything the factory did with these cars.
 
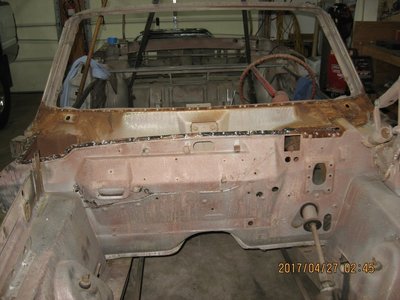
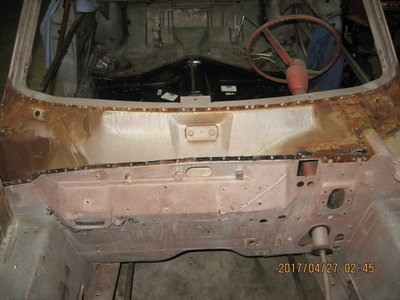
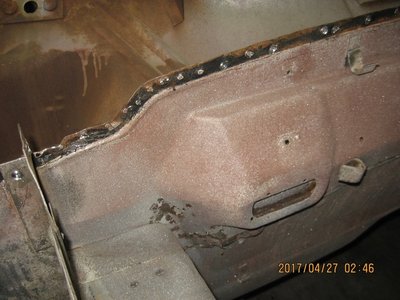
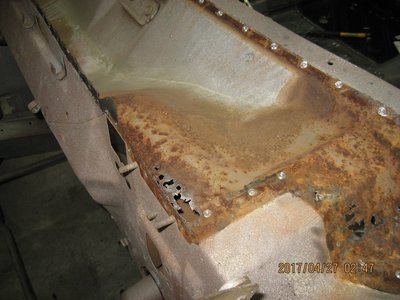
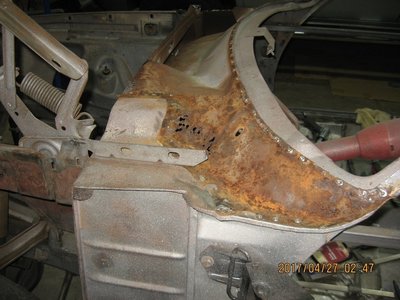
Pics are a few weeks old but I was able to get the old cowl off fairly easily. Just need to be patient drilling out all of the spot welds as the factory welded things together about every 2 to 3 inches both at the firewall joint and the area at the windshield.

I have some of the bad areas cut out now and new metal tacked back in place. I'll try to take and post those pics on Friday.

IMG_1446.JPG IMG_1447.JPG IMG_1449.JPG IMG_1451.JPG IMG_1453.JPG IMG_1448.JPG
 
Pics are a few weeks old but I was able to get the old cowl off fairly easily. Just need to be patient drilling out all of the spot welds as the factory welded things together about every 2 to 3 inches both at the firewall joint and the area at the windshield.

I have some of the bad areas cut out now and new metal tacked back in place. I'll try to take and post those pics on Friday.

View attachment 427736 View attachment 427737 View attachment 427738 View attachment 427739 View attachment 427740 View attachment 427741
Why the he** did Mopar design the inner cowl area so it had a dirt and debris trap on the drivers side. ? If you have one that is not rusted out, you are lucky. The stock weep hole is so small, I drilled a larger one and can flush the cowl out now..........................MO
 
I was fortunate enough last Christmas to find a member here selling an NOS cowl at a reasonable price so that made the decision to remove the old one and repair things underneath it a 'no brainer.' The first thing I noticed on the replacement NOS cowl vs. my original one still on my car was that it had a small raised area on the drivers side of it for drainage.

My guess is that the Chrysler engineers realized their design mistake and tried to correct it (at least on the driver's side of the cowl) on their replacement parts sometime soon after production of the '64's began. But you're right MO, the entire cowl area (which I read was the most expensive part of the car for Chrysler to make) trapped an awful lot of debris.
 
Some add'l follow-up/progress pics...... The weather has been dreary here since last Wednesday so I've been motivated to spend time in the garage. :)

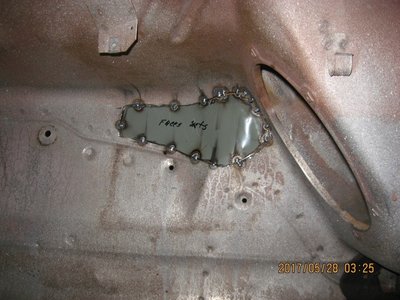
New metal tack welded on the inner firewall, passenger side.

IMG_1498.JPG
 
This area on the engine bay side still has to be carefully cut out and patched... You can see part of my new inner patch visible through the drain hole. Kind of a tricky area where these 2 pieces (inner and outer firewall) come together.

IMG_1499.JPG
 
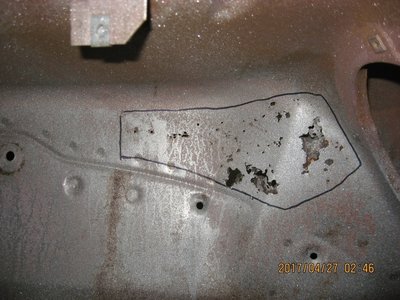
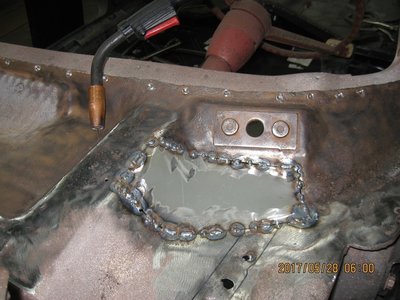
Cut out the large area just below the wiper mount on the driver's side. The bracket on top that you see also had to be removed in order to properly fix this area.

IMG_1500.JPG IMG_1501.JPG
 
Area above the brake booster mount is repaired/patched with new metal. Just need to grind down the welds when my 3M order arrives (grinding disc's) next week.....

IMG_1502.JPG
 
Fabricated a new piece here and got it tacked in before quitting yesterday evening. The original metal bends and rolls here in several directions and I'm pretty happy with the result but it took me quite awhile to get there. lol

Also, when I removed the top cowl piece I had a bead of factory sealer running under it from the brake booster area back towards the windshield on the highest part of the 'under cowl'. I believe that the factory intent was to seal the top cowl cover to the 'under cowl' here to try and keep excess water from going to the driver's side of the cowl - right where I had to make this large repair.

I was going to put a bead of new sealer back in the same spot when I got to that part of the restoration, but a friend advised me not too since sealing that area off like that could inhibit air flow thru the cowl which aids in drying things out. That made sense to me so I won't be putting any sealer in that area.

IMG_1503.JPG
 
Fabricated a new piece here and got it tacked in before quitting yesterday evening. The original metal bends and rolls here in several directions and I'm pretty happy with the result but it took me quite awhile to get there. lol

Also, when I removed the top cowl piece I had a bead of factory sealer running under it from the brake booster area back towards the windshield on the highest part of the 'under cowl'. I believe that the factory intent was to seal the top cowl cover to the 'under cowl' here to try and keep excess water from going to the driver's side of the cowl - right where I had to make this large repair.

I was going to put a bead of new sealer back in the same spot when I got to that part of the restoration, but a friend advised me not too since sealing that area off like that could inhibit air flow thru the cowl which aids in drying things out. That made sense to me so I won't be putting any sealer in that area.

View attachment 428976

So what if you took a while to get there . . . I think you did a great job on it, and that's all that matters. You did it . . .

Very Nicely done ! ! !
 
Auto Transport Service
Back
Top