• When you click on links to various merchants on this site and make a purchase, this can result in this site earning a commission. Affiliate programs and affiliations include, but are not limited to, the eBay Partner Network.

1950 Dodge Panel Van (My Long-Term project that needs to be completed!!!)

Exhaust manifolds
20170920_195021.jpg


EGR run on stock exhaust manifold
20170920_160901.jpg


EGR run on passenger side head... I should have run a piece of metal through it to see the actual path :(
20170920_161155.jpg

20170920_161146.jpg


EGR block (not welded on yet because I'm not convinced I even need to block it off if I remove the tube completely from the intake)
20170920_160625.jpg

20170920_160631.jpg


Header video


'06 Instruments with '04 instrument bezel
20170919_170211.jpg


'04 Instruments compared to '06 instruments
20170919_170248.jpg
 
So I worked on steering tonight. Started the night by cutting apart, rotating and re-welding the double u-joint. Then I mocked up the u-joints and loosely fit some sections of shaft together. Unfortunately, I don't have exactly what I need to do the make the shaft work. But have no fear, the junkyard will be open again tomorrow. I did a quick Google search and have a few ideas on donor vehicles to check for parts.

I do have a better idea where the shaft will run and where it will break through the firewall. Especially since I cut even more of the firewall out.

So I started working with cardboard to lay out the new section of firewall that will house the brake booster and gas pedal. I'll work on the area where the steering shaft passes through once I have the shaft cut to size, welded up (or bolted together) and ready to go in.

Anyway... No pics tonight, but that's the update.
 
Here is what I used on my work project, 49 F1 on an 04 Explorer chassis, for my brake booster mock up. I put a new firewall in so I needed something to duplicate the size of the booster. This worked great. Punched holes through it to mark out for mount studs and center hole for booster shaft. Held it on with a magnet until I had it figured out. Since the brake pedal unit, off the Explorer, mates up on the booster mount studs I needed to nail it on the first try so it wouldn't look like termites got to the firewall. Good use for an empty 134 container.

IMG_1831.JPG IMG_1832.JPG IMG_1840.JPG
 
I haven't gotten much of anything done in the garage for a while now. The Wife and I have been busy just dealing with life. We had to put our 11 year-old dog down (extremely tough on all of us), my wife had a wedding cake and cupcakes to put together for a good friend of hers, we got a puppy, we're trying to potty train ths 2-year-old and the doctor found a lump in my wife that they can't identify (even with the biopsy). But we rest assured in the fact that God is in control and that He has a plan for everything.

More updates soon, though. I have a real itch to push forward and get this truck done!
 
You are so correct in that God is in control. Hope things work out. My car has been back burnered too as we have been doing house fixes.
 
Although I haven't been able to get much down in the garage, I haven't stopped thinking and planning. Last thing I was working on was the firewall. I have everything planned out for the firewall and can hardly wait to get it all fab'd up. I have a new steering wheel in the works. The exhaust plan is finally coming together too. Check these out...

Here's the steering wheel I picked up. It's a 14", Italian made, "Ruspachromo Torino" (straight off ebay) that I am actually pleased with the quality on. The wood does have a few scratches so it will need to be refinished. But a Nardi runs around $400 and I got this for $90.50 to my door. So, I can deal with re-finishing it. What do you think about the wood? Should I use a stain similar to what was original? Or should I use an ebony stain? Oh, the horn button is a repop of the 70's Dodge "Tuff Wheel" horn button. I think it works for this. Plus, it will help to cover the wide plastic column this will be mounted to (after I make the adapter).
20171017_090007.jpg


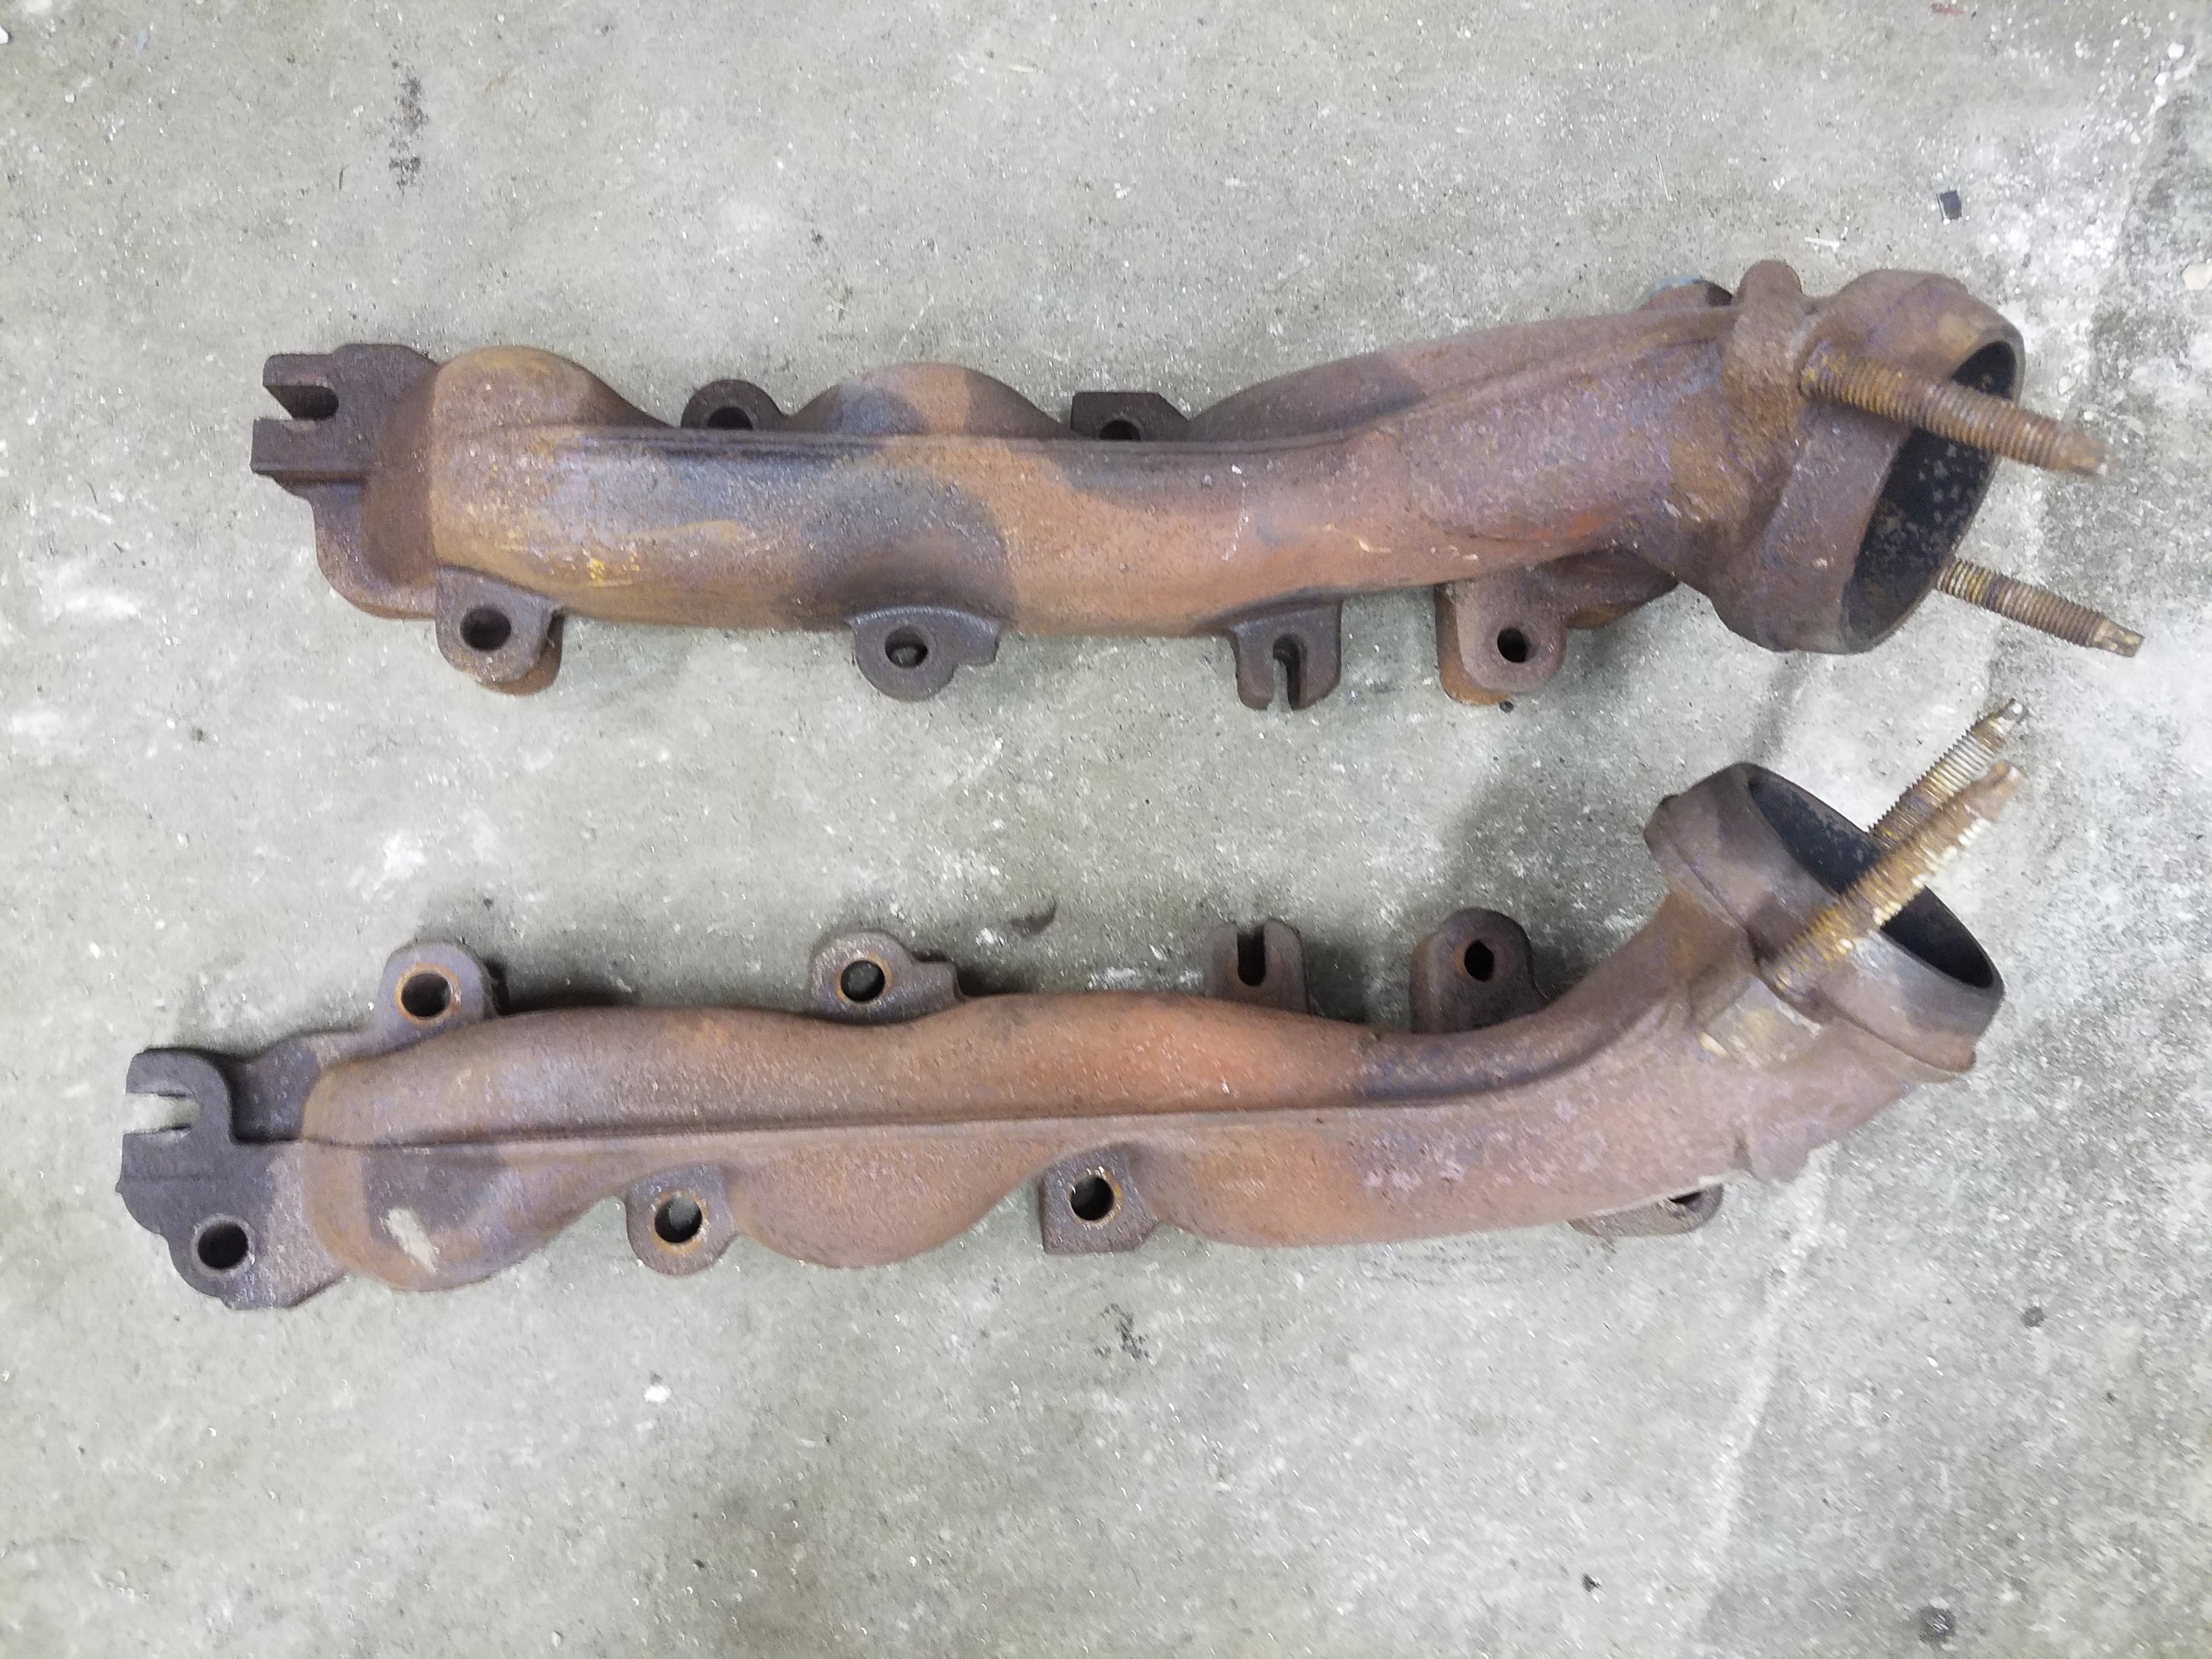
Lol... My drawing skills crack me up sometimes. Anyway... Here's a representation of the way I'll run the exhaust. You've seen the headers already. The Dynatech 4-bolt collectors finally came in (darn things are expensive!). I'll use a set of high-flow 3" catalytic converters. Then, I need to decide whether I can get an "X" pipe to work or whether I will need to go with an "H" pipe setup. An H would be so much easier to deal with here, but the X makes more sense to me when I think about the idea of exhaust flow. After the X or H, the 3" pipe will take a sweeping 90degree turn and head toward a polished 304 tip that will stick out through the running board on each side of the truck. Taking a step back... Just before the tip, I will insert some medicine for tired ears (a set of mufflers that will only be used when the cutout is blocked off). Unfortunately, Magnaflow only makes this muffler in a 2.5" version. GRRR. But okay. If I want more flow, I'll use the switches on my door to "roll down the rear windows." Of course, those switches will be ACTUALLY be routed to the exhaust cutouts... One per side
icon_wink.gif
I am going to have SO MUCH fun messing with cars on either side of me at stoplights or on the highway!! Seriously can hardly wait!

Fancy Drawing
20171017_125505.jpg


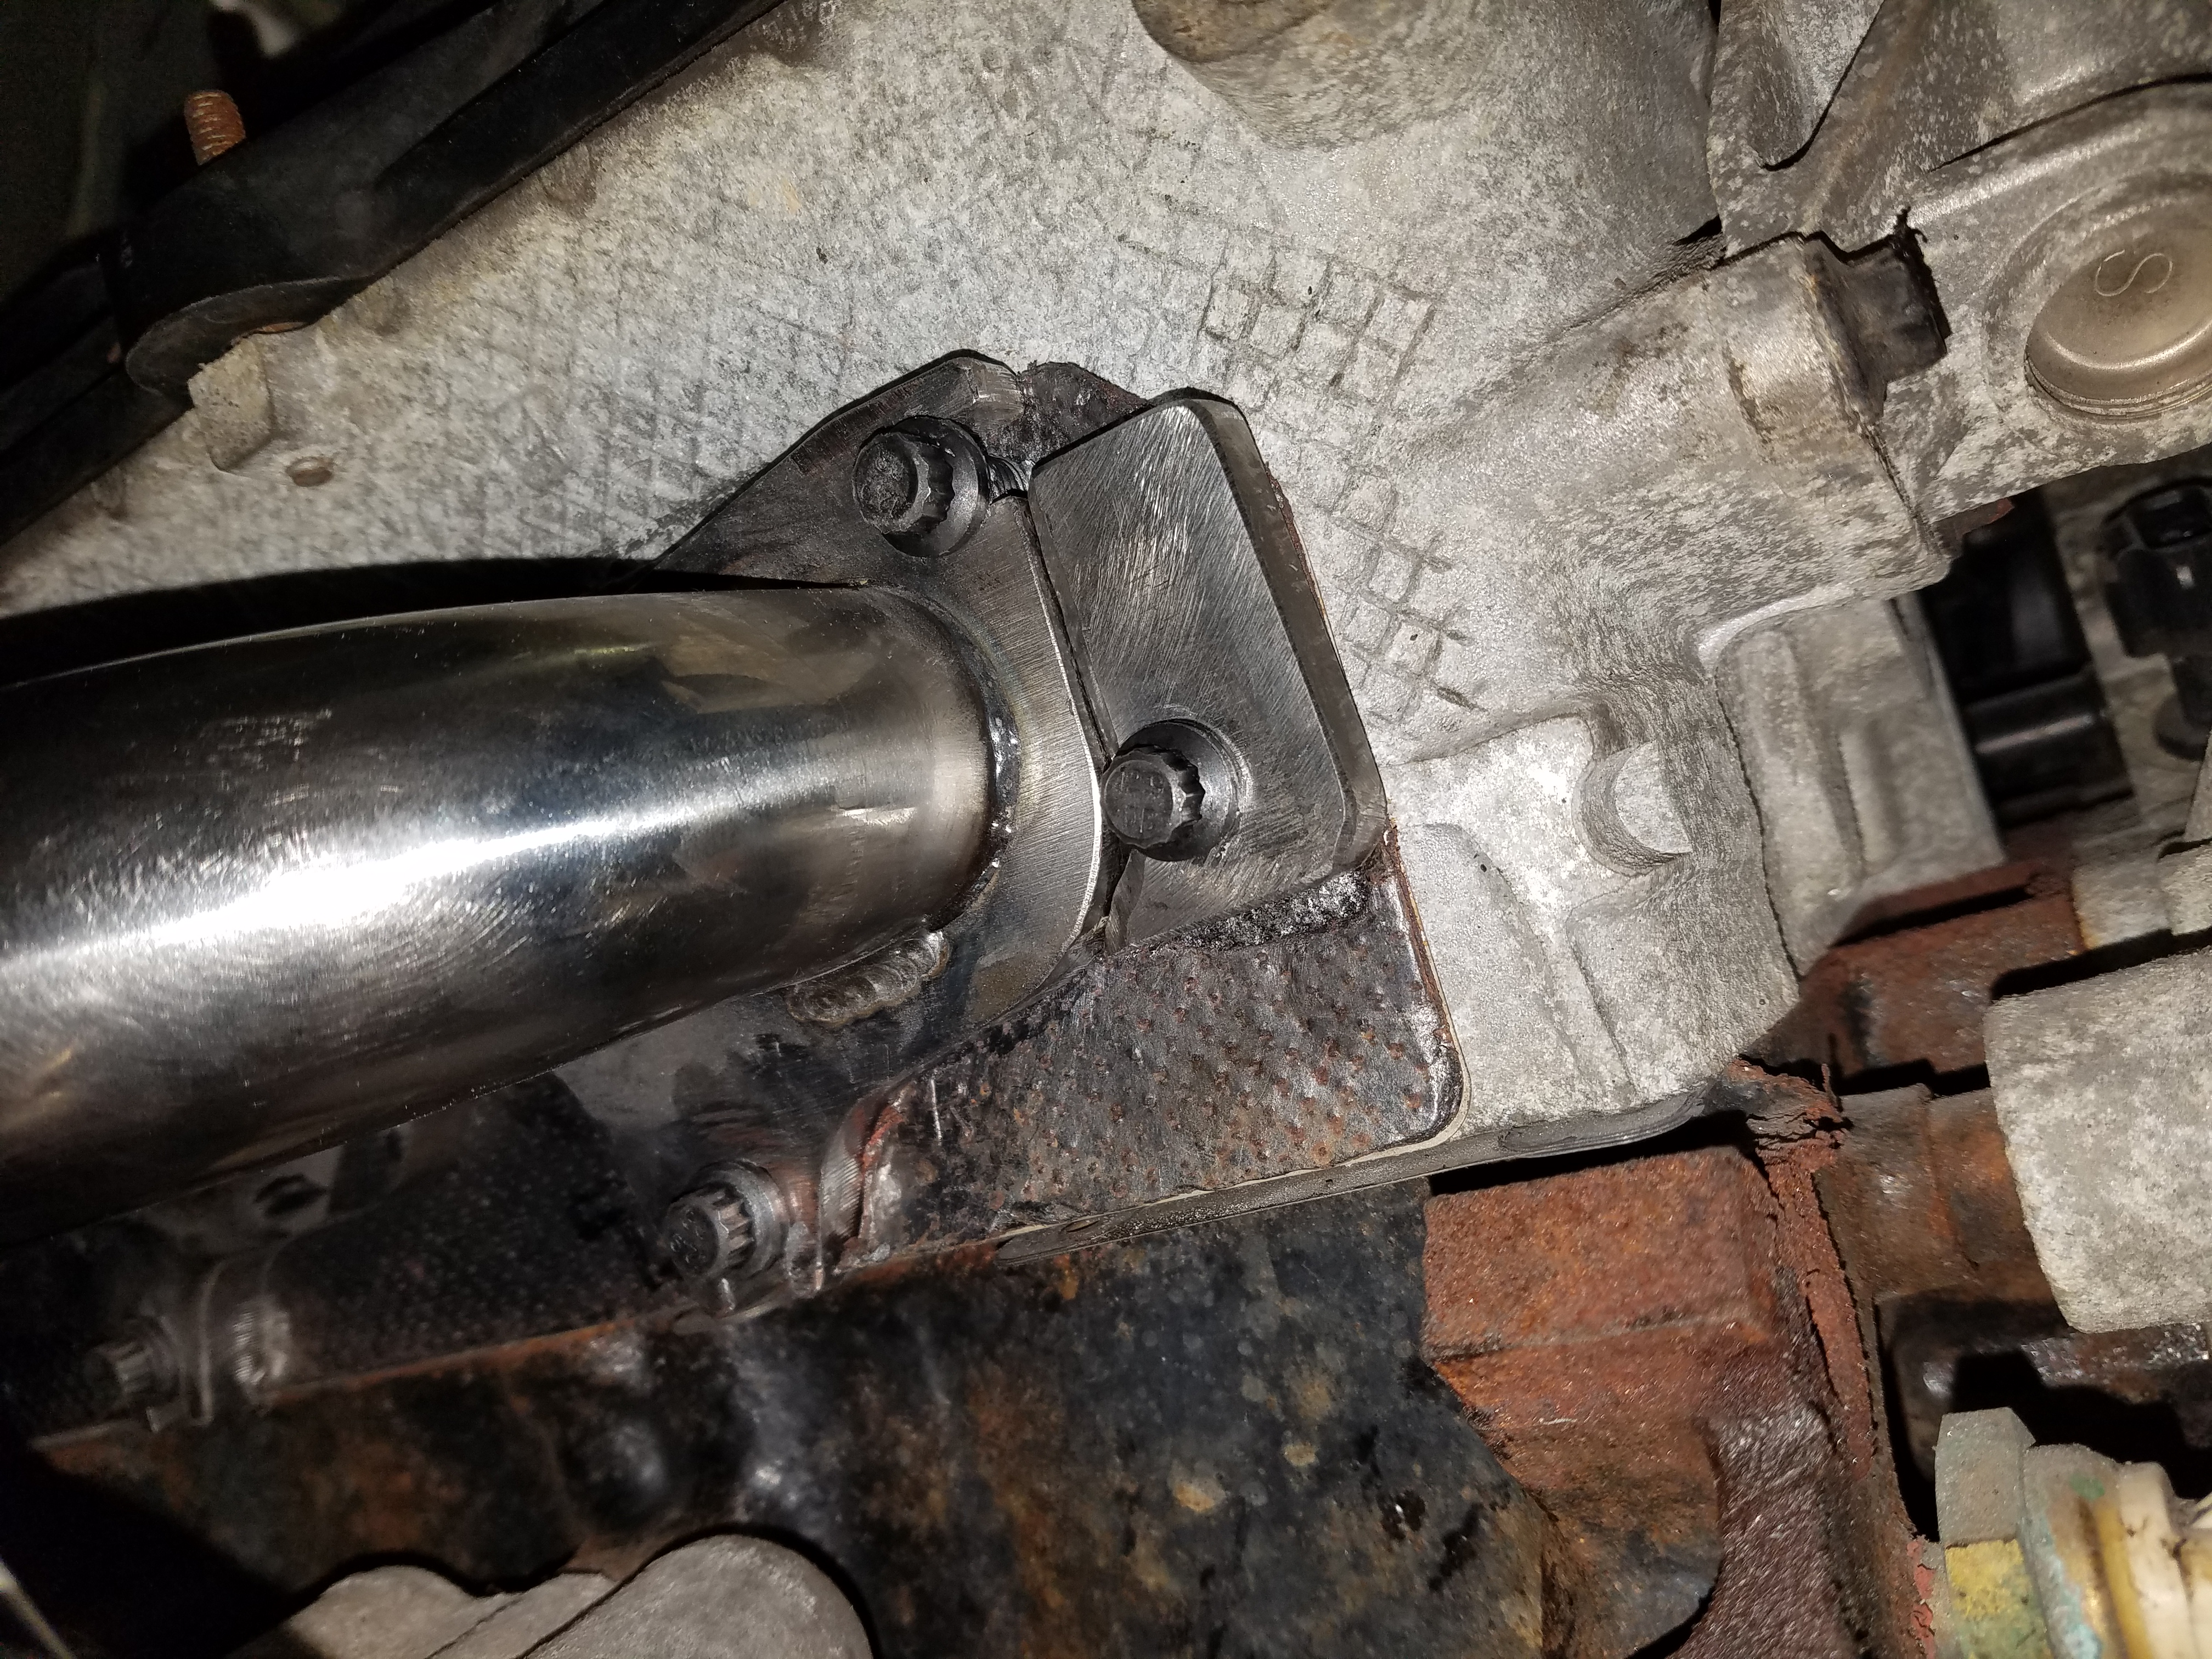
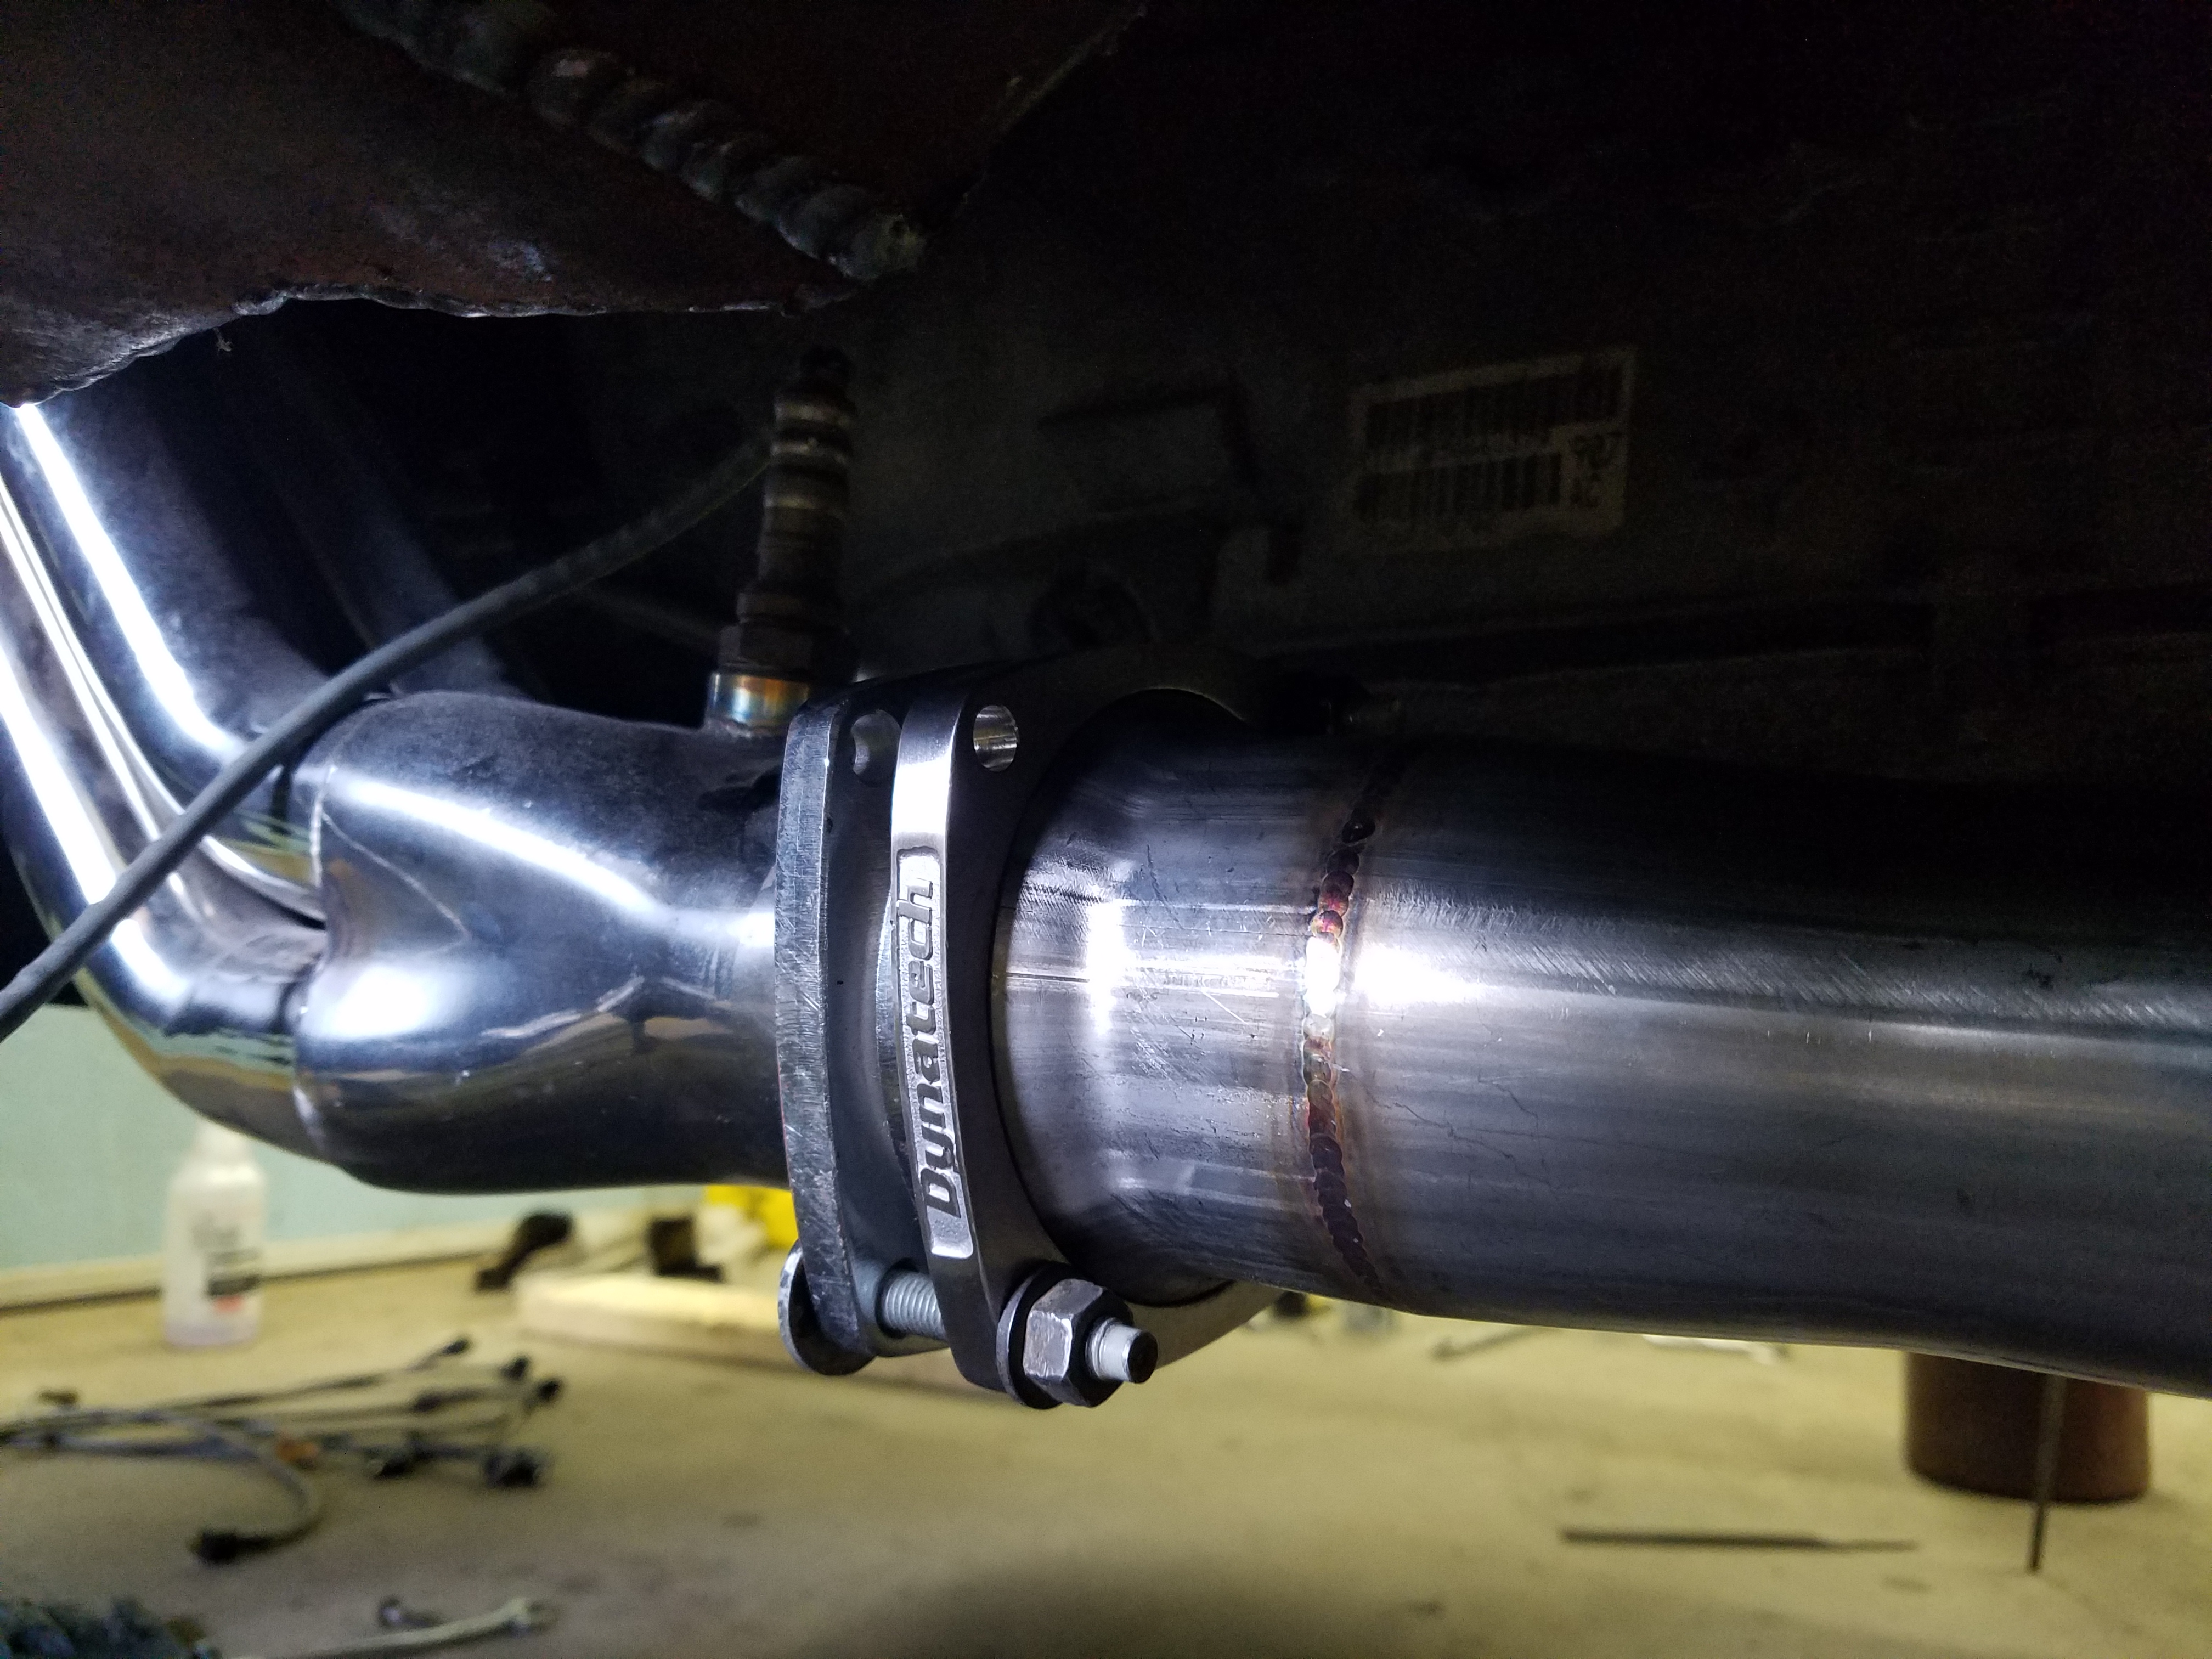
Dynatech 4-bolt collectors (I'll cut the collectors at the 3" level so I get full 3" flow instead of being restricted to 2.5"). Obviously, these bolts are just there so I could mock it up quick without having to open the other packaging.
20171005_155303.jpg


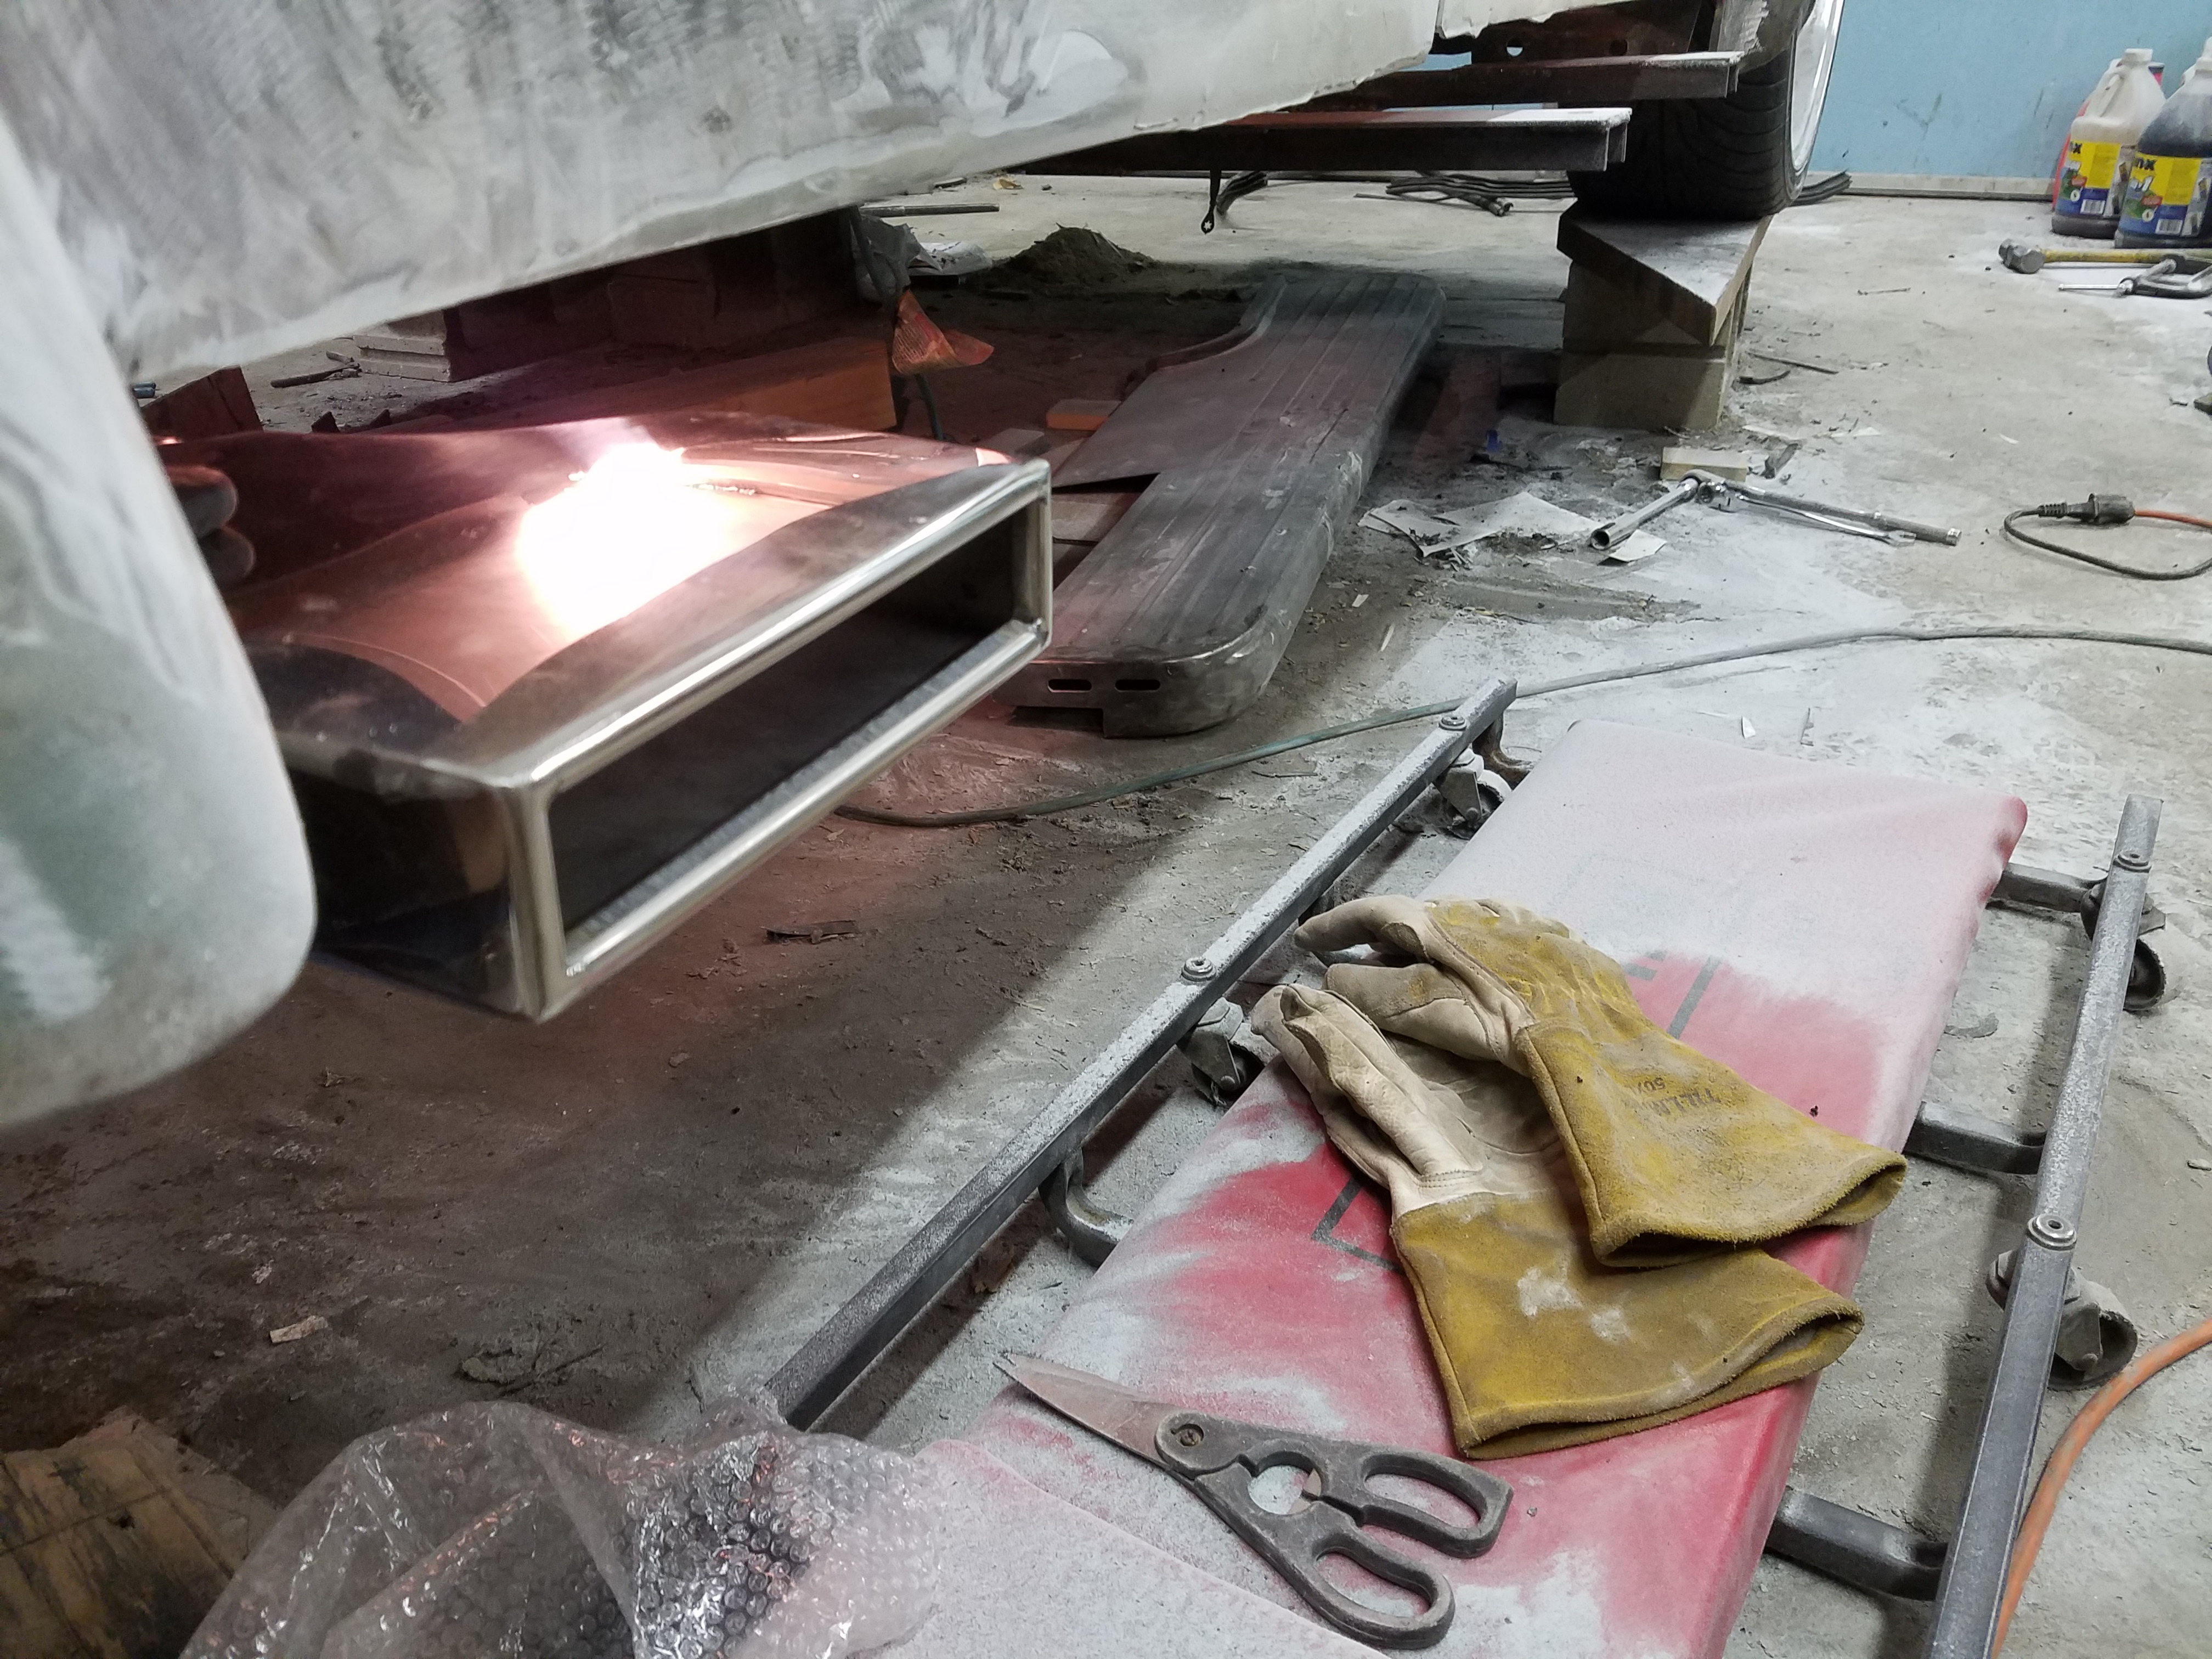
Here's the basic idea for the muffler on each side (turns out, this is what the Corvette C5 guys have to do).
images_1.jpg


Here's another shot of what the C5 Corvette guys do. I think this is a stock C5 muffler.
mufflerassembly.jpg


Here's the Magnaflow Muffler I'll be using (even though it only has 2.5" in/out). I already wrote Magnaflow to see what they thought about making a 3" version... They didn't like my suggestion :(
5 x 8 OVAL 14210
Magnaflow14210.jpg


Here are the ebay cutouts... We'll see how they hold up!
20171010_173414.jpg


Here are a couple pics of the tips I'll use. Of course I don't have the running boards cut out yet... you get the general idea though.
20160512_191550.jpg

20160512_191544.jpg
 
Neat and even though life takes over sometimes, you can still keep the brain active coming up with solutions to project needs.
 
Neat and even though life takes over sometimes, you can still keep the brain active coming up with solutions to project needs.
Isn't that the truth. Projects like this are sometimes a great escape from reality. Ya know:)
 
Creative idea for the exhaust. I’ve been thinking about using the same mufflers fir a side exit on my belvedere... and also want a bypass but don’t want the cutouts up front. This solves that problem - super cool.
 
So I don't have any 'real' updates right now... But I don't want this thread to die while it waits for me to make more progress :) Merry Christmas to all!
 
Auto Transport Service
Back
Top