• When you click on links to various merchants on this site and make a purchase, this can result in this site earning a commission. Affiliate programs and affiliations include, but are not limited to, the eBay Partner Network.

1969 Dodge Coronet R/T restoration, going one piece at the time

Thx for the compliments BeeKool!
Good idea about the hair dryer, i can use that but first need to make sure she is not at home seeing me running into the garage with her hairdryer :elmer:

Yeah most of the POR 15 came off with a scraper so it looks decent again!
 
Hey all,

Back home and back in business! :)
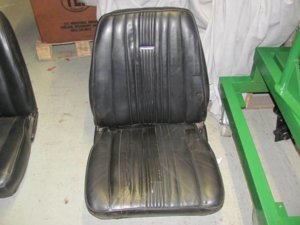
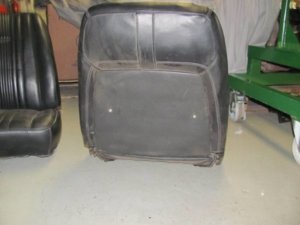
I got a message from a european based mopar shop that i asked a while ago if they had any '69 model bucket seats.
Now after some time they did find something, and now they will be on the way to me!
So i can build back some original style bucket seats, probably it will be by winter i will restore these, seats itself were expensive enough :(
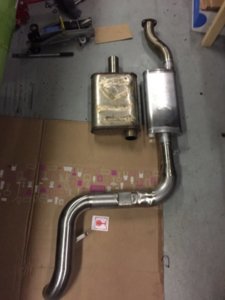
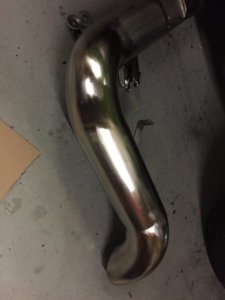
Got some new mufflers for the exhaust, finished one side and am busy polishing the side pipe before putting it back.
Forget to shoot a picture, will do later on.

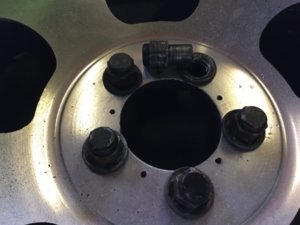
I broke all 5 wheel studs on the rear left wheel when i wanted to remove it to check the rim specs...never expected to be L/H threads :BangHead:
Should have stopped after breaking one, but strange enough due to the nut design (with the long nose that "centers" the wheel) they stayed inside the rim and only realised what happened after the 5th stud snapped (i thought snapped loose) the complete wheel was loose and just standing there :wtf:

Anyway, lessons learned and i got some other bolts lucky enough to fix it for now.
I decided to buy new wheels instead of getting these repaired, price wise will be same i think.
I will go for a set of American Racing, Torq-Thrust TTO wheels, 15x7" up front and 15x8,5" rear. (both have 3,75" back spacing)

My current wheels are 14x7", 3,5" Back spacing with 215/70/14" tires on the front.
And 15x8,5", 3,5" back spacing with 275/60/15" tires on the rear.

My tires are still good, so i can reuse the rear tires for now, just need a new set of tires for the front.
After doing the tire calculations, i will require a 215/65/15 tire for the front to maintain the same wheel diameter.
I just wonder, is there any good reason to choose for a 235/60/15 tire?
And in the mean time, i will replace these L/H treads wheel studs for new R/H treads to prevent confusion :D

What do you guys think about the front tire size?
Stick with 215 or up to 235?
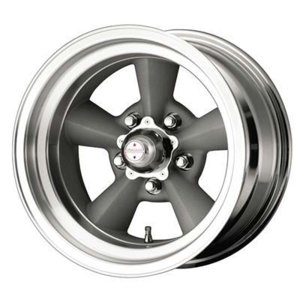
art_18820.jpg
 
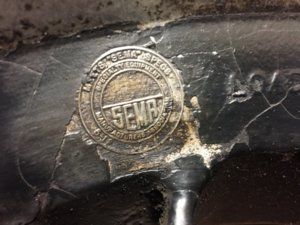
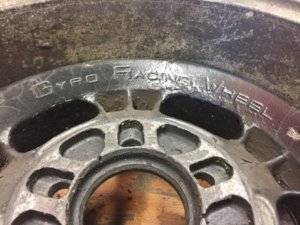
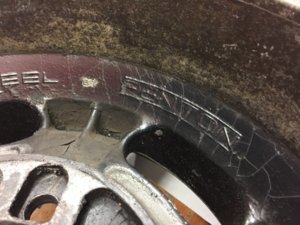
Some pics, my old wheels are Gyro Racing Wheels by Fenton, they also had a SEMA Specs stamp...no idea what this is.

Also some pics of the exhaust in progress, and the "new" seats.
They are from a 4 door car, but the shop added the brackets etc. to make em fit for a hardtop.
To refurbish the rear bench i will order a upholstery kit and new cover as well, assuming the rear bench frame are all the same right for '69 -'70 models?
IMG_9023.JPG IMG_9024.JPG IMG_9025.JPG IMG_9035.JPG IMG_9036.JPG IMG_9048.jpg IMG_9055.jpg 20180201_114556_canon_blkIMG_7982_(1024_x_768).jpg 20180201_114709_canon_blkIMG_7988_(1024_x_768).jpg
 
After i got the exhausts reinstalled it was time for a test drive :) my god that sounds good!
When you floor it it gets this aggressive raspy sounds, at cruise it is a heavy rumble.
Unfortunately something had to give....again.
Noticed the steering became a bit sloppy or something and when i came home i just checked the front wheels, when looking from the front the passenger side wheel was not sitting straight anymore. (wheel standing inwards on top..camber? correct me if i am wrong)
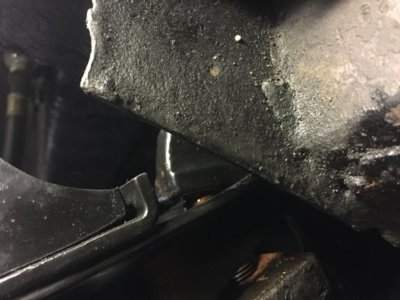
Also noticed the adjustment arm of the torsion bar has been touching the frame, which can only be caused by excessive play on the LCA bushing.
After removing it was quite obvious that it's worn :)
Did notice as well that the upper and lower ball joints are worn as well...very loose and sloppy.
So i had to bite the bullet and ordered the whole lot on new suspension components to replace everything.
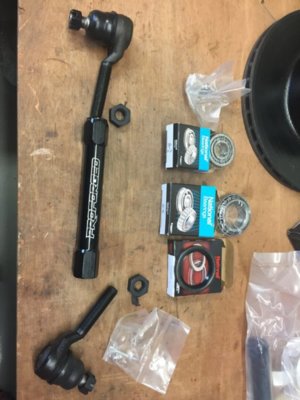
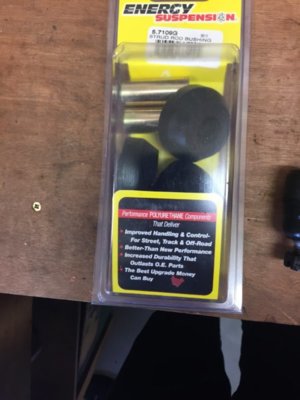
I will stick to rubber bushings for the LCA, reinforcement plate for LCA, PST G-Max tubular upper control arms, Bilstein shocks all around, tie rods and sleeves and Poly bushings for strut rods and rear leaf shackles.
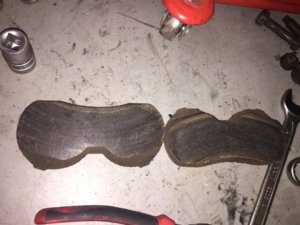
Also ordered new wheel bearings for the front, new brake pads and new XHD leaf springs and a 1-18" front torsion bar.
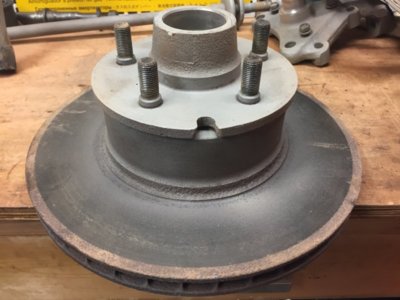
The disc brake i found in a very good condition actually with no sigs of a lot of wear so will see if i can get them resurfaced for the sake of it.
And last but not least, my new wheels :)

Once i get to the point of installing i will make pictures as i go.
I wanted to wait with this and save up a bit more and do this during the next winter period, but after feeling and seeing the state of all the suspension i got a bit worried this will keep giving trouble so better deal with it all together now instead of something breaking down unexpectedly.
For now i cancelled new torsion bars and strut rods, one another hand i do not see any particular reason of replacing them.
Other then going for a bigger torsion bar for some more stiffness but i suppose with all parts replaced the car will feel a lot better then now.

Also bought a small 10 ton shop press, and a hand held blaster.
I want to try this blaster to do the LCA's and see how it performs and do some painting before putting it all back.

Anyway, i will be waiting for a while so i have plenty time to go and water the money tree :)

IMG_9070.jpg IMG_9078.jpg IMG_9079.jpg IMG_9073.jpg
 
Got a couple of things done while waiting on parts.
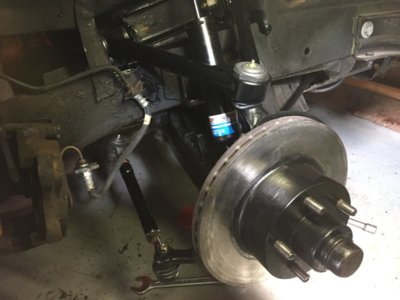
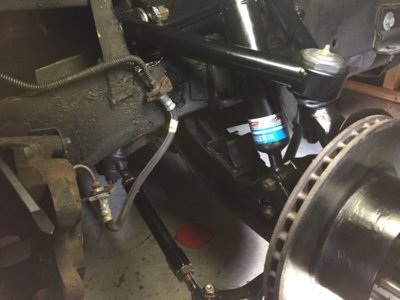
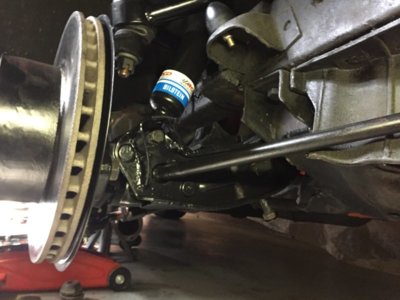
I did receive the ordered items from PST. (Upper control arms, Bilstein shocks and schackles & bushings for the rear leaf springs)
Still waiting on other parts i ordered from Germany, hopefully i will receive them this week before going back to work.

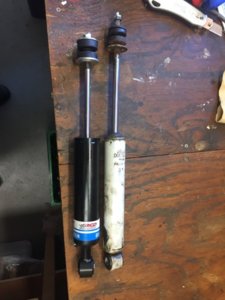
I noticed the new Bilstein shock is shorter then the one that came off the car, i hope this is not lowering the car.
I double checked on PST their website but it does not mention that it lowers the car.
Old shock is a goner....absolutely no power left and i can hear/feel bubles and fluid passing in there.
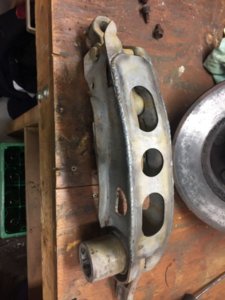
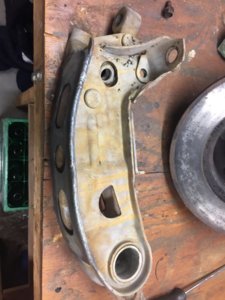
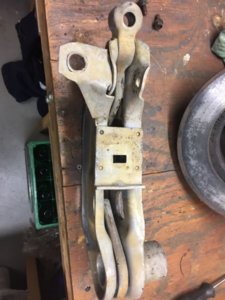
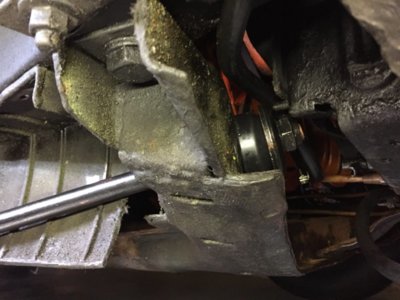
I've cleaned and blasted the lower control arm, unfortunately my small hand held blaster did not last long.
Next week i will go and get a new (bigger) air compressor and a proper blasting cabinet, gets the job done so much better.
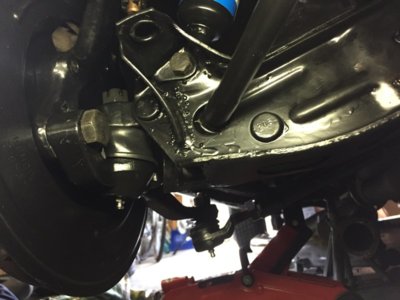
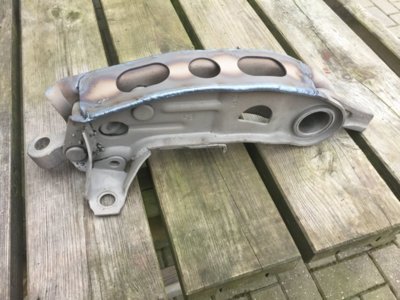
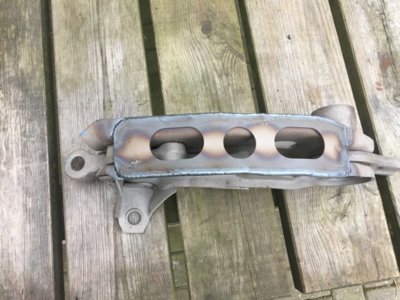
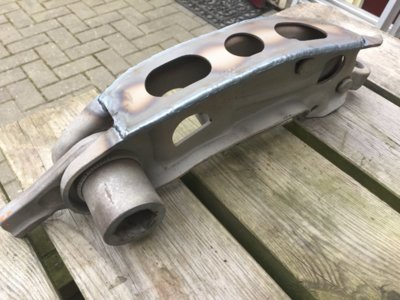
I've welded on the reinforcement bracket on the Lower Control Arm with my TIG welder.
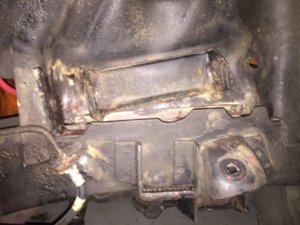
Cleaned up the area to receive the new upper control arm, absolutely no rust to be found here which is a good thing.
The car is covered with a greasy cote that probably is the reason for the car to be still rust free.

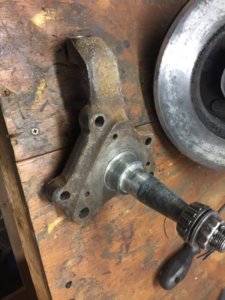
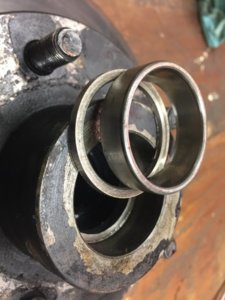
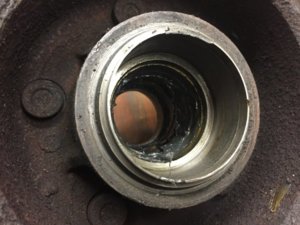
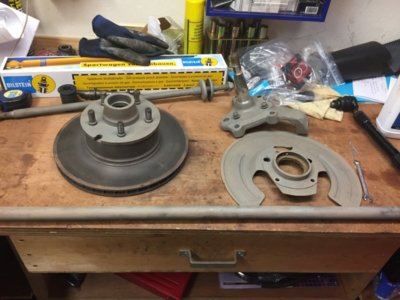
I found a spacer ring under the outer wheel bearing, not sure if this should be there but guessing not.
Once i will receive the new bearings i will see if there are any size differences.
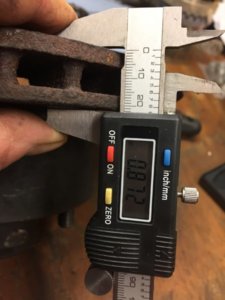
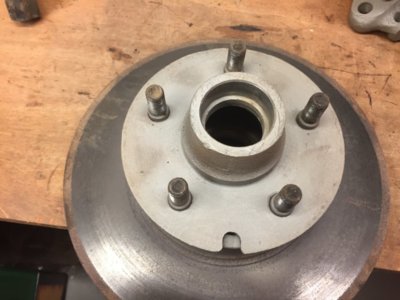
Min rotor thickness is 0.84", measured 0.87" so will reuse the rotors.

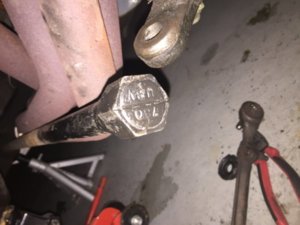
On the end of the torsion bar it's stamped 780 - UBV, no idea what this means.
The rust seen on the LCA is because i already treated it with POR15 metal prep, once completely dry i will coat them with POR15.

IMG_9137.jpg IMG_9148.jpg IMG_9149.jpg IMG_9150.jpg IMG_9152.jpg IMG_9155.jpg IMG_9159.jpg IMG_9145.jpg IMG_9146.jpg IMG_9161.jpg
 
Last edited:
After waiting for some time finally received all goodies needed to finish off the front suspension.
Maybe some have seen my other thread regarding wheel alignment issues, but after looking at the whole picture realising the other side still being in the f*ucked up condition it is not worth the time and effort to get it straight.
Better get the other side done and then look at the alignment again.
All in all pretty pleased with all items blasted and painted, and it feels very firm and solid.
Pushing on the front end against the suspension the difference was obvious as the rebuild side gave a lot more resistance compared to the other side.

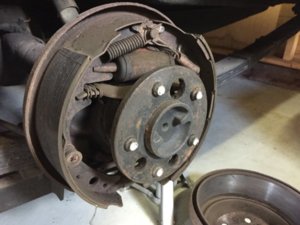
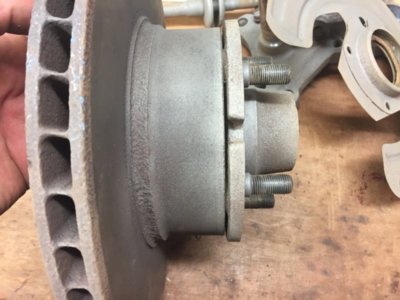
Another thing i noticed, the passenger side disc brake is a not original type, which explains the spacer ring installed behind the outer wheel bearing.
The driver side is a original 2 piece disc brake. (only noticed this being original from the manual btw)
Brakes i am still thinking what to do with it in the future, either find new discs and rebuild the calipers or go for a upgrade kit.

IMG_9289.jpg IMG_9290.jpg IMG_9292.jpg IMG_9293.jpg IMG_9294.jpg IMG_9296.jpg IMG_9298.jpg IMG_9300.jpg
 
The driver side is copy/paste as before.
All items removed, cleaned and blasted in my blasting cabinet.
Welded the stiffening plate for the LCA and after some cleaning it will be ready for some coats of POR15.

Note: Look at the difference between the disc brakes. The one i just blasted should be original style.

IMG_9323.jpg IMG_9324.jpg IMG_9325.jpg IMG_9327.jpg IMG_9328.jpg IMG_9329.jpg IMG_9330.jpg
 
I wish I would have followed your thread from the start. There were several questions that I’m not sure were answered.

Nice work. The car is looking good.
 
There are always some questions unanswered, but there is multiple ways of finding the answer somewhere :)
 
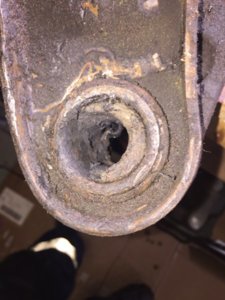
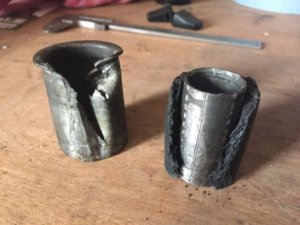
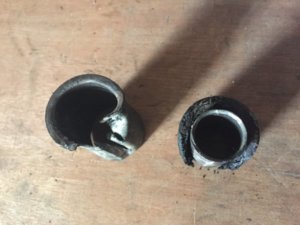
For some reason both LCA bushings (OEM style rubber) did not lock onto the pivot shaft.
I did had to press the pivot shaft in but after found they were still "loose".
Hole and pin are perfect fit but not locked, is that a problem?
 
Auto Transport Service
Back
Top