• When you click on links to various merchants on this site and make a purchase, this can result in this site earning a commission. Affiliate programs and affiliations include, but are not limited to, the eBay Partner Network.

1969 Dodge Charger RT Restoration

bg1767

Well-Known Member
Local time
2:52 PM
Joined
Mar 1, 2018
Messages
81
Reaction score
188
Location
Atlanta
I have had my 69 Charger for about 16 years. It has been a good reliable driver, but I recently started the full restoration I had planned on doing since I got it. It is a 440 727 auto that should be B5 blue with black interior, vinyl top, and tail stripe. It has the original 440 and I believe is mostly stock. The 727 is a from a 68 full size 350 HP car I believe. Long ago the 8.75 rear end was swapped with a unit with smaller brakes and 2.69 gears for highway cruising.

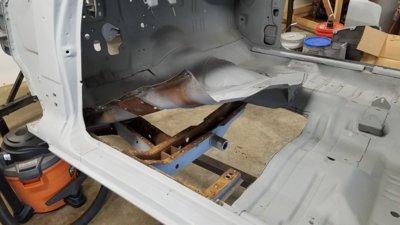
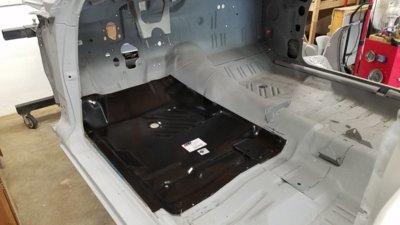
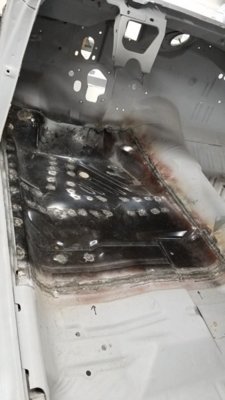
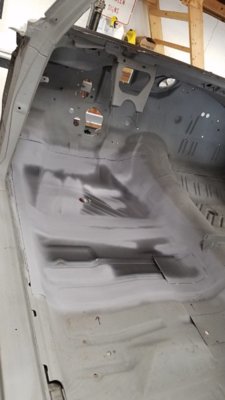
The car has been completely dismantled over the last few months and the body and larger body parts are out to be blasted and epoxy primed. I did remove the trunk floor and lower 6" of rear quarter panels before taking it for blasting. So, I am currently shopping for replacement sheet metal and plan to focus on refinishing every part that should be B5.

I plan on going mostly stock but will be looking for suggestions on engine, brakes, sub-frame connectors a little later. First I would like to focus on getting back to B5 blue and will have some questions on colors for parts that are rust brown now and I don't know what color they used to be.

Here are some pictures from when I got it 16 years ago. It barely ran due to a flattened fuel pump push rod that took some time to discover.
DSCN0126(1).JPG
DSCN0128(1).JPG
DSCN0130(1).JPG
DSCN0133(1).JPG
DSCN0138(1).JPG
DSCN0139(1).JPG
 
And here are some pictures just before tear down. I will post some pictures of the tear down next week.

589814-207c1cc83eaf176d5ed31559efecfc1e.jpg
589817-6dc4bcd66b06a288ea746bbdadced463.jpg
589819-461b07d47672ccc8f65f69a16b7fa298.jpg
589822-45be00d4a3a80e74819926725932c335.jpg
589823-11f18ff27112bb9367e8669a18a17414.jpg
589824-8d34a021a7109bf47f37f8648ddf783e.jpg
589825-0f6a1fd741d825c895b8b89996d38c9c.jpg
589826-4fe5a5597821e6453cc6d6a7a0378380.jpg
589829-5f71871ea104415130abf89c2d9ca22d.jpg
589830-726415acd1168da15b77584094ac4607.jpg
589831-9265b34cc68603955e2dba172d6aeac8.jpg
589832-da4b70b4160fcb76db019ba11823720e.jpg
 
Great project and sounds like you want to do her justice. Looking forward to watching your progress!
 
Keep up the great work! What's the back story of the car from the previous owner.
 
Sounds like your well on your way for restoration. I'm looking forward to seeing your progress.
Great project!
 
I am the 13th owner of this car. It spent all its life in North Dakota before I got it. I think it was re-done in the 80's and had the interior replaced, painted purple, and the colorful stripes. For all those owners it stayed somewhat intact. Besides the rear end, rear brakes, and transmission most of the parts look original.

It didn't run well for many years. The previous owner thought the gas tank or lines were bad and weren't flowing fuel consistently. Some times it would allow you to tune it and drive, then it would change and run lean. I replaced the the gas tank, fuel pump, and fuel filter without any luck. I later read one guys post on a forum that said in the 80's a bad batch of fuel pump push rods were made. They were too soft and would slowly compress and get shorter. It was a very uncommon problem as most people didn't replace them when doing a rebuild. Mine ended up being a half inch shorter than stock. Enough to make the car run, but not well. Should have just checked the actual fuel pressure rather than just seeing that I was getting fuel.
 
It is amazing that with that number of owners that it was as complete as it is. During the semi restoration / re-do in the 80s, if they replaced the seat covers with the Legendary pieces, then they are much better than the current Legendary material. Also there was still a bit of factory parts available in the 80s, so hopefully if anything was replaced, then maybe they are factory parts and not a poor reproduction.
 
Great project! I too love the stripes....
 
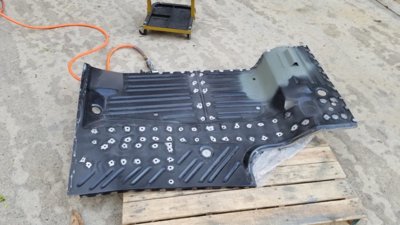
Well the Charger is still out for media blasting and priming. They are going to do the small parts first and then the body. I have started to order sheet metal. I am going to mostly use AMD from Summit Racing so I can pick it up to save on shipping if needed. I have ordered both valence corners, the trunk to valence supports, and trunk floor halves so far. Don't have the trunk floor yet.

Since I am not removing my full quarter panels or the rear panel with the tail lights, the half floors are the way I must go, right? I assume this is an overlapping seem. Can this be fully welded and body filler used to make it look seamless, or will I just need to weld it and use seam sealer? Thanks!

AMD-805-2668-L_ml.jpg

594680-70a4637b9731f7cacd412d62aef42b0a.jpg
20180725_173048.jpg
 
Anyone have thoughts or advice on doing trunk floors? It is still out for blasting, but should be close to being done.
 
Most important thing is to buy good ones, AMD wasn't available when I did mine and boy were the ones I bought junk! Make sure they have all of the spot weld lips because those are common rust areas, mine was missing the rear lip that welds to the tail panel and guess what was rotted out on mine?
If it were me I would have taken the floor out prior to blasting just so the rear rails could have been blasted at the same time but no biggie.
 
Make sure to save and mark all of the locations for the jack locations and the hardware itself. The reproduction inner and outer wheel tubs are a real issue. Hopefully they will be salvageable. Once you dig into the panels, you will find that it is usually worse than what you were expecting.
 
Most important thing is to buy good ones, AMD wasn't available when I did mine and boy were the ones I bought junk! Make sure they have all of the spot weld lips because those are common rust areas, mine was missing the rear lip that welds to the tail panel and guess what was rotted out on mine?
If it were me I would have taken the floor out prior to blasting just so the rear rails could have been blasted at the same time but no biggie.
Thanks, the AMD rear valence corners and trunk floor to sail panel supports seem to be good quality. We will see when I get the trunk floor.

I did remove the trunk floor and lower rear quarters before blasting. Thankfully the frame rails looked nice and solid, even had some blue paint left.
 
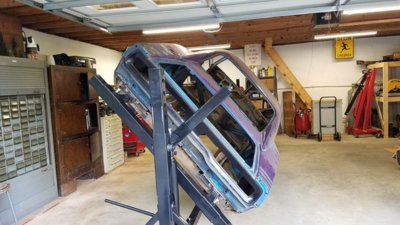
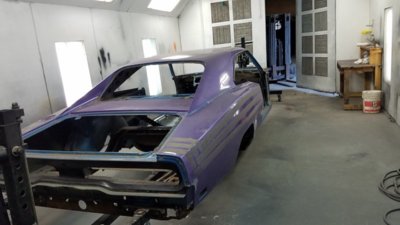
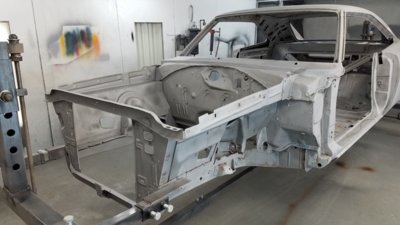
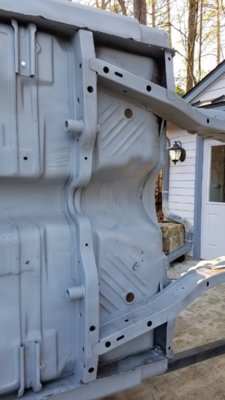
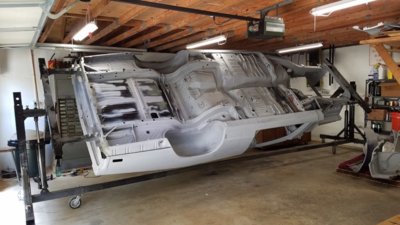
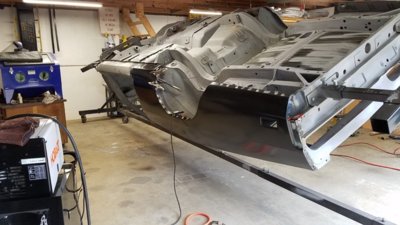
Sorry, I haven't been very good about posting and got very busy with the real job. I did get the Charger back from blasting. Here are a some pictures of before, during, and after. I am very glad I had it blasted and epoxy primed even though it took a couple of months.

20181119_163044.jpg 20181119_163053.jpg 20181229_111656.jpg 20181229_111955.jpg 20190116_162948.jpg
 
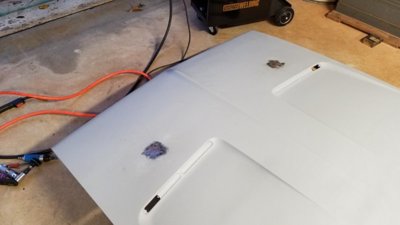
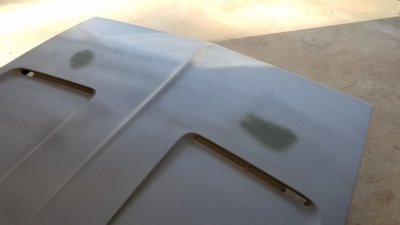
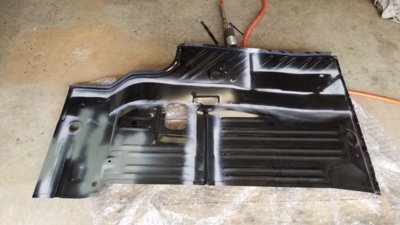
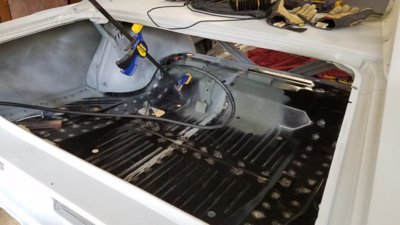
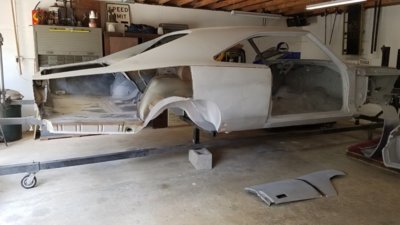
And the sheet metal work begins. Filled in the hood pin holes since they were not in the factory location. Also began installing the AMD trunk floor halves. I think the floor was harder to get out then in, but not quite done.

20181201_172654.jpg 20181202_123930.jpg 20190302_131924.jpg 20190302_134801.jpg 20190318_183635.jpg 20190324_162529.jpg
 
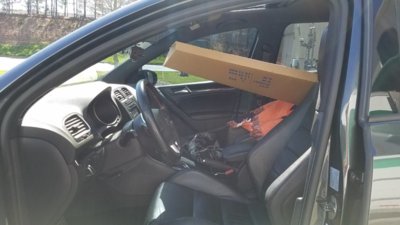
Need to finish the trunk floor welds, but went to AMD and got a quarter skin since it was on sale. FYI, a Charger quarter panel is about the full inside length of a VW hatchback.

This is my first time with major sheet metal work, feel free to make suggestions or give tips. I will have questions on whether to replace the entire quarter skins or do multiple patches. There isn't a ton of rust, but with the rust spots and major dents with filler I am not sure which option is best. I will get more pictures and let others help decide.

20190327_153507.jpg 20190327_154701.jpg
 
Got a little behind with things like a flooding garage that needed fixed. Have made some progress and am going to try to keep up on this thread more. Will have some questions so help will be appreciated!

20190421_174216.jpg 20190506_165131.jpg 20190629_201642.jpg 20190719_174854.jpg 20190713_141131.jpg
 
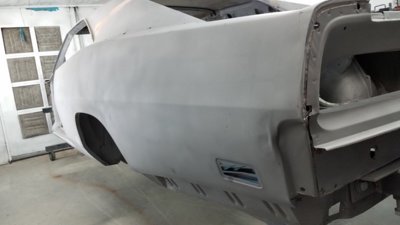
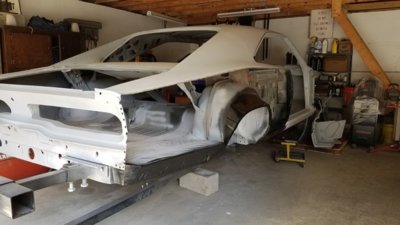
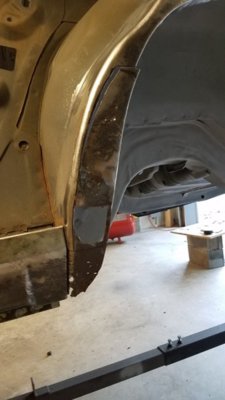
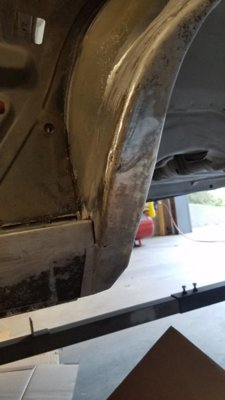
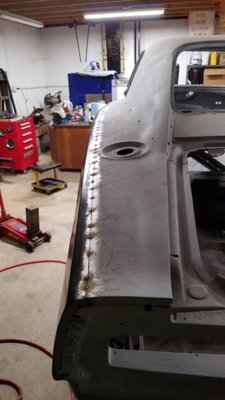
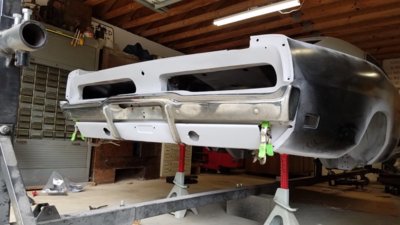
The quarter panels are done too. There was a lot more bondo in the quarters than expected, most from accidents just behind the doors. The lower rears were very thin and had many holes. With those issues I just decided to replace them. Also completed the rear valence and corners.

20190720_123740.jpg 20190728_123003.jpg 20190804_130620.jpg 20190907_182001.jpg 20190911_180540.jpg 20190920_200306.jpg 20191006_140101.jpg
 
Auto Transport Service
Back
Top