• When you click on links to various merchants on this site and make a purchase, this can result in this site earning a commission. Affiliate programs and affiliations include, but are not limited to, the eBay Partner Network.

JB Weld To the Rescue--I Hope

Dibbons

Well-Known Member
Local time
4:01 PM
Joined
Nov 29, 2014
Messages
4,751
Reaction score
5,459
Location
La Paz, B.C.S., Mexico
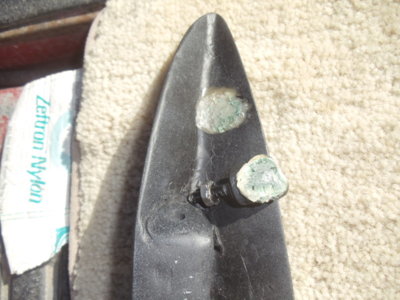
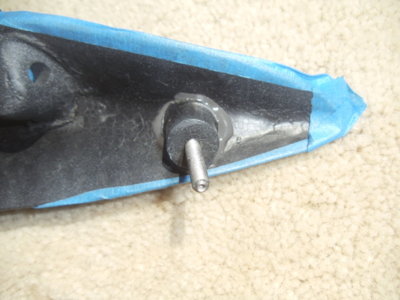
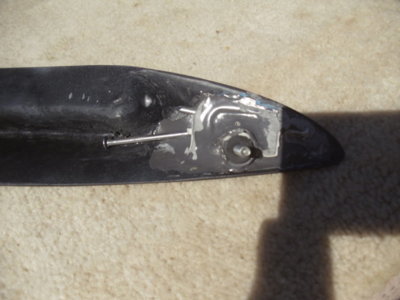
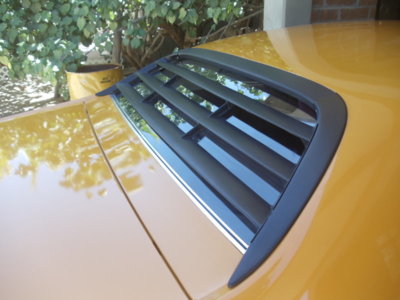
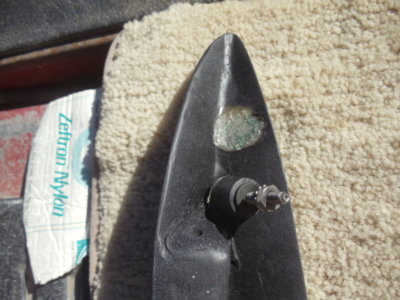
My custom reproduction 1971 BBody backlight louvers had the pedestal with threaded stud snap off on the passenger side portion.

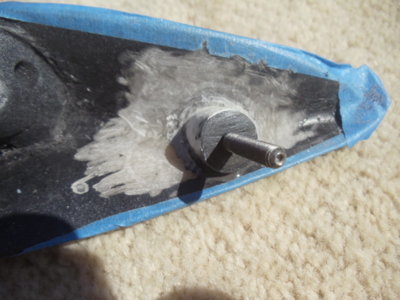
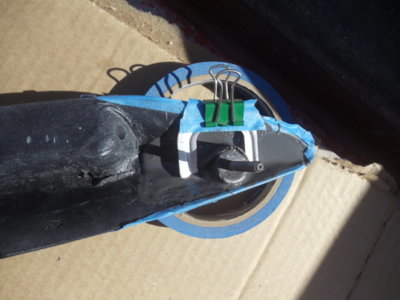
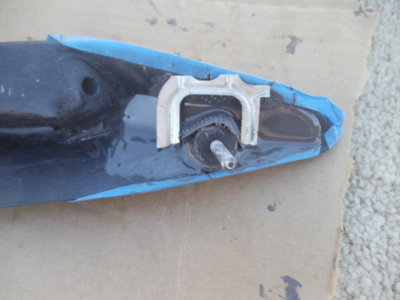
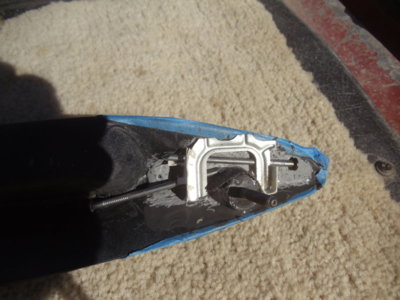
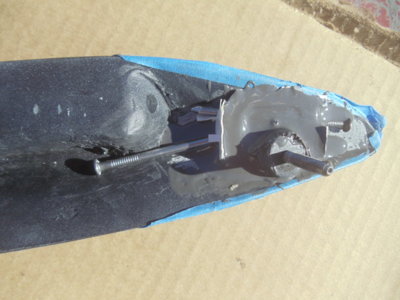
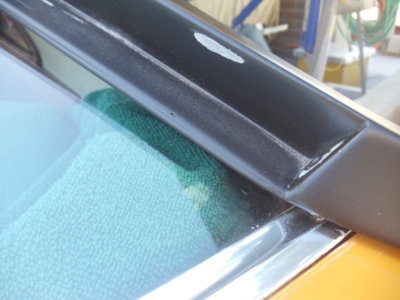
Because of the angle and location of the body hole that lines up with the stud, placement is critical so I did not even sand the broken ends. Just stuck them back together with a little JB weld (foto four). In the first foto, that white line is where the removable center portion of the louver was hanging up and not allowing me to remove such section without suffering the damage you see in fotos two and three. Unless, of course, I just tightened the nut too much and it twisted off.
DSC06263.JPG DSC06274.JPG DSC06275.JPG DSC06280.JPG
 
Last edited:
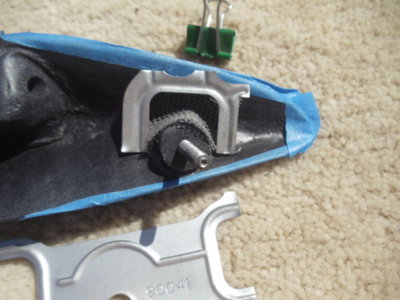
That repair seemed even weaker than the original design before it busted. So as a second step, I placed some metal window screen around the little pedestal and cut a "n" shaped piece of metal form a Felpro small block intake gasket to hold it down in place. Foto one is test fitting, foto two is roughing up the shiny areas, foto three is showing the clamp and the JB weld already "poured" over the screen, foto four shows results after a 24 hour drying period.

DSC06281.JPG DSC06282.JPG DSC06283.JPG DSC06284.JPG
 
That "n" shaped metal piece I used from the Felpro intake gasket looked to make a good mold for a third and last pour of the JB weld. I roughed up the shiny areas again and this time I stuck two steel nails in there underneath for even more reinforcement. Then I placed some thin cardboard strips on either side of the "n" to keep the JB from spilling out (see foto one).

The second foto was taken the following day after this third pour of JB weld was dry. The pedestal is now half-buried in a good-sized chunk of JB weld. I still don't trust this remedy 100%, but it will have to do for now. I don't plan on trimming away the exposed portions of the nails, they can stay right where they are. I will simply peel off the white cardboard "guides" and the blue masking tape.

DSC06292.JPG DSC06293.JPG
 
Last edited:
I've had real good luck with JB weld on everything from grill mount tabs to a hood corner.

Good thinking making the stress area larger.
I'd be tempted to fill in that whole backside cavity.
 
The best stuff I have ever used for that sort of repair is crazy glues and backing soda. I glue the pieces together as you did then build up the area around the break with crazy glue and baking soda. The reaction between the two creates a rock hard substance that can be filed, sanded, painted, whatever. The process is to put a layer of soda over an area (not so thick the glue can't soak in) then drop on the crazy glue. If you use too much glue just add more soda. Repeat til you've covered the whole joint to whatever thickness you want. It sets super fast and super hard so you can do a quick repair.
 
Auto Transport Service
Back
Top