Dougs73RR
Active Member
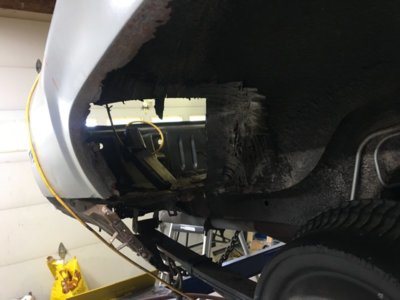
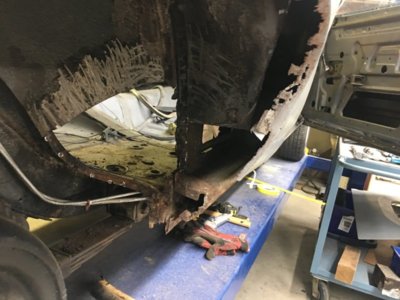
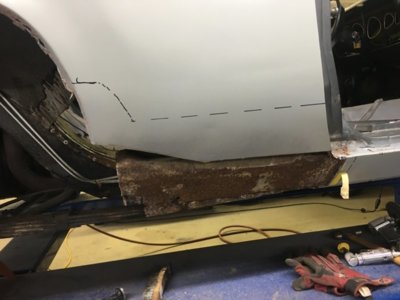
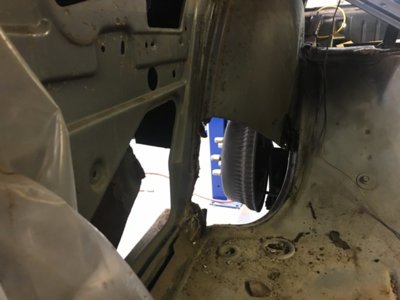
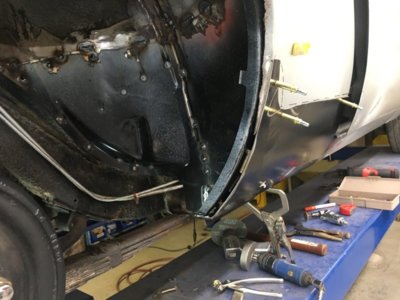
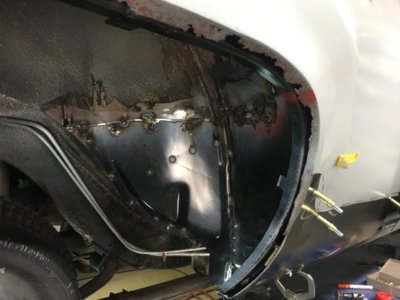
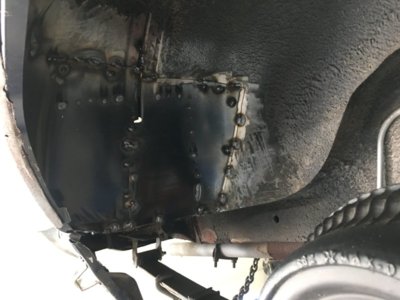
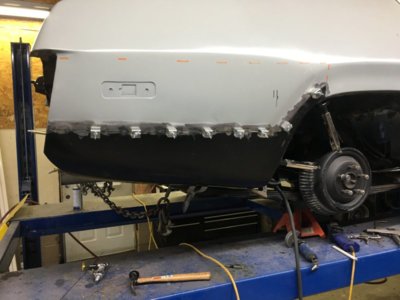
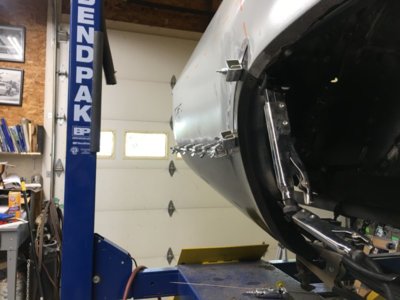
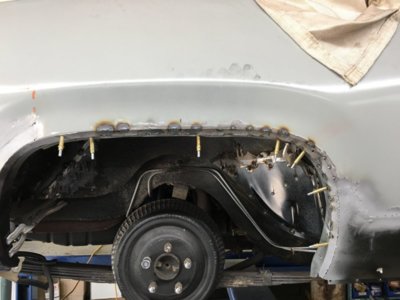
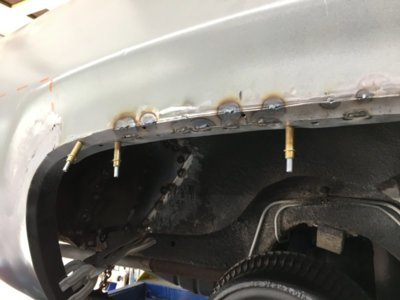
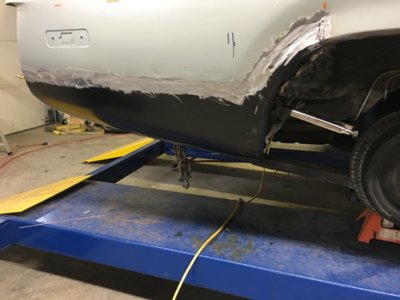
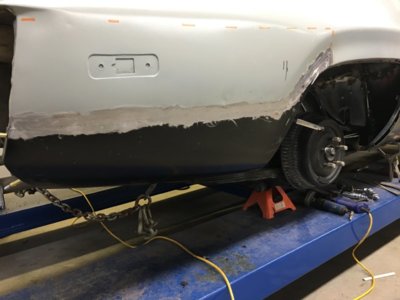
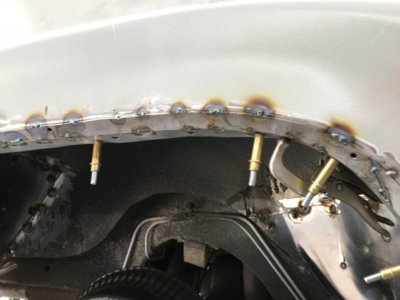
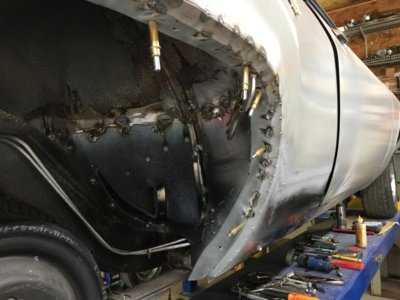
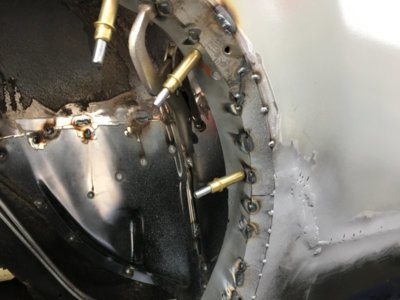
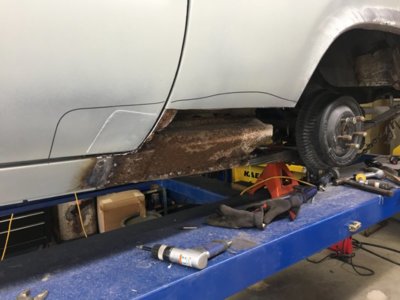
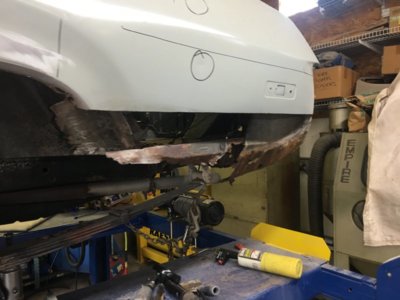
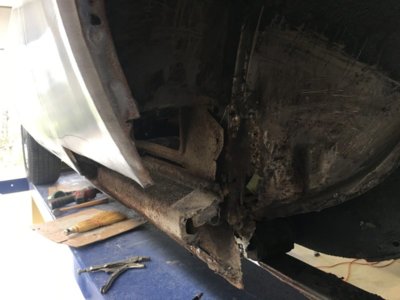
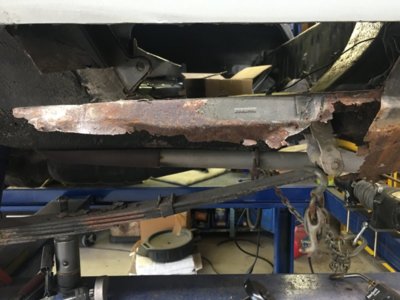
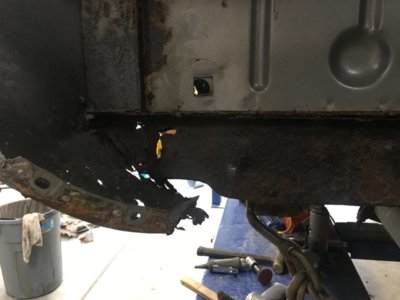
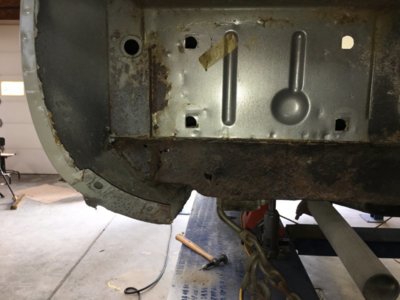
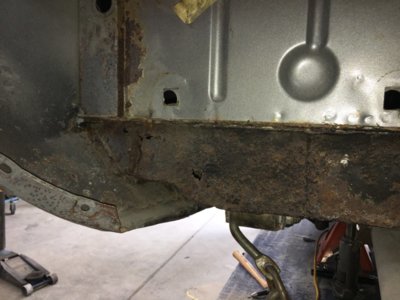
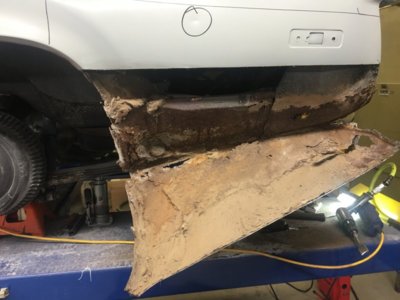
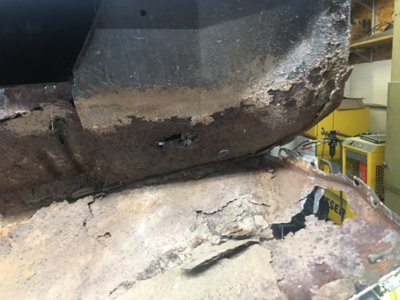
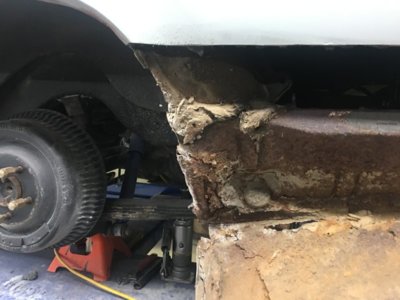
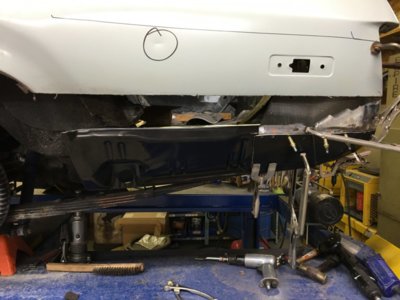
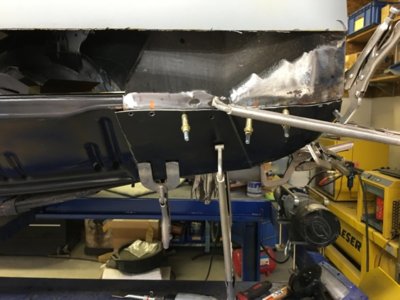
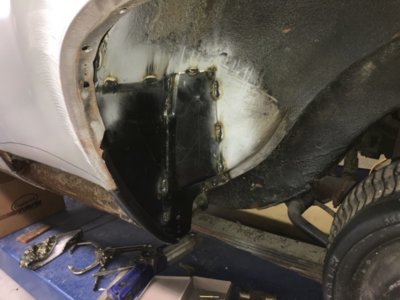
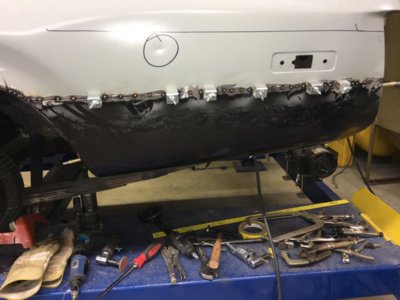
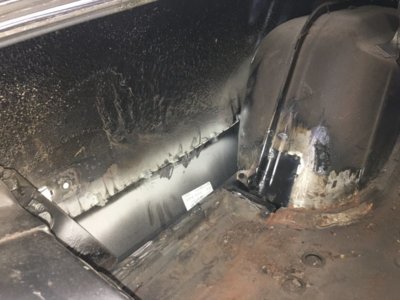
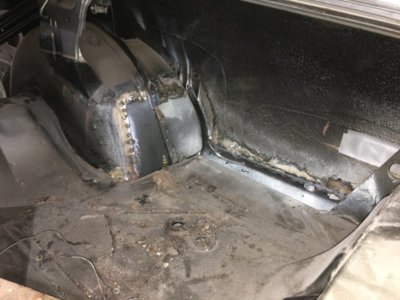
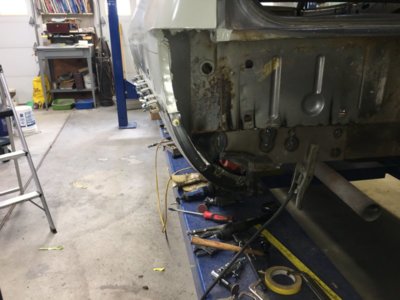
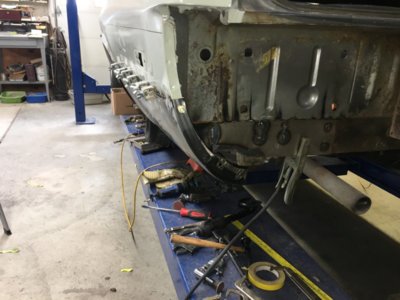
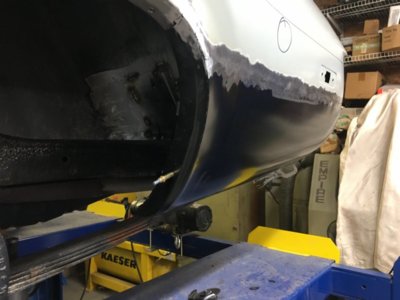
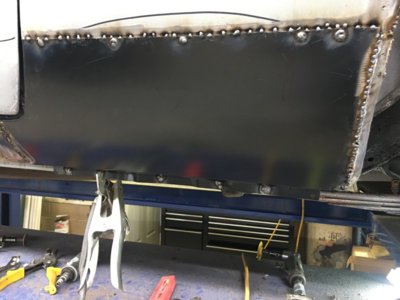
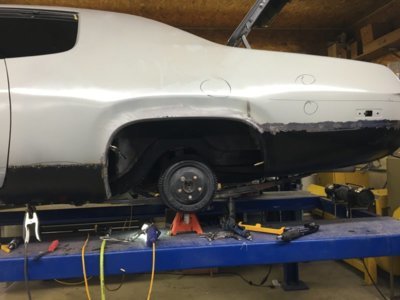
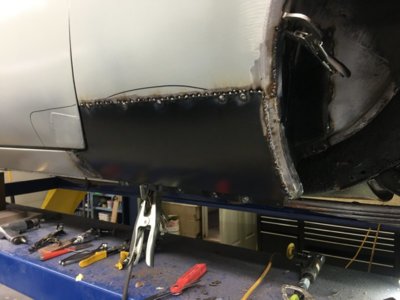
Rebuilding the rusty rusty body on my buddy's 1973 Road Runner - Looking for any feed back that will help with this project
I posted previously in the General discussion but the previous thread got hijacked into a total different subject so decided on advice of Admin to move here and repost.
I will be posting a lot of photos of my progress up to date , please feel fee to chime in with any advice you might have , I am mostly a ford and mercury guy so mopar is a new deal for me.
I am a semi retired machinist that in my youth was a bodyman until I looked around in the 1970's and everybody in the shop that was 40 years old looked like they were 70 so I got into a different career, however those skills have stayed with me and I have built a decent home garage to restoring my cars , I am trading some heavy excavating work with Doug in exchange for redoing his RR
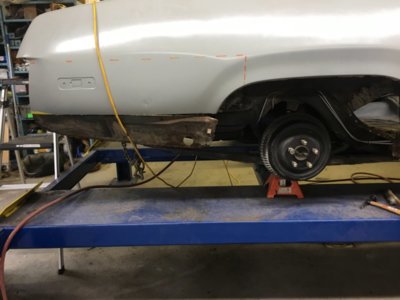
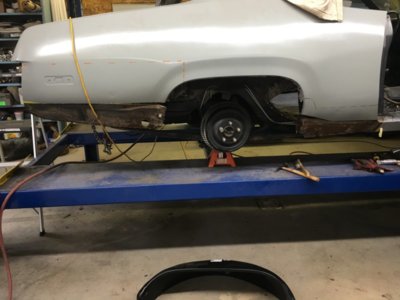
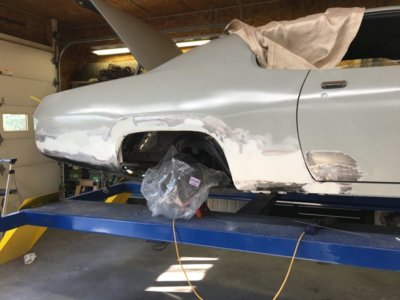
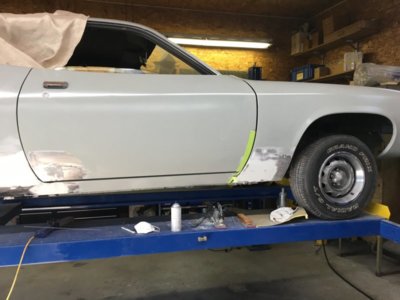
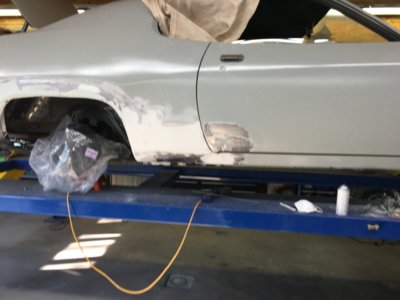
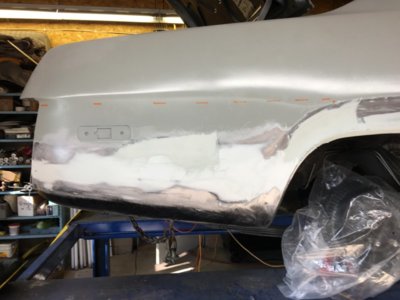
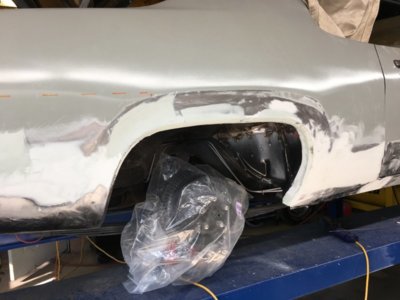
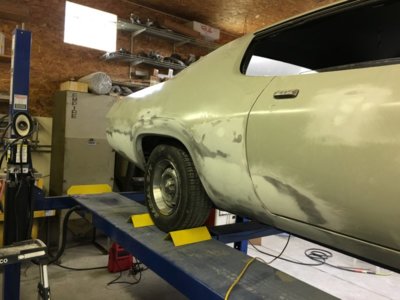
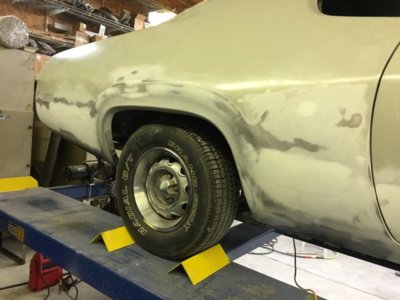
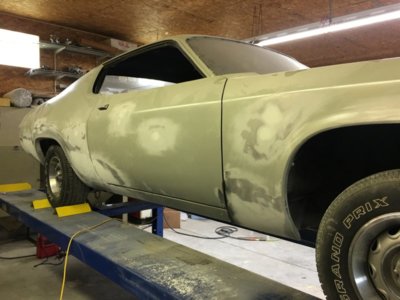
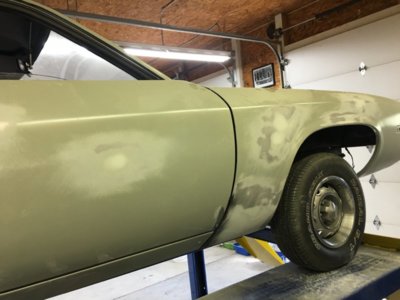
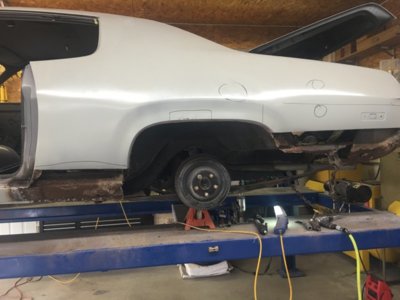
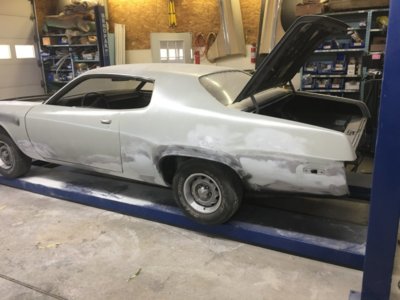
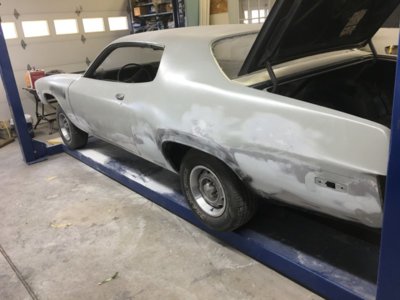
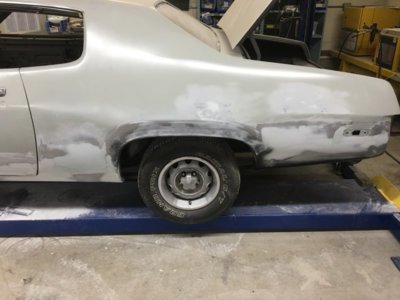
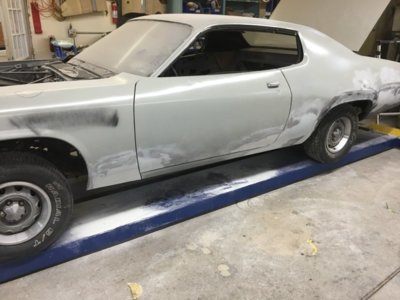
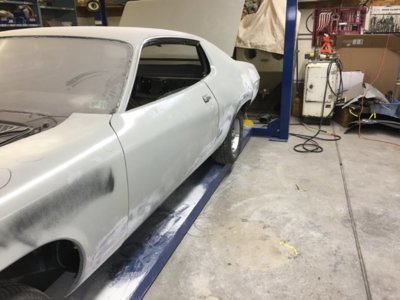
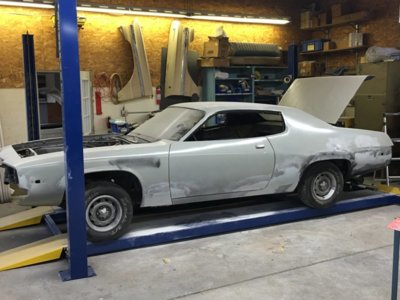
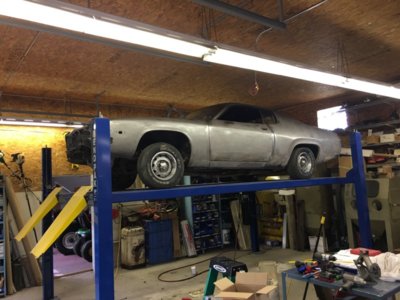
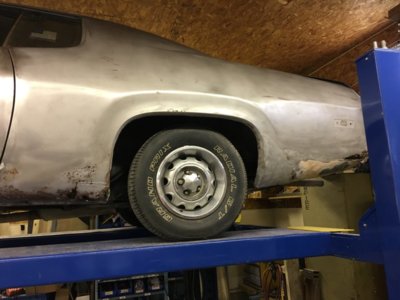
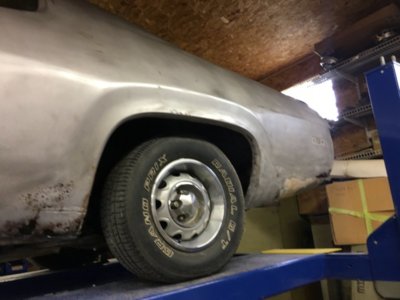
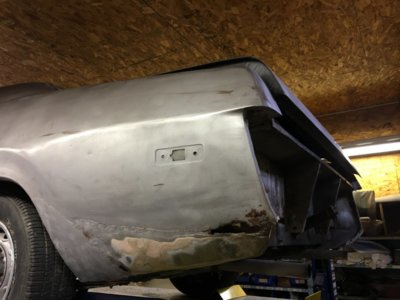
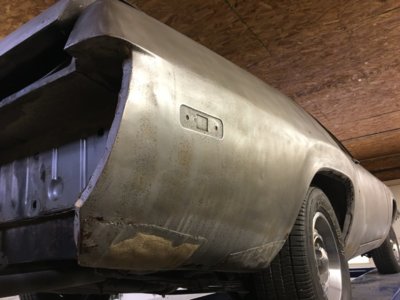
Here is the car initially after sandblasting , we had the dustless sandblast guy come in and for about 1200$ got the car stripped of the numerous coast of paint and then sanded it with 80 grit to prep for the the heavy build primer


