You are using an out of date browser. It may not display this or other websites correctly.
You should upgrade or use an alternative browser.
You should upgrade or use an alternative browser.
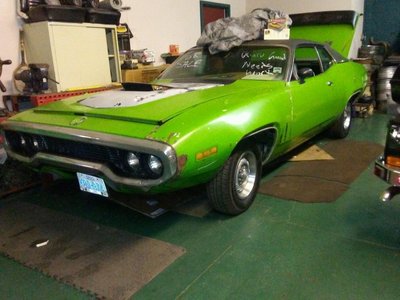
71 roadrunner clone project
- Thread starter Grabbergreendream
- Start date
Tori
Well-Known Member
whayden2003
Well-Known Member
I think it's beautiful. 

Grabbergreendream
Well-Known Member
Picked up some muchneeded parts today. This cat needs a framerail on the passenger rear. Repops are all partials. Thanks to Joel over in Edinboro pa, i was able to score the rail, along with a truckload of other parts. Thinkin i might graft the whole rear section onto my car... Might be easier. Even the floorpan is nice, just a few dings that can be flettened out. Also scored a nice trunk drip rail & super clean upper windsheild frame...
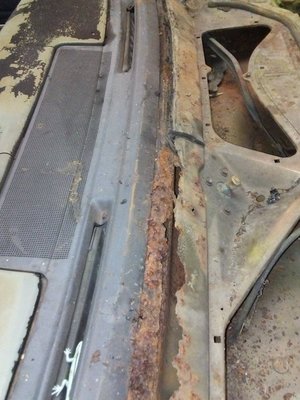
Still looking for a cowl & lower a pillars...


Still looking for a cowl & lower a pillars...
whayden2003
Well-Known Member
Nice score.
1971RRthrash
Well-Known Member
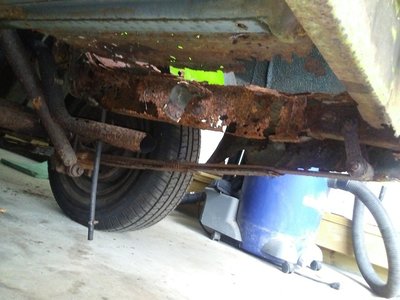
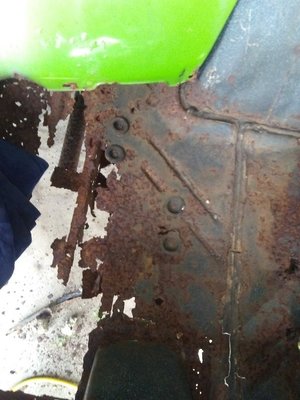
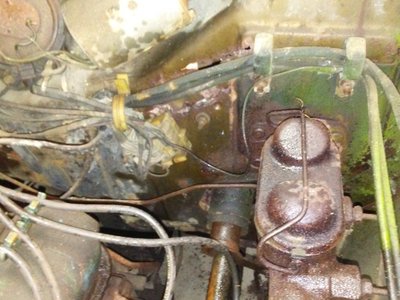
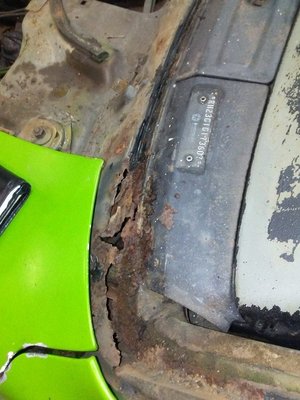
Was this the one for 4 grand around Lake Erie?Newbee here with a project.
Just divin into this a few weeks.
Plan on gettin all the rust fixed then will go from there...
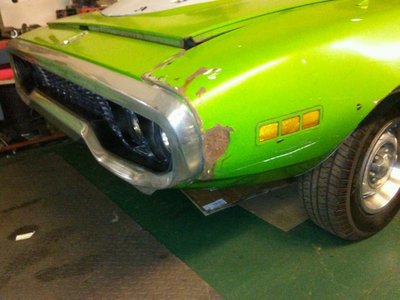
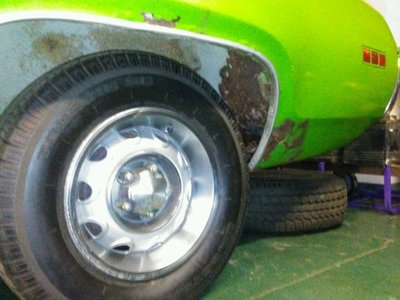
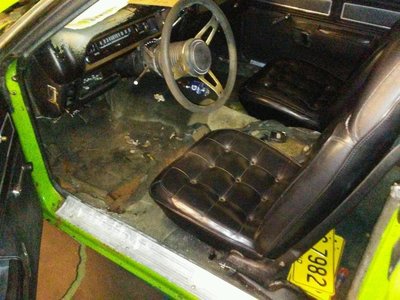
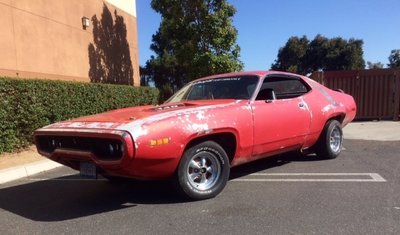
Here are pics..
Warning: its ugly...
View attachment 474504 View attachment 474506 View attachment 474507 View attachment 474508 View attachment 474509 View attachment 474510 View attachment 474511 View attachment 474560 View attachment 474593
Grabbergreendream
Well-Known Member
Yup. A lot of people have seen this car for sale. Nobody musta wanted the project cuz my 1st offer for a little more than half his asking price he accepted...and he was down to $3800.Was this the one for 4 grand around Lake Erie?
I was waving $100 bills around, though...
1971RRthrash
Well-Known Member
Nice if you need parts we might have something you need and if you ever want to get rid of that hood let me know lolYup. A lot of people have seen this car for sale. Nobody musta wanted the project cuz my 1st offer for a little more than half his asking price he accepted...and he was down to $3800.
I was waving $100 bills around, though...
Grabbergreendream
Well-Known Member
I need bumpers. Peppering chrome is o.k as they are being painted. Mine rusted under the chrome & are peeling...junk.Nice if you need parts we might have something you need and if you ever want to get rid of that hood let me know lol
Need clean front & rear valances as well...
Also looking for an 8.75 suregrip.
The part I'm really after is a cowl.
Leme know if you can help.
Thanks in advance.
1971RRthrash
Well-Known Member
I don't have anything you are needing but Milliron auto parts in Mansfield Ohio has a 73 charger in there u pick u pull I don't know if the cowl is the same or how good it is....I need bumpers. Peppering chrome is o.k as they are being painted. Mine rusted under the chrome & are peeling...junk.
Need clean front & rear valances as well...
Also looking for an 8.75 suregrip.
The part I'm really after is a cowl.
Leme know if you can help.
Thanks in advance.
71Beeper
Well-Known Member
- Local time
- 3:13 PM
- Joined
- Nov 28, 2010
- Messages
- 856
- Reaction score
- 1,346
- Location
- Stoney Creek, Ontario
I've got front and rear bumpers for ya - but you have to make a road trip to Southern Ontario, Canada.
Grabbergreendream
Well-Known Member
Its been a while. Figured I'd throw up a post & a few pics while drinkin coffee this morning.
I work a lot, & things have been at a steady creep on this project. once the car was delicately stripped to shell, I decided to tackle the front of the car first. This car was moved to my cousins shop where there was more room at that point so I could take advantage of his tools & other necessities. Ended up replacing the drivers front frame rail, front floor pan, & firewall. Currently grafting sections of a Goodmark E-body cowl to my rusty original, so I can get the inner aprons attached. The sheet metal from the firewall forward is not welded in yet, just screwed so I can re-mount the front bodywork & verify dimensions before welding panels in. Here are some pics followed by another few pics-posts of the many other details that I have been working on the side for the car...
Grabbergreendream
Well-Known Member
The 440 & 727 came from a wrecked low mile 75 C body...currently at the machine shop.
The rear frame is the stripped section of the back-half of the 73' RR I purchased for the rear frame rail. I was able to save the trunk pan as well.


The rear frame is the stripped section of the back-half of the 73' RR I purchased for the rear frame rail. I was able to save the trunk pan as well.
- Local time
- 3:13 PM
- Joined
- Mar 13, 2009
- Messages
- 770
- Reaction score
- 780
- Location
- Oakville, Ontario, CANADA
Nice work, keep it up.
Grabbergreendream
Well-Known Member
Progress has been slow on this project.
My wife & I both lost our fathers earlier in the year, both of which required me to step away from this project for a while. Our families needed us. I still poked at it here & there but my heart wasn't truely focused on it for several months...
I did get my trans fully rebuilt though.
I did get the rear of the 73 stipped & am going to be able to use the trunk pan as well as the rear pass framerail. I have spent a lot of time after work blasting, priming & painting small parts(summit chassis shield).
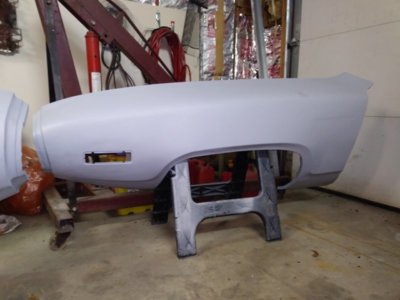
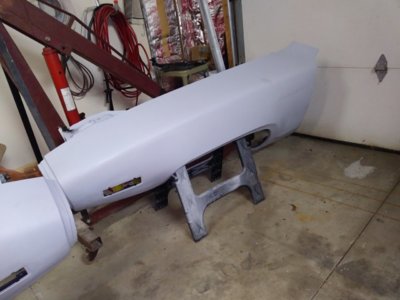
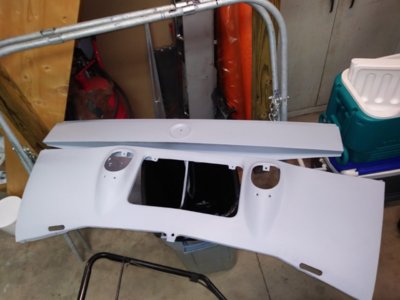
The front end has all bn welded back together, removed all the supports & jig. I bolted up the front clip sans the hood & started straightening& repairing all the damage to the sheetmetal. Those parts got primed with epoxy inside & out, inside got painted with chassis sheild & outside got 3 coats of 2K high build. They'll be stored till i can get back to the front end. I bolted the front k grame back up temporaily and assembled enough to allow me to bring the car back to my house soI can focus on replacing the deteriorated rear metal, which i am focusing on next...
This is a major project. I had high expectations that things would "glide" right along without many hiccups...
Anyone whose tackled a project of this magnitude while dealing with 60 hr workweeks & family issues knows my sadness at the rate this project is taking, but I am still optimistic it will pick up speed.
Sorry for the long read.
Here's a few pics.
Grabbergreendream
Well-Known Member
Grabbergreendream
Well-Known Member
I wanted to throw an update. A lot has been done since my last update. Things are moving at a slow pace, but its me only. I had to take a 6 month break for other priorities. Work, family & a host of other excuses have slowed up the project, but I'm moving forward.
The roof around the windshield as well as some rotton inner structure was patched with the roof/windshield section I got from a clean 71 charger. Roof was smoothed, epoxy primed, & topcoated with 2 coats of 2k high build.
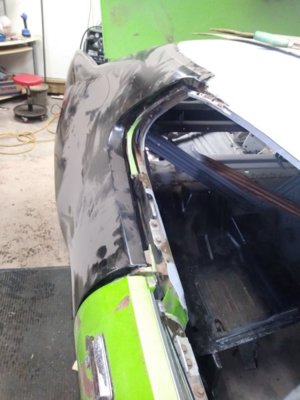
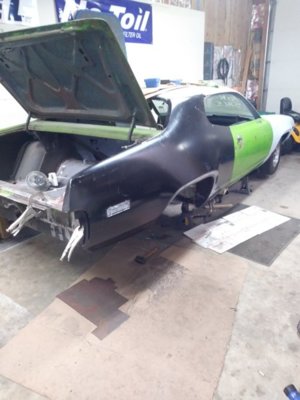
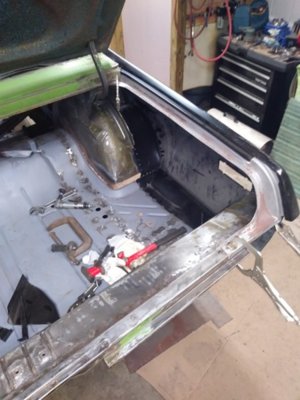
Home made jig was welded up to replace the passenger rear framerail. It was a pain to work with/around. Once rail was in, I welded in the rear crossmember & re-squared the rear quadrant. Then the used/saved trunk floorpan from the same 73 RR was prepped up & installed. A final check allowed me to get the braces welded back into the tail panel as well as some other patchwork back there.
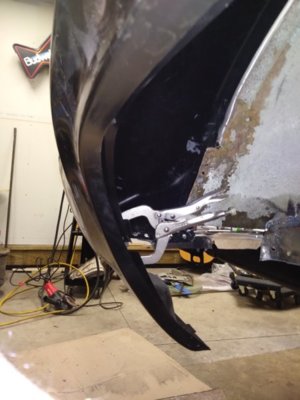
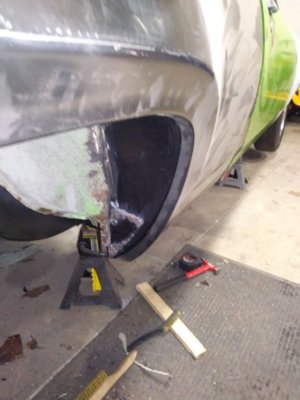
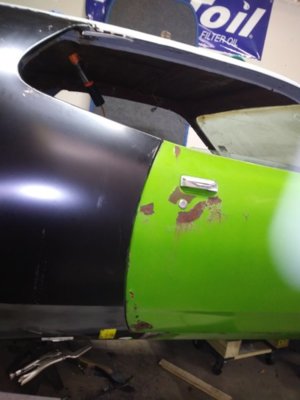
Then came the rusty quarter panel & trunk gutter removal. After finding bondo & crunched rear corner, that was repaired. The rear rocker "shelf" & end was cut out and replaced. A new AMD trunk ext was installed as well as an AMD outer wheelhouse scabbed in because I didnt want to patch the wheel well lip where it meets the quarter panel.
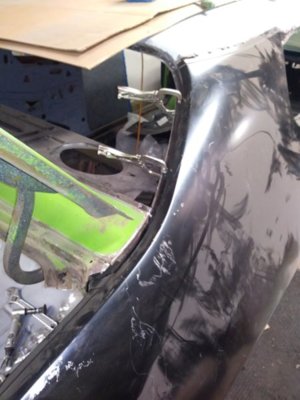
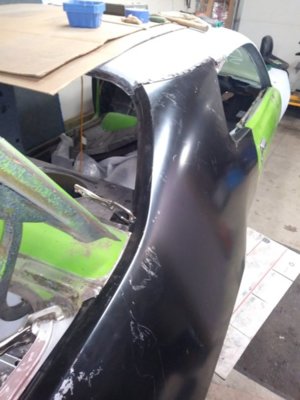
I dropped the new Goodmark quarter down from my loft before work yesterday so I could begin the nervous/skeptical test fit. I got a nice, pleasant suprise once tucked in around all the lips. Its the first test fit but fits super.
I'm very happy & relieved at the same time. I've had so much of this half of the car apart & replaced over such a long period it really made me feel like I accomplished something to see things all ligned up on the first try. I have to do a final measurement check & clamp it all tight to make some marks before romoving it & finish welding up the inner structure, prime & paint so it can be "final" installed.
Grabbergreendream
Well-Known Member
steved033
Well-Known Member
Great work!!! So cool to see another one saved!
Was the original color green? I thought I saw some blue in there somewhere.
sjd
Was the original color green? I thought I saw some blue in there somewhere.
sjd
Similar threads
- Replies
- 15
- Views
- 1K
- Replies
- 14
- Views
- 2K
- Replies
- 41
- Views
- 4K
- Replies
- 8
- Views
- 484

