You are using an out of date browser. It may not display this or other websites correctly.
You should upgrade or use an alternative browser.
You should upgrade or use an alternative browser.
So It Begins, 1966 Charger Restification.
- Thread starter 66ChargerHI-PO
- Start date
66ChargerHI-PO
Well-Known Member
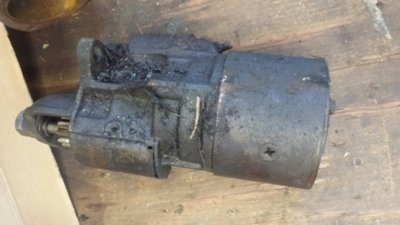
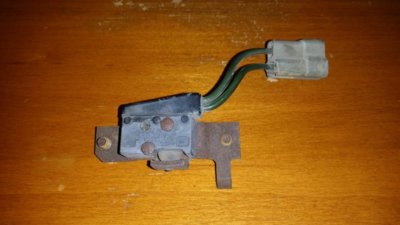
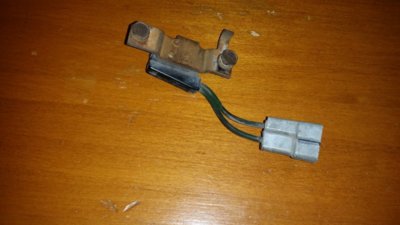
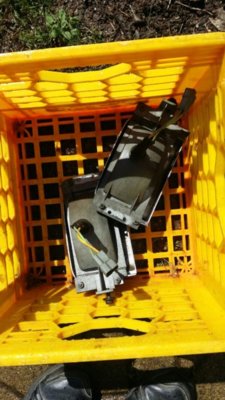
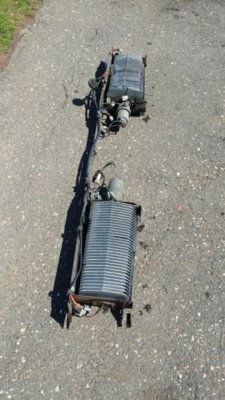
More engine pictures I forgot I had.....


66ChargerHI-PO
Well-Known Member
New Update- Today March 27, 2020. Starting to sand the hood to prep it for primer then paint. Sanding with a sand wheel, and what we can't reach with that we will use a scotch brite "scrubby" pad. All in all, what we can't get with the sanding wheel will be done by hand.

My stepfather sanding the hood to prep it for primer

After some sanding, here is the result. There is still plenty more to do, this is just the start


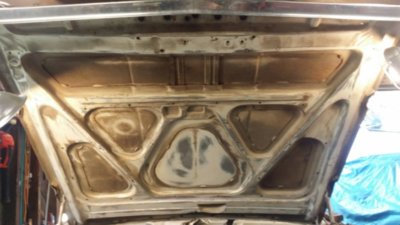
My stepfather sanding the hood to prep it for primer
After some sanding, here is the result. There is still plenty more to do, this is just the start

Last edited:
- Local time
- 2:03 PM
- Joined
- Oct 20, 2019
- Messages
- 3,501
- Reaction score
- 2,658
- Location
- Saskatoon Saskatchewan Canada
Really nice to see the enthusiasm! Keep up the good work.
Awesome work Eric!

66ChargerHI-PO
Well-Known Member
Awesome work Eric!
Thank you for the compliment Hank, I appreciate that. More work to be done today I think, update on that later or maybe tomorrow. I'm just the documenter in this project my stepfather is mostly doing the work, since after all it is his car. And just about everytime I ask him if he wants help he says no thanks anyway. But obviously if he needs help I'll help him out.
That master cylinder looks like it might be for a 4 wheel drum setup?
Did you take the lower control arms off?
Be careful with the trim on the front of the hood.
Almost impossible to find that piece.
Did you take the lower control arms off?
Be careful with the trim on the front of the hood.
Almost impossible to find that piece.
66ChargerHI-PO
Well-Known Member
That master cylinder looks like it might be for a 4 wheel drum setup?
Did you take the lower control arms off?
Be careful with the trim on the front of the hood.
Almost impossible to find that piece.
The master is indeed for a 4 wheel drum setup yes. The chrome piece was taken off already very carefully and was discovered it has a couple small dings in it but no big deal. As for the control arms, they did not come off no. Decided to leave them on as they are a nightmare to get off and the inner control arm bushings looked very good
Last edited:
Yes, but the bushing on the front of the lower arm is likely in need of replacement.
If it's 50 years old, almost definitely.
If it's 50 years old, almost definitely.
albert alspaugh
Active Member
Keep going ! As responded in dec I have 3 one is white and has a red cloth interior still trying to figure out if factory. fender tag under interior has code for special have heard of 2 others with cloth interior . This car has been in shop for 19 years with a mashed back quarter finally getting shop to work on and when welded it is going to texas to sons shop- Twisted steel- to get driveable. I agree with point DO NOT throw anything away. The one driving now has been in progress since 2004 not much of a a mechanic replaced interior had local tec school repaint changed front to disk brakes off early 70 abody also last year changed engine to a 440 had to replace gas tank once- on power tour pressure blew hole in tank in Birmington Al bought tank from Lawsons supposed to fit inlet opening in owrong place got a gas line from John Deere dealer to make it fit. Keep on lots of fun to drive it has went on 10 power tours some problem every year that's driving 50+ yr old

66ChargerHI-PO
Well-Known Member
Yes, but the bushing on the front of the lower arm is likely in need of replacement.
If it's 50 years old, almost definitely.
They looked very good so that tells me that they were most likely done before we got the car.
Cool
66ChargerHI-PO
Well-Known Member
Update-
Hi everyone, the Dodge letters on the hood are now off and the hood now has 2 coats of primer on it. The primer was put on yesterday March 28th, 2020. Need new letters as half the studs are broken off as you can see from the picture, but bagged them to save them for now.


The car is covered and protected just in case


This is after 2 coats with the can above, I think it looks pretty damn good.


Hi everyone, the Dodge letters on the hood are now off and the hood now has 2 coats of primer on it. The primer was put on yesterday March 28th, 2020. Need new letters as half the studs are broken off as you can see from the picture, but bagged them to save them for now.
The car is covered and protected just in case
This is after 2 coats with the can above, I think it looks pretty damn good.
Last edited:
66ChargerHI-PO
Well-Known Member
More of the hood......


66ChargerHI-PO
Well-Known Member
66ChargerHI-PO
Well-Known Member
Update- Yesterday March 30th, 2020. Taken all the front lights, chrome and other components off to power wash them and to start getting ready to prime that main area.

Before picture above.....

After picture above and below.....

Before picture above.....
After picture above and below.....
66ChargerHI-PO
Well-Known Member
66ChargerHI-PO
Well-Known Member
66ChargerHI-PO
Well-Known Member
Priming the hood latch and painting the support brace.....


66ChargerHI-PO
Well-Known Member
Update-
Since finances do not allow us to get 1966 dodge gray paint, headers, and other engine parts at this time, and we have no more room in the garage my stepfather decided to just pull the plug and sell the Charger. It will be posted on Craigslist later on today, asking $5,000 and located in Berlin, CT. Please PM me if interested, thanks
Since finances do not allow us to get 1966 dodge gray paint, headers, and other engine parts at this time, and we have no more room in the garage my stepfather decided to just pull the plug and sell the Charger. It will be posted on Craigslist later on today, asking $5,000 and located in Berlin, CT. Please PM me if interested, thanks
Similar threads
- Replies
- 2
- Views
- 294
- Replies
- 0
- Views
- 2K
- Replies
- 47
- Views
- 4K

