Rusty 72
Well-Known Member
So awhile ago I posted a question asking how much it would cost to have some frame repair done. After hearing the responses I was left with the option of either abandoning this car or tackling it myself due to the cost. I had taken a welding class years ago but that's it. So I bought a welder, spot weld cutter and found the replacement parts online and jumped in the deep end of the pool. I used all goodmark replacement parts and found them to be very good! They are all high quality and matched up perfectly.
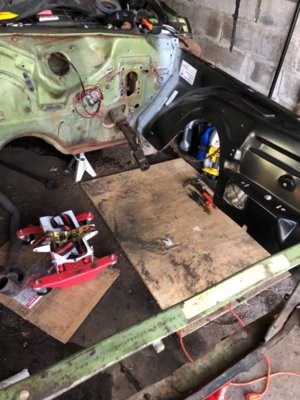
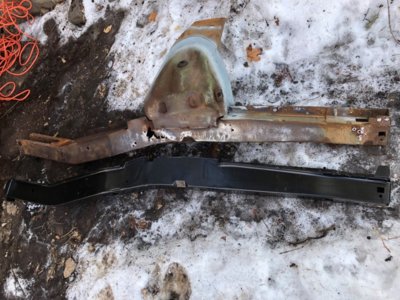
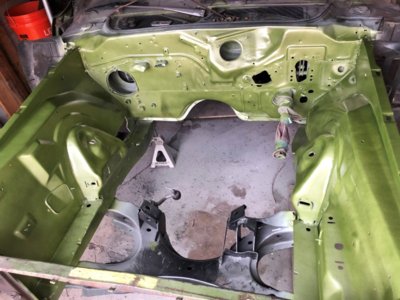
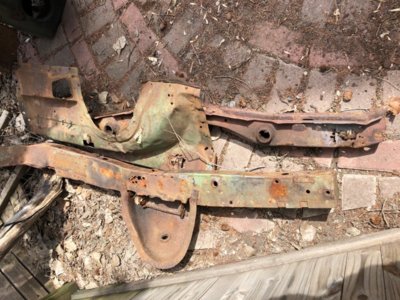
I didn't have any trouble using the Blair spot weld cutter to remove the spot welds. I removed the inner fenders and welded in the new ones (body and radiator support sides only) to kinda hold things in place and replaced the drivers side frame rail first. (the passenger rail was fine and didn't need replacing) I read on here that you can just bolt the new rail up to the K member and then its pretty much in the right location, so that's what I did. I had to measure and was having doubts about the shock tower placement, since it comes separately from the frame rail but I think I got it in the right place.
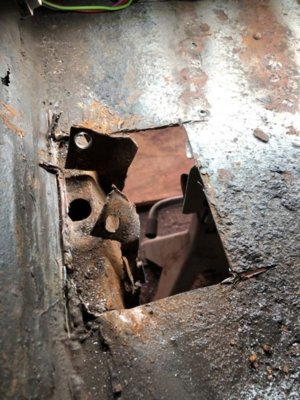
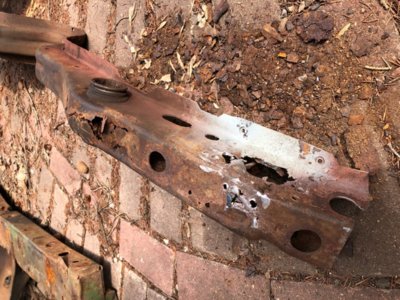
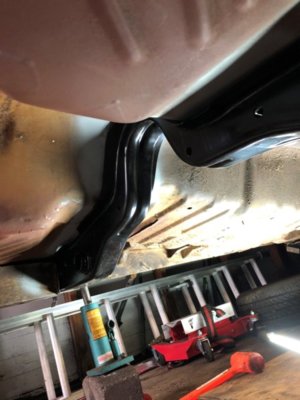
When it came to the torsion crossmember I decided to just cut out a small section of the floor so I could access the welds sandwiched between the floor and body and then cut through the floor for the rest. That worked great! I soon realized that you cannot weld sheet metal with flux core welding wire, so I am gonna have to buy gas to mig with for the sheet metal floor repair.
Anyway I was able to do all this by myself and I'm a novice for sure. In total I replaced the drivers frame rail, drivers shock tower, torsion bar crossmember, and both inner fenders for about $1000 in parts. I'm not saying it was easy by any means but it wasn't as hard as I thought it would be.
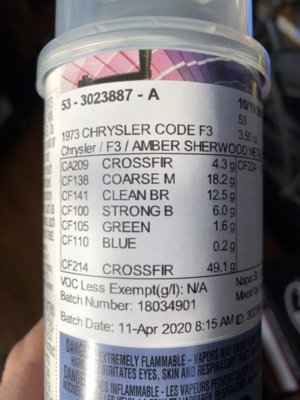
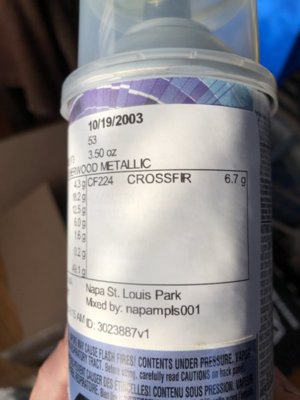
Oh and I was able to source the Mopar F3 green paint at Napa, they still had the recipe in their system and mixed it up in a few spray cans. I put down epoxy 2K primer then paint then 2K clear in the engine bay.
Maybe this will help someone else and encourage somebody to take on their own project. Feel free to ask any questions and I'll answer them if I'm able.
Feel free also to refrain from bashing my job in my single car garage on an uneven floor without a jig.


