Awesome!
You are using an out of date browser. It may not display this or other websites correctly.
You should upgrade or use an alternative browser.
You should upgrade or use an alternative browser.
Lucy; 1968 Coronet 440
- Thread starter BMosely
- Start date
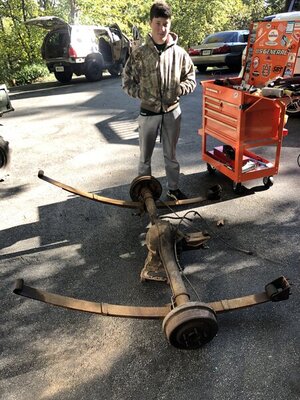
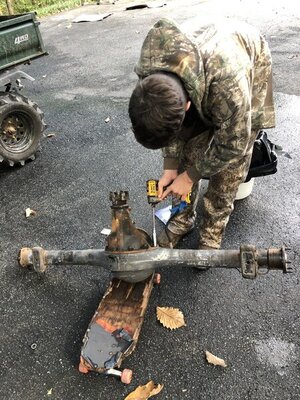
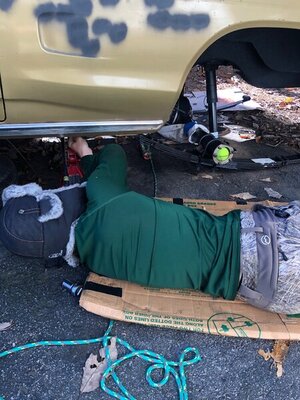
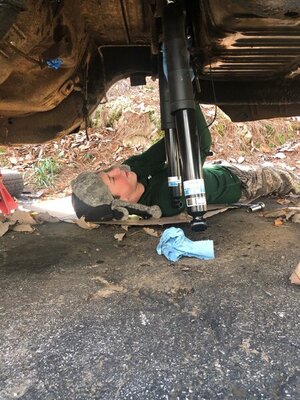
Nice to see you’re keeping your son involved. I had mine out in the garage today helping me remove the windshield & rear glass.
BMosely
Well-Known Member
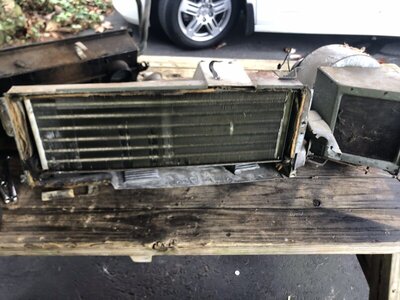
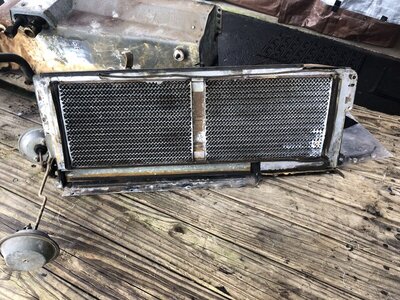
Ferrules on drain tubes evaporator core side. Get them hot with the torch and knock them off.
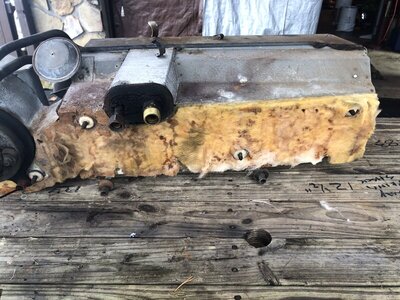
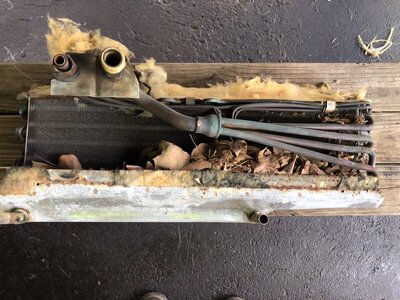
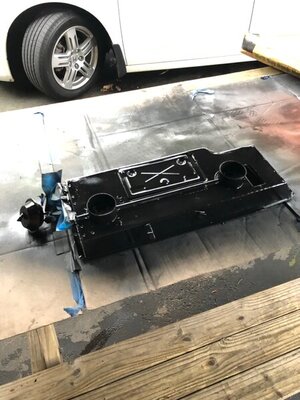
Copper leads into heater box at heater core. Heat, pb blaster, and wiggle them in rotation to break it all loose.
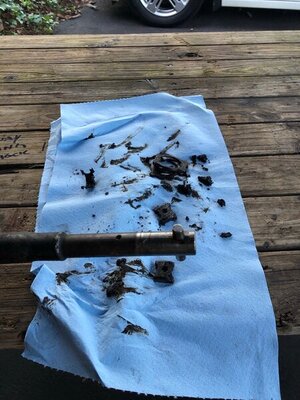
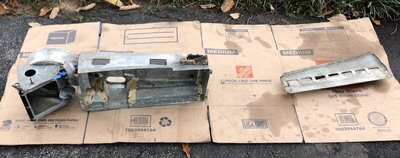
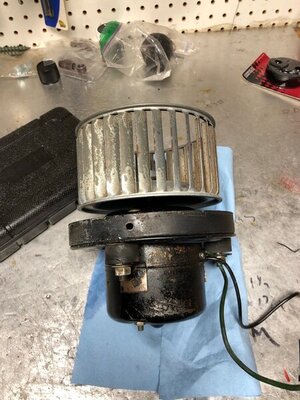
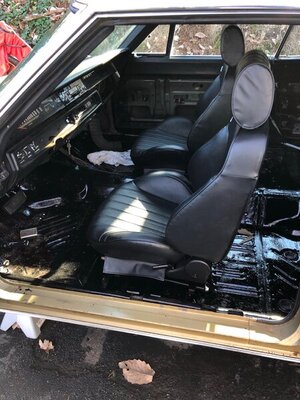
Lots of debris, trash and deteriorating insulation as to be expected.
Copper leads into heater box at heater core. Heat, pb blaster, and wiggle them in rotation to break it all loose.
Lots of debris, trash and deteriorating insulation as to be expected.
Superfreak
Well-Known Member
Awesome first car for junior. Nice work and quick.
Going Mags? Engine upgrade?
Going Mags? Engine upgrade?
BMosely
Well-Known Member
I
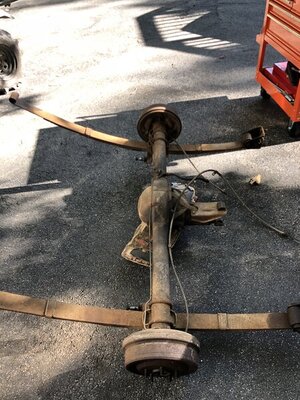
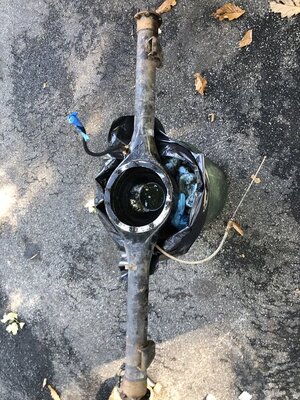
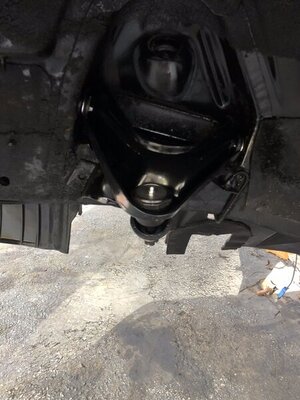
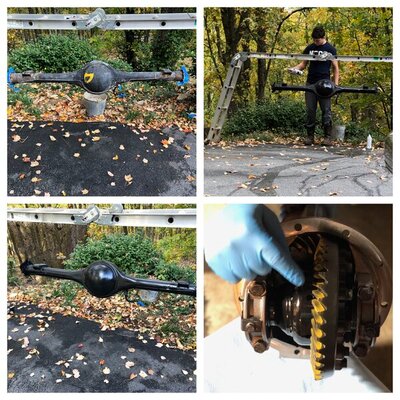
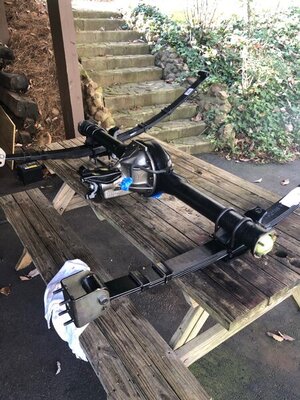
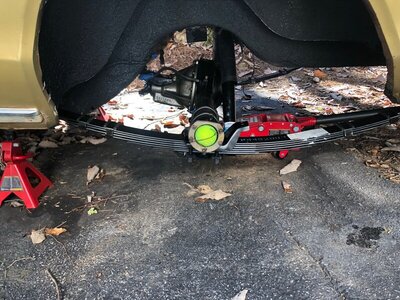
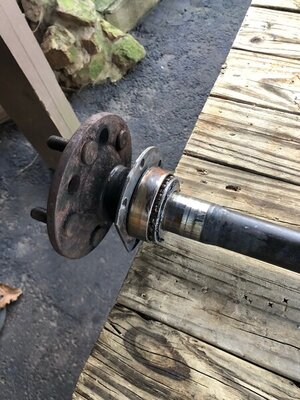
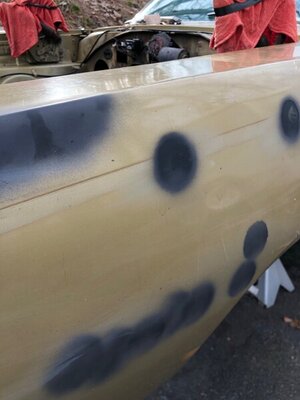
Plan is: 440 motor, TKO 5 speed manual, rear is in at a 3.55 Sure Grip. He is still kicking tires, so to speak. I like 17’s but he is thinking old school 15” or so. I just hate the limited choices on rubber if you don’t follow the trends. Every time you think that you are making good headway just pull out your master design/build notebook. I have a lot of superficial body work to do and it is all manhours.
Awesome first car for junior. Nice work and quick.
Going Mags? Engine upgrade?
Plan is: 440 motor, TKO 5 speed manual, rear is in at a 3.55 Sure Grip. He is still kicking tires, so to speak. I like 17’s but he is thinking old school 15” or so. I just hate the limited choices on rubber if you don’t follow the trends. Every time you think that you are making good headway just pull out your master design/build notebook. I have a lot of superficial body work to do and it is all manhours.
I don't count hours, I find it hurts less that way.
BMosely
Well-Known Member
Similar threads
- Replies
- 16
- Views
- 2K

