• When you click on links to various merchants on this site and make a purchase, this can result in this site earning a commission. Affiliate programs and affiliations include, but are not limited to, the eBay Partner Network.

D-man's 72 rr project

6872n73

Well-Known Member
Local time
8:14 PM
Joined
Apr 5, 2010
Messages
451
Reaction score
518
Location
Oklahoma
Well I'm overdue to start a thread on my project, so here goes.
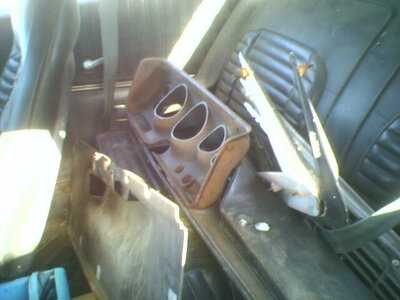
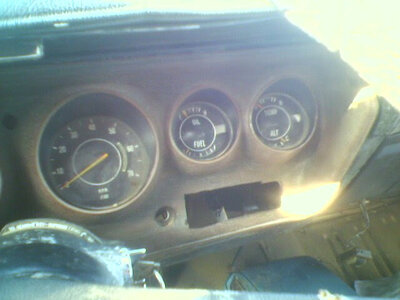
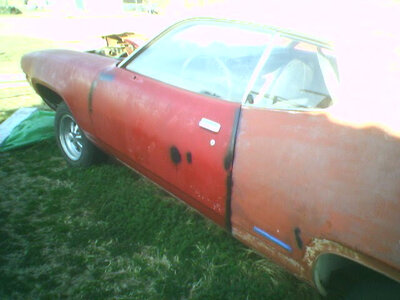
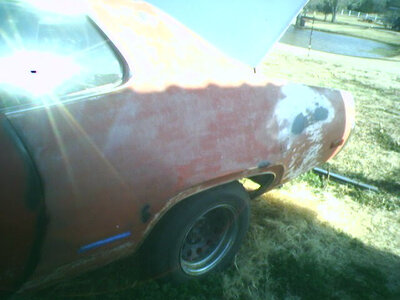
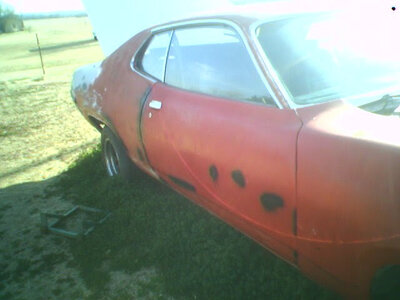
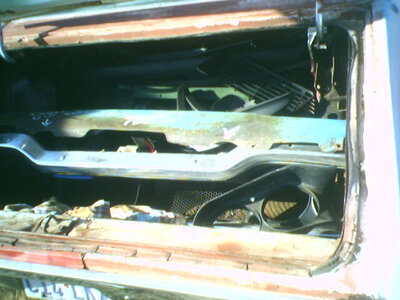
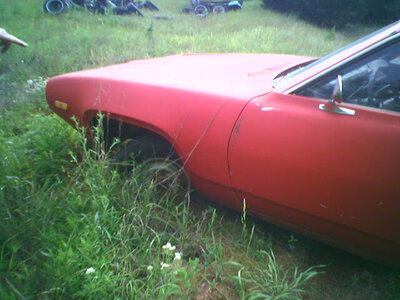
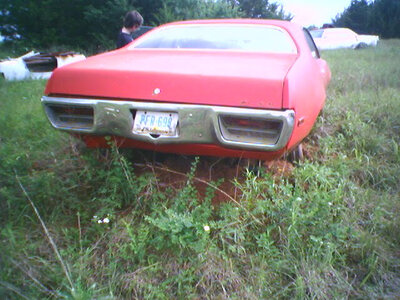
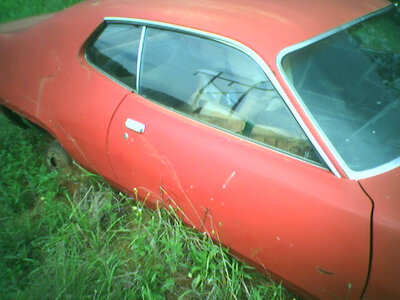
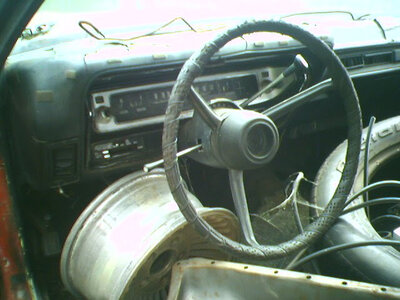
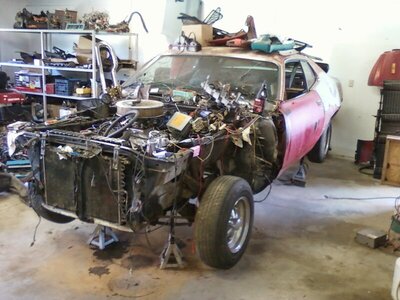
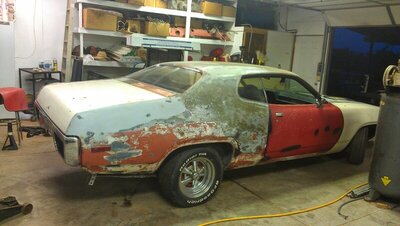
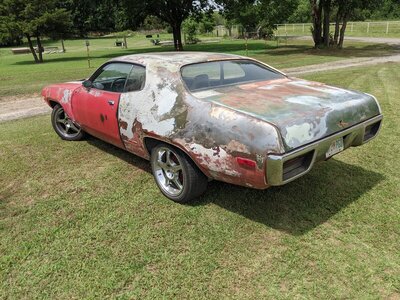
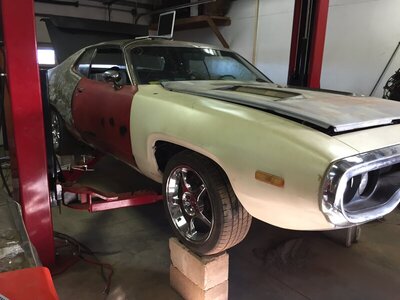
The story started long ago waaayyyy back in the 80's. I made a 68' dodge pickup trailer for my then girlfriend's dad to sell and we were going to split the profit, we broke up and I had a pickup bed and a 2v 383-727. Horse traded the 383/727 for a small block a-833 with a pistol grip. yada yada yada. school, marriage, kids, divorce, remarried yada yada yada to 2005, I get the hankering to put this tranny in a car. I find a project in waco tx, a nights stay in a haunted hotel and I come home with this.

IMAGE_668.jpg IMAGE_670.jpg IMAGE_671.jpg IMAGE_672.jpg IMAGE_673.jpg IMAGE_676.jpg IMAGE_677.jpg
 
Talking about this eventually let to a guy that worked at my company having a 72 sat parts car. best investment I have done on this project!

wiring
dome light
air con parts
taillight harness
misc bolts
lots of other little pieces
and a great reference

FYI I still have the trailer......wish I still had that 68.

IMAGE_398.jpg IMAGE_400.jpg IMAGE_403.jpg IMAGE_407.jpg
 
And then came the 440, that was a 413.
All was not lost, lots of spare parts and another guy that I worked with knew someone that knew of someone that needed some cash and had a wrecked 77 truck with a 440, I wanted the engine and he wanted the diffs.
 
Built a shop, kids cars and school. 2010 i finally get the engine and trans are in the car.

Photo0090.jpg
 
another 2 years and my shop is still clean in 12

IMAG0204.jpg
 
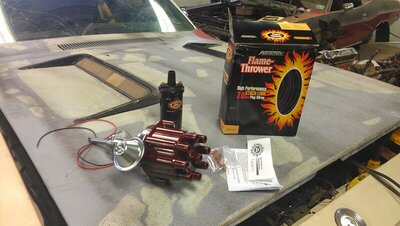
and now for some good stuff, after lots of tuneing my timing at idle was always jumping around by 2-4 degrees making it difficult to get it nailed down so it was time for an upgrade. I had to clearance the 452 heads but It went in without a problem. I think the new dizzy housing made the most difference. the spark was within 1 and not jumpy at all.

IMAG0249.jpg IMAG0268.jpg IMAG0269.jpg IMAG0270.jpg
 
The parts car looked to be in better shape.. Was it?
The front of the was in better shape but the rear wasn't, prolly about an inch of bondo down the side of the quarters. Floors trunk rear rails are in poor shape.
 
The front of the was in better shape but the rear wasn't, prolly about an inch of bondo down the side of the quarters. Floors trunk rear rails are in poor shape.
Ahh, ok it looked pretty solid in the pictures... But ya have parts now and thats a great thing to have.
 
I want to hear about the haunted hotel myself.... :)
It was the Rogers Hotel in Waxahatchie, after 7 hours of driving with my wife ghosts were a welcome change. Nice place, we didn't experience anything but a late breakfast.
 
Alternator upgrade.
I had the typical lights flickering at idle and decided that I needed the alternator upgrade so I started looking at my options. I didn't like most of price of the kits or having to do new brackets. So I kept my eyes pealed for other options. One day I was helping my son-in-law with changing the alternator out on there 96' suburu and noticed that the mounting is very similar to the mopars, and the power connection was on the side and not on the rear like most alternators. So I bought his core so I could take some measurements. the mounting span is about 1/4" wider than mopar but the connections would work. So I tried it. It fit with slight tweaking of the stock brackets. the upper mount needed bent outward ( to the fan) about 1/16" and the lower one was tight, I had another lower bracket that had the brace to the motor mount cut off and the let the adjustment swing freely. this worked! So the next time I was at the pull a part I scored a fresh looking alternator, and it tested good. Next issue was the pulley. I had a 89 alternator from a truck to rob the two groove v belt from, as luck would have it they were both nippondenso brands. Zipped both of the pulleys off and swapped them. The nut wasn't totally seated but it only needed 1-2 threads hanging off of the shaft so I ran with it.

It has been working very well for me.

The connections are; main power to battery, keyed and light (ground to the alternator and pos to the battery - light is on during cranking until energized and then turns off )

I don't think it will work for the 383-400 blocks because of the rear offset bracket but the rb has enough room.

IMAG0733 (1).jpg
IMAG0734 (1).jpg
IMG_2704.JPG
IMAG0733 (1).jpg
IMAG0734 (1).jpg
 
Wheels.

Well I traditionally think of muscle cars need 14" and 15" wheels like they came with. As you can see I have the classic 14" cragars and BF Goodrich that look the part. It would take 2 people to push the car on the dirt or in the shop. Then my wife bought a honda civic with 17" with 215/45 tires. I could easily push it around the shop, I thought its a lighter car....I have mighty bigblock and she has better weight distribution. So after a couple of months it got the better of me and I looked up her car specs and the 72RR, 3200 lbs vs 3800 lbs, then I looked at the tire diameters and they were within 1". So I had to try it! Since I just wanted to experiment, I found mustang wheels are the same bolt circle, then I had to find some that I remotely liked and found some on craigslist with tires for $300. I did use 5/8 spacers to get the spacing right.

I have to say the car feels lighter, I don't scrub off as much speed coasting to a stop, take off is quicker, steering is more responsive and I can push it around the shop easily.

IMG_20200627_145416.jpg
 
Frame connectors.
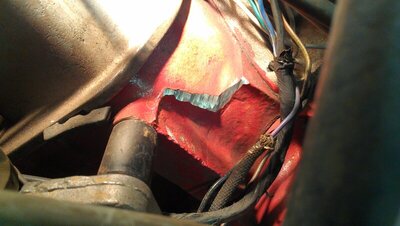
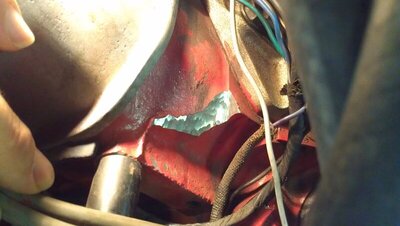
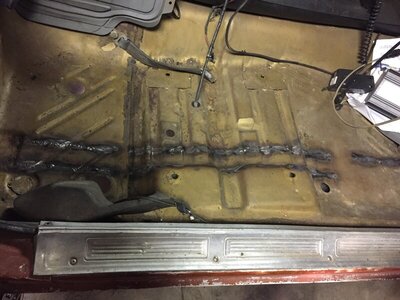
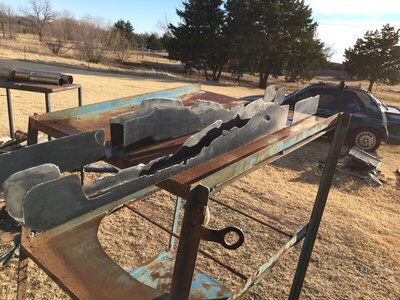
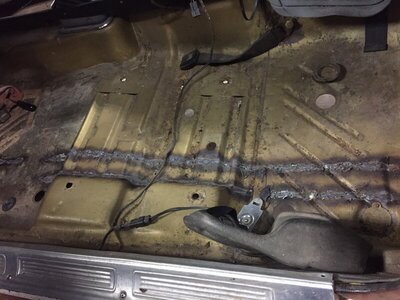
I heard about them but really figured that I didn't need them, but if I were to do them I need to get them done now before I painted anything. So I did some looking and it seems that I'm a tightwad because 100-350$ and you still need the grind and trim them to fit. So cut some 14ga. blanks out at work, leveled the car and clamped the blanks up in location and marked what I need to trim off and proceeded to grind to fit. And after a few hours of burning holes in my floorboards....I had frame connectors.

The car immediately feels stiffer. It has fewer rattles and takes bumps and uneven roads better.

Do I need it, prolly not for street cruzin, am I going to do this to my other projects, definitely!

Total time about 10 hours, cost 30$ plus welding supplies.

IMG_2621.JPG IMG_2615.JPG IMG_2616.JPG IMG_2619.JPG IMG_2617.JPG
 
Bell housing cover
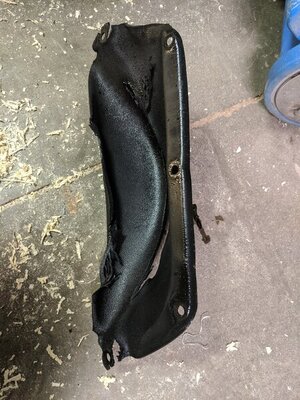
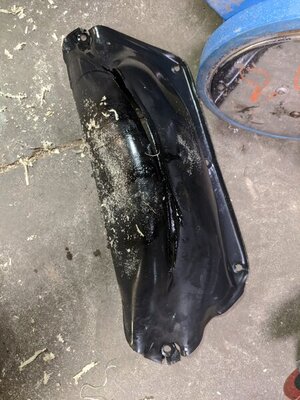
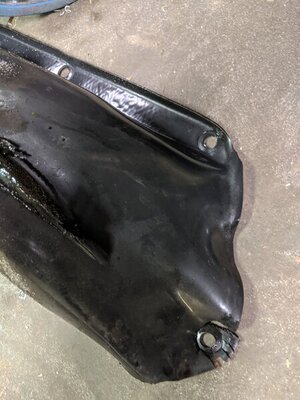
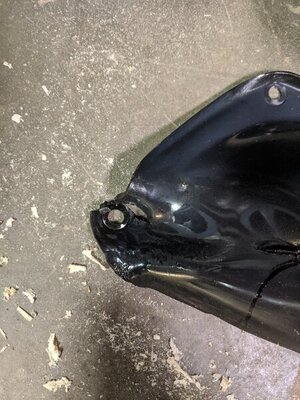
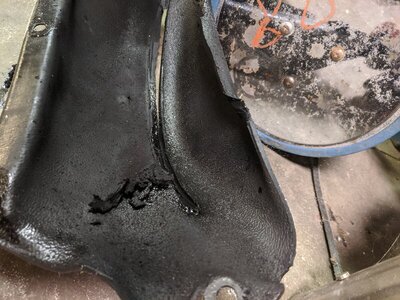
When i first did the install i didn't have a cover, so I went shopping and went cheep with the plastic one. Then I did research. So that was 50$ out the door, but I waited it out just to see what happen. And it did.

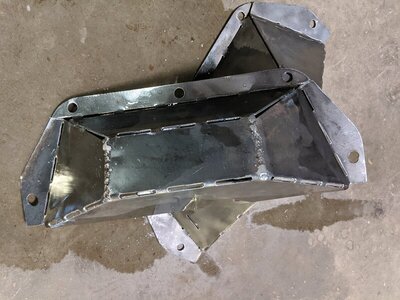
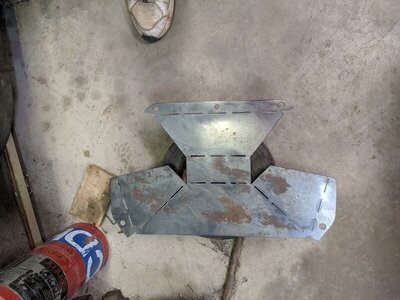
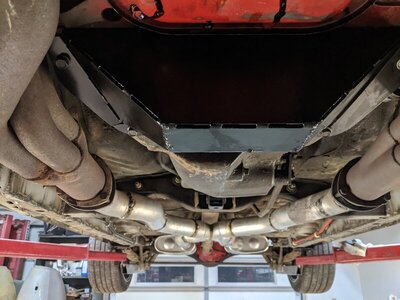
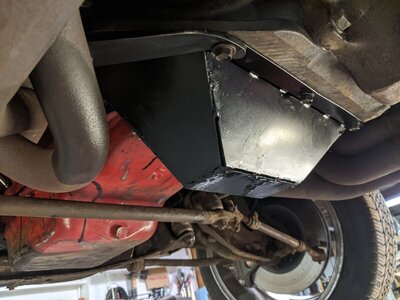
So I took some measurements and did a layout and made my own at work out of 14 ga sheet metal.

IMG_20191222_182222.jpg IMG_20191222_182229.jpg IMG_20191222_182233.jpg IMG_20191222_182235.jpg IMG_20191222_182242.jpg View attachment 1032412
 
Last edited:
Exhaust system.
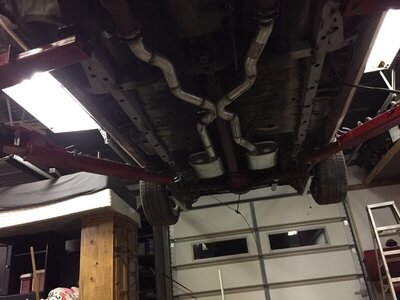
I didn't take any pictures of the fun but you can see the final result in the previous pictures.
After installing the engine and trans I just connected the Hodge podge of pipes that were on the car so I could hear myself think. It was a series of patches over the years.
I started shopping around at TTI and pypes and such. I also started researching if I needed two and a half or three I figured a mild 440 would be okay two and a half inch diameter.
So I went to summit and bought their brand kit, the ball end for the headers and the x pipe kit. I had to make some mix and matching but I think it came out okay. I used turbo summit brand mufflers which are a little quieter than I would like but the kit fit reasonably well using almost all of the factory mounts and it's a whole bunch quieter.
 
Carb

Background
When I put the engine together I put a performer RPM intake and a Holley 3310 vacuum secondary carb on it.

I did the regular tuning idle, Jets and spring. I did all this by reading plugs and I did okay but there was an area off idle that was just too rich and I could not get it out. So I gave in and bought a 02 sensor for the exhaust. this is when I had the original hodgepodge of exhaust by the way. This is where I got to figure out about the air bleeds and how difficult it was to adjust on the standard Holly carbs. The O2 sensor helped me out tremendously it helped me identify which direction I was going a lot faster I could have done it reading plugs but the O2 sensor was just quicker. I can make an adjustment on the carb and have information back driving it around the yard instead of driving it and trying to shut it off at just the right time to read the plugs. I wound up putting .020 wire in the bleed circuit. That gave me a very nice transition from idle to mains and then of course I had wide open already tuned.
I then put the full two and a half inch exhaust on the car and what do you know it ran like crap until I Floored it. No surprise with my O2 sensor it was clear that I was lean in my idle and main circuits and was still a little lean at wide open but not not bad maybe half a point. So I started the procedure all over again I had to adjust the idle circuit jets and then I wound up with .010 wire in the idle circuit. And yes I searched a long time stripping wire to find different gauges of wire.

16066833047677853406229068747313.jpg
 
EFI bug
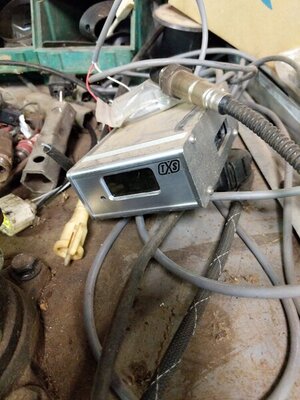
So now that I have the car starting and running okay with a carburetor that dang son-in-law finds an ad for a Holley Commander 950 TBI system complete with wiring harness laptop ECU and TBI for $450 so how could I pass up a deal like this. Talk to the guy he never tried to tune it he was having his mechanic try to dial it in without a dyno for the past 10 years. So what could go wrong? I install it well the bung in the exhaust x pipe. I pulled a fuel sender out take the sock off put the high pressure pump on the end of the tube. And put just a regular sock on the bottom of the fuel pump. I find a four-wire bulkhead connector at work and I drill out the sender wire and rout e the pump and the sender with separate grounds out of the sending unit. Luckily I have a parts car that I stole the fuel line from and I ran it right beside the normal fuel supply line giving me a 3/8 supply and a 3/8 return. I also bent these lines at the rear of the engine to go up to the throttle body. This was by far the worst part of adding EFI. I added the control unit to inside the cabin use the power on to the EFI from the former Chrysler electronic ignition power power to the battery and tap into the negative of the coil. I keyed on several times and check the fuel delivery. I used the ignition system that was on the carbureted set up. I downloaded Holly's generic tunes and I uploaded a generic tune for a big block manual transmission. I connected the laptop and crank the engine over with no fuel just to make sure that the ECU was seeing a coil trigger. Plug the fuse in and bam it lit up and idled surprisingly well. The commander 950 system I believe was developed in the early '90s and sold in the mid-90s era. There is no built-in auto-tune. But I could tune while the engine was running so good and bad it's awesome that you could feel and hear the changes in real time and see it on the O2 sensor but I was very careful because I know you could easily damage your engine just as quickly. And let me just say tuning on the fly is addictive. You can make adjustments going uphill and your internal respond before you get to the top of the hill that is very cool.

I tuned a lot by watching the O2 sensor and reading my plugs and just feel of the engine. And then you can graph your RPM load and fuel flow charts and then you can expand to get a few more RPM tuned in range. Then take it out and drive it and rev it up a few more RPMs to make sure everything is operating like the engine wants. I did find some software by a guy named Tom that did do an auto-tune add-on software to Holly's and it worked pretty slick. You can tell where Holly got the idea or copy from. But the real downfall of this whole system is if you remember me saying this was developed in the mid-90s you also needed a computer that accepts a DB9 connector or else the data gets jumbled up if you go through a USB converter. I tried a dozen different converters and they all acted the same in the Holly software. So I was at my IT department and I was talking about tuning with this older EFI system to which he said your bod rate is different you need a computer that has a DB9 connection and then commands to pull out an old laptop with a DB9 connection. This thing is a tank it weighs about 20 lb is about 2 in thick and has a 12 in color screen. But I load the Holley software and plug it in to the ECU and I can data log like a champ.
And here comes the sad part of the story I was tuning one day and I had the laptop on my fender cables ran in to the ECU inside the car and the transformer plugged into the wall and the grandkid comes running to me and trips on the transformer cable and crash goes the antique laptop crushing the connector for the keyboard to the main board. Now try going shopping for a 486DX2 or a Pentium laptop. If you can find them they're usually free I only found one and the screen was broke. By this time I had it decently tuned to about 3,500 to 4,000 range.
This was enough to drive it around for quite a while and it was pretty nice with quick startups and all the benefits of EFI.
I should have taken more pictures while I was installing but I didn't so here's what's left.
IMG_20201127_194327.jpg
IMG_20201127_194353.jpg
IMG_20201127_194358.jpg
 
A/C system.
This RR had a factory a/c but all I had was the TXV valve and hose and then the hose to the dryer and then the dryer hose to the condenser. So when I rebuilt the 440 I did not have an AC pump. All things considered I was likely going to upgrade to the 134a system. I start googling and find the systems that use the factory evaporator and controls but upgrade the pump and condenser. Like so:
IMG_20210317_214102.jpg

I see an upgraded TXV valve a sanden pump thermostat brackets and hoses.
I hop on eBay and I found a sanden pump with two groove pulleys but the dude said come off of a Camaro and he upgraded to a serpentine system so I bought it on a whim for 60$. You can see in the pictures above in the alternator upgrade section when I was running a carb.
After doing a lot more searching I found four seasons website and I found the factory TXV valve:
IMG_20210317_212226.jpg

I saw that it was 1 1/2 tonne and took note of the hose connections. Then I used their search tools and found the replacement without the equalizer:
IMG_20210317_212910.jpg
next up was the condenser I was just going to buy one but my son was over working on his '96 Dodge pickup and we removed his condenser and while he had it out I took some measurements and voila it's tight but it does fit and it feels most of the radiator opening.
IMG_20210313_201824.jpg
IMG_20210313_201830.jpg
IMG_20210313_201454.jpg

So now that I have the big pieces in place I got online ordered fittings and hoses. Got the hoses sorted out, took him down to Napa and had them crimped and got it all hooked up. Pull the vacuum charged it up fire the engine up and it worked great... At an idle. On a 90° day low side was about 35 high was about 270 PSI the center vent was about 37°. Life was great until I revved the engine passed 1500 RPM. That's when all hell broke loose. Pressures went to 15 when it tripped out and the high side was up to 375 sometimes 400. Let it come back to an idol The pressures would normalize pressure pump would get back on and cool like a champ. Had to scratch my head a long time on this. So I bought another TXv another compressor just like the other one another dryer and still had the same result. And then I gnashed my teeth a lot.
A couple of months later I started doing more research on the pump itself I had purchased two sanden SD5H14 compressors
IMG_20210313_202042.jpg

And for some reason I had to spend 300 bucks to actually look up the pump. Turns out it's a two ton pump. At an idle at an idle The pumping losses were enough that my system responded very well but when I revved it up it was sucking the vapor out of the evaporator and dropping the pressure and over pressurizing the high side.
So the easy fix is a one and a half ton compressor which is a sanden SD509
IMG_20210313_202115.jpg

As you can tell I also made more brackets to convert to a low mount below the alternator. I'm running the same one and a half ton TXV valve and condenser out of a '96 Dodge pickup and a low pressure switch from a late '80s Chevy pickup that is adjustable.
Last summer on 100° day at an idle I was running about 40 to 45 psi on the low side and two 250-260 on the high side. The middle vent temperature was about 45 to 50° driving down the road idle steady state was about 40 to 45°. And I have no carpet or insulation or anything in the cabin. It wasn't cold by any means but it was adequate.
 
Auto Transport Service
Back
Top