You are using an out of date browser. It may not display this or other websites correctly.
You should upgrade or use an alternative browser.
You should upgrade or use an alternative browser.
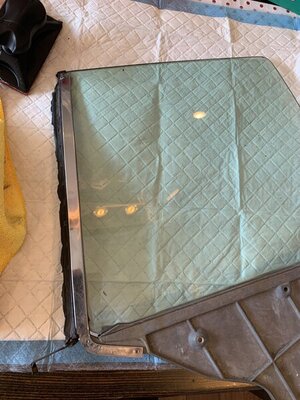
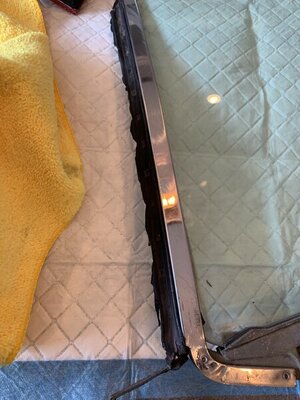
How to replace the rubber? ‘71 Charger SE side rear Windows.
- Thread starter 71SandbugCharger
- Start date
It should slide out of the chrome channel. Might have to lube it up to slide it out and not damage the chrome channel.
Take care as the chrome strip is a friction fit on the glass. I'm sure there's a way to remove it, clean up the edge of the glass, and reattach with a caulk, but I've never done it before.
Thanks for the stovetop cleaner tip on the glass...might have to look into that on some really crusty glass I have.
- Local time
- 10:14 AM
- Joined
- Mar 13, 2009
- Messages
- 772
- Reaction score
- 780
- Location
- Oakville, Ontario, CANADA
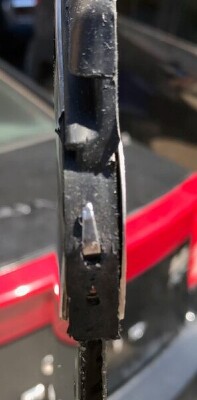
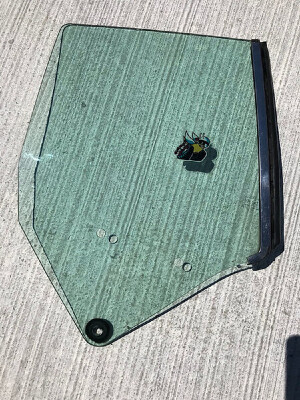
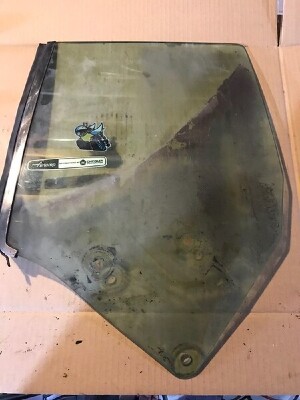
Removed the old seal, the new seal slides in and this little metal tab goes through the whole in the rubber seal.
Used some silicone spray as the seal was a very tight fit; which of course you want.
As we know with most repro parts they are usually a little off, the hole that was drilled in the seal was out of place so I had to drill a new whole and it had to be a little more oval for the rubber seal to fit over it.
Finished product, I am very happy with it and glad it was available in the aftermarket, mine have always looked like crap.
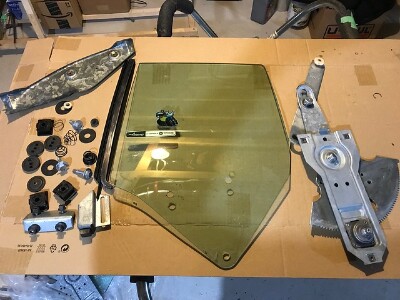
Thanks and thanks for the helpful tips and all the pictures! This will help me to put the whole window and guides back together!View attachment 1067448
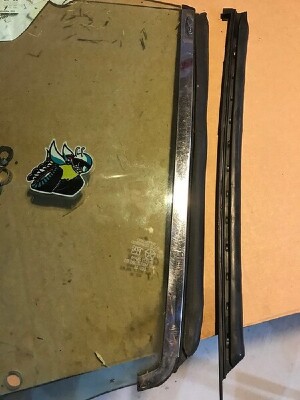
Removed the old seal, the new seal slides in and this little metal tab goes through the whole in the rubber seal.
Used some silicone spray as the seal was a very tight fit; which of course you want.
View attachment 1067449
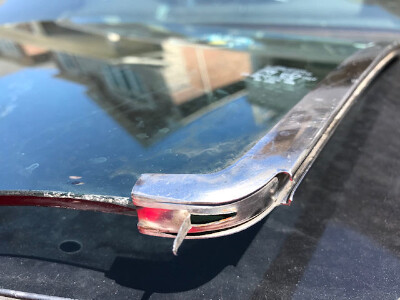
As we know with most repro parts they are usually a little off, the hole that was drilled in the seal was out of place so I had to drill a new whole and it had to be a little more oval for the rubber seal to fit over it.
View attachment 1067450
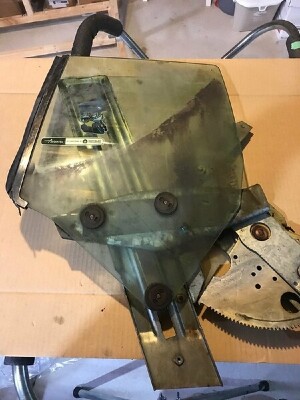
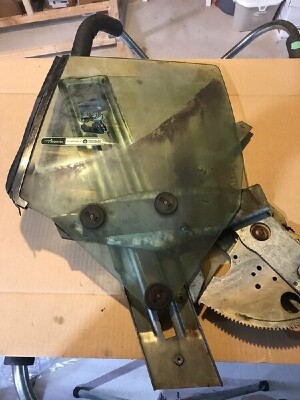
Finished product, I am very happy with it and glad it was available in the aftermarket, mine have always looked like crap.
View attachment 1067451
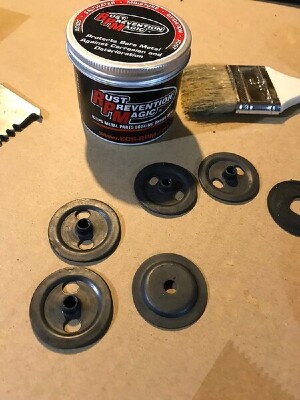
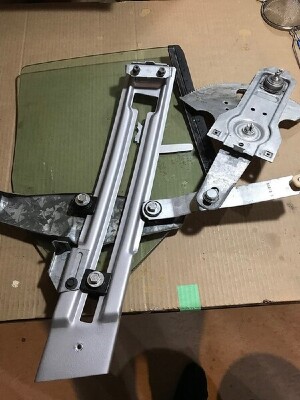
View attachment 1067438 View attachment 1067439 View attachment 1067440 View attachment 1067441 View attachment 1067442 View attachment 1067443 View attachment 1067444 View attachment 1067445 View attachment 1067446 View attachment 1067447
- Local time
- 10:14 AM
- Joined
- Mar 13, 2009
- Messages
- 772
- Reaction score
- 780
- Location
- Oakville, Ontario, CANADA
Sorry didn't mean to add so many pictures, lol. Good luck with it.
Similar threads
- Replies
- 6
- Views
- 762
- Replies
- 10
- Views
- 2K
- Replies
- 6
- Views
- 2K

