68Moparmaniac
Well-Known Member
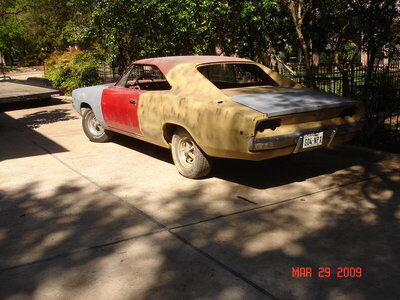
Painted up the hood and deck lid Saturday, guess all the hard stuff's done now.....
The taillights look great. In fact, all that you are doing looks pretty good. Thanks for the post. All this lies ahead of me for my 68 R/T 440 4 speed.Finally finished up the taillights last night. Been quite a few years since these were fully assembled. More stuff to put on the "finished pile"
View attachment 716683 View attachment 716684 View attachment 716685

Thanks brother, it's been a challenge. Best of luck to you with your Charger, your starting with some bitchen DNAThe taillights look great. In fact, all that you are doing looks pretty good. Thanks for the post. All this lies ahead of me for my 68 R/T 440 4 speed.
View attachment 1010623

Yes sir, we think alike. Nothing is more nerve wracking than leaning over freshly painted fenders that have a lot of blood, sweat and beers invested.I would advise you to leave the front fenders off till after you get the motor in, etc.. So much easier than trying to keep from scratching them. I actually drove mine around the block a couple of times without the front fenders, grill, etc, just to make sure the motor and trans was good to go.
The first one makes the second go down even betterNice! Hope u have more than 1 beer!

