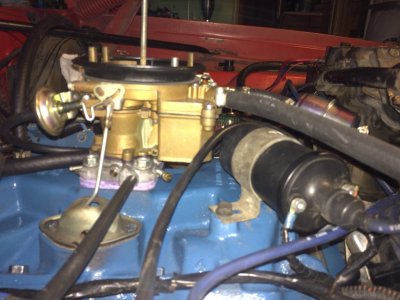
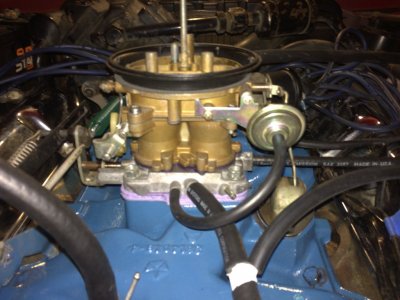
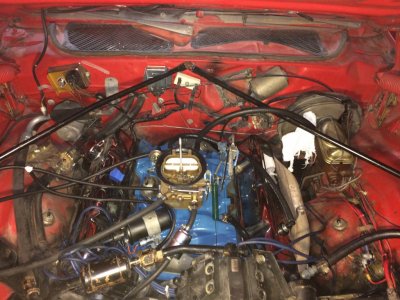
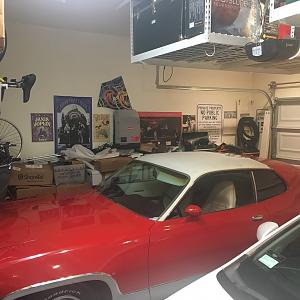
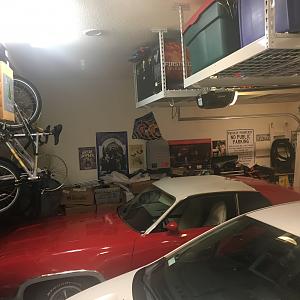
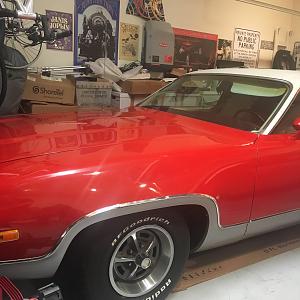
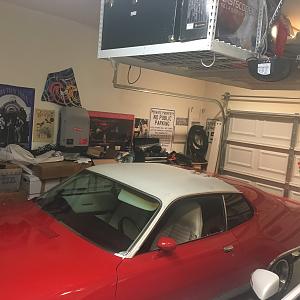
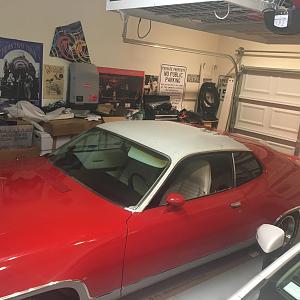
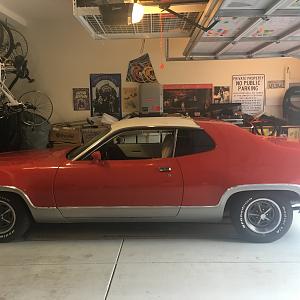
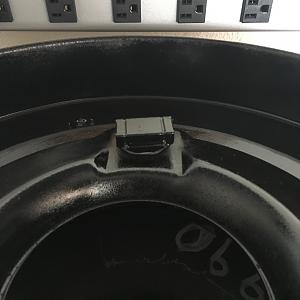
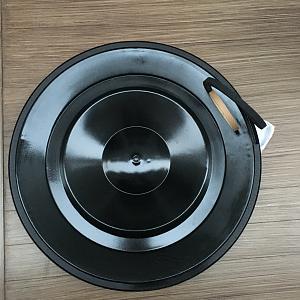
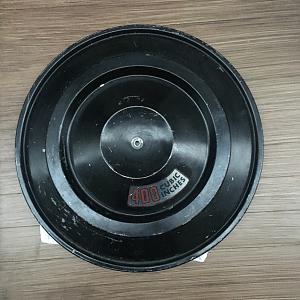
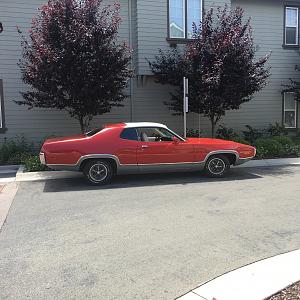
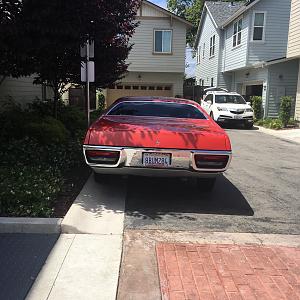
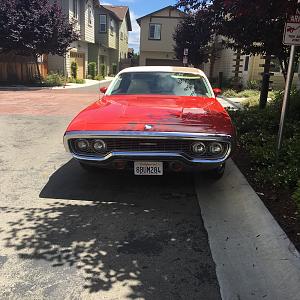
About this Mopar:
D34 TorqueFlight AT
RP23 Plymouth Belvedere/Satellite
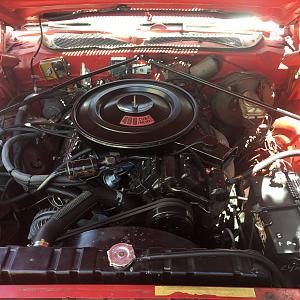
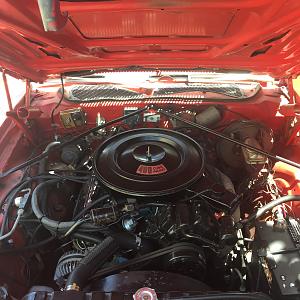
M2G M=400 190HP (NET) 1-2BBL 8 CYL; 2=1972; G=St Louis MO USA
FE5 Paint Code: Bright Red / Rally Red
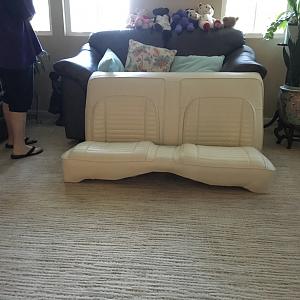
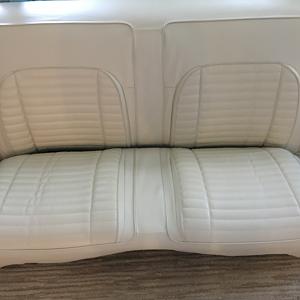
H6XW Trim Grade/Style/Color H=High; 6=Vinyl Bucket Seats; X=Black
EW1 Upper Door Frame: White / Alpine White
503 Date Built: 05/03/1972
127259 Order Number: 127259
V4W Roof Type or Color: White Canopy Vinyl Roof
U Built to Specifications US Order
B41 Front Disc Brakes
B51 Power Assisted Brakes
C16 Console with Buckets
C56 Bucket Seats 72 up
G11 Tinted Glass All
G36 Left Hand Remote, Right Hand Manual Outside Mirror
H51 Single Air /w Heater
J25 3 Speed Variable Wipers
J52 Inside Hood Release
M21 Roof Drip Rail Moldings
M33 Body Side Moldings
N23 Electronic Ignition 72 only
R35 AM/FM Multiplex Stereo
26 26 in. Radiator
-
 DFBC9EA4-EB28-4123-97F1-DF4BEBCD6159.jpeg365.2 KB · Views: 81
 -
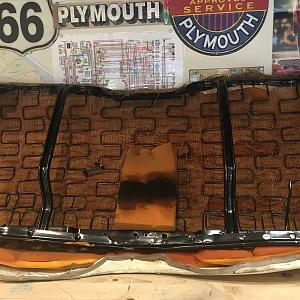 8253A73A-3D42-4CF1-9497-D631FAE42CF1.jpeg452.6 KB · Views: 76
 -
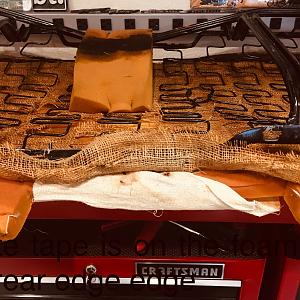 6FF874CD-DEBB-435E-952F-C403E70E6D64.jpeg481.8 KB · Views: 73
 -
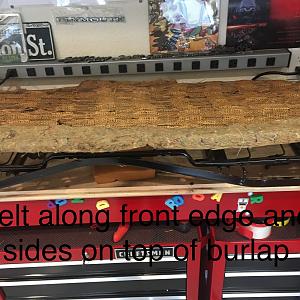 B84E32BF-44C8-41E8-8DBA-E9717CDA77F0.jpeg382.4 KB · Views: 76
 -
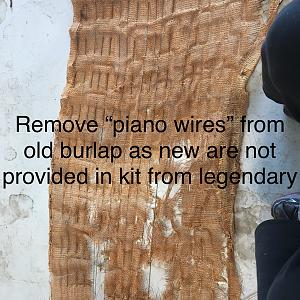 023D243C-0383-4737-801A-F40EFC88974D.jpeg611.2 KB · Views: 91
 -
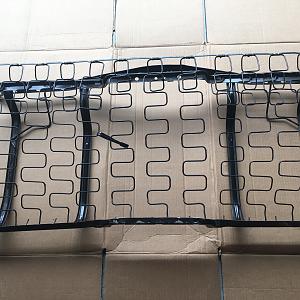 D1BDA2DD-DBCB-4052-86F1-9EF646FC969C.jpeg353.9 KB · Views: 88
 -
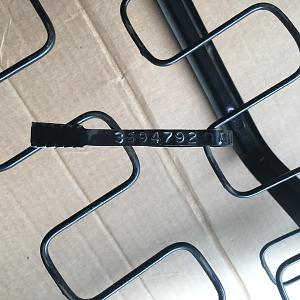 E10CA505-441C-4FD5-B9B7-FFFEAB8AD234.jpeg242.7 KB · Views: 80
 -
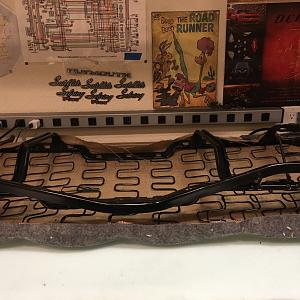 0A3F4D54-7795-4BB6-8C5A-86DADC590771.jpeg345.6 KB · Views: 104
 -
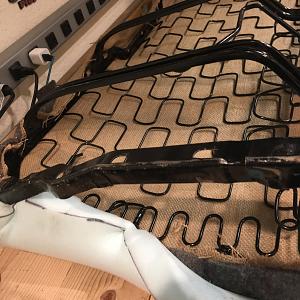 65A548DE-C6C4-43EC-B47B-0F8671E71DF4.jpeg373.1 KB · Views: 75
 -
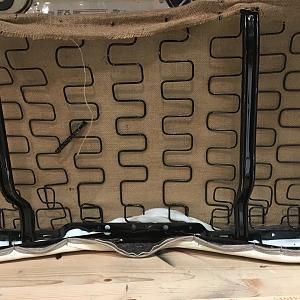 7B8C6469-5332-4BDC-A305-2391E25D1C3B.jpeg450.5 KB · Views: 75
 -
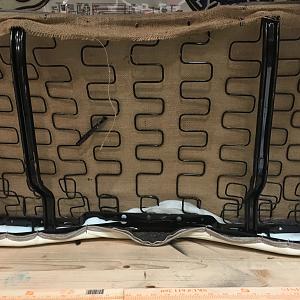 3BD24DCD-6288-491A-A98A-C492D4E2755F.jpeg385.7 KB · Views: 80
 -
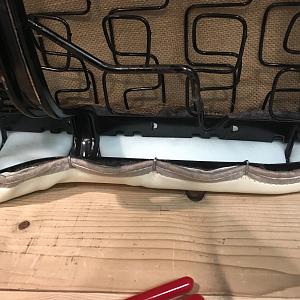 CAAA99F8-5598-460E-9BCD-0EE3E866D828.jpeg299.1 KB · Views: 75
 -
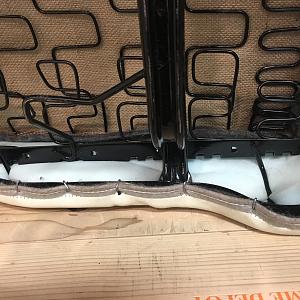 351F554D-4B3F-4972-8F3A-A20A559036DA.jpeg373.5 KB · Views: 76
 -
 3CC9853E-0A89-4C16-86EA-4D75D5A89F12.jpeg219.4 KB · Views: 75
 -
 FF31D299-3D0D-4270-BC9B-F4553CDFAA84.jpeg240.7 KB · Views: 70
 -
 B9AD1309-FDB8-4AD9-9845-EB7400E93306.jpeg293.6 KB · Views: 70
 -
 BADB5A5F-82DD-457B-8F49-F07530E286D8.jpeg218.1 KB · Views: 77
 -
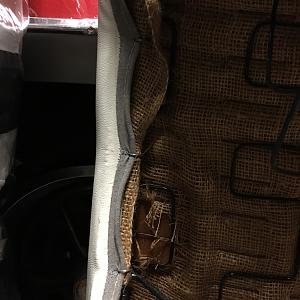 1E58F853-1602-43E6-8D89-11B9375821EF.jpeg290.1 KB · Views: 67
 -
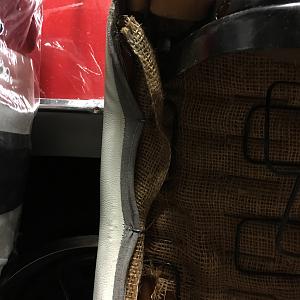 4A7817AD-D0EC-4B81-B444-762A1C77E048.jpeg286.3 KB · Views: 67
 -
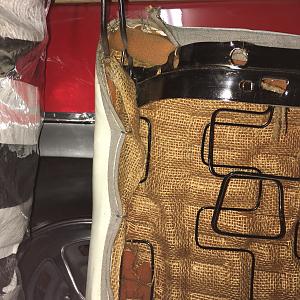 953B4B19-6093-451C-8D4A-B81FA5EE387F.jpeg483.3 KB · Views: 70
 -
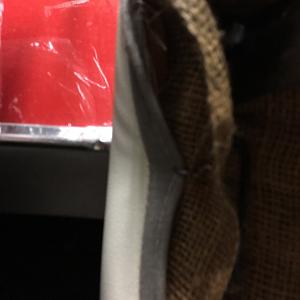 CC8D5E42-6D13-4AB8-811A-665AE659954D.jpeg196.8 KB · Views: 65
 -
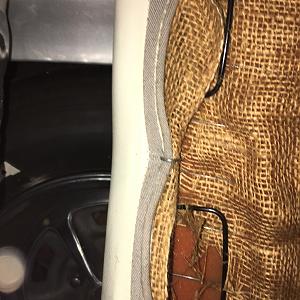 62F80AFB-CC1A-4C94-BC28-5B5675CCC29D.jpeg347.4 KB · Views: 59
 -
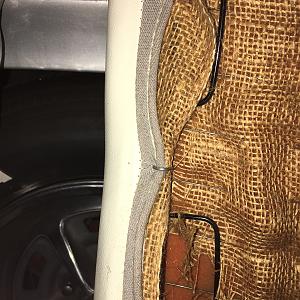 D08976B1-212B-47CF-AD81-A9FC2D2D4A48.jpeg566.5 KB · Views: 62
 -
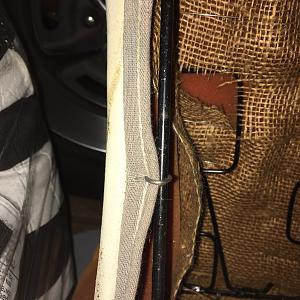 B7D715CB-90F7-41B5-AB68-97705748C865.jpeg354.7 KB · Views: 73
 -
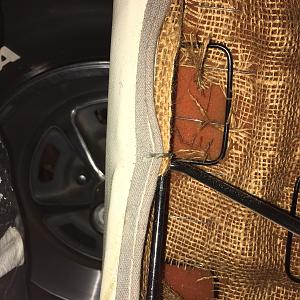 CD61C02F-C217-4084-B4CB-82DFCE6A6074.jpeg463.7 KB · Views: 68
 -
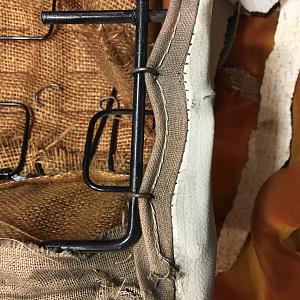 BAA5E327-53D8-4C70-A85A-5908DABB5CDB.jpeg417.7 KB · Views: 70
 -
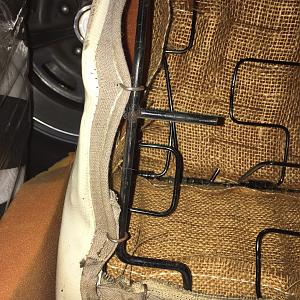 2415A137-0E7A-4BC6-8859-1F8F06B78D67.jpeg526.3 KB · Views: 67
 -
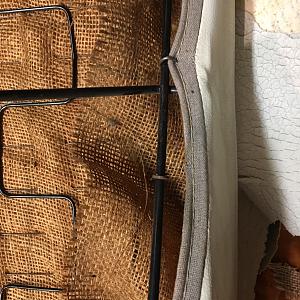 818F0AFD-A5F4-4C1D-A07A-63B05B763603.jpeg485 KB · Views: 68
 -
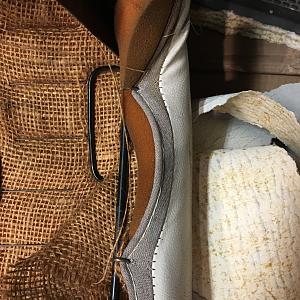 3040521C-2AB3-4A98-972E-14F0007D2785.jpeg481.1 KB · Views: 66
 -
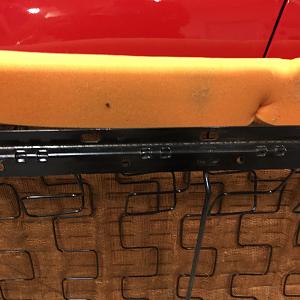 528E7969-F1CD-437B-A580-0CA5BA3205F3.jpeg283.9 KB · Views: 77
 -
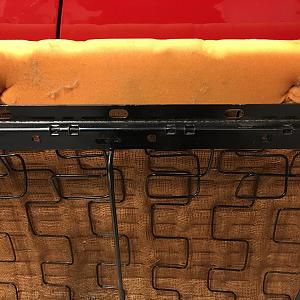 8EEA35DF-88A0-4B7F-817B-08907B174313.jpeg391.2 KB · Views: 68
 -
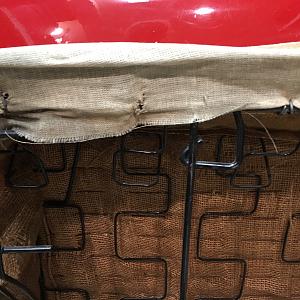 54F3E5F3-5112-4675-BAB6-D49E53BAB510.jpeg366.7 KB · Views: 70
 -
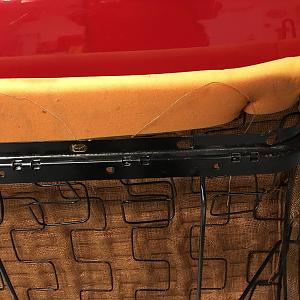 B3A70D5A-8336-40B5-A854-99CF450C1E2F.jpeg373.6 KB · Views: 67
 -
 9F5AF1A5-5AC9-4D45-8739-1843078B849F.jpeg408 KB · Views: 63
 -
 2CF8BE25-980B-4285-8DF4-E717726321D4.jpeg306.5 KB · Views: 84
 -
 4162006B-FE9C-41A7-ACA4-099DB69A0E38.jpeg412 KB · Views: 66
 -
 14DBDDD4-B615-4E79-BC16-7305332106EC.jpeg409.4 KB · Views: 70
 -
 095B3113-6691-4DC5-92C1-81ECC10362F5.jpeg258.9 KB · Views: 76
 -
 F979BD5B-5CA2-4CFB-9952-AE0A9A2C9F5F.jpeg1.7 MB · Views: 81
 -
 70F827C8-A102-406E-B1A6-84A2E97BE5BC.jpeg1.6 MB · Views: 67
 -
 7232681E-AF65-4D66-8B7F-1A034AD0A0EA.jpeg1.7 MB · Views: 64
 -
 827F8F7F-59D7-4FC8-AE3E-4E450738EFF8.jpeg1.2 MB · Views: 67
 -
 14EB5105-F226-4C8D-A2BF-2C926A84A6A0.jpeg1.2 MB · Views: 74
 -
 02BC130F-E52E-4BEA-A3C1-A8F89E82C5C7.jpeg917.3 KB · Views: 84
 -
 3EC0505D-FD80-4642-BC37-018F878A9709.jpeg636.8 KB · Views: 59
 -
 5B90B949-20C7-4F3B-84C5-3B88EF2A86D2.jpeg1.2 MB · Views: 69
 -
 AB2F373F-9273-4822-8D47-A5C39B5C218B.jpeg1,003.6 KB · Views: 66
 -
 D5E01C92-080B-40A0-B11F-C5EEC32324BF.jpeg1.1 MB · Views: 59

