funnykarman
Well-Known Member
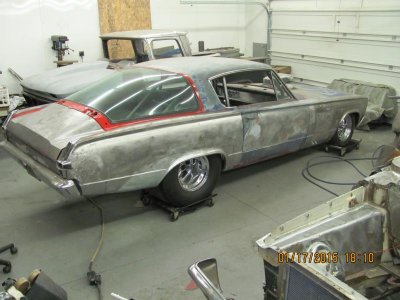
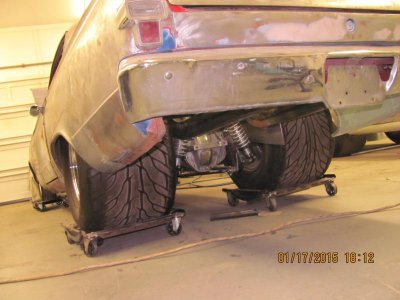
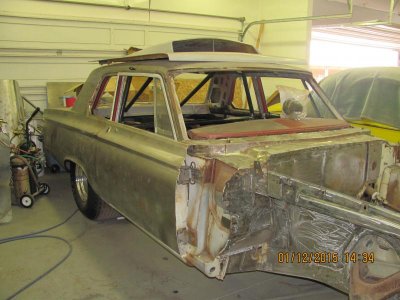
Hi Guy's ... Started this project 15 years ago , moved it 2000 miles and stored it until now. Almost sold it but when I pulled parts out and started to look at them I changed my mind. The car was started before I knew how the factory did them. It took a different route and it has worked out .
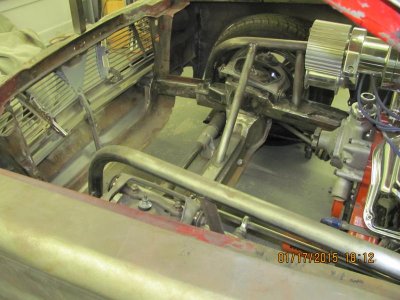
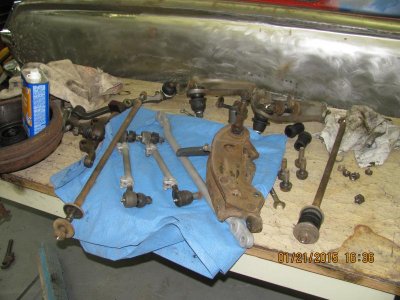
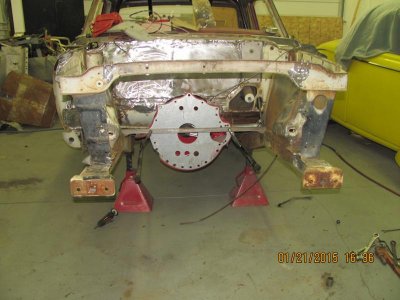
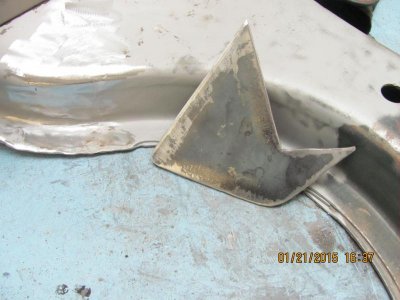
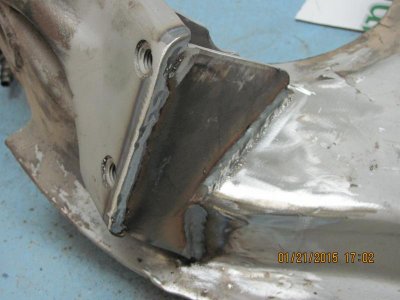
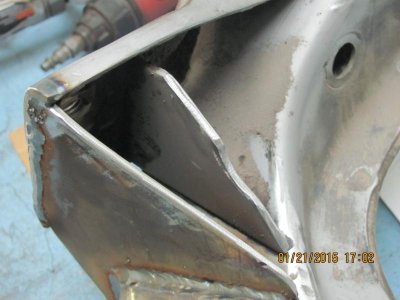
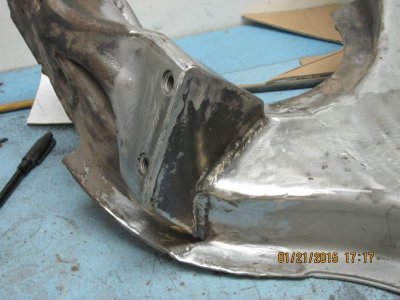
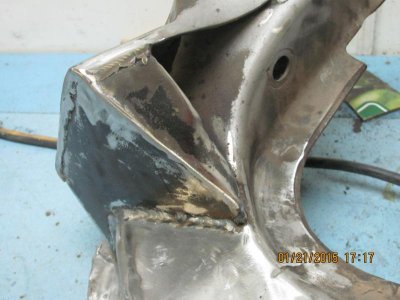
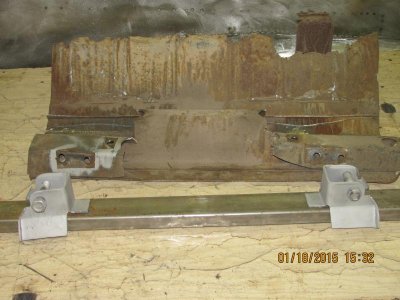
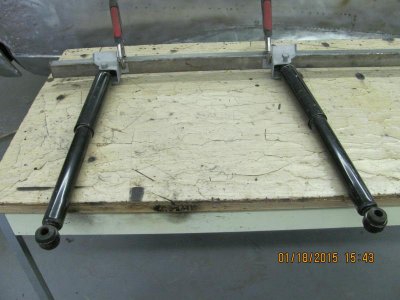
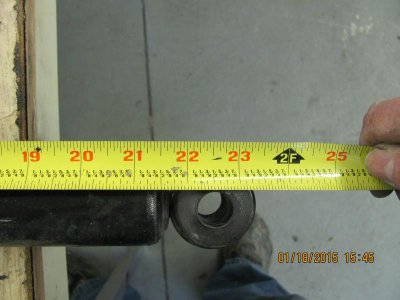
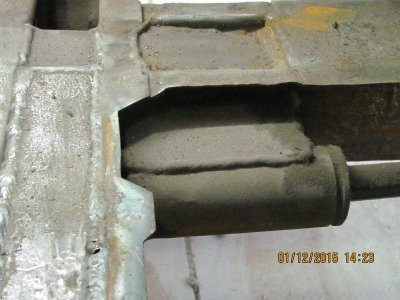
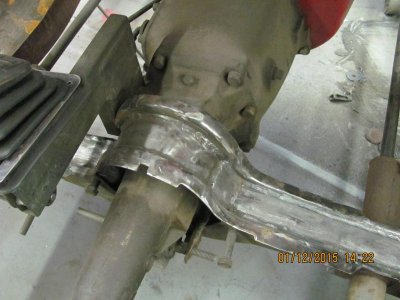
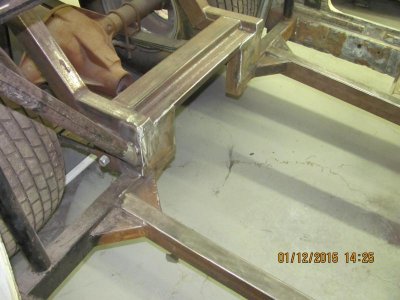
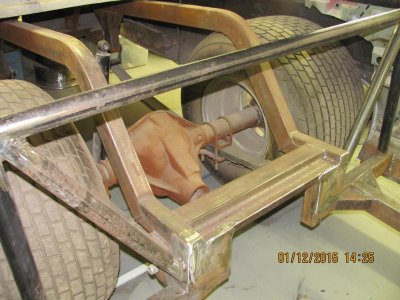
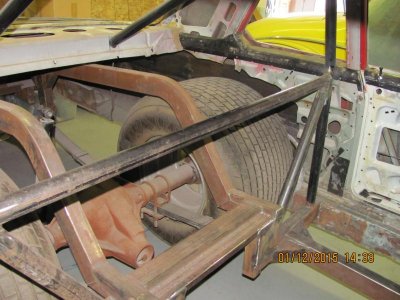
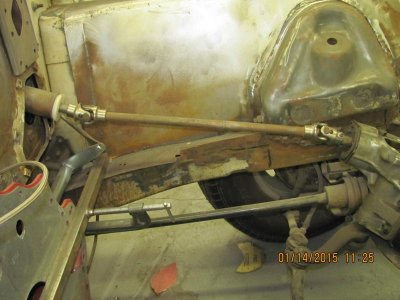
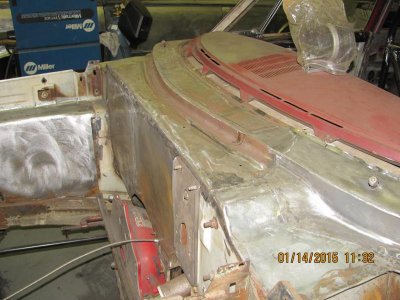
I will post pic's and try to explain the way I did it . Moving the front wheels forward I Cut the capture nuts out of a 4 door parts car someone gave me . I measured forward 10 inches and drilled a hole with a holesaw for the new forward location for the k member . I cut 1x3 slots on the side of the frame and stuck the capture nuts in the hole . after installing the k member and squaring it in the a , the nuts were welded in place . for the top control arms I cut the Upper clam shells out of the parts car and moved them forward 9.5 inches . This would help me put more caster in the car for handling. The steering box was sent out and changed from 24/1 to 16/1 for quicker steering .
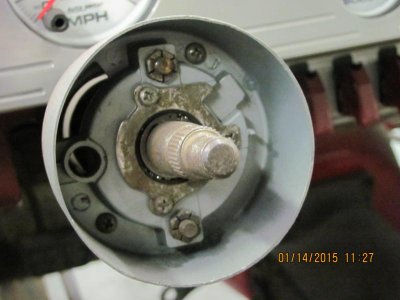
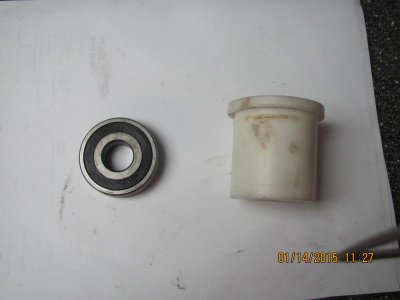
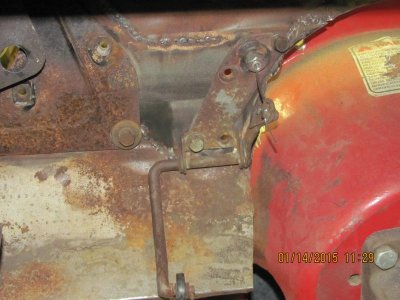
I used universal joints to attach the steering box to the column . A`friend made me a white self lubricating piece to go into the end of the column housing to support the shaft . will change the u joint sout to stainless , some new stuff came out that will make it better.


I will post pic's and try to explain the way I did it . Moving the front wheels forward I Cut the capture nuts out of a 4 door parts car someone gave me . I measured forward 10 inches and drilled a hole with a holesaw for the new forward location for the k member . I cut 1x3 slots on the side of the frame and stuck the capture nuts in the hole . after installing the k member and squaring it in the a , the nuts were welded in place . for the top control arms I cut the Upper clam shells out of the parts car and moved them forward 9.5 inches . This would help me put more caster in the car for handling. The steering box was sent out and changed from 24/1 to 16/1 for quicker steering .
I used universal joints to attach the steering box to the column . A`friend made me a white self lubricating piece to go into the end of the column housing to support the shaft . will change the u joint sout to stainless , some new stuff came out that will make it better.


")