• When you click on links to various merchants on this site and make a purchase, this can result in this site earning a commission. Affiliate programs and affiliations include, but are not limited to, the eBay Partner Network.

1969 Charger 340

Bighouse

Well-Known Member
Local time
9:29 AM
Joined
Mar 28, 2020
Messages
1,341
Reaction score
2,235
Location
New York
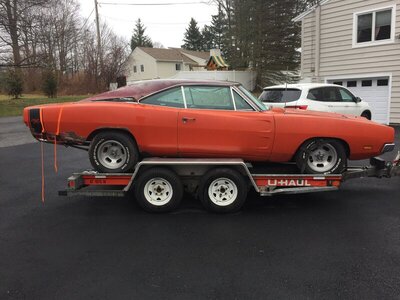
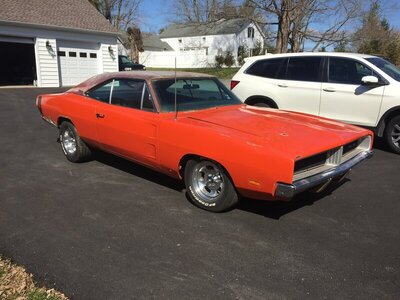
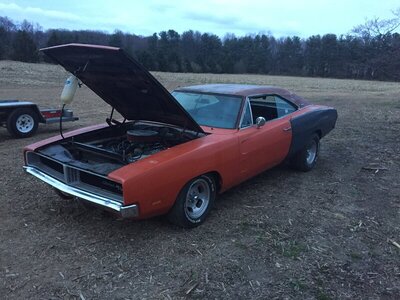
So like everyone else I’ve been wanting one forever. I bought this right in the middle of March as everything was closing down. I remember bringing food going to pick it up just because everywhere was like a ghost town.

Saw it on marketplace, looked pretty clean other than someone cutting it up to fix. Otherwise nice and clean. Being in the body/resto world for a long time it wasn’t a problem.

It’s a 318 car. Someone put a ‘69 340 and 727 in it. So that’s a big plus. Runs nice but leaks everything. It was an A/C car. It’s got power windows too.

I’ve been working on it here and there while at the same time finishing the insulation and interior of my garage. Air lines, insulation, ceiling and walls, and lighting. So progress is kind of slow.

I’m starting a thread to show what I’ve done and to help me get back into the groove.

My goal is to get all the metal installed, primed and back together so I can enjoy the car this coming summer
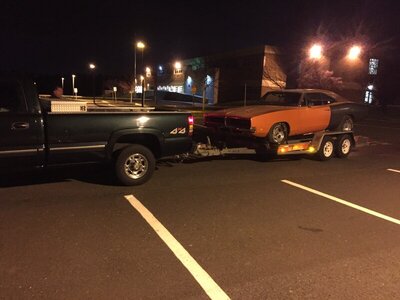
48043CC8-F13D-41DB-A0A9-9A480809AE3F.jpeg A81B8AE1-5F52-4749-AC70-4B0D5AECB0F7.jpeg 4D70A959-D312-4B15-BD6F-4D0BCDDFC1FF.jpeg
 
The person I bought the car from had been trying to buy this car for almost 15 years. He found another and then this car became available, however he couldn’t keep both and it was killing him to have to sell it. I could read it all over him. I feel lucky to have been able to buy it. These cars sell in a matter of minutes on the web.
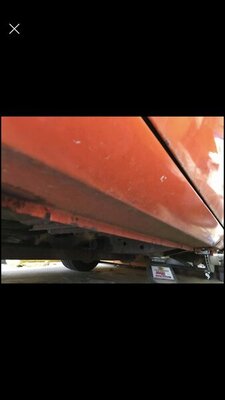
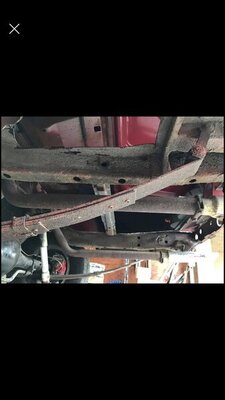
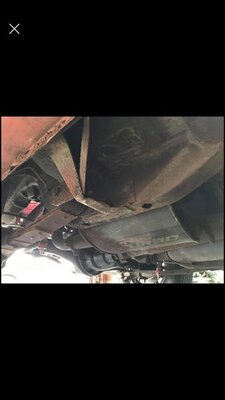
It’s also a pretty clean car for the east coast. It has never been undercoated and is pretty clean!
 
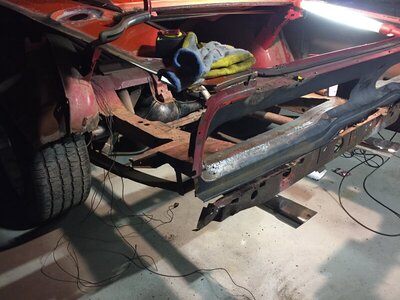
Here’s the underside. You can see where the trunk for was crudely (saying it nicely) cut out.

537B4387-4251-487A-BAE0-EF2FFF3DC055.jpeg FD0C5B47-B98E-44C0-8A04-9FDAF7ED0DE9.jpeg BEB9DA7E-29B9-4040-8E09-2083616707E3.jpeg
 
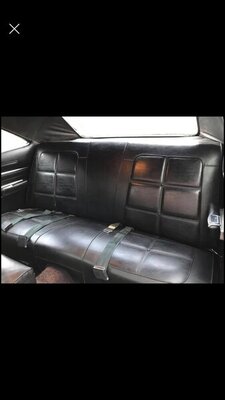
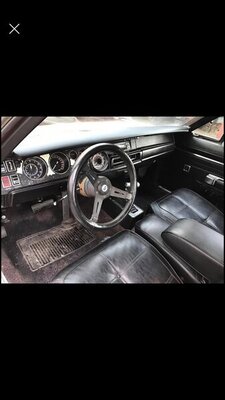
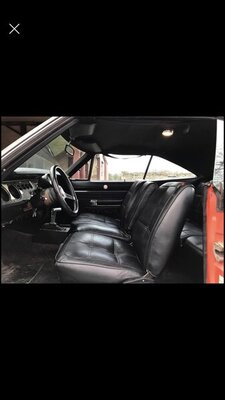
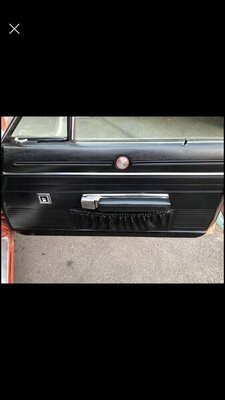
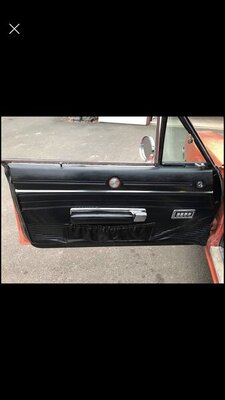
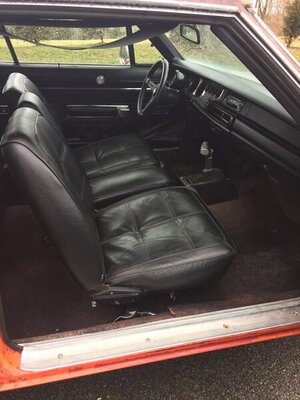
The interior is a little worn but pretty nice. I believe mostly original. The column was changed from a column shift to a floor shift. Another plus!

Some of the pics are from the ad- so they’re not so nice.

77113495-84F5-4BB3-9FB0-7D5B3C2B90E7.jpeg D623F9EA-C4A3-4D9C-B933-9A878BF61A95.jpeg 54821101-3EA8-4147-B8BD-2FF56665D1A8.jpeg 1574BB5F-CBE5-4754-90D3-E67AC07537C3.jpeg 17022EC7-9438-4E9D-80CA-CA8F147A2CDB.jpeg BA0923E2-BBFB-4D38-9399-F733F5C49757.jpeg
 
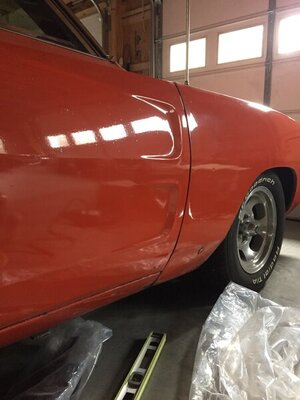
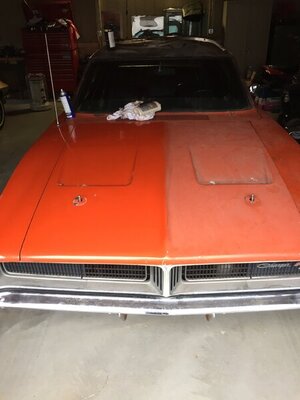
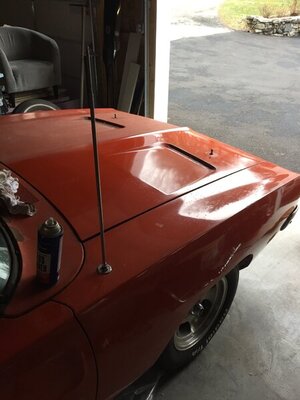
First thing a lot of probably think is crazy but after a powerwash I buffed the car out, cleaned up the wheels.
I did this to check the car out and get a feel for what I got.

19246B20-2AA3-4C61-80B3-822243F44DD1.jpeg 8DC1A7E1-93A4-4520-917A-75386779B15F.jpeg C9F91D4F-CFD8-4ECA-9B1D-9F1B58033041.jpeg B10C71D2-4D5D-42E7-AEEC-E5DA7350E1DE.jpeg
 
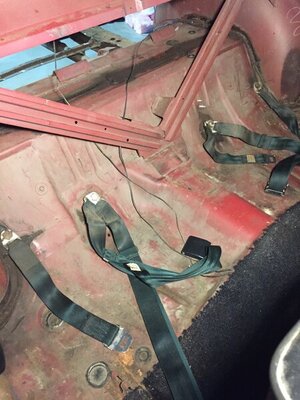
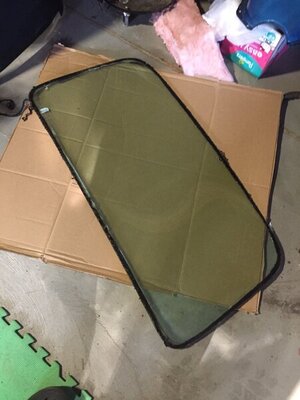
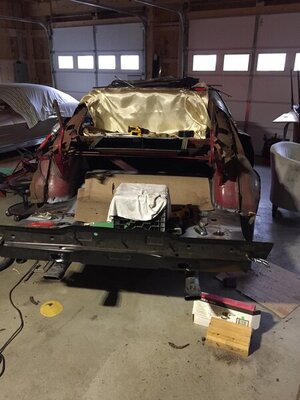
Got the back seat out and the rear glass. You can see how the previous owner started cutting. This is how I got it.

F1EDFA62-C4C5-4951-9684-DF46748CA18E.jpeg 83F835E7-D696-49D6-BB15-C4FC74730A5C.jpeg 64372023-0BBC-4246-B4ED-F7C06E4C7C3F.jpeg 979574A0-2C28-4010-BB77-ABC93DCBEFD2.jpeg
 
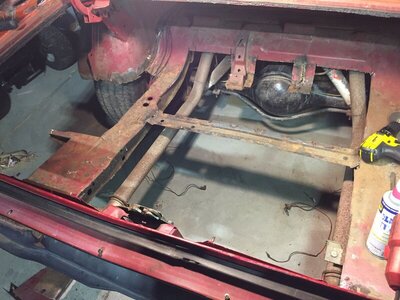
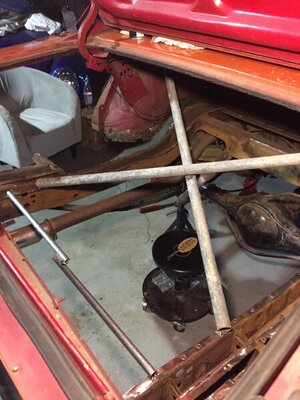
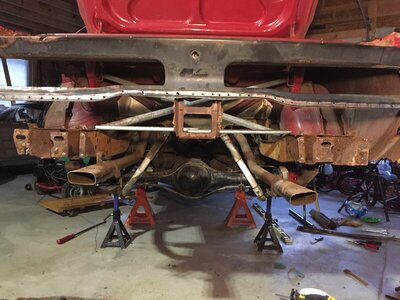
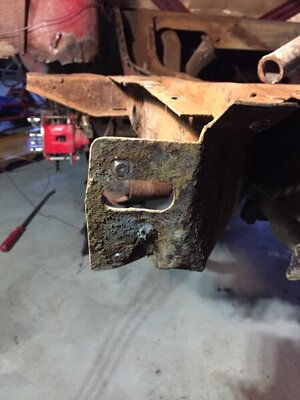
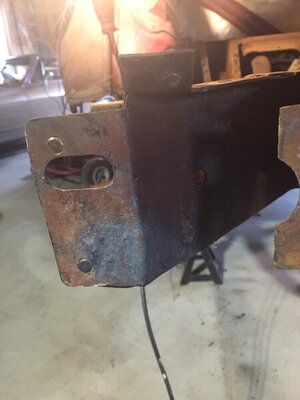
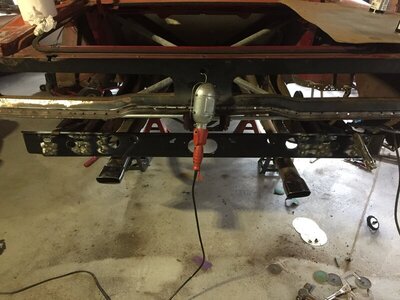
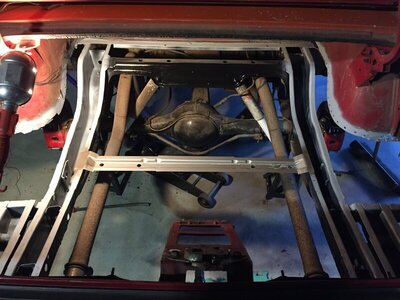
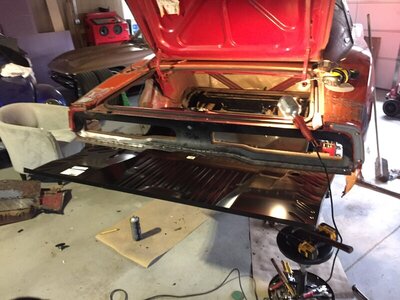
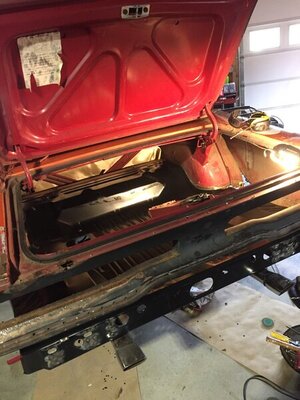
Cut the trunk floor out using a Blair spot weld cutter. I had to replace the rear crossmember so I tacked some pipes in to hold everything nice. And found a little damage at the end of the rail.

895AD640-8BB8-4459-B236-AA1C00FCC340.jpeg 1A031E98-9AA8-40A1-91AE-4760B738DE0C.jpeg 4375B1E4-FFDD-4C0B-9A9A-6370F7BC0F20.jpeg 2CF4D29C-0568-4EDC-ADD9-D5CC9C717ADF.jpeg CC570DAA-D25C-436E-B100-DE901281E183.jpeg
 
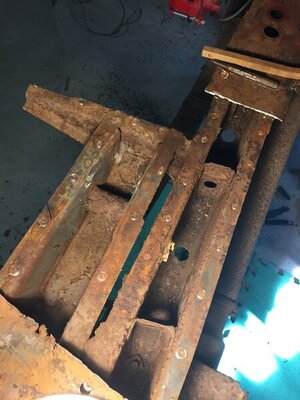
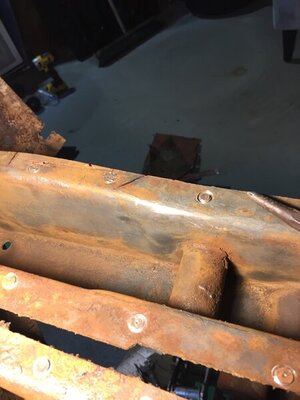
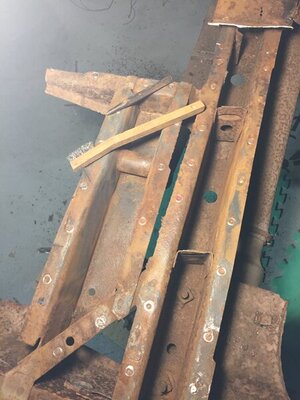
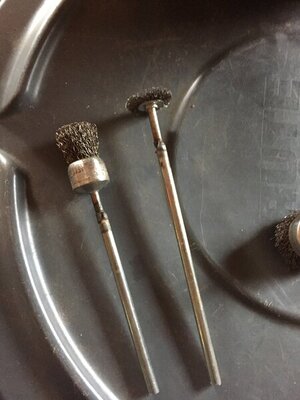
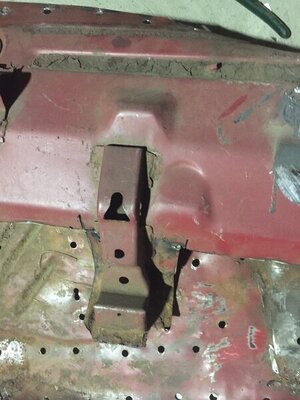
Some surface rust and dirt in the rails. I extended some wire brushes and cleaned them up nice. New gas tank brace welded in. The rails and edges were por15’ed and hit with some weld-thru primer to get them ready for the AMD 1 piece trunk pan.
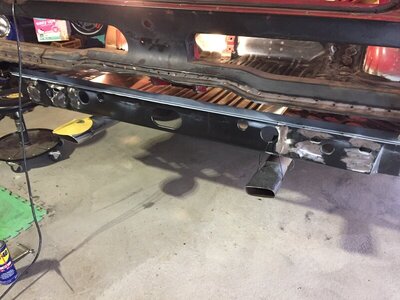
ED82760F-D4E2-4CED-8BA8-98D5F789DE6E.jpeg 3CCE8FE4-0A1C-4909-BA47-5DE135E21C0C.jpeg 376B648C-A6D2-4702-825E-FAFA66847411.jpeg 9C76F0F7-9E57-4F23-B007-4513B7DACC15.jpeg 11B191C2-0660-46A5-A161-989C82B574DF.jpeg
 
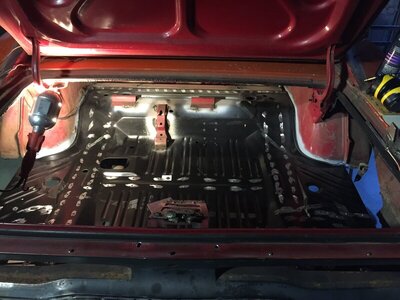
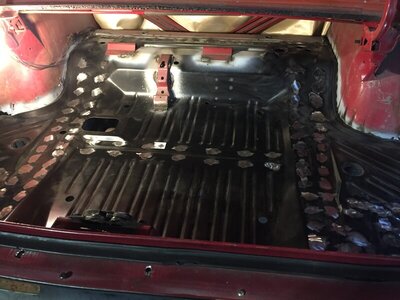
Got the new pan fit in and marked out and drilled a million holes for plug welds. Transferred the spare tire brackets from the old. Weld-thru primed the spots and got it welded in. The AMD pan fit real well. Nice and tight.

9AA8AF4C-60C0-4407-8D5D-F423F7815E64.jpeg 641A6B12-6E11-4209-9821-13090BCA56CD.jpeg 57E5496D-7C2F-4BB4-8098-244EEAAE13D1.jpeg FA809DBD-916B-47E0-AA60-E8B18CEE1651.jpeg 35A67C3E-3309-423A-BA6D-66DABD2F76A2.jpeg C6C9DD3F-31F8-4B38-AE2F-E49AE63A1229.jpeg 14A426AC-037C-44C9-A031-ED71E36C2BFB.jpeg
 
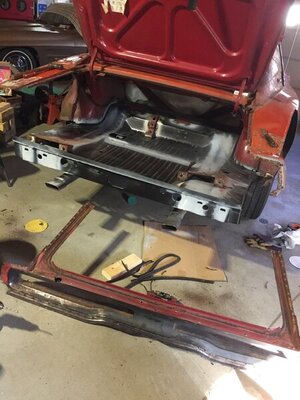
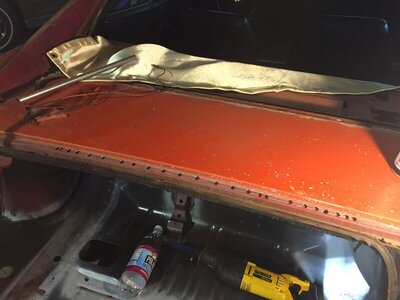
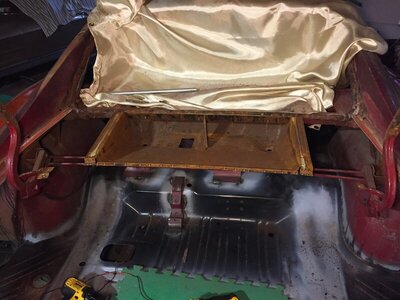
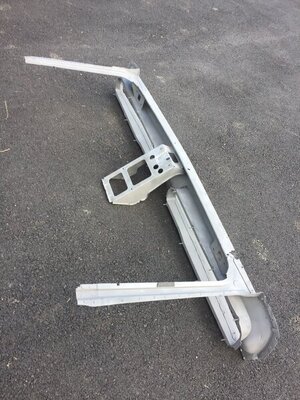
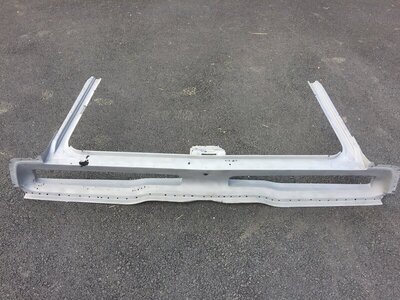
Next came the tail panel and gutters. And the dutchman panel had been bondoed up.
I sent the tail panel to get blasted. There’s some perforation around the left tail light I’ll be patching up.

B68AAC0E-47B9-46EB-B9DE-44A25373E54F.jpeg 243388AF-9914-45F3-8B2C-4FBC9E44753E.jpeg EF4F3B2B-94E2-4D5F-A265-CC1AD0F7DA38.jpeg C8D47E92-4446-4745-AA30-BAD222576997.jpeg D8030D13-B005-49B3-ADEA-A121A81BC91F.jpeg 078A1730-68D2-413E-9741-896A9924F4F1.jpeg
 
Coming along very nice. Glad to see it being brought back to life.
 
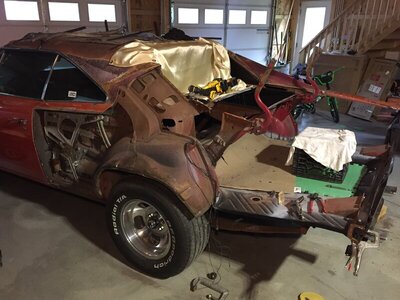
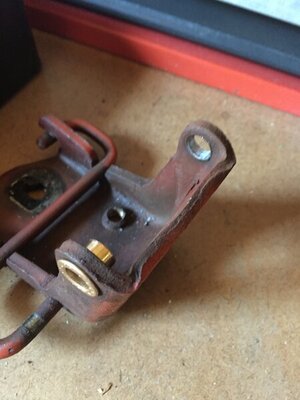
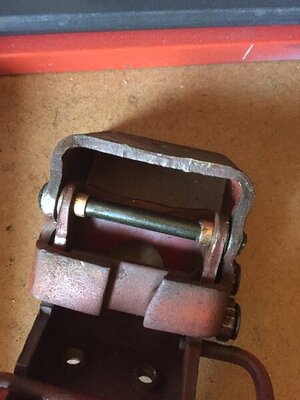
Getting the rest of the quarters cut off. I’ll be removing the trim and quarter glass also. And rebuilding the drivers door hinges before I start to line up the new quarters
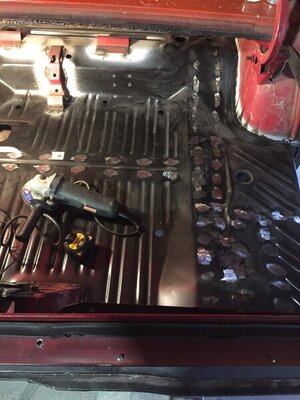
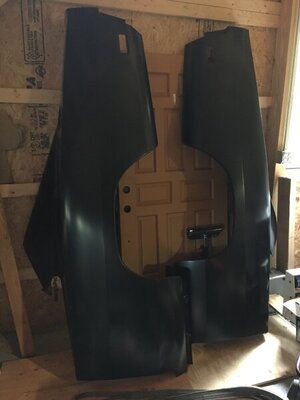
I order AMD quarters and all the other AMD parts thru Autobody Specialties in Middletown Conn. Price was better than AMD direct and no shipping fees- so I went up there and picked them up. And hour and change ride into CT.

E0E4843F-2031-404A-97FA-3D6265D87139.jpeg 938B62E7-51CC-4E4F-87C4-782880E18379.jpeg
 
Cut off more quarter panel. Getting the door hinges re-built.

CA1C9911-C9ED-41D8-8F7D-16426C7E6C30.jpeg 84206237-E7B7-469B-A1EA-6D06D7782BA6.jpeg E7C43645-2D91-46E4-BE0F-1AFB9B8FA904.jpeg
 
I’m back on the charger after I got my garage ceiling and lights up- along with 90% of the walls- finished welding in the trunk floor, and the trunk floor extensions
916A120F-0494-4606-8B8B-680FD587C3F7.jpeg
View attachment 1091273
 
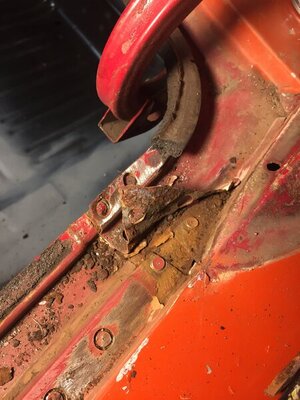
I got the rest of the right quarter off and took the lead out of the rocker seam.
All that’s left it to trim the remaining bits from the sail panel seam, and next to the rear windows.
After that some rust removal/repair on the wheel well edges and rocker panels.
65FE63C7-CA40-4B42-A44B-066EDB7BC189.jpeg
 
910C0772-7F2A-4363-805E-78FBBF34AAD4.jpeg
175F39A4-0D3A-464A-9464-507E3EBF9D58.jpeg
53BEE4D6-D141-4677-95A4-A2D6450F8C9F.jpeg
68C87AEC-22C0-4A49-A64C-D3691FDDEF0C.jpeg
F77937CF-E968-4317-8FF7-BB0853879763.jpeg
This weekend I got the seats, belts and carpet out. I cleaned the floor, removed most of the original seam sealer. It was really just sitting there cracked and loose. I’ll do a little repair and touch up followed by re-sealing it all
 
Last edited:
I've really enjoyed watching your progress! I've got a '69 X-head 340 that I plan on installing in my 318 '70 Charger, and you've caused me to realize that I also have a 727 TorqueFlite that I could use as well!! Now, I need to research driveshaft length, torque converters, etc.!! :thumbsup:
 
I've really enjoyed watching your progress! I've got a '69 X-head 340 that I plan on installing in my 318 '70 Charger, and you've caused me to realize that I also have a 727 TorqueFlite that I could use as well!! Now, I need to research driveshaft length, torque converters, etc.!! :thumbsup:

Thanks I appreciate it!

I was under it today and there’s some yellow “salvage yard” writing on the drive shaft along with a length. I’ll get a pic tomorrow. It says something like “69 charger 727 8-3/4”.
What I didn’t know was there are 2 different 727’s one is small block and the other big block. Makes sense but I’m a rehabilitating GM guy.
 
Last edited:
Auto Transport Service
Back
Top