• When you click on links to various merchants on this site and make a purchase, this can result in this site earning a commission. Affiliate programs and affiliations include, but are not limited to, the eBay Partner Network.

69 Roadrunner 6.1 Hemi Swap

-Z-

Well-Known Member
Local time
4:19 PM
Joined
Jan 7, 2015
Messages
53
Reaction score
34
Location
Encino, CA
Hey B-Body peeps,

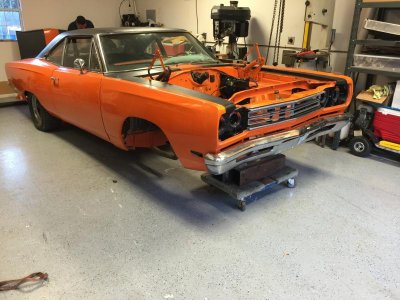
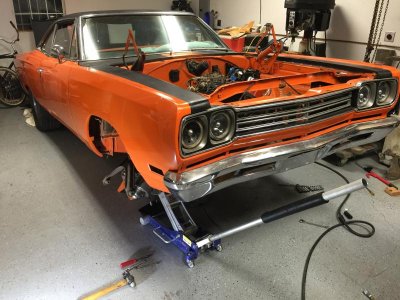
I have started my build and wanted to post pictures of my progress. :hello2:
Here it is;
1969 Plymouth RoadRunner ( B body)
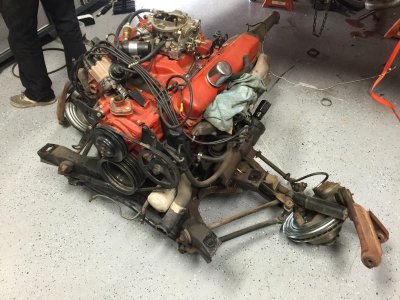
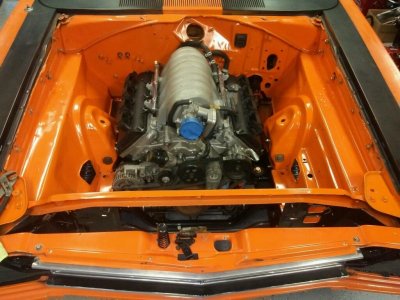
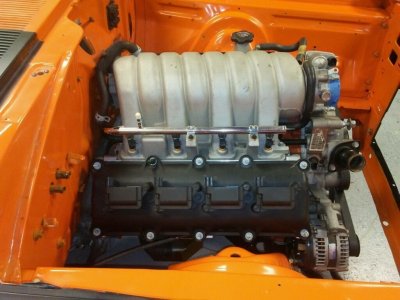
2007 SRT8 6.1
Transmission: TBD (leaning towards 4L60 for an easy fit)
Transmission ecu: Compu shift or PCI
Wiring Harness & ECU: Hotwires or Holly EFI
Subframe: Control freaks:angryfire:

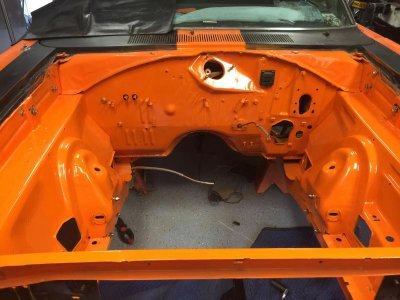
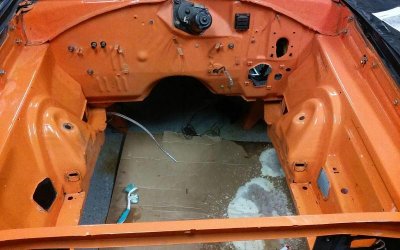
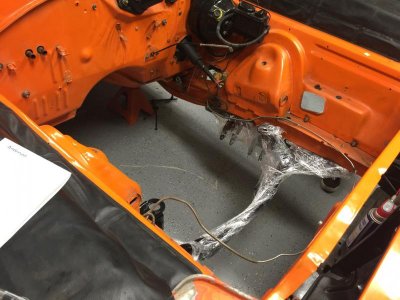
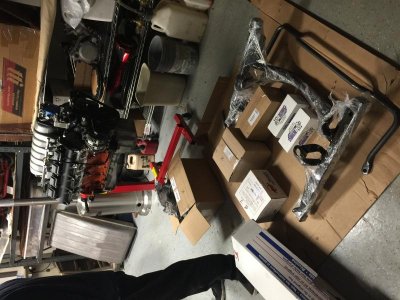
I have started by removing and selling the engine, I still have the original K-member with Disc brakes that i want to sell.
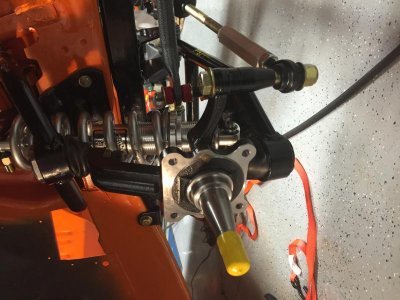
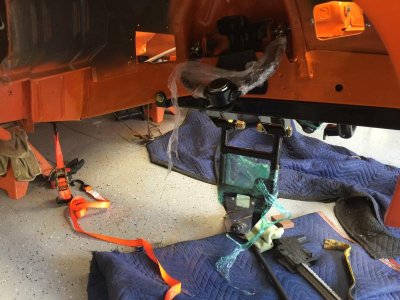
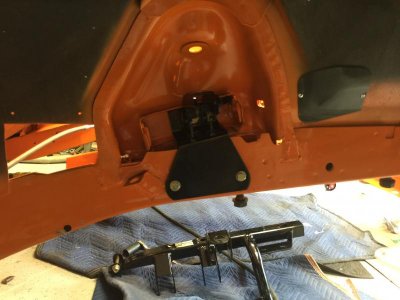
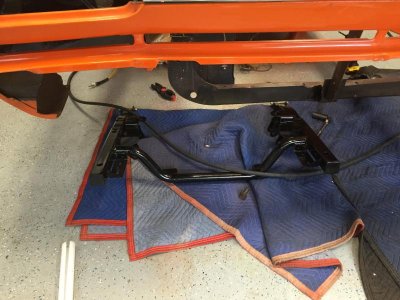
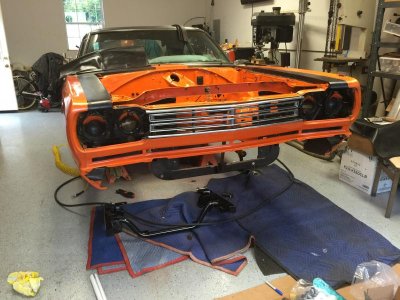
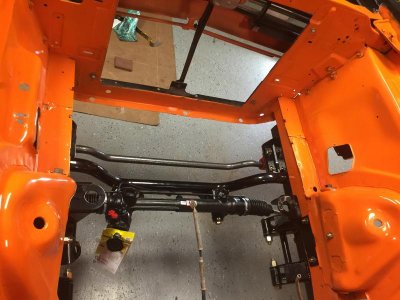
Currently i have the new K-member and suspension installed.
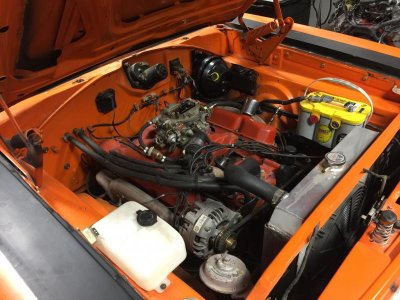
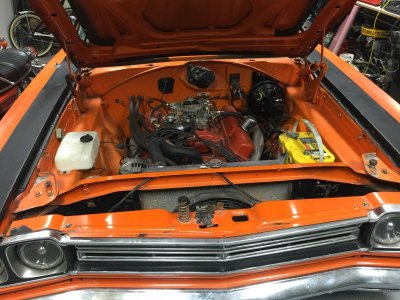
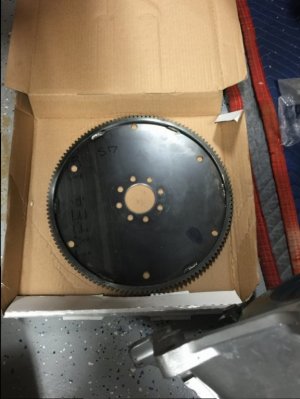
Currently hung up on transmission adaptor. Debating between Wilcap or Quicktime set up. One requires a 3 piece case and one requires a 2 piece case. IMG_4606.jpgIMG_4603.jpgIMG_5789.jpgIMG_5784.jpgIMG_5779.jpgIMG_5767.jpgIMG_5765.jpgIMG_5764.jpgIMG_5762.jpgIMG_5702.jpgIMG_5646 2.jpgIMG_5642.jpgIMG_4671.jpgIMG_4633.jpgIMG_4613.jpgIMG_4609.jpgIMG_4607.jpgIMG_5790.jpg
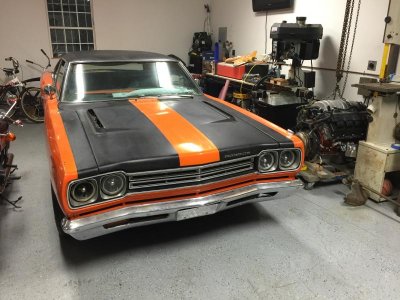
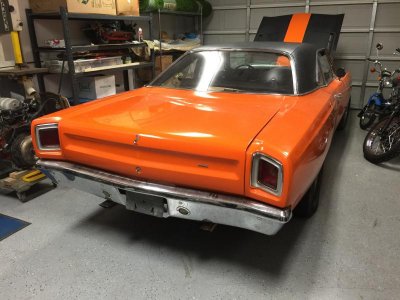
IMG_4603.jpg IMG_4606.jpg IMG_4607.jpg IMG_4609.jpg IMG_4613.jpg IMG_4633.jpg IMG_4671.jpg IMG_5642.jpg IMG_5646 2.jpg IMG_5702.jpg IMG_5762.jpg IMG_5764.jpg IMG_5765.jpg IMG_5767.jpg IMG_5779.jpg IMG_5784.jpg IMG_5789.jpg IMG_5790.jpg
 
Great project! Thanks from sharing and I'm definitely tuned in to follow along.

Wondering why the Control Freak vs. The alternatives?
 
That's going to be sweet look forward to watching the progress.
 
Thanks for following..

Very good question... about why I chose CF vs Atlr
I didnt know much about Mopars before this project, nothing at all actually. This was my uncles car which sat for years and years before i bought it from him.
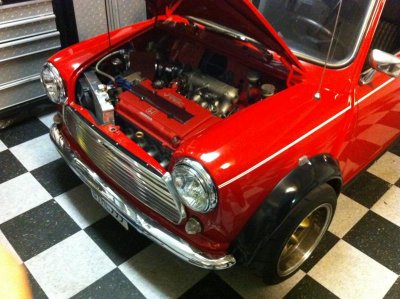
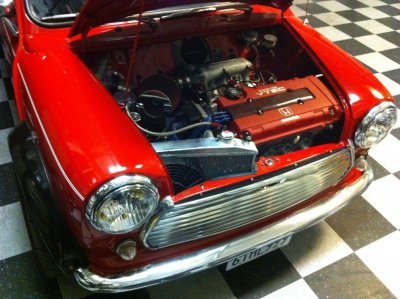
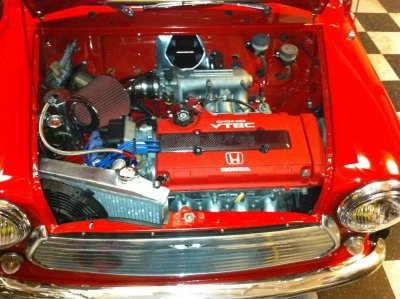
My last project i stuffed a Honda Vtec engine in a Mini Cooper.
What i had learned from my last project was "SUPPORT"
When i spoke to Al at CF i felt like i could call them with questions... concerns... he would always pick up my call within 2 rings and answer my emails within the hour.
When i called Alter.. a chick picked up... stubbled around to get me pricing and just didn't feel like it was all together...everything seems extra, and it was more about are you buying or not? Now reading everything it might have been a better choice.. but hey.. Im married now and there is no used looking at the other kit .
ANNNNNnDDDD.. it was around $1800 cheaper... not that it was THAT big of a difference... but it was a significant amount.
Looking back i would have taken a little more time and got a better understanding about RMS and Altr.

Live and learn IMG_4405.jpgIMG_4414.jpgIMG_4415.jpgIMG_4416.jpg

- - - Updated - - -

Thanks!

- - - Updated - - -

One thing i LOVE about this project, is there is SOOOO much room in the engine bay.. Way more them I'm used to.
 
Wow, I'll bet that mini is a real scooter now.
 
Wow, epic build, Z!

I can't wait to follow the progress! I have a 4L60E also and I love it. I don't know anything about the Wilcap plate, but it appears to be similar to what I used. I wanted to use the Quicktime Bellhousing, but I ended up using an adapter plate and custom torque converter. Unfortunately the Quicktime bellhousing is really devoid of any instructions at all and I believe it requires the later/heavier duty 4L65E torque converter to fit, but I would have to extensively check my notes, it's been a while since I did all the research and work on it. In part, it depends on which version of the 4L60 you have, the early kind without removable bellhousing or later with the three-piece case. The plate works in either case, but the bellhousing, obviously works only in the latter instance.
 
Last edited:
Wow, epic build, Z!

I can't wait to follow the progress! I have a 4L60E also and I love it. I don't know anything about the Wilcap plate, but it appears to be similar to what I used. I wanted to use the Quicktime Bellhousing, but I ended up using an adapter plate and custom torque converter. Unfortunately the Quicktime bellhousing is really devoid of any instructions at all and I believe it requires the later/heavier duty 4L65E torque converter to fit, but I would have to extensively check my notes, it's been a while since I did all the research and work on it. In part, it depends on which version of the 4L60 you have, the early kind without removable bellhousing or later with the three-piece case. The plate works in either case, but the bellhousing, obviously works only in the latter instance.

Thank you SO SO much for the input! I am about to call Wilcap and order the adaptor plate. Just spoke to Holley/Qucktime they said they don't have an bell that works for my application. They can custom make one for $1000.
I am going to pick up the tranny that is 2 piece case with will NOT have the removable bell housing.
Hope this works...
 
Very cool build!! Love the mini! Keep the pictures coming!
Pat
 
UPDATE:

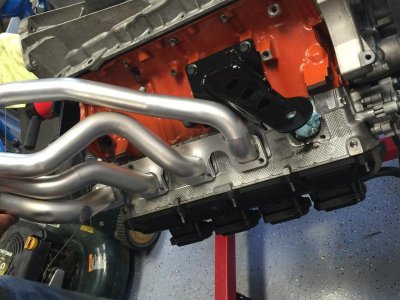
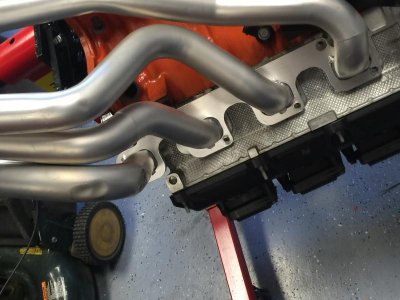
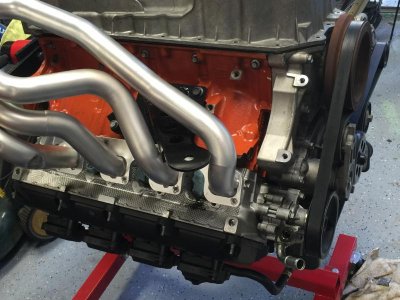
I Found this deal on Ebay for the headers TTI 61HCA.. I figured for the price its was perfect...
http://www.ebay.com/itm/TTI61HCA-C5...yXvC0CQwmc35xgv2YzoR0%3D&orig_cvip=true&rt=nc

Along with that i needed a Milodon Pan Part number 31002 and the pick up, gasket etc...
http://www.ebay.com/itm/Milodon-Roa...ash=item2ca5436d3c:g:G5cAAOSwfZ1WXwkQ&vxp=mtr

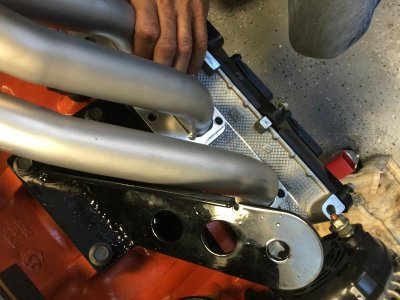
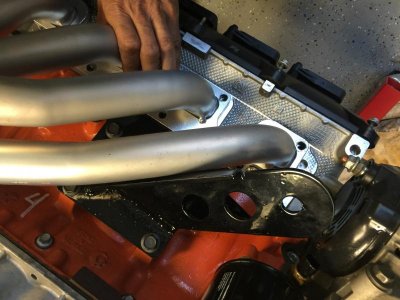
After all the parts arrived i installed the pan and wanted to "test" fit the headers...
To my surprise the headers were hitting the side wings of the oil pan.

I called Al at Control Freaks and he Immediately called Milodon for a new fabbed pan.
So i returned the pan and have been waited 4 weeks for a new pan...

Last week i send the OEM pan to a local fabricator to see if he can cut and modify it. Turns out he cannot modify an aluminum casted pan.

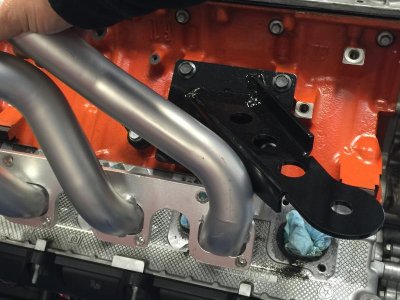
This morning, frustrated, i picked up the headers again and tried to test fit with the motor mounts... and again no luck.... the headers were hitting the mounts.

I called Cf again and left a message for AL, then i called TTI and spoke to them about the issue.
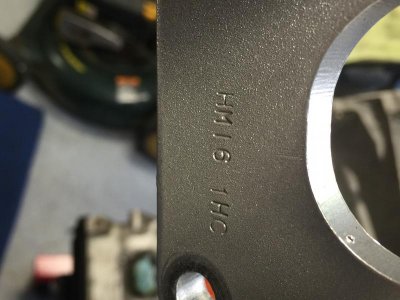
TTi informed me that they stamp the model number of the header on the Flang.. sure enough.. the model number was different then what i needed.
I referenced the model number and it was for a B-body with a torsion bar suspension and not a coil over suspension. @#$%^!!!!

Could it be that the item on eBay was listed incorrectly... All evidence pointed to this. SO... i contacted the seller and turns out they randomly picked a part number that looked like the header they were selling...

Back to the order board. reordered the oil pan from Milodon, with the gasket and pick up. (They said i don't need the splash guard over the crank)

Moral of the story.... Sometimes being cheap costs you more time and aggravation then the satisfaction of a cheap price!

Here are some pictures of the headers and how they fit...
IMG_5883.jpgIMG_5884.jpgIMG_5885.jpgIMG_5886.jpgIMG_5887.jpgIMG_5888.jpgIMG_5889.jpg

IMG_5883.jpg IMG_5884.jpg IMG_5885.jpg IMG_5886.jpg IMG_5887.jpg IMG_5888.jpg IMG_5889.jpg
 
Hey B-Body peeps,
wow..good work,,
I have started my build and wanted to post pictures of my progress. :hello2:
Here it is;
1969 Plymouth RoadRunner ( B body)
2007 SRT8 6.1
Transmission: TBD (leaning towards 4L60 for an easy fit)
Transmission ecu: Compu shift or PCI
Wiring Harness & ECU: Hotwires or Holly EFI
Subframe: Control freaks:angryfire:

I have started by removing and selling the engine, I still have the original K-member with Disc brakes that i want to sell.
Currently i have the new K-member and suspension installed.
Currently hung up on transmission adaptor. Debating between Wilcap or Quicktime set up. One requires a 3 piece case and one requires a 2 piece case. View attachment 315045View attachment 315044View attachment 315060View attachment 315059View attachment 315058View attachment 315057View attachment 315056View attachment 315055View attachment 315054View attachment 315053View attachment 315052View attachment 315051View attachment 315050View attachment 315049View attachment 315048View attachment 315047View attachment 315046View attachment 315061
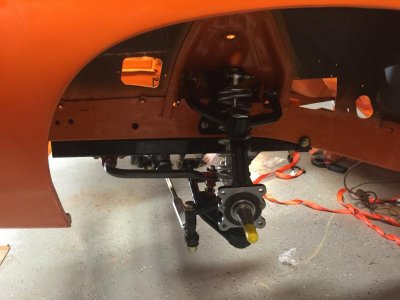
View attachment 315044 View attachment 315045 View attachment 315046 View attachment 315047 View attachment 315048 View attachment 315049 View attachment 315050 View attachment 315051 View attachment 315052 View attachment 315053 View attachment 315054 View attachment 315055 View attachment 315056 View attachment 315057 View attachment 315058 View attachment 315059 View attachment 315060 View attachment 315061
 
IMG_0502.JPG
My brother recently finished (well the latest updates) on a 1970 Charger. 572 Hemi with 200 shot of nitrous, the 4L60(e?), big brakes & rims and lots more. He drove the car back to the customer and while going down the freeway came across a HellCat Challenger. They got to a clear spot and both punched it. The Hellcat jumped ahead but he caught it easily. He really liked the 4l60 transmission in the car. Said it cruised down the freeway at 80 easily and just performed fantastically.
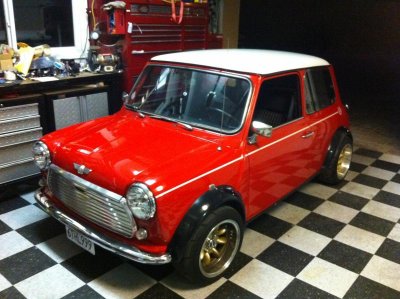
 
Well... I'm back at it...
Things turned a little sideways for me at work and home so had the project completely on hold for the last couple months.

Picking up where I left off...
I was able to get the headers corrected. (wrong part in right box)

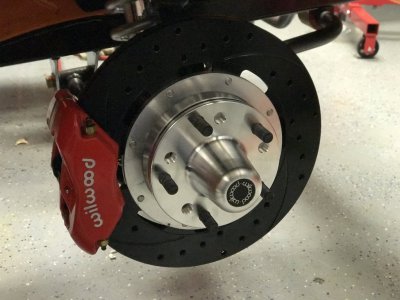
Im going to attach the brakes this weekend (Wilwood 12" discs)

I will post photos
 
Update:
After mating the motor to the transmission and installing it in the car, i had MAJOR clearance issues with the transmission. I had to cut the cross member in the tunnel and weld in plates. I am not a fabricator or professional mechanic so i did what i could with what i had... see video

 
Brakes:
This video is about Roadrunner Brakes

Tried to install stainless steel brake lines along with Wilwood master cylinder and proportioning valve

Problem 1:
-Not enough clearance under upper control arm for brake line
Solution 1: Made a bracket to relocated chassis nut about 1.5" to the rear (attempted this)
Solution 2: purchase a 90-degree elbow for chassis nut (plan b) (update:unsuccessful)

Problem 2: Proportioning valve does not fit on driver side of master cylinder

Solution 1: Custom fabricate a new bracket to relocate proportioning valve to a different location. (attempted but not feasible, only as last resort)

Solution 2: Called Wilwood and found they make a bracket for opposite side. (Ordered)(update: installed)

Problem 3: Wilwood master attaches to power booster via adaptor plate. Proportioning valve bracket does not attach to mounting bolts.
Solution: Order new left pass side bracket, modify bracket to fit adaptor plate.


Looking good man, I thought the frame would have to be notched for the alt but there's plenty of clearance, good to know. Where did you get your tranny from? Are you running an aftermarket tranny kit?
 
Auto Transport Service
Back
Top