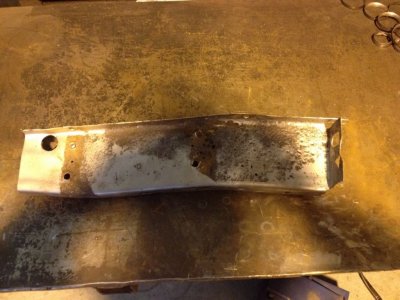
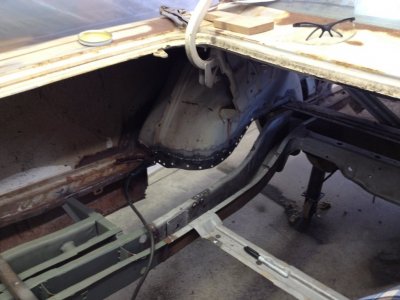
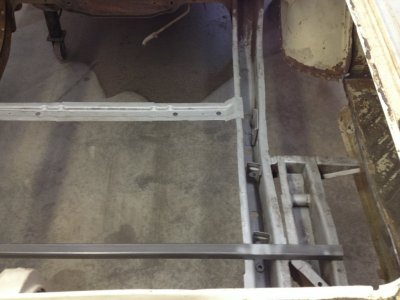
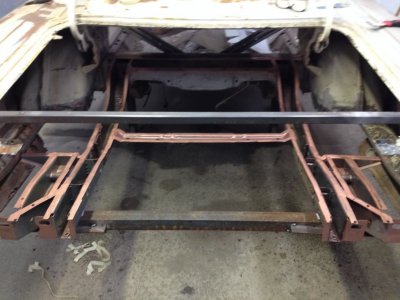
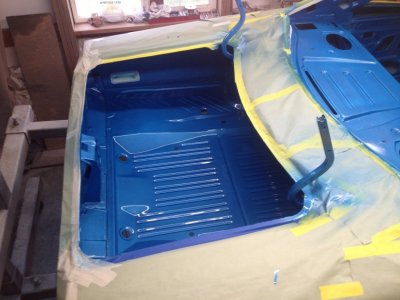
Hello FBBO. I've been a member for a while now and thought it was time for me to share rather than only consume all the cool information on this site.
I've always been a Mopar fan and I caught the bug from my oldest brother. He's always had a few and I even bought one from him when I was younger. It was a 70 Charger R/T that I mostly restored and sold just before I got married. I was without any classic Mopars since I was married 16 years ago, but always dreamed I would again some day.
A few years back my "boss" agreed that it was time for me to find a car and start bringing it back to life. My brother and I searched for a while until I came across something I hadn't seen before. It was a 70 Coronet Wagon 440. It was a solid car from New Mexico and the uniqueness of it caught my attention. When I said I wanted to buy it my brother questioned, "really, a wagon?" I thought of all the possibilities and the fact you wouldn't probably see another one unless you went to Mopar Nationals or similar show, so I bought it. Needless to say, I don't think the "boss" saw the possibilities either when I brought her home.
Two weeks later my brother called me about going to look at 70 Coronet as a project car to rebuild together. We ended up buying that car as well and when I brought it home the "boss" told me to pump the brakes on buying cars. LOL
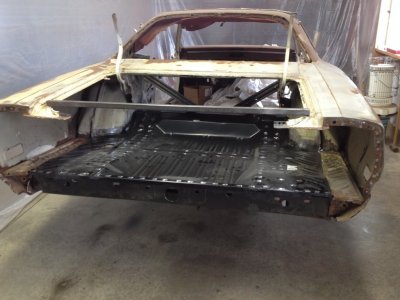
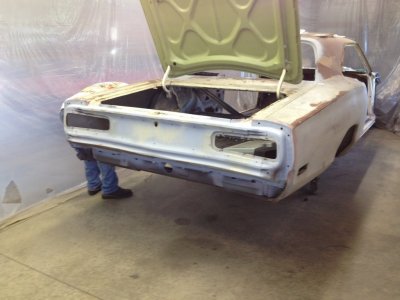
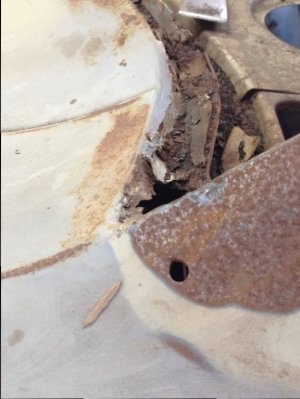
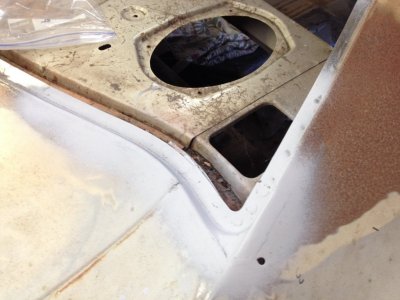
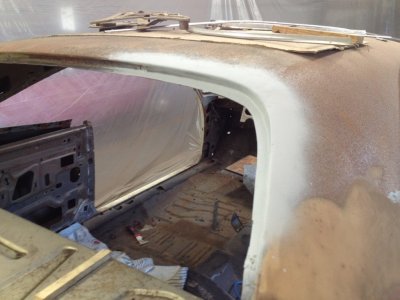
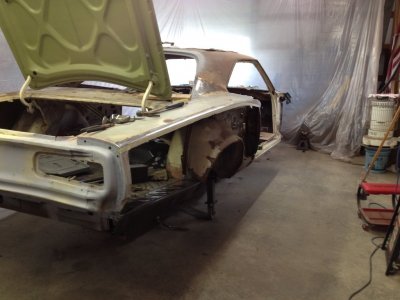
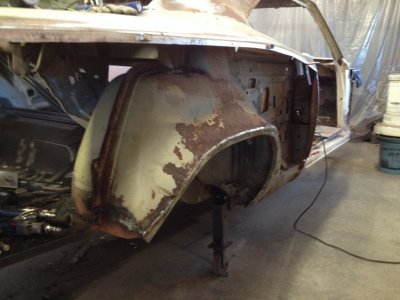
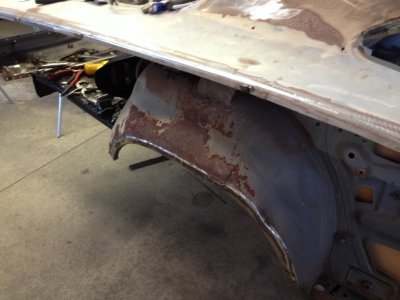
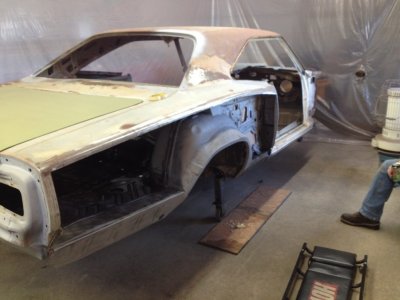
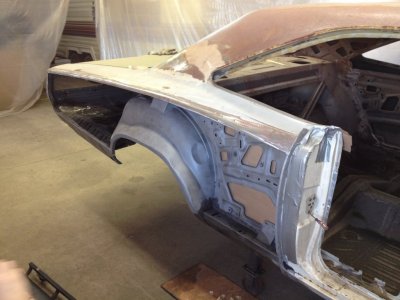
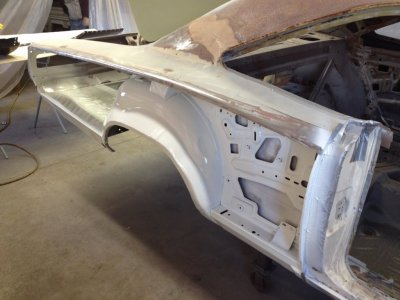
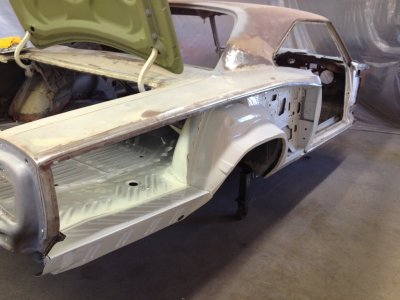
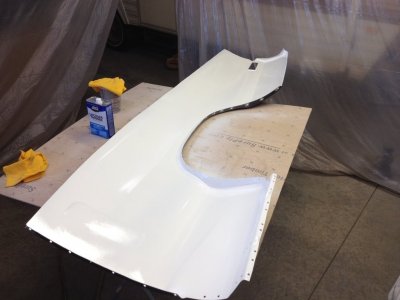
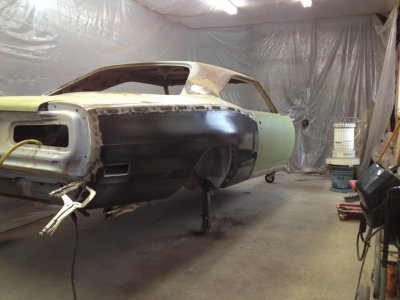
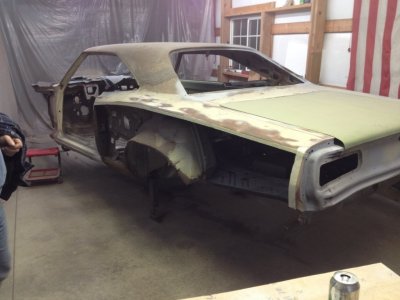
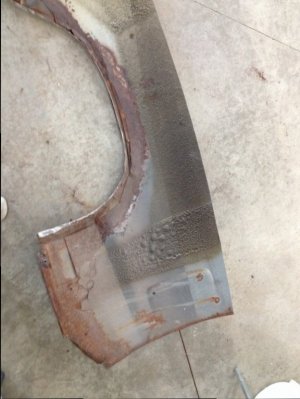
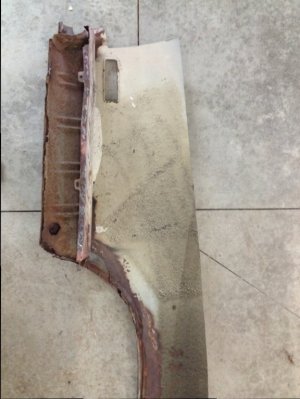
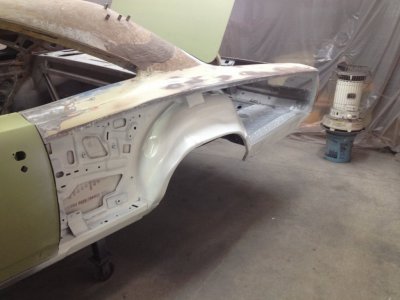
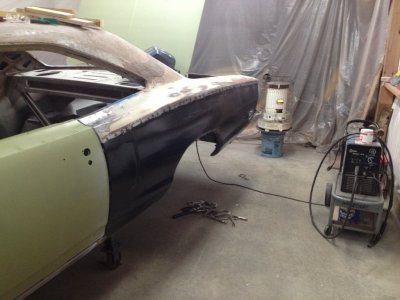
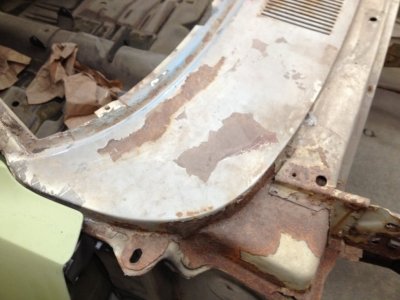
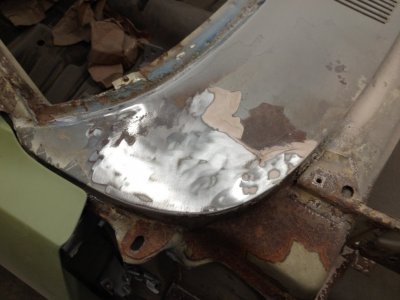
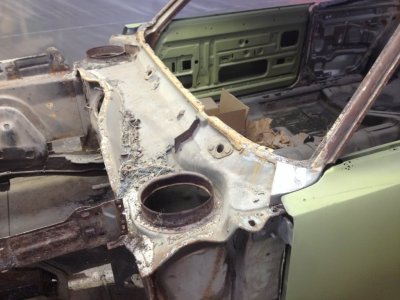
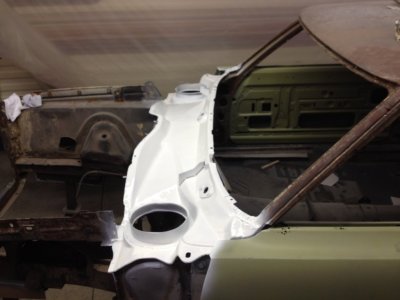
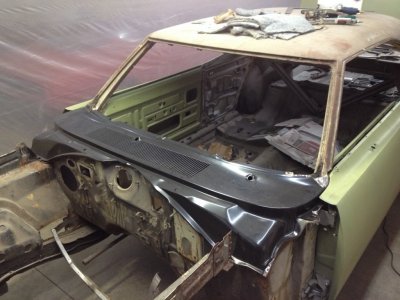
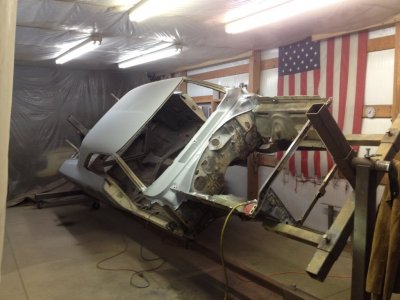
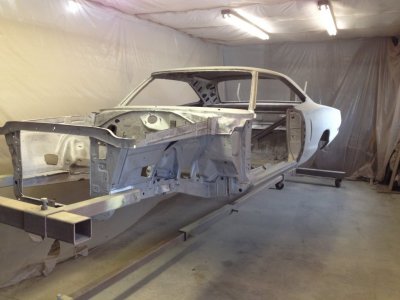
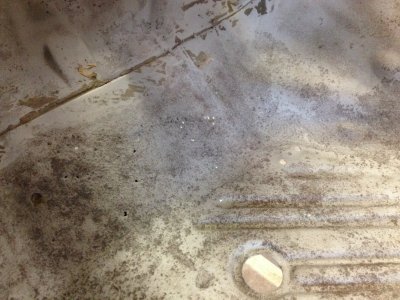
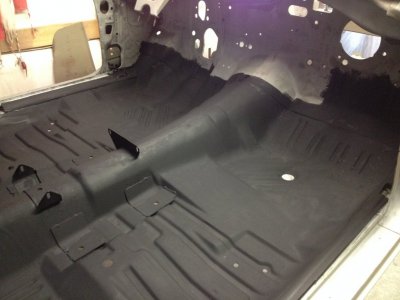
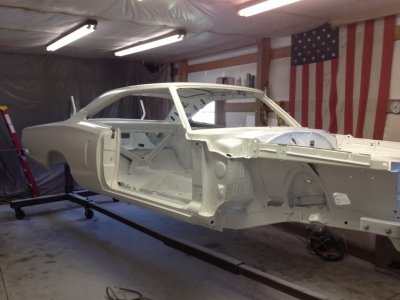
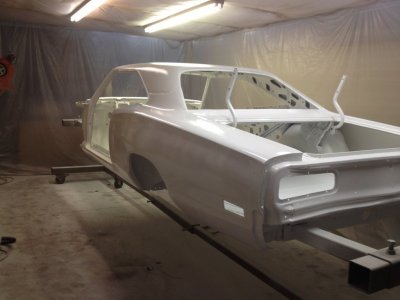
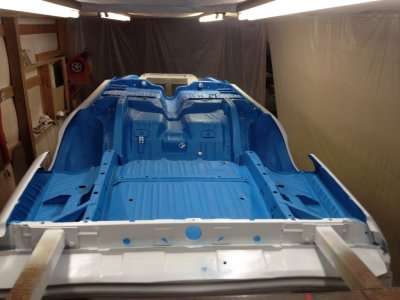
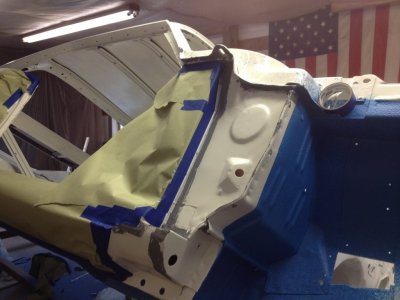
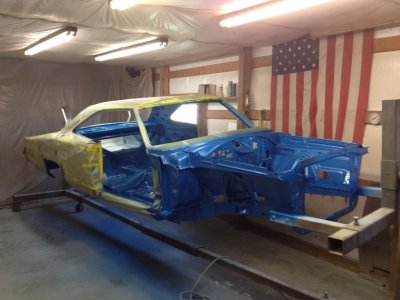
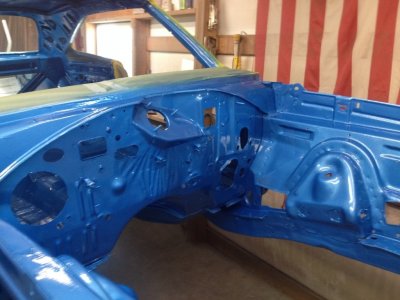
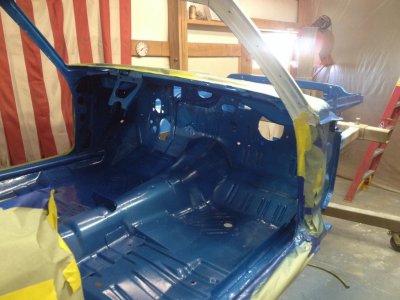
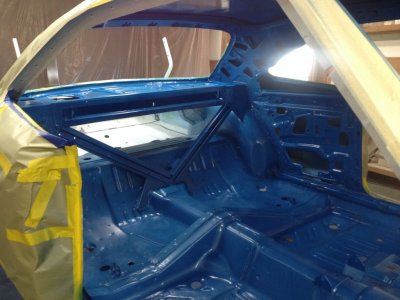
Anyway, the Wagon was put on the back burner and we slowly started to tear down the Coronet. It wasn't till a little over a year ago we really got to work on it and I thought I'd share some photos. Here's a few pics of what the car looked like when we brought it home.
I'll keep uploading pics of the progress we've made the past year.
Thanks,
Eric

