soundhd
Well-Known Member
Just finishing up my power window conversion project on my 70 Roadrunner convertible. Thought if any other 70 B Body convertible owner's are thinking of doing the same maybe going through some of the steps involved and some of the roadblocks I ran into might help someone else out.
First issue was electrical power needed. Stock electrical system was not up to properly providing enough power for this project and my other project of installing a aftermarket sound system so I installed a Painless Aux. fuse panel first. That project is posted in the electrical section.
The conversion consists of basically two parts; the installing of the wiring harness and the removal of the stock manual regulators and the installation of the new power regulators. System I purchased was from Nu-Relics 4 window system.
First issue I ran into was the new regulators for the rear windows they sent the three mounting locations for the regulators would not line up with the mounting holes on the rear interior quarter panel mounting holes. A quick call to Nu-Relics and they were sent back along with one of the stock rear regulators and on the same day they arrived the new regulators were built and sent off the next day, they paying for all the shipping costs thanks to Dusty.
Have photos posted at the bottom of this posting.
Step one - Wiring harness;
Hardest part (for me anyway) was had to remove both front doors in order to be able to drill the 7/8" holes for the wiring boot for each door and the door frame. The actual installation of the harness was pretty easy but do take note I chose to mount the 4 gang master switch in the center console...no switches on the doors or the rear interior quarter panels...wanted have a clean look when all is said and done.
Step two - Regulators:
Front door regulator swap was pretty easy.....was able to do that all by myself.
Rear regulators were a different story all together. First off it will take at least 4 sets of hands (6 is much better, third person to hold lights) to do that part of the swap. Very small cavity to work in and things are really crammed in there but do not get me wrong it is doable.
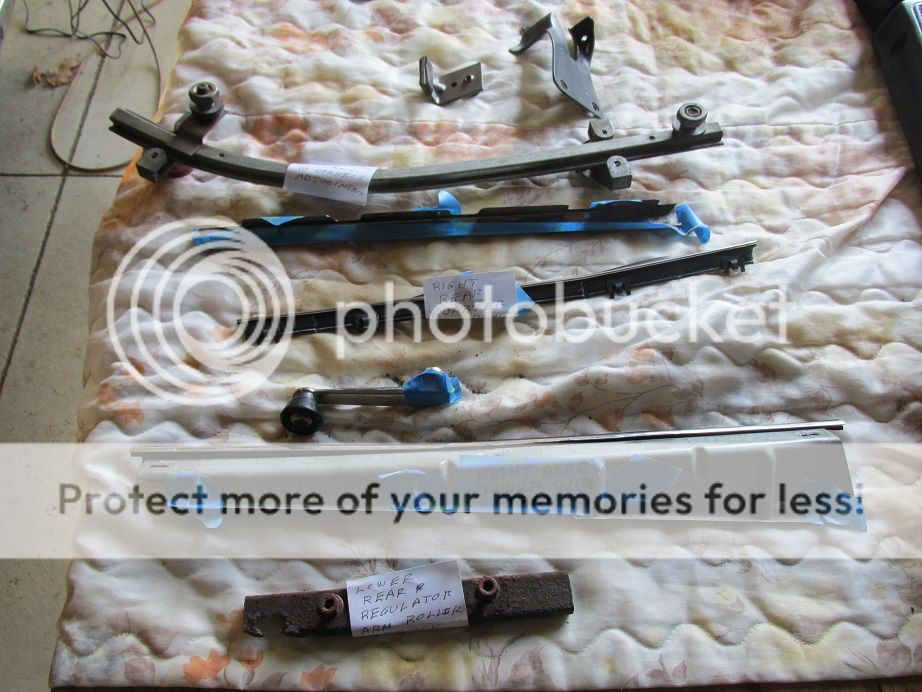
First things is there a re about 5 or 6 pieces that have to be removed along with the trim around the top of the window cavity (see the photo below)....you will need as much space as possible to get the window out.
Once you are ready to try and remove the regulator (after you have removed the three mounting bolts) pull the window up along with the regulator attached (there will be just one regulator arm left attached to the mounting plate ), it will take two of you to raise the window out of the top pulling the regulator with it (make sure you have a pair of hands on the bottom and two on the top...don't want to bottom mounting plate to pull loose from the window) and once you have the mounting plate out enough to dis-engage the one regulator wheel then you can lower the regulator back into the cavity and pull the window assemble out the top, then you remove the regulator out through the hole at the bottom. Takes some manuvering but it is do able.
Then just reverse the process and install the new power regulator but I do suggest just doing one rear side at once so you can use the other as a reference to see how it all fits together. If we had pulled both out at the same time I think we would have been screwed.
Now this is very important...the mounting holes for the rear regulators are slotted (front are not)...the new power regulators would only fit correctly if the mounting bolts are pushed all the way to the rear (see photo), if not the regulator will not sit straight and the rollers on the regulator arms will not fit in the tracks correctly.
Then re-install all the other parts you had to remove before removal of the regulator.
Next you will have to adjust how the rear window lines up with the front window, all that is explained in the shop manual. Shop manual is very help full showing how it all fits and works together.
Hope this helps anyone thinking about doing this. below photos will help showing all involved.
Parts that had to be removed from one rear regulator cavity b4 you can remove the regulator & window
One of the rear windows showing the bottom plate that is attached to it:

The new rear power regulators

Note how the regulator mounting bolts sit in the slots (pass side rear)

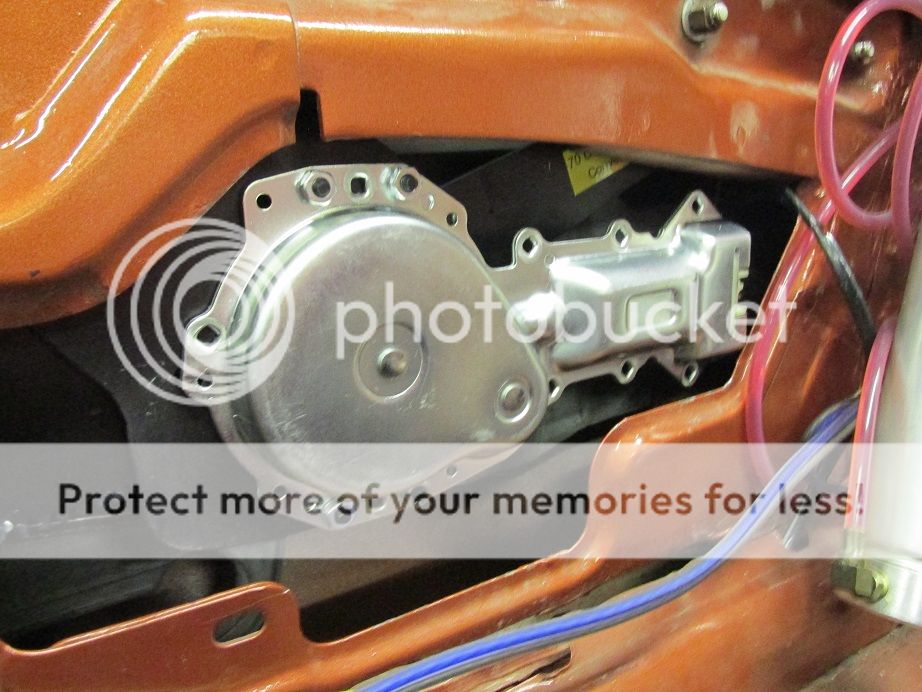
Regulator installed in pass side rear (note how it sits in relation to the opening)
Wire boot for driver's side door

Extra rollers, push springs and spacers that come with the kit

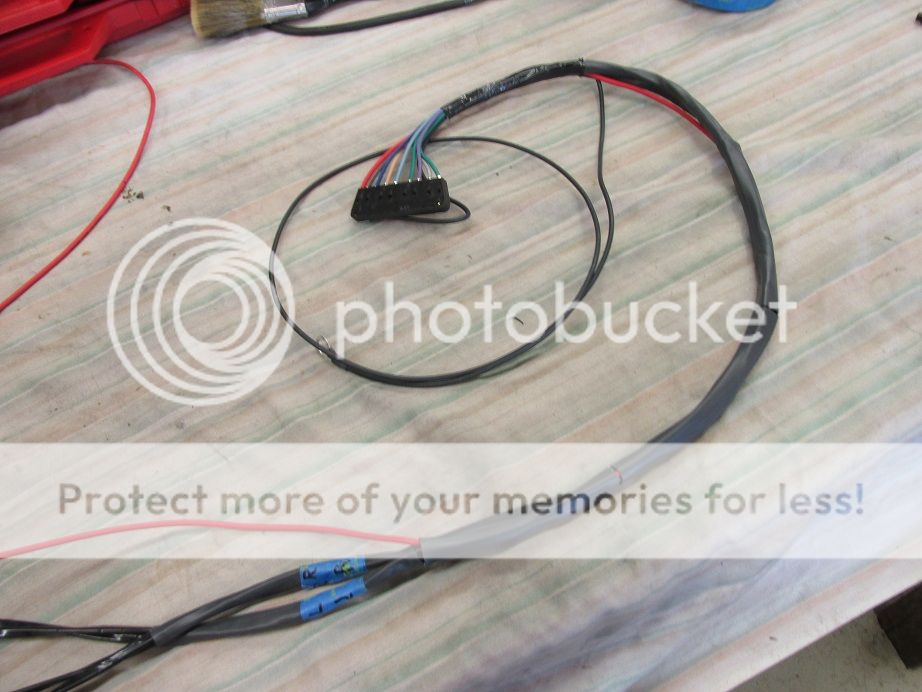
Addition of some shrink tubing I used on harness where it will fit under the dash
Placement of 4 way switch waiting for the console to be installed
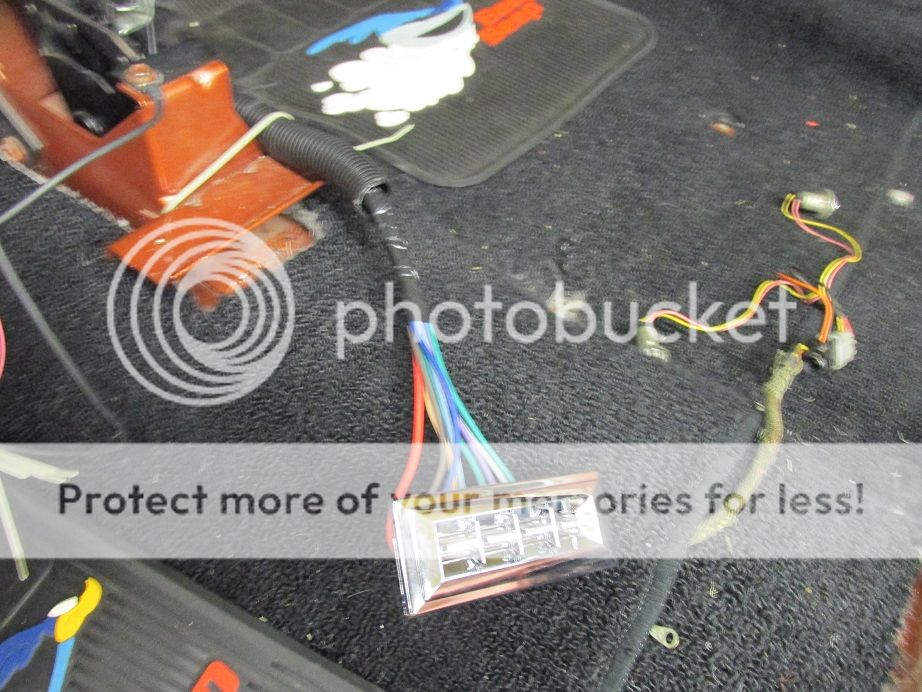
Photo of part of opening in the console for the 4 way switch

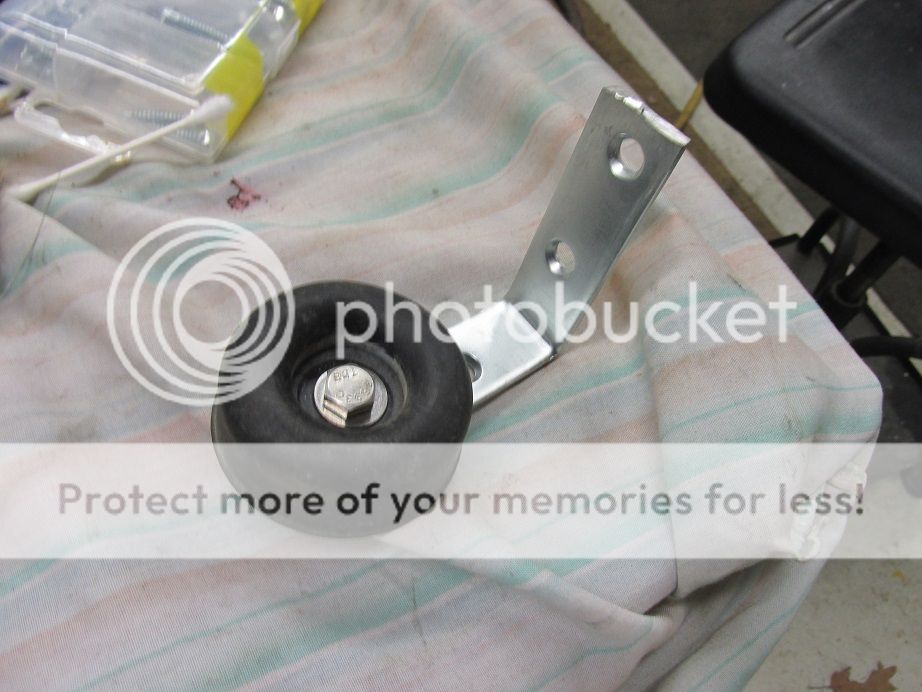
One of the lower window stops I made up for one of the windows. Regulators do not come with stops so you have to make your own.
First issue was electrical power needed. Stock electrical system was not up to properly providing enough power for this project and my other project of installing a aftermarket sound system so I installed a Painless Aux. fuse panel first. That project is posted in the electrical section.
The conversion consists of basically two parts; the installing of the wiring harness and the removal of the stock manual regulators and the installation of the new power regulators. System I purchased was from Nu-Relics 4 window system.
First issue I ran into was the new regulators for the rear windows they sent the three mounting locations for the regulators would not line up with the mounting holes on the rear interior quarter panel mounting holes. A quick call to Nu-Relics and they were sent back along with one of the stock rear regulators and on the same day they arrived the new regulators were built and sent off the next day, they paying for all the shipping costs thanks to Dusty.
Have photos posted at the bottom of this posting.
Step one - Wiring harness;
Hardest part (for me anyway) was had to remove both front doors in order to be able to drill the 7/8" holes for the wiring boot for each door and the door frame. The actual installation of the harness was pretty easy but do take note I chose to mount the 4 gang master switch in the center console...no switches on the doors or the rear interior quarter panels...wanted have a clean look when all is said and done.
Step two - Regulators:
Front door regulator swap was pretty easy.....was able to do that all by myself.
Rear regulators were a different story all together. First off it will take at least 4 sets of hands (6 is much better, third person to hold lights) to do that part of the swap. Very small cavity to work in and things are really crammed in there but do not get me wrong it is doable.
First things is there a re about 5 or 6 pieces that have to be removed along with the trim around the top of the window cavity (see the photo below)....you will need as much space as possible to get the window out.
Once you are ready to try and remove the regulator (after you have removed the three mounting bolts) pull the window up along with the regulator attached (there will be just one regulator arm left attached to the mounting plate ), it will take two of you to raise the window out of the top pulling the regulator with it (make sure you have a pair of hands on the bottom and two on the top...don't want to bottom mounting plate to pull loose from the window) and once you have the mounting plate out enough to dis-engage the one regulator wheel then you can lower the regulator back into the cavity and pull the window assemble out the top, then you remove the regulator out through the hole at the bottom. Takes some manuvering but it is do able.
Then just reverse the process and install the new power regulator but I do suggest just doing one rear side at once so you can use the other as a reference to see how it all fits together. If we had pulled both out at the same time I think we would have been screwed.
Now this is very important...the mounting holes for the rear regulators are slotted (front are not)...the new power regulators would only fit correctly if the mounting bolts are pushed all the way to the rear (see photo), if not the regulator will not sit straight and the rollers on the regulator arms will not fit in the tracks correctly.
Then re-install all the other parts you had to remove before removal of the regulator.
Next you will have to adjust how the rear window lines up with the front window, all that is explained in the shop manual. Shop manual is very help full showing how it all fits and works together.
Hope this helps anyone thinking about doing this. below photos will help showing all involved.
Parts that had to be removed from one rear regulator cavity b4 you can remove the regulator & window

One of the rear windows showing the bottom plate that is attached to it:

The new rear power regulators

Note how the regulator mounting bolts sit in the slots (pass side rear)

Regulator installed in pass side rear (note how it sits in relation to the opening)

Wire boot for driver's side door

Extra rollers, push springs and spacers that come with the kit

Addition of some shrink tubing I used on harness where it will fit under the dash

Placement of 4 way switch waiting for the console to be installed

Photo of part of opening in the console for the 4 way switch

One of the lower window stops I made up for one of the windows. Regulators do not come with stops so you have to make your own.


