• When you click on links to various merchants on this site and make a purchase, this can result in this site earning a commission. Affiliate programs and affiliations include, but are not limited to, the eBay Partner Network.

Door hinge rebuild - Resto Rick Rebuild Kit

Hemirunner

Well-Known Member
Local time
11:25 PM
Joined
Jul 12, 2011
Messages
5,579
Reaction score
7,331
Location
Down South
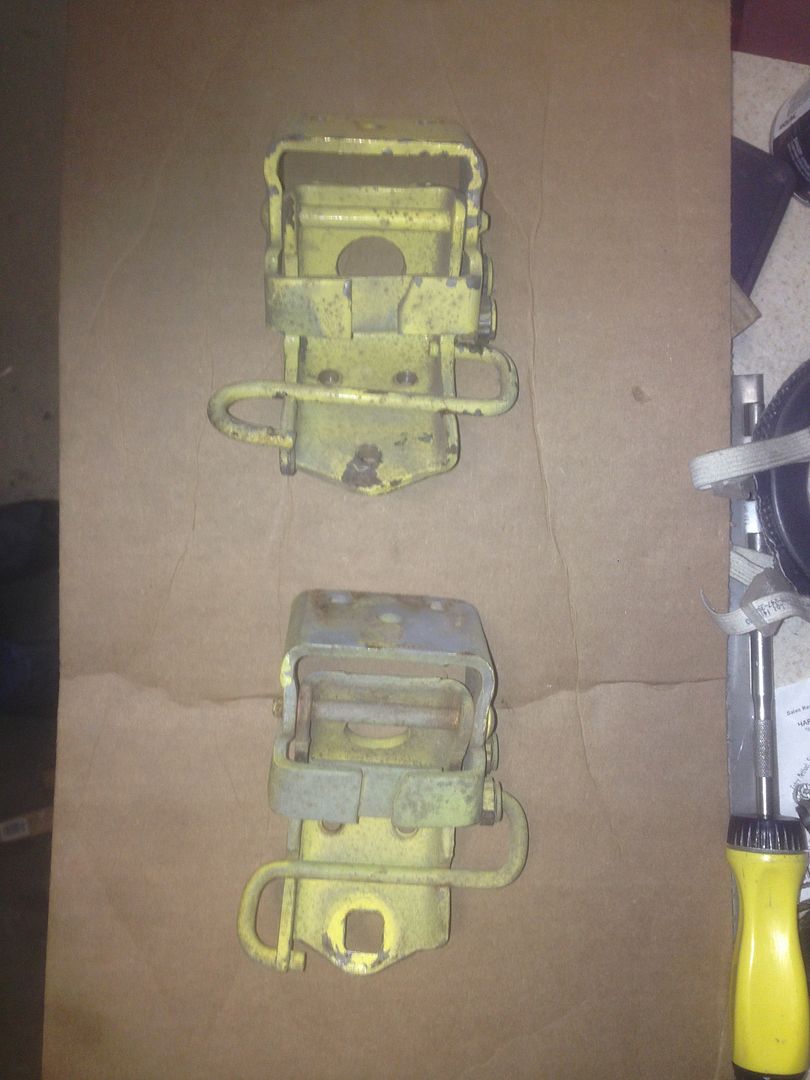
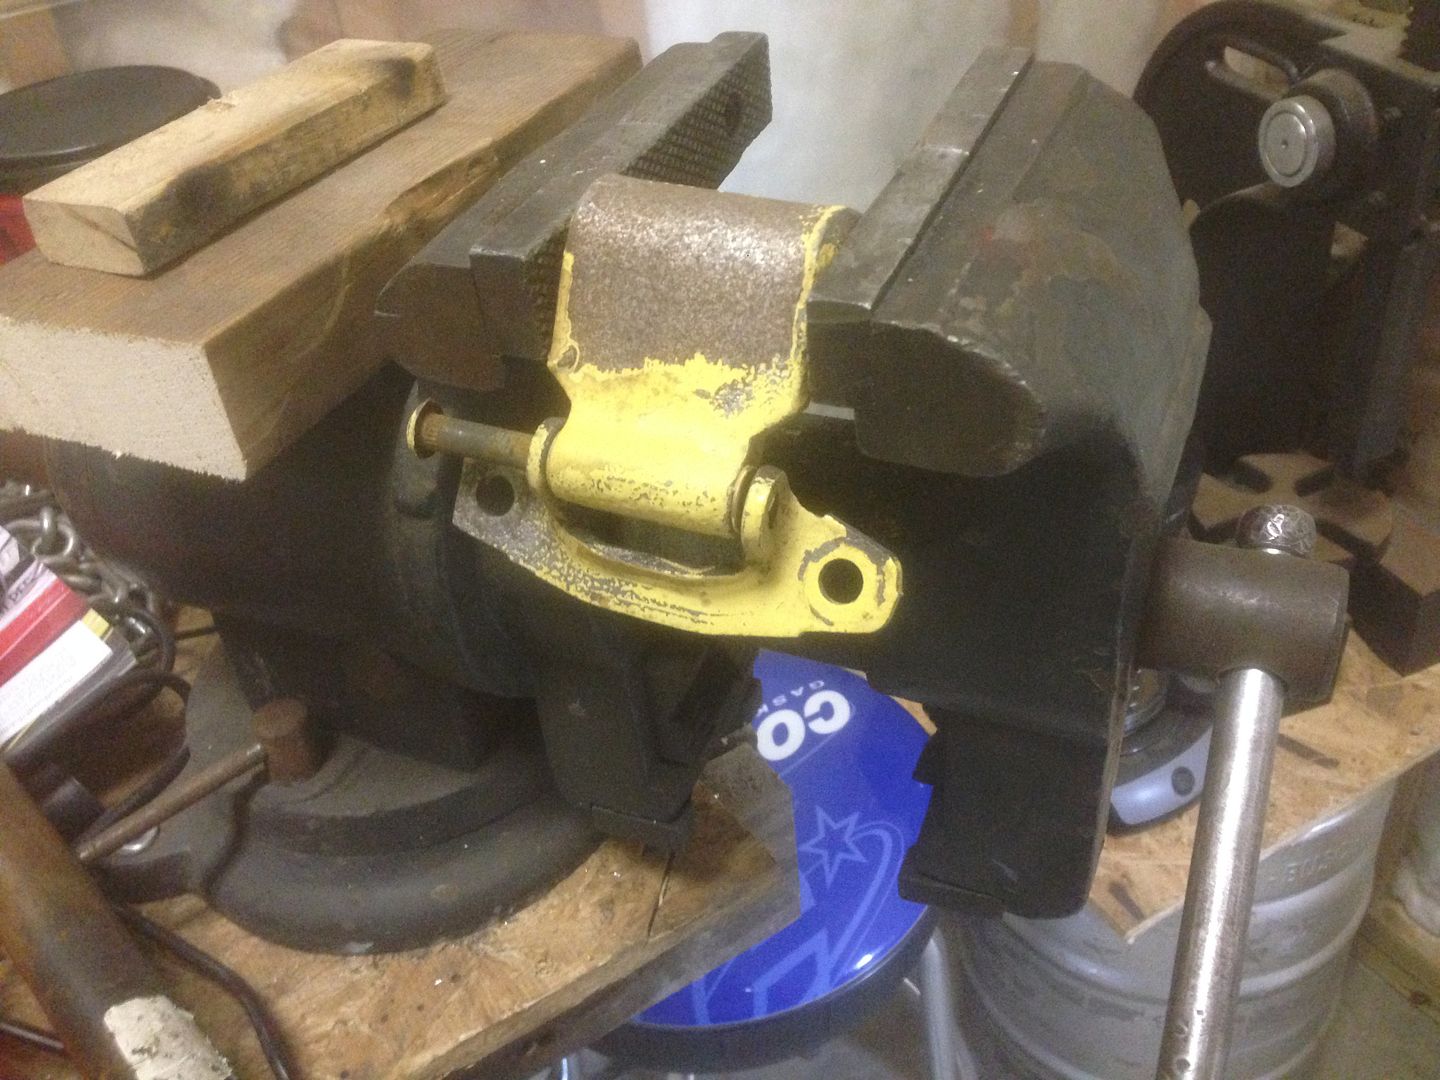
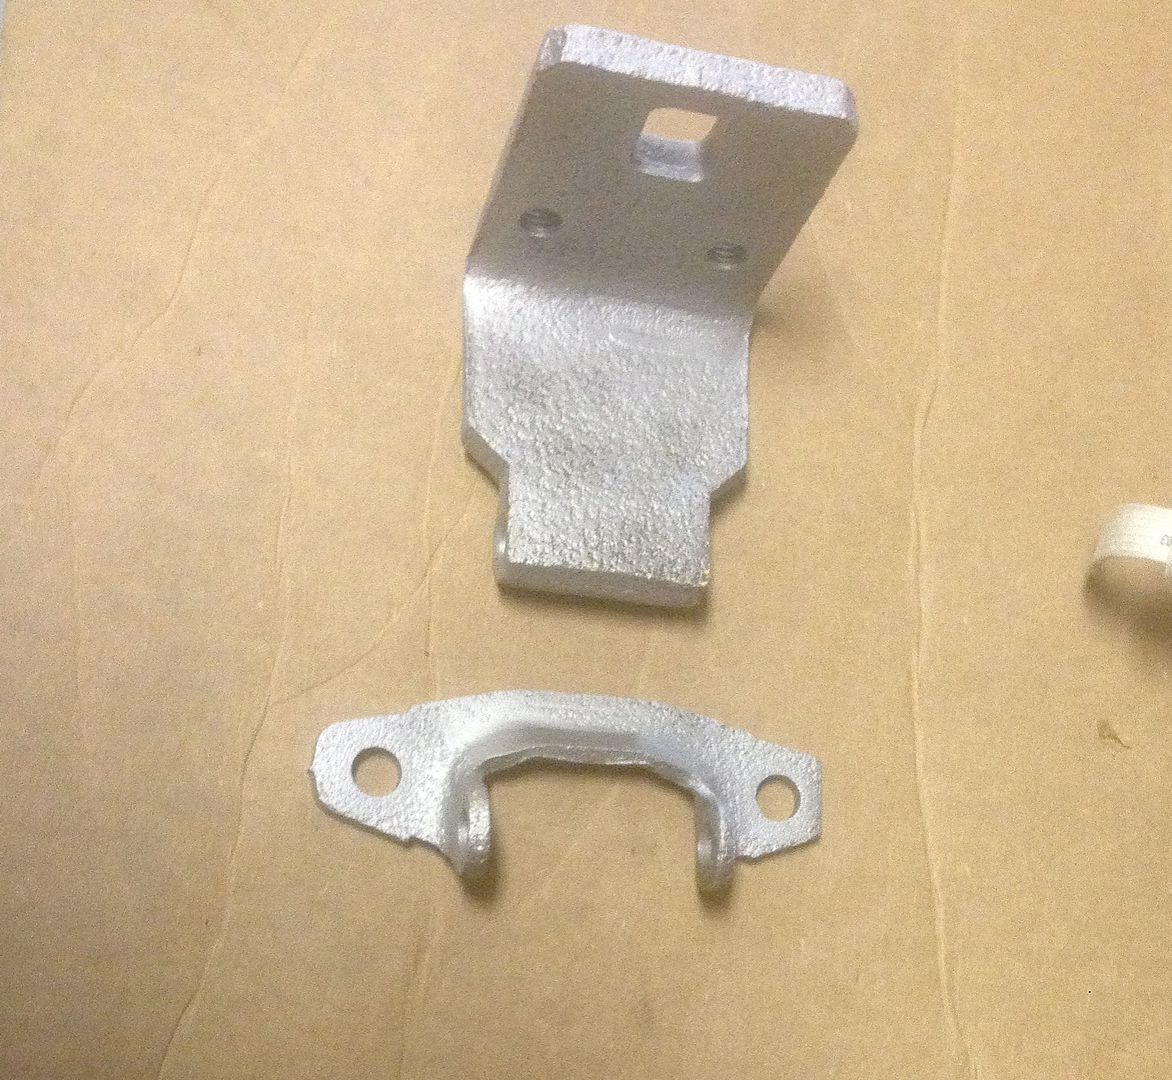
I'm redoing a 70RR and needed to get my doors mounted so I can position the quarters and make sure it all fits correctly. In doing so, I decided to rebuild the hinges and ordered a kit from Resto Rick. I chose to do the uppers first as they were pretty rough and I felt they'd be the easiest to do.
CF05F36E-77C9-4384-9376-9A7559D3E708_zpsvzvbkbz8.jpg

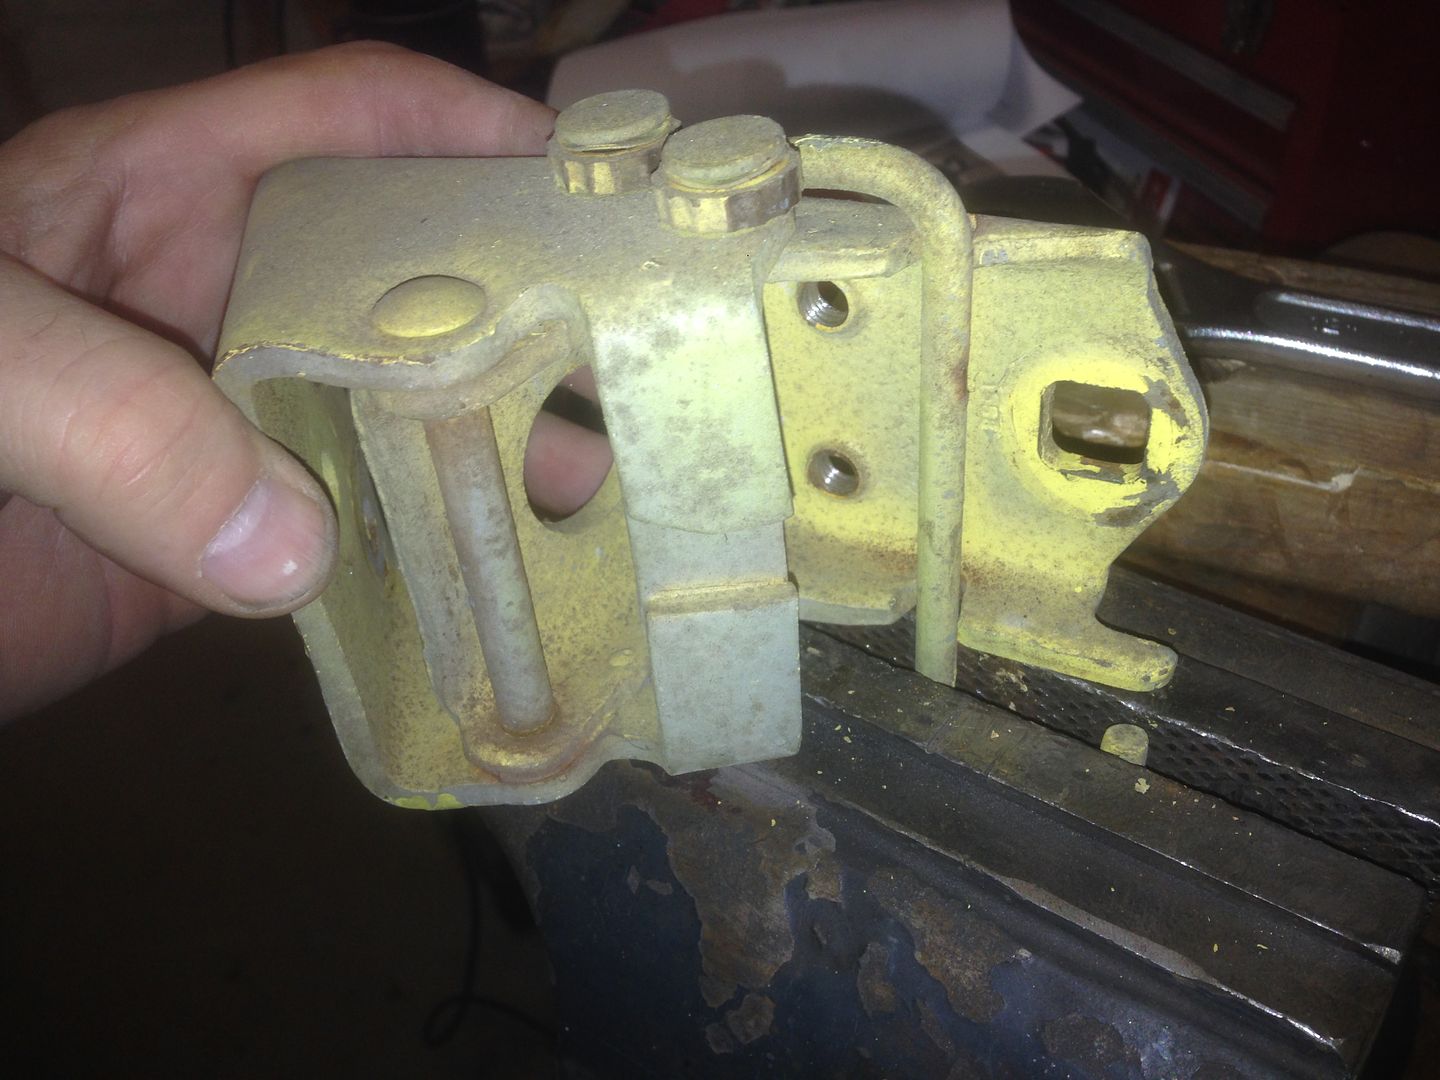
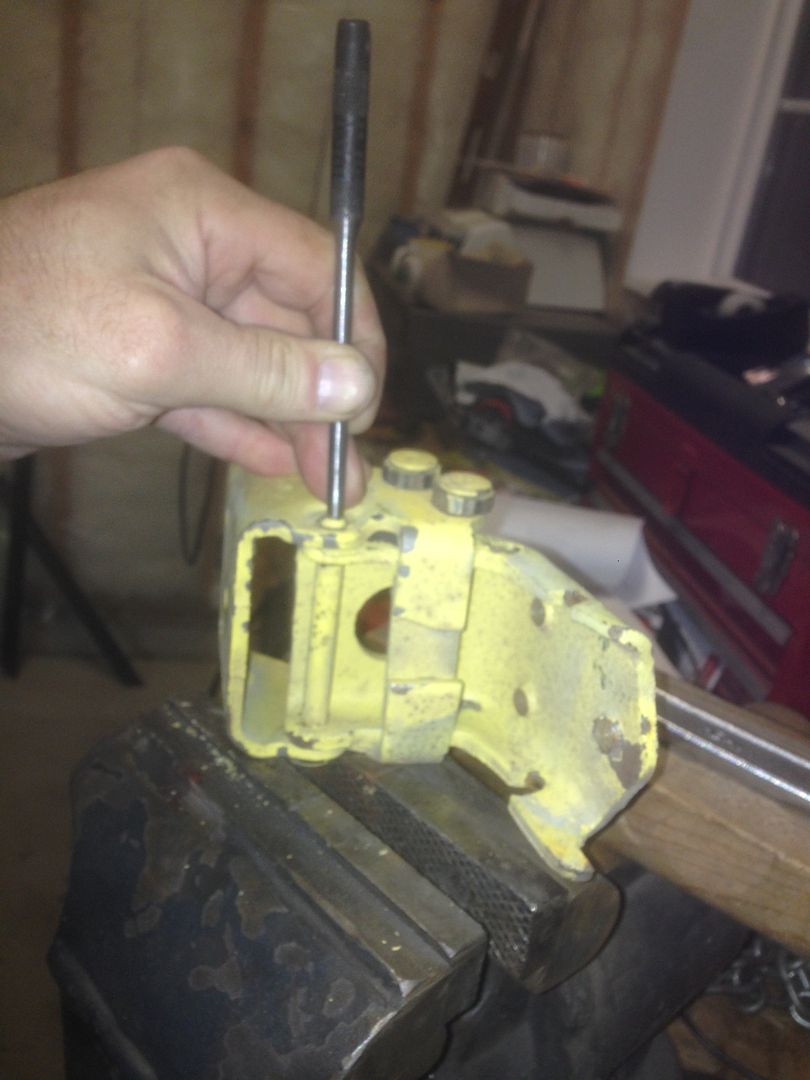
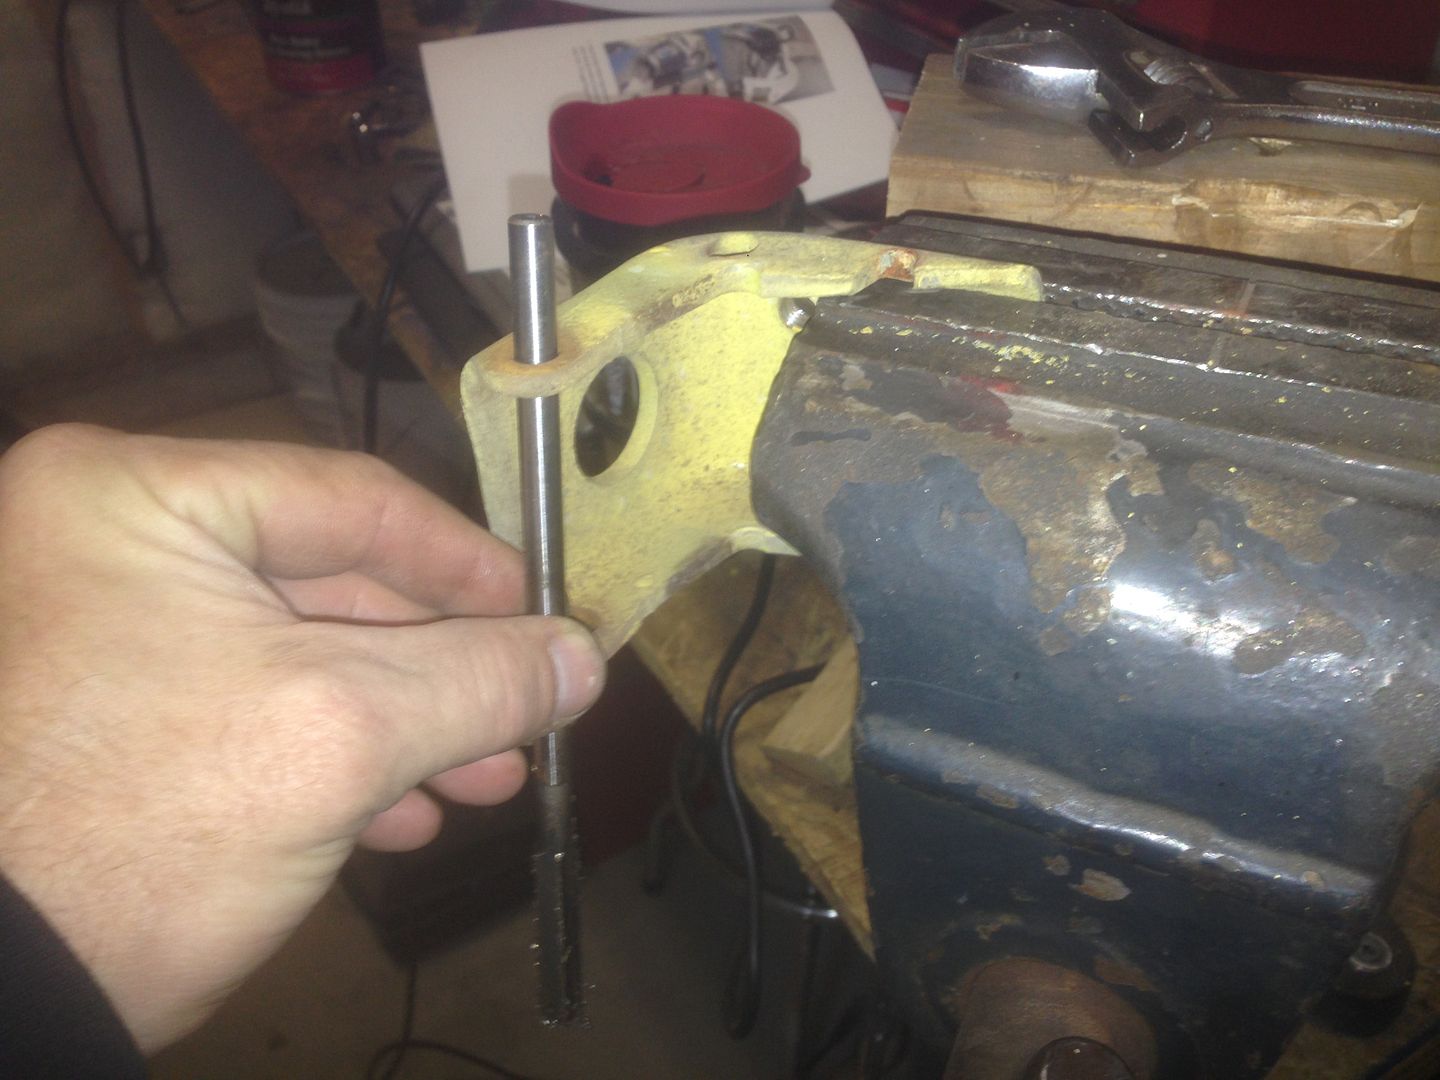
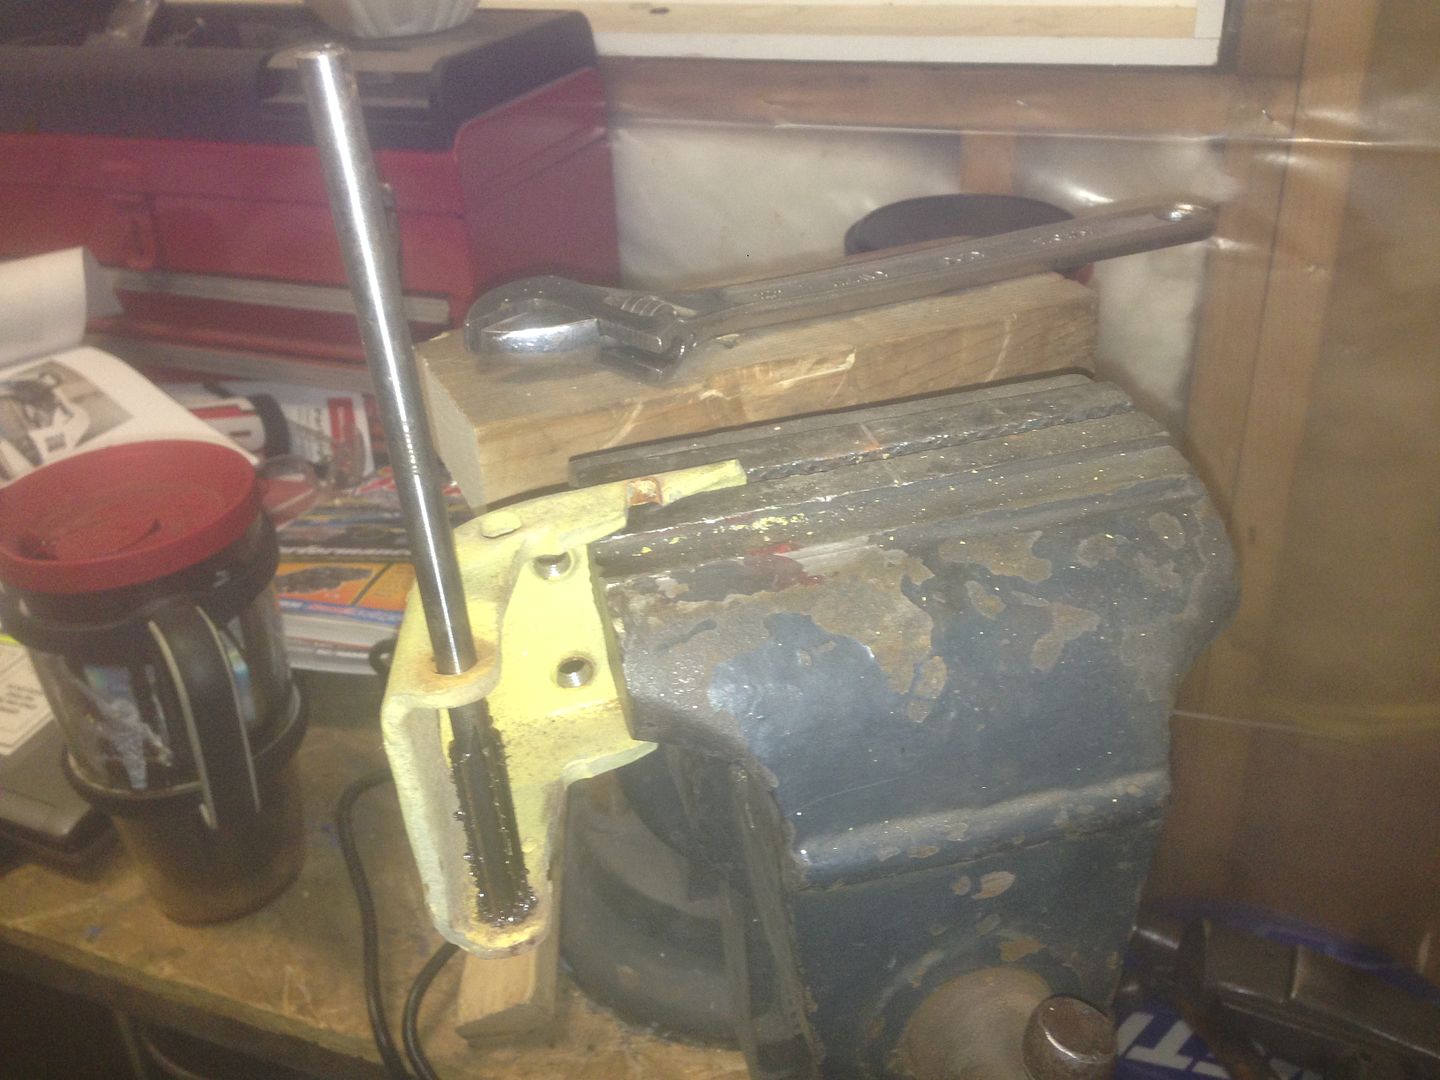
The instructions in this kit are top notch. I cannot say enough good things about dealing with Rick. I started by taking a few pictures of the hinges to make sure they go back together in the same configuration as they were prior to the rebuild. I began the restoration process by driving the pin out of the hinge.
E5291E73-874A-445E-AE7D-78F40885CFCE_zpsdtiiuxnn.jpg

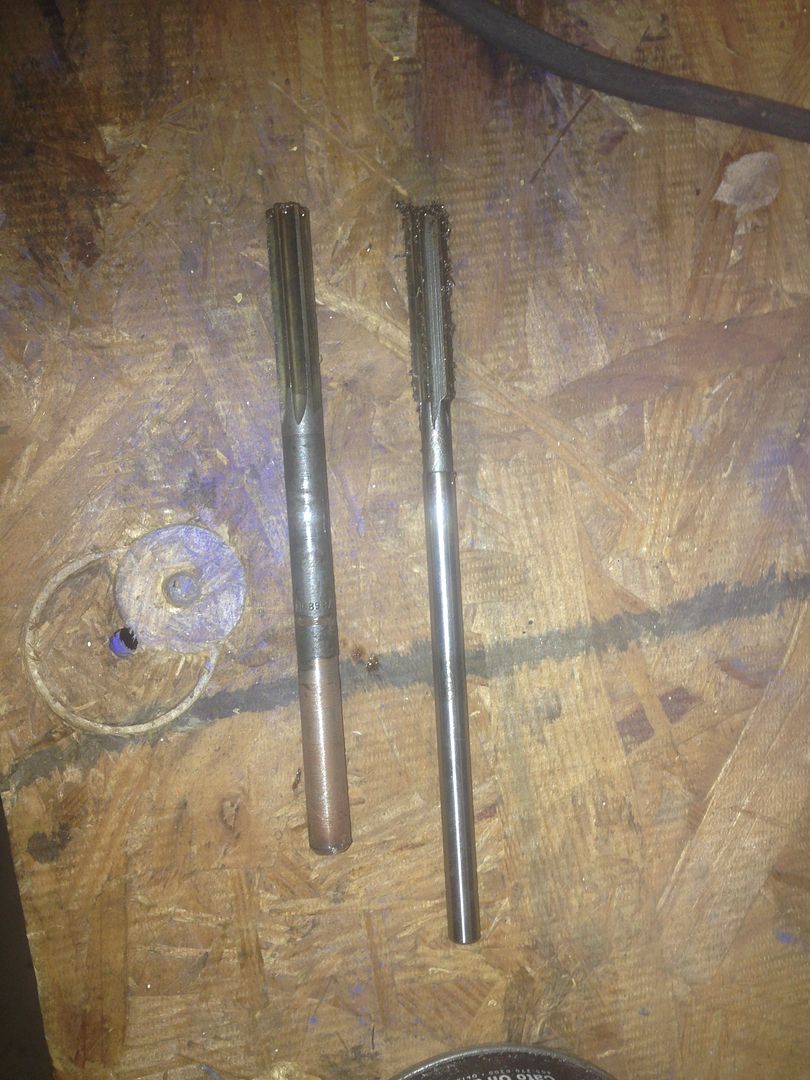
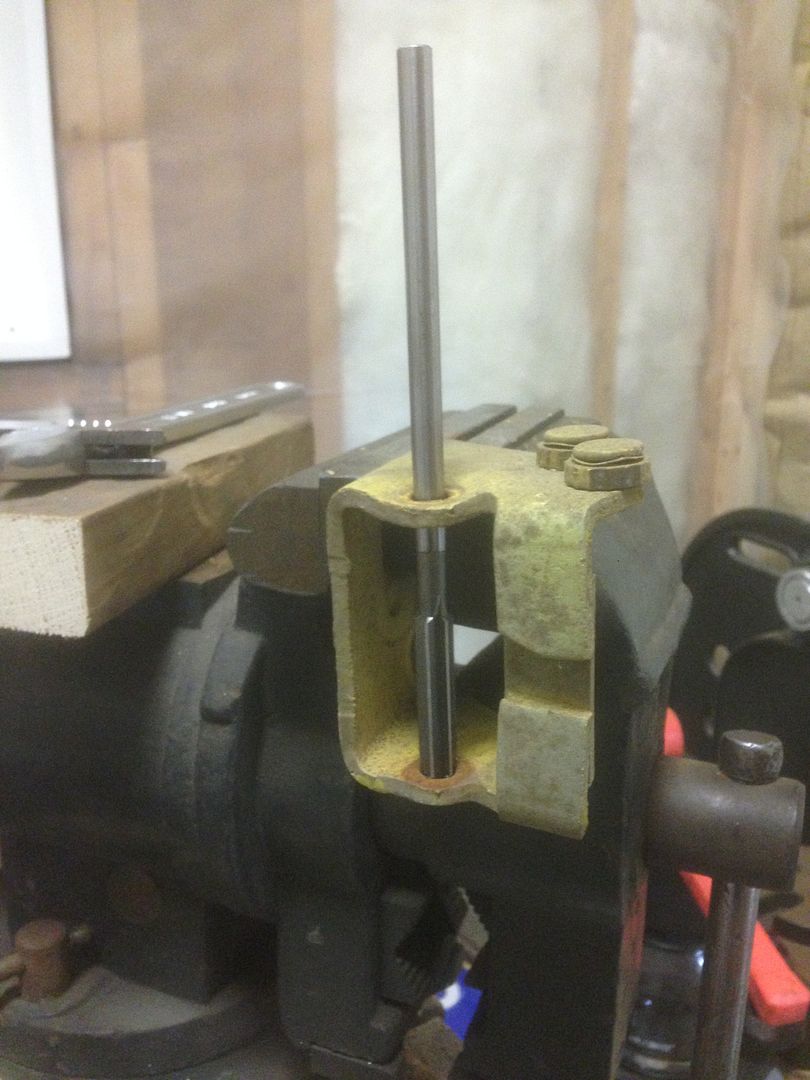
Once that was out, I used a long punch to remove the bushings.
34A7FD5C-CB49-4AC1-92D7-BD257A521FE0_zpswwmgrcv7.jpg

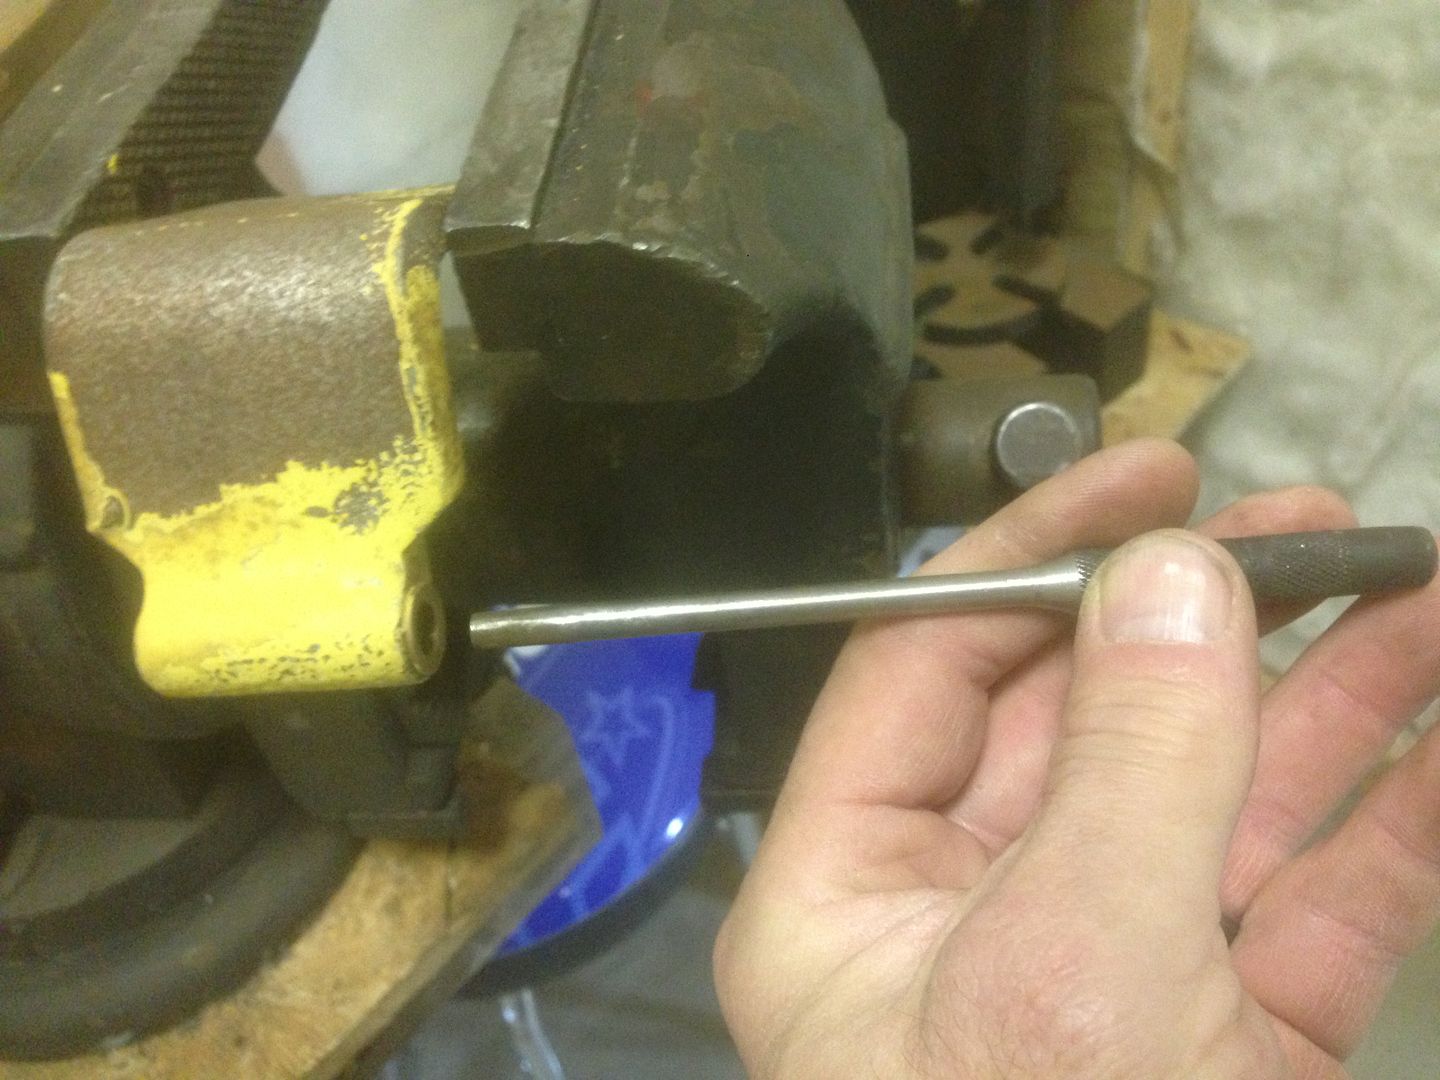
The punch needs to be angled to catch the edge of the bushing. I had to alternate between both sides of the bushing to work it out.
6AA0A486-85B0-4740-A714-B68B03377B5B_zpsa0yej58x.jpg

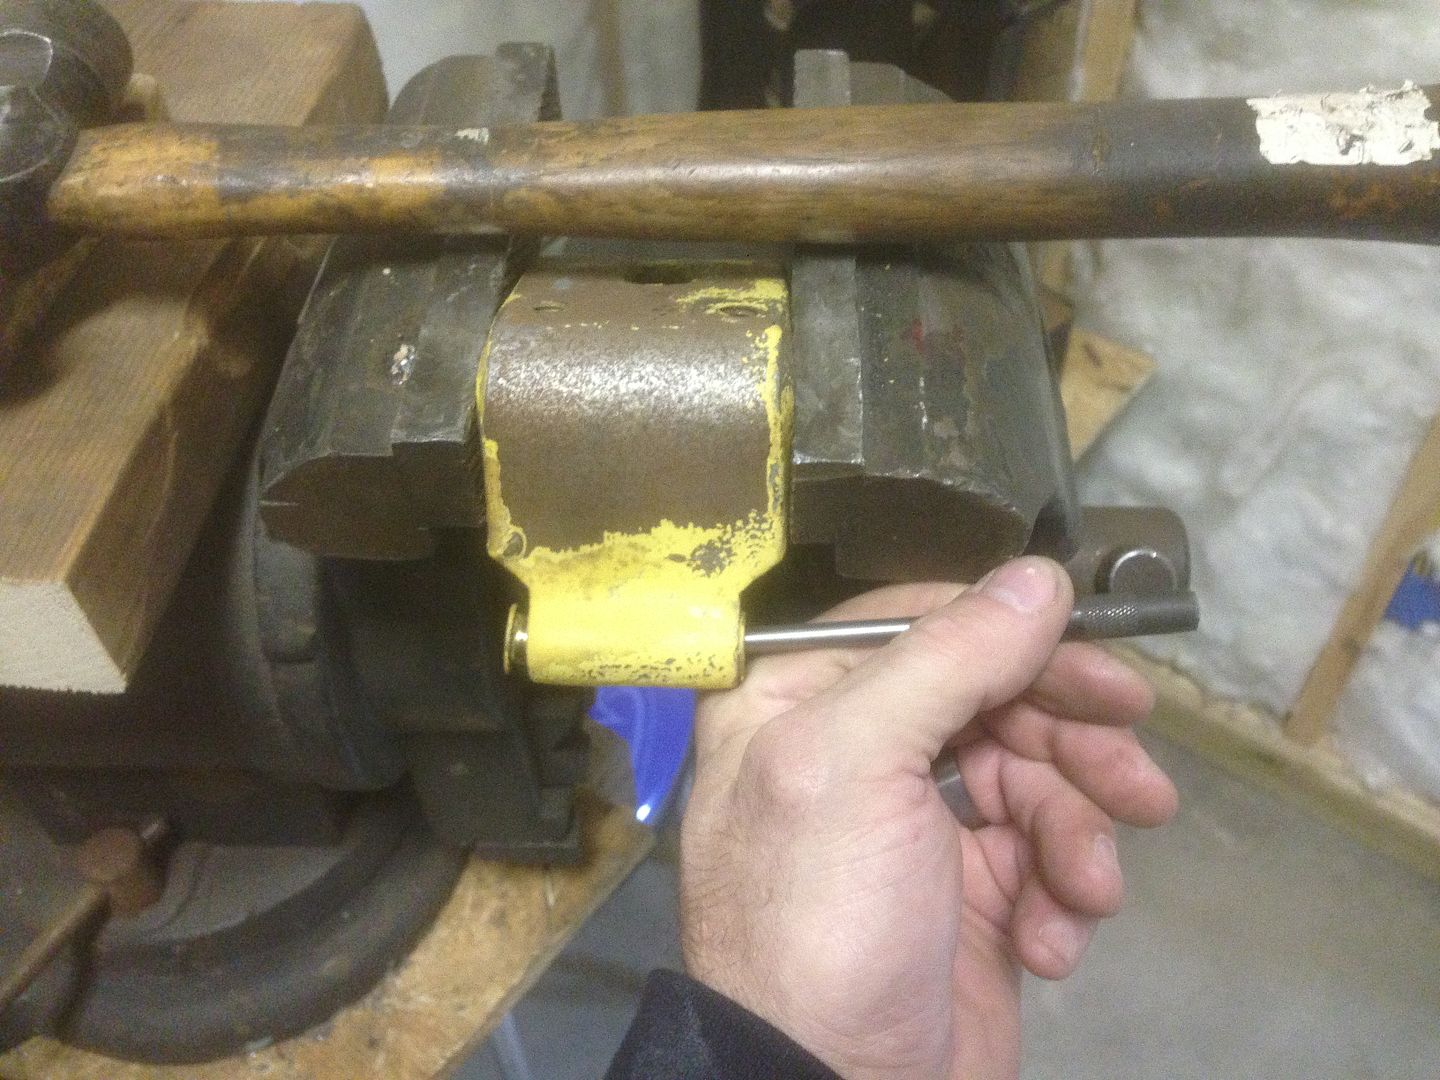
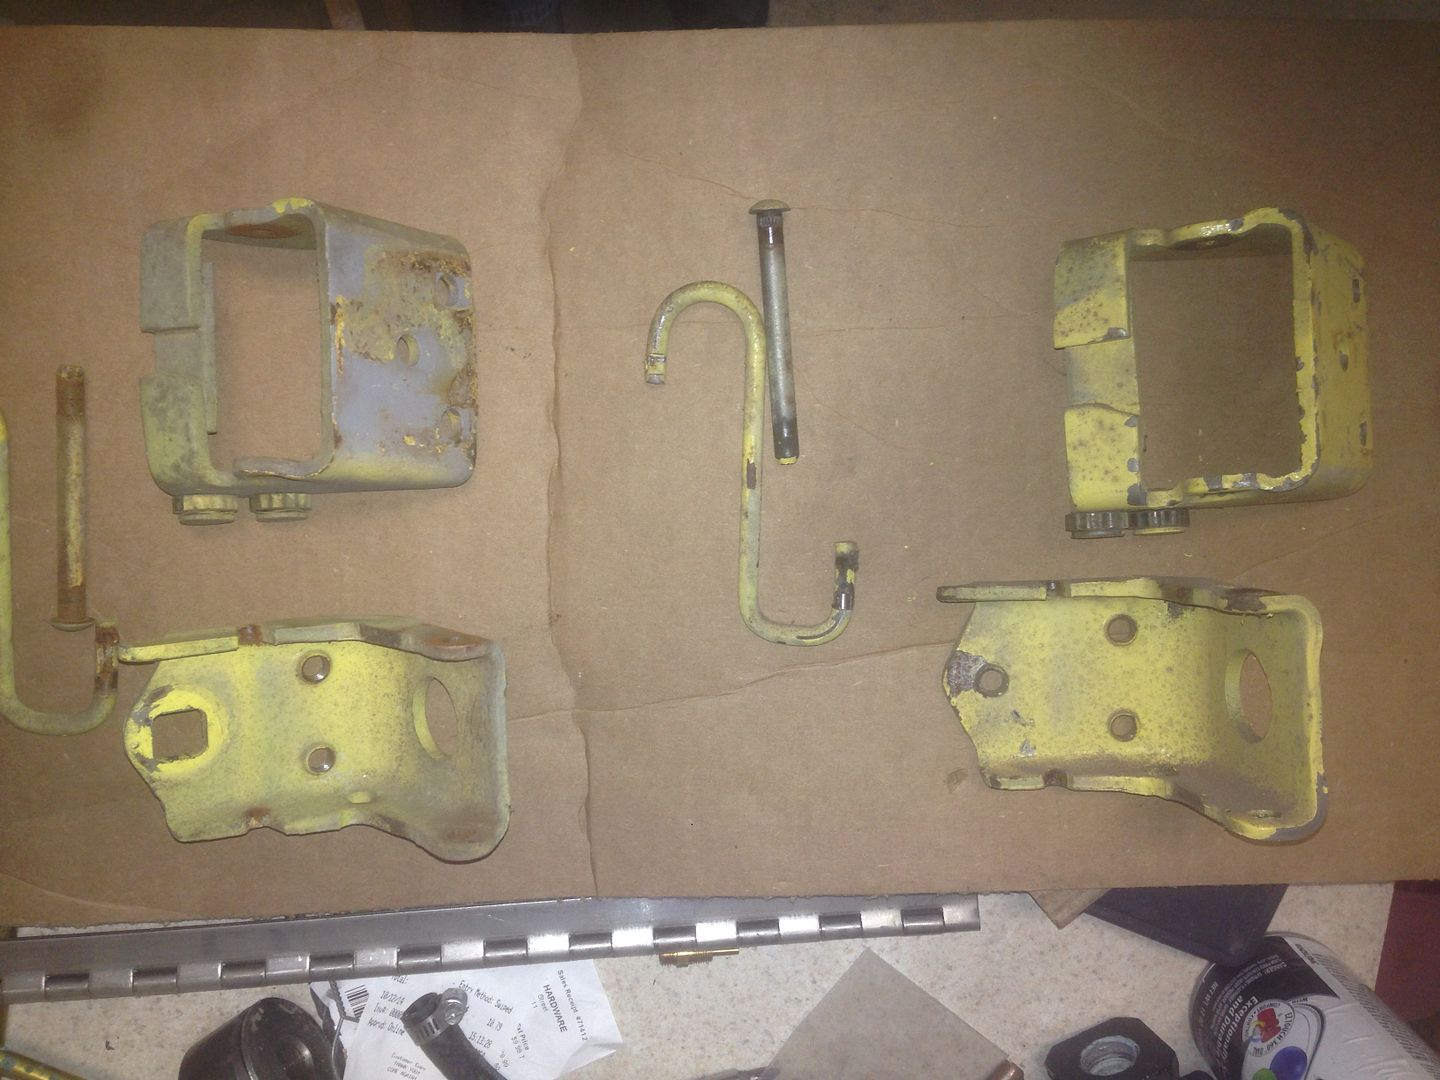
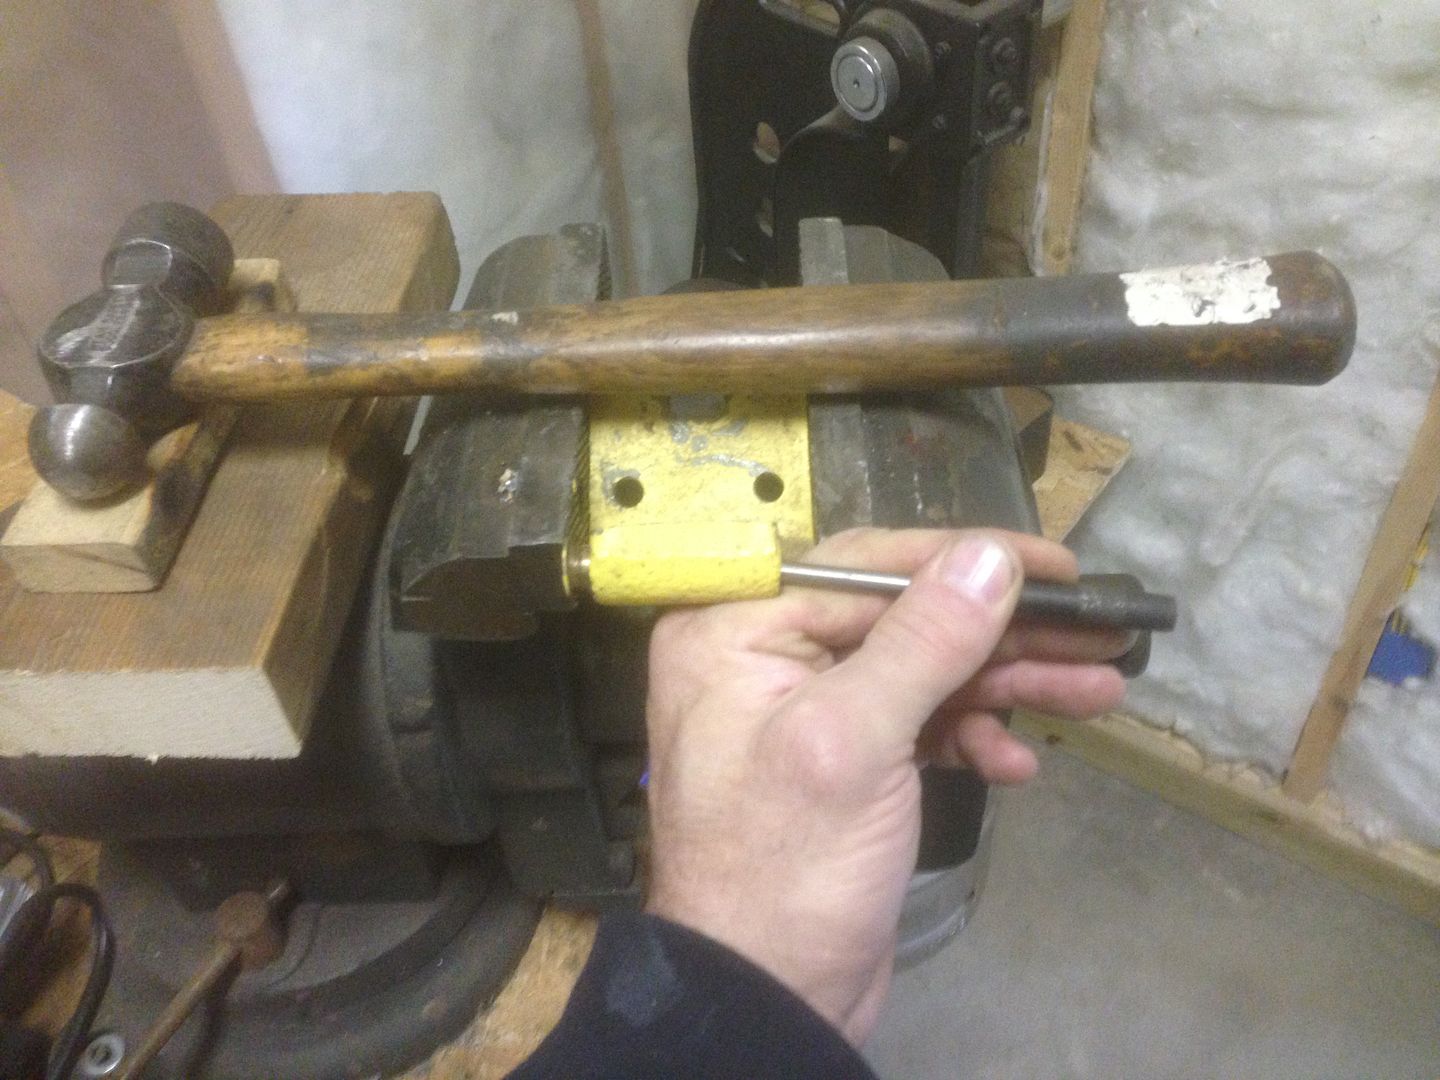
I flipped it around and drove out the second bushing
04E6A1D9-CB15-40BB-BE7A-8360B0F6E2FA_zpsqwuzvgjd.jpg

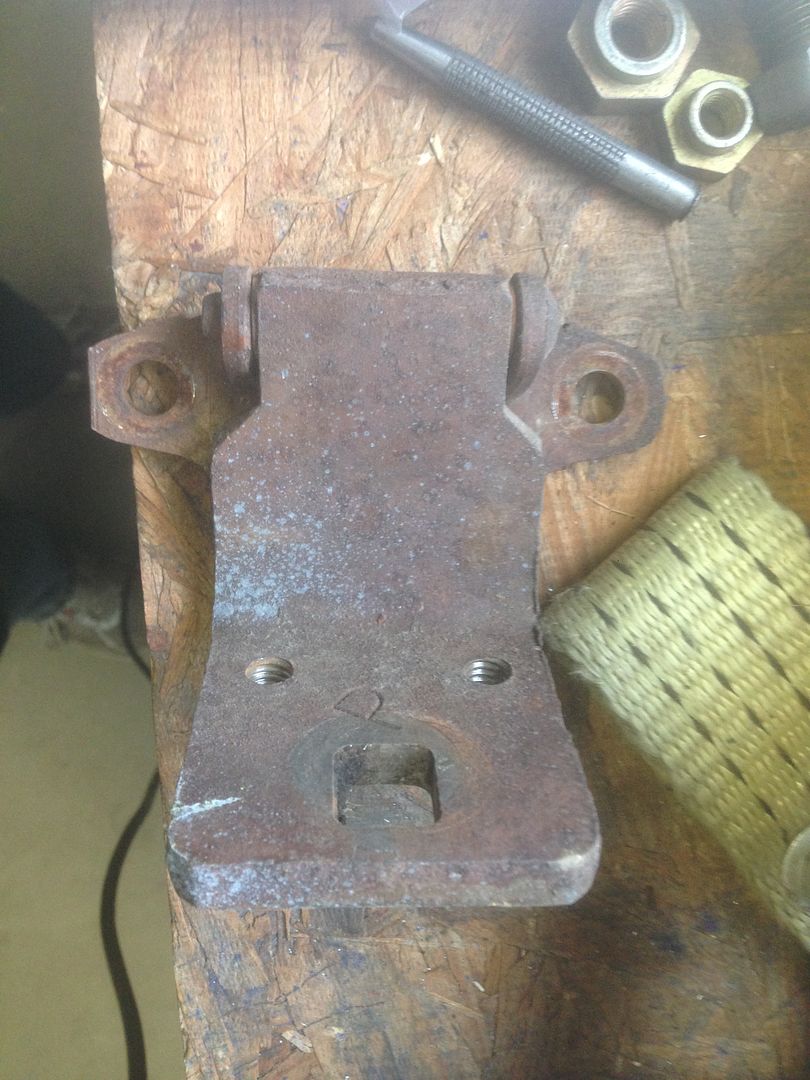
Once apart, I blasted both pieces in my media cabinet and gave them a light coat of a black primer just to prevent them from rusting due to humidity and handling. I was careful not to get much build up of paint where the bushings go. Sticking a disposable ear plug in each end will prevent any paint from getting down in that area.
4b2d2596-03d9-4b31-a99e-06e02342db54_zpsc0edbf27.jpg

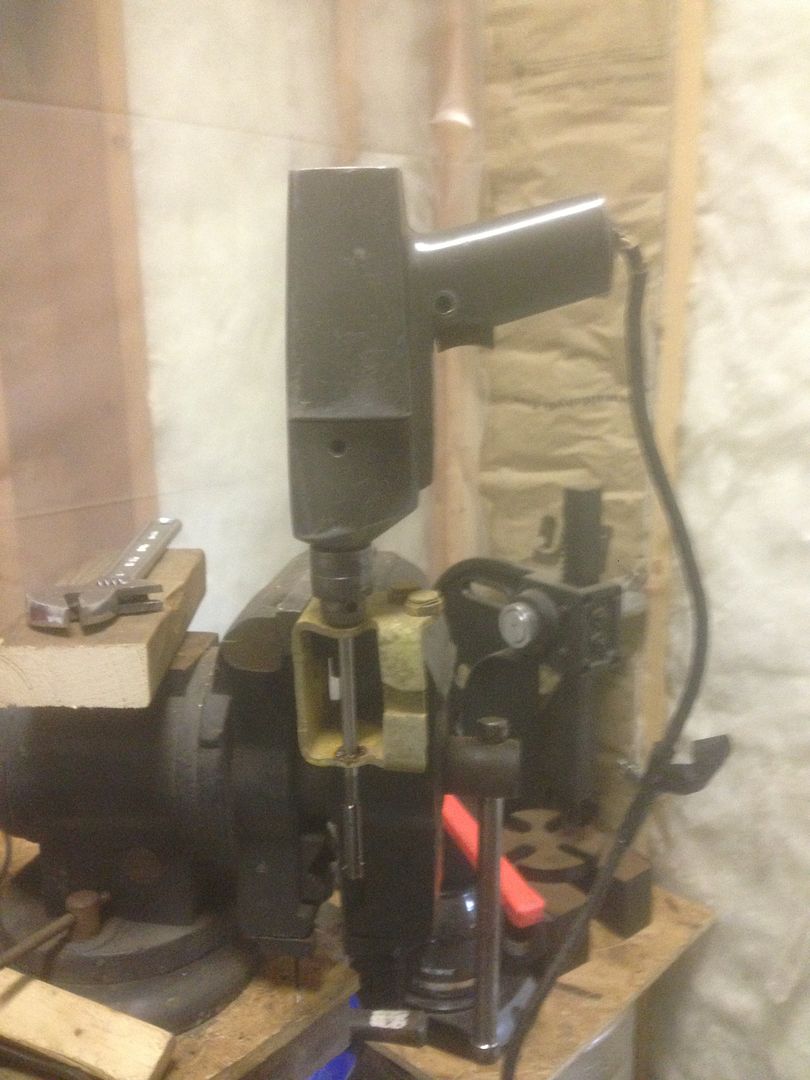
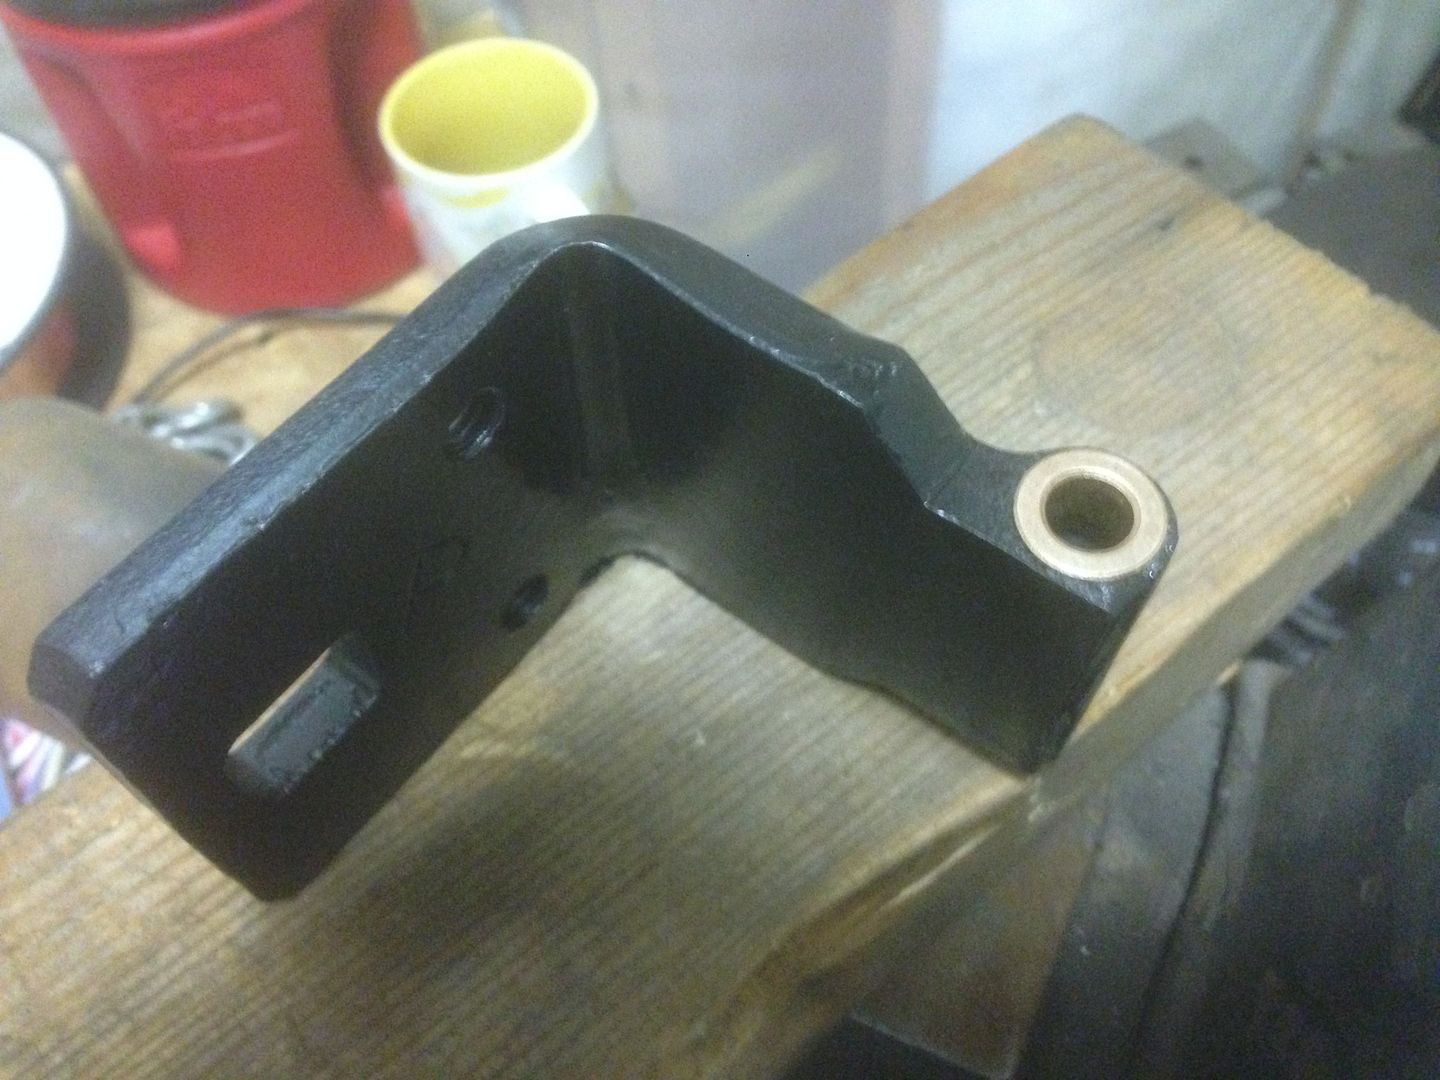
I then tapped the new bushings in place with a plastic hammer
459CEFD1-C544-4941-8987-CBC5F526D5E8_zpsbll8qqpv.jpg
.
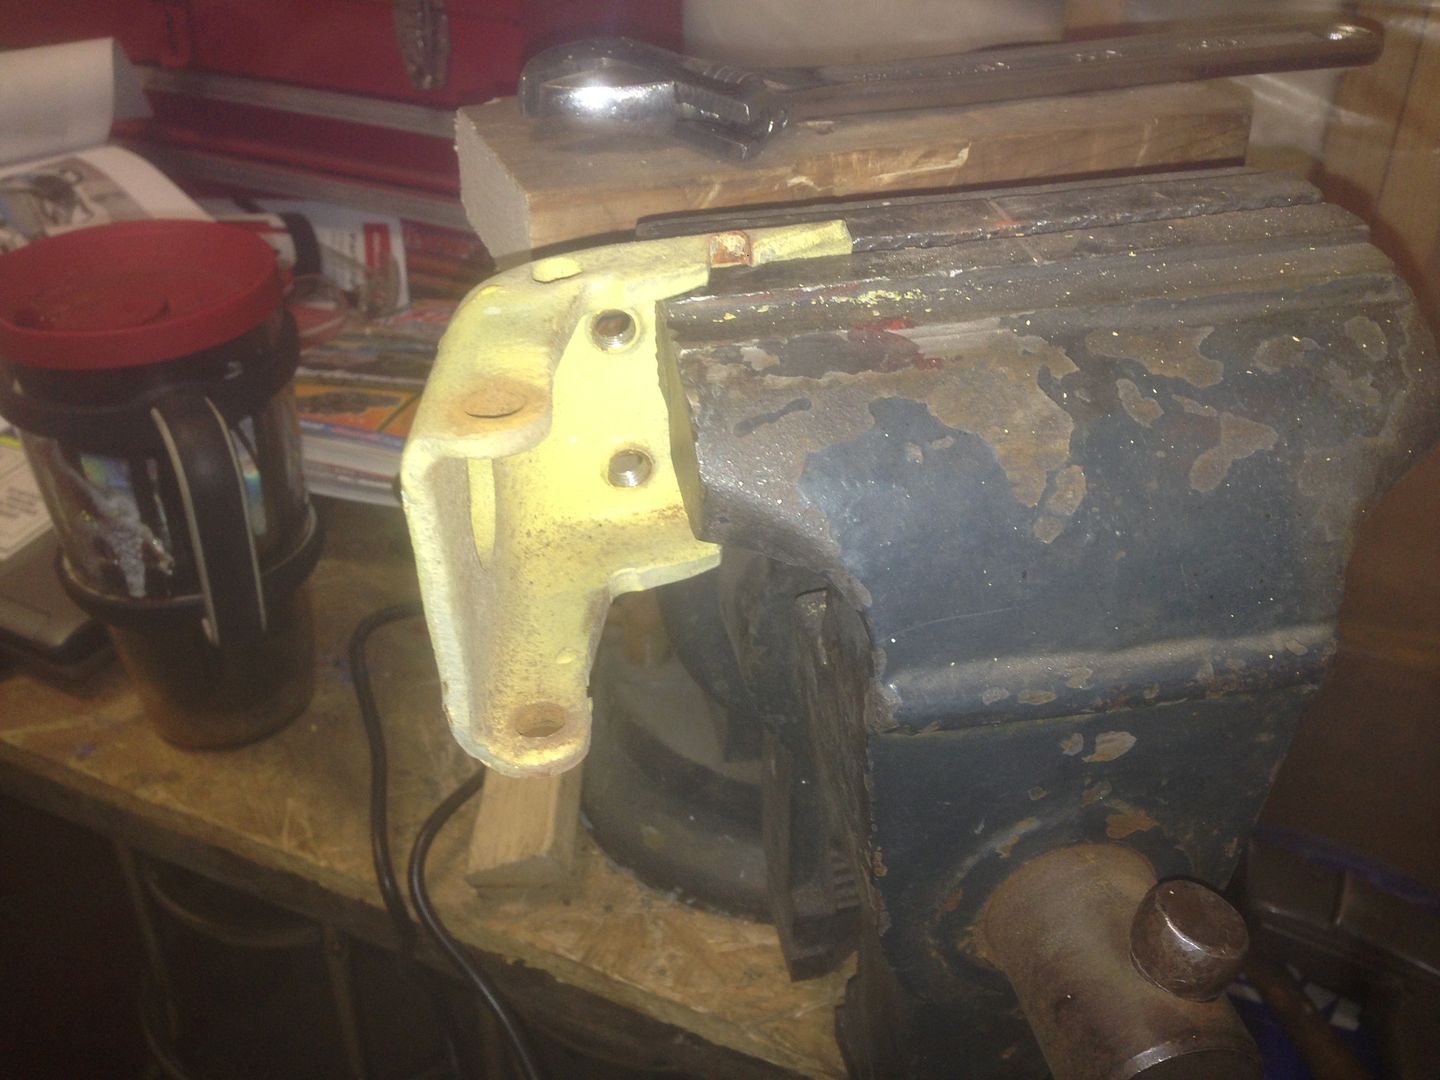
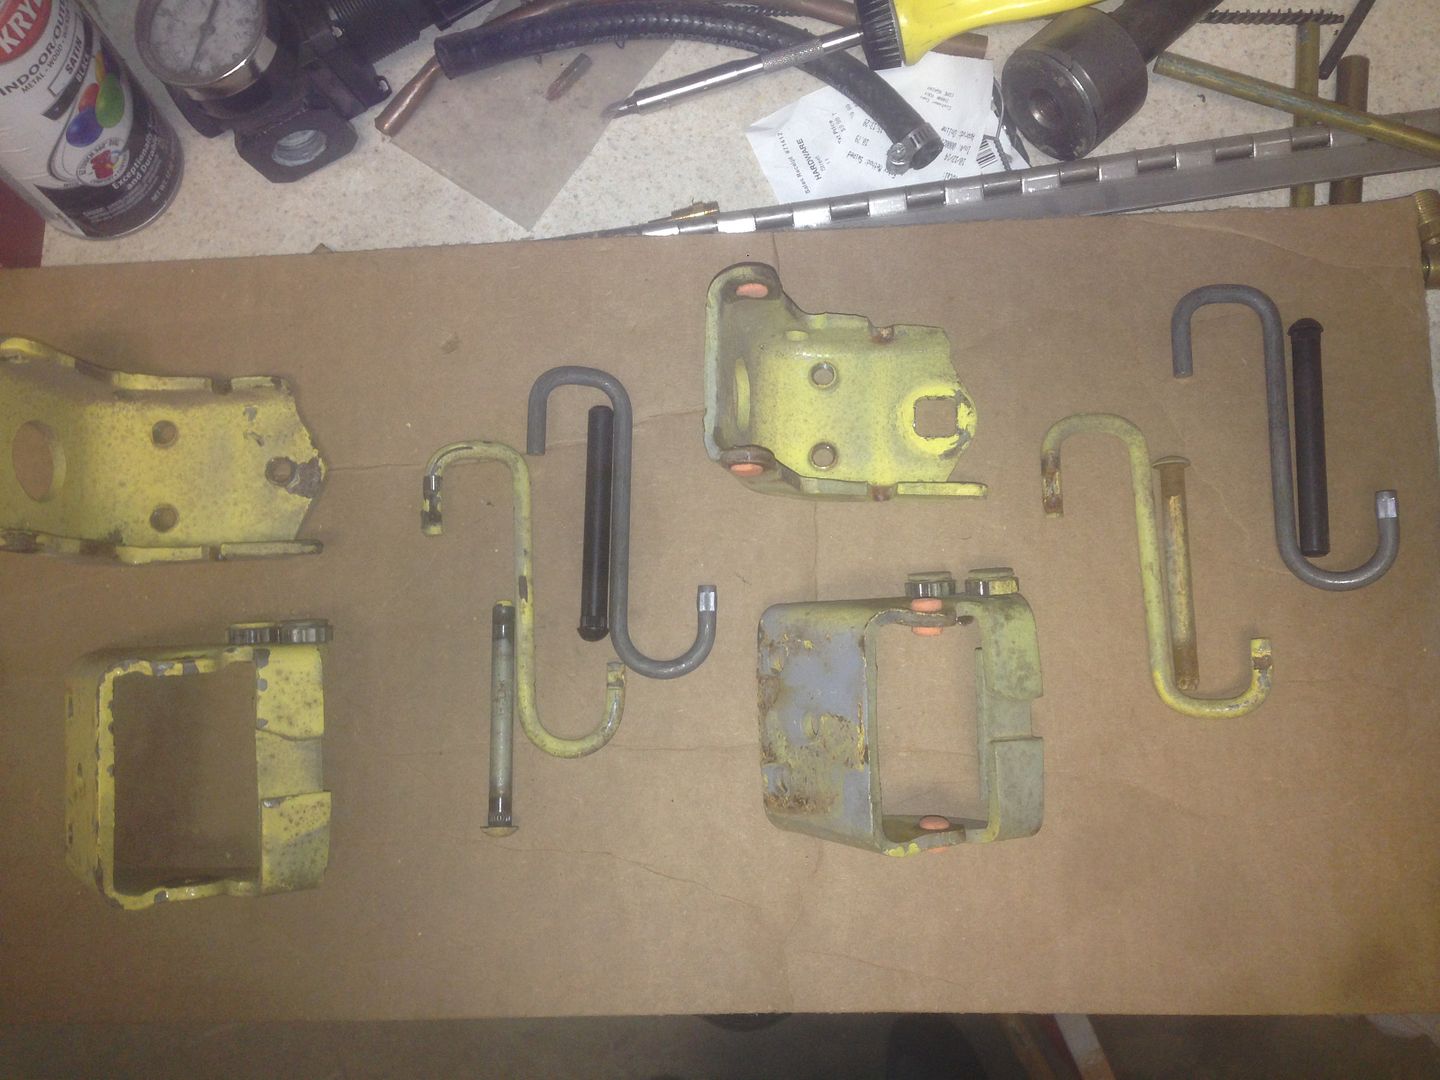
Once both bushings are in, I filled the area in between the bushings with wheel bearing grease and lubed the faces as well. I then positioned the hinge back in the correct orientation and installed the new pin. Here's the restored hinge next to an old one. The new one is much tighter and has a much smoother action when rotated.
0007BECA-0C55-412F-8DF1-7E52C36CBA00_zps0glksmuu.jpg
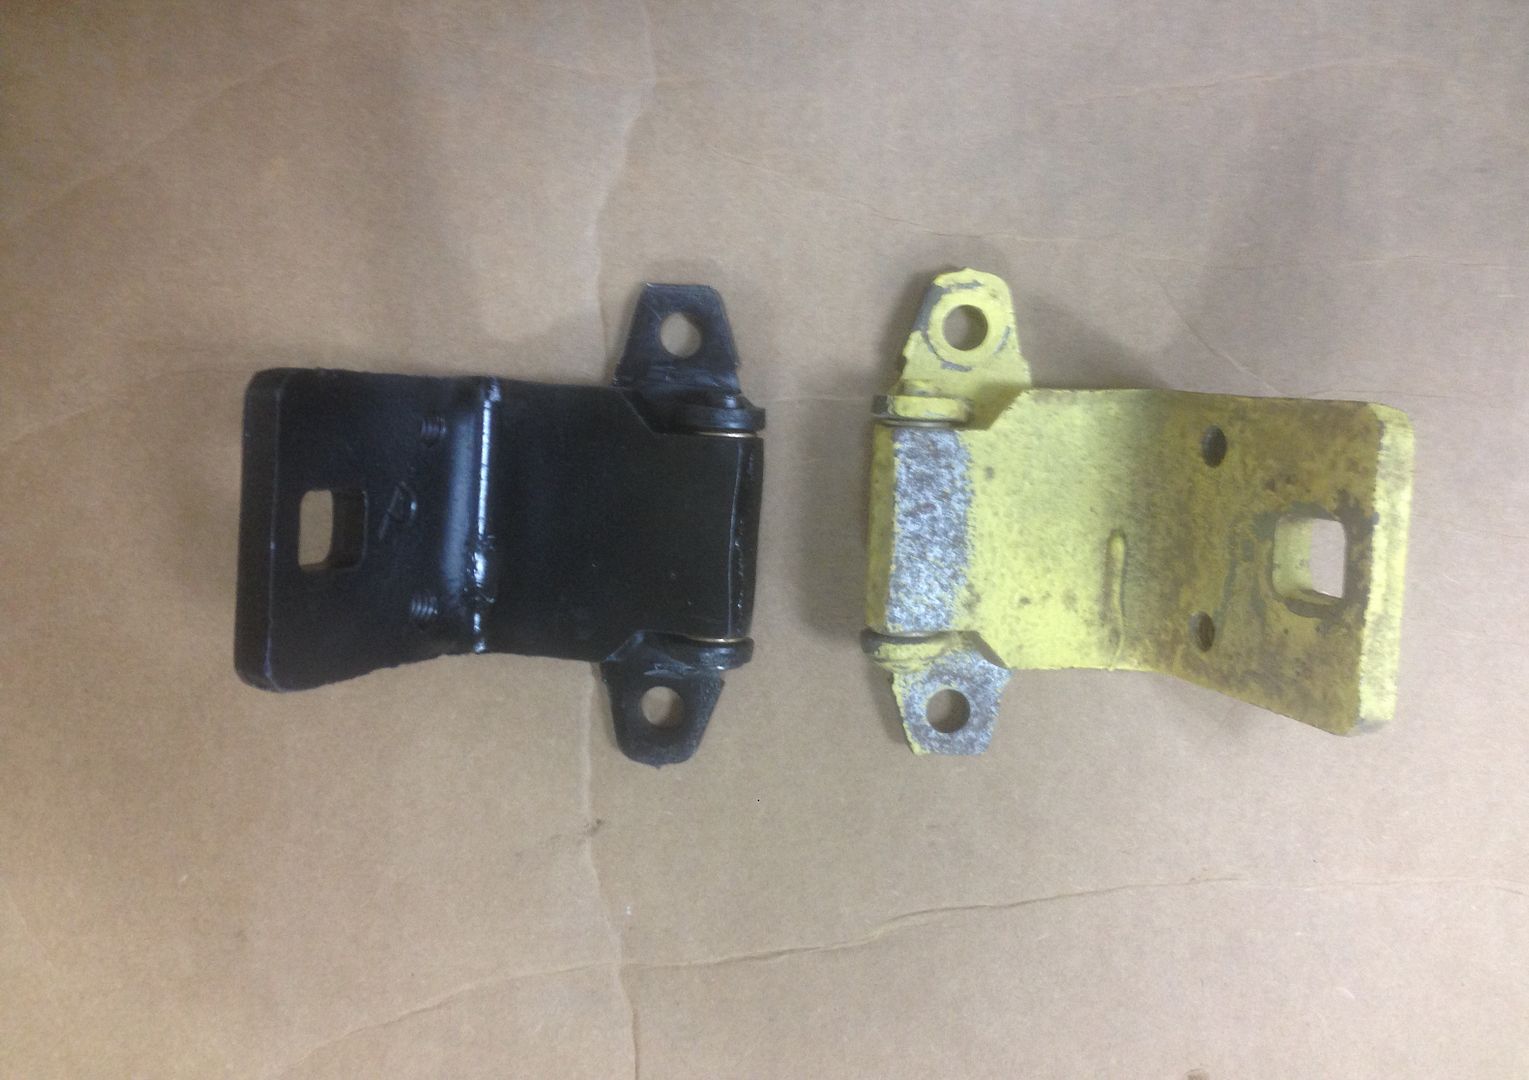
I have both upper hinges done so now I can do the lowers. I'll try to get some better photos during the process and post them up here.
 
Thanks guys. These were absolutely simple to do and the instructions come with step by step directions and are accompanied by excellent photos as well. I'm hoping the lowers are just as easy. I'll post up later this week as I get them done.
 
You will find that the lowers will turn out just as nice! Resto ricks hinge kits are top notch
 
Looks nice. Good job. Now where would someone go to get a resto rick's hinge rebuild kit?
 
I installed his rebuild kit in my 67 GTX doors a couple months ago and it worked great. Doors are now nice and tight with no play. Recommend getting the reamer from him for the oversize pins in the lower hinges as it worked perfectly.
 
On to the lowers..... I examined the lowers carefully for cracks per the instructions. While doing so, I noticed some very subtle differences between them leading me to believe they're not a "matched" pair. This car was hit in the right front at the gap between the fender and door so I'm assuming they replaced one set at that time. The one pair didn't have the 'wavy' tension washers nor is there room for them so I'm assuming this hinge was a "monday" hinge and someone forgot to put them on when they built the hinge.
46A20997-BB63-4759-8DA1-D53A02792CF4_zpsxuawhgk3.jpg

The first step is to remove the hinge spring. This is easily done by inserting the curved end of the spring in the vice but don't really clamp on it, just enough to hold it. Then, using an adjustable wrench on the top right corner of the hinge, pull toward you slightly and hammer down on the spring enough to push the end past the stop and let off the wrench. The spring will then be free to come off. Having three hands for this helps.
636F97DD-E25D-4B09-BC7F-8E64BCCF44CC_zpswa8qfztj.jpg

Next up is to drive out the hinge pins. I did this in the vise with my drift punch.
528FCC25-0A03-4679-9896-B222CFFEDDF8_zps9opthsyy.jpg

I kept the parts together and in the correct orientation as shown here. You can see some slight differences in the hinge bodies and even in the springs.
6025CE54-9552-4BDA-BA10-95DF23570118_zpsz6snjkdi.jpg

After getting them both apart, it was time to ream the holes for the oversize pins. They get reamed to .406 or 13/32". I had an old reamer but decided to buy the one from Rick as well. I'm glad I did. You'll see why in a second. Here are my two reamers. Note the differences in the shaft sizes.
8D831D1A-2C1E-472F-972D-A2281C1883EF_zpslvclv0sy.jpg

My old reamer had a shaft size of roughly .385". The new reamer had a much smaller shaft. This was a huge plus. Since I didn't have access to a drill press, I had to improvise. For the first hole on each hinge body, I snaked the new reamer in as shown. This allowed the upper hole to serve as a locating pilot so that the lower hole gets reamed as straight as possible given the circumstances.
282127CC-FD5C-4524-ABCE-2BF26A103593_zps3yxumanu.jpg
I chucked on the drill and let 'er eat. Use plenty of tap magic or oil or lube of your choice on the reamer.
63718A71-EBE0-4210-8424-D2C0438D886A_zpsfnhukx5q.jpg


- - - Updated - - -

I then turned the hinge body over, and clamped it back in the vise. For the second hole in each body, I used the larger shank reamer as it better centered in the now reamed upper hole. This made for a very straight set of reamed holes for being done with a hand drill.
062208CD-03B5-4C5A-BFA6-449CFE27597E_zpshnha04bf.jpg

Same process on the other half of the hinge.
C7A07243-31E8-4DB3-8CEA-392373C6EC41_zpsrgiyvgnd.jpg

61075DF2-D0B7-4E40-B200-C44EEBABAC9D_zpsieirrhqm.jpg

A64B4E7C-D282-4C97-831B-D9EFEFD1ECD2_zpsf5er7heo.jpg

C1D0E38C-58DF-4FFC-8BD6-D6AA9B6B4BEB_zpsroizbfbr.jpg

Then, I flipped it over and used the large shaft reamer. (not shown)
So, here are the disassembled and reamed hinge parts along with the new springs and pins. I didn't get any wavy washers as I didn't think I'd need them. I probably won't add them as this is going to be a drag car rather than a resto.
Note the cut ear plugs shoved in the reamed holes. I'll use these when I prime the parts to keep paint out of the holes.
FA706639-2D8A-42F0-97B2-D3F743CF4B3C_zpsvxbkprov.jpg

I had enough time to blast one hinge tonight so here it is, all ready to go back together. I'll prime the pieces with black primer and then assemble them tomorrow.
C00FCB06-F0EE-4FAE-A1C6-4AACE75080D2_zpslbphwgtn.jpg
 
Book marked that site, it has a ton of stuff for '67's that I don't see elsewhere. Thanks!
 
Here are the finished hinges. Assembly of the lower hinges was just the reverse of disassembly. Very easy DIY project. If these were for a restoration I think I would've taken the time to fill the pitting from rust, but for my use, I think they'll do just fine.
A3747552-47AA-4EB7-86C6-4D16968CF06F_zpso2toso82.jpg
 
Here is what it gets when done completely. These parts are not sold.

20200813_143131_copy-1.jpg


20200814_171720.jpg


20200813_143149.jpg


20200815_131613.jpg


20200815_143646.jpg


20200627_200742.jpg


A B LEFT SIDE HINGE.jpg


20200627_201044.jpg
 

Attachments

  • 2023 MEMBER HINGE PRICE LIST.pdf
    61.3 KB · Views: 25
  • DOOR-HINGE-REBUILD-PROCEDURE 2022.pdf
    152.9 KB · Views: 29
Being an old thread, I heard some rebuilding and installing grease fittings. Anybody else heard of those?
 
Auto Transport Service
Back
Top