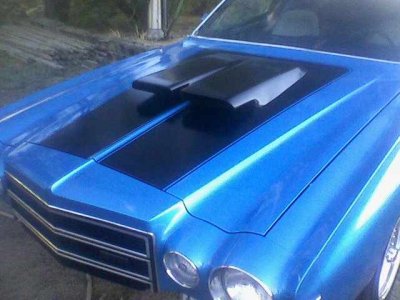
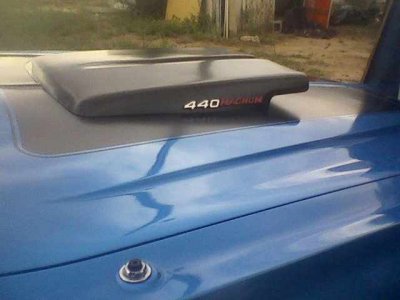
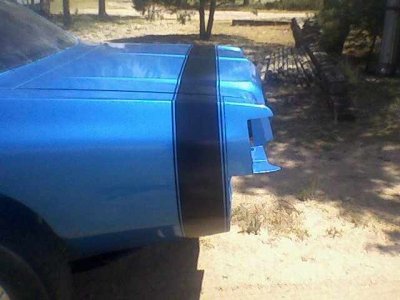
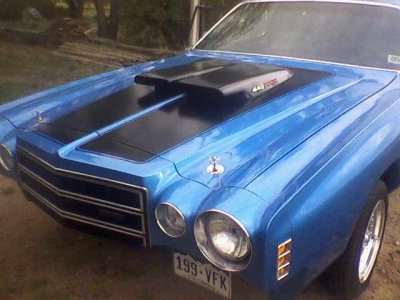
i used rustoleum semi-gloss black and 1/4 inch black pinstriping from auto zone. first i layed out a general position of where i wanted my black using a cheap masking tape so that it will not stick to the paint.then i would mark my final out line, measuring from any outside edge in,making sure that each side is perfectly even. using those references, i used the green perfect fine edge tape from walmart, (nobody knock it ,it is good stuff lol) i would fold the end over the nearest edge to "lock it in place" then i would roll it out enough to go the distance of my straight line edge and slowly apply pressure and using my reference marks. do your longest , straightest edges first. then for the corners, i layed out enough tape to complete each corner ,then using various lids or any thing round and flexible to determine how much curve i wanted ,and also using it as a guide, i cut out the corners with a brand new razor blade. then using my finger nail ,went around every edge making sure the tape was completely stuck.very time consuming but well worth the effort.backmask everything, and one real light coat of black and then come back at it with a real good coat.temperature is everything with pinstripe, the warmer,the better,65+ degrees. because i was using 1/4 inch, i was able to eyeball the width of the tape as my spacing from the black solid areas.the trick is as your are going into the corners, you have to stretch the tape as you are rounding the corner,and you have to stick that stuff good as you are going.i would pull n stick about every 1/4 of an inch of travel. i was very happy with the results. i have not done a lot of it but i can do it. i hope this helps. try it few times on a practice panel ,its not terribly hard to get a straight line.people try to do a 4 foot long section , a foot at a time, when they should be doing the whole thing in one shot. i used reference points for curved area behind the scoop.