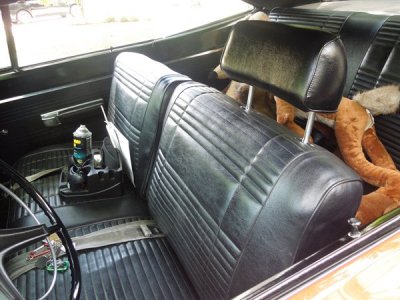
Having answered my own question yesterday on the headrest installation on buckets it goes like this from what I have gathered.
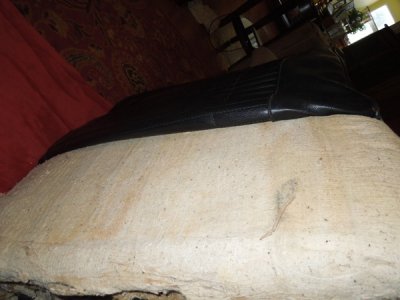
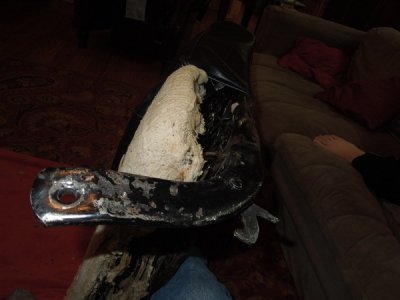
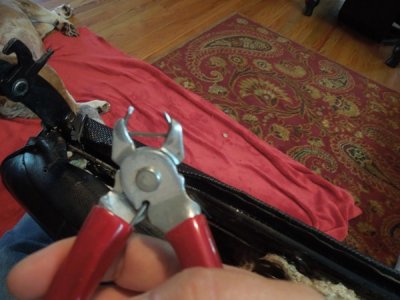
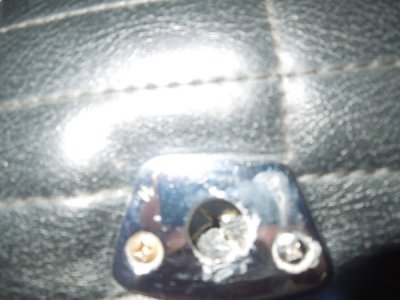
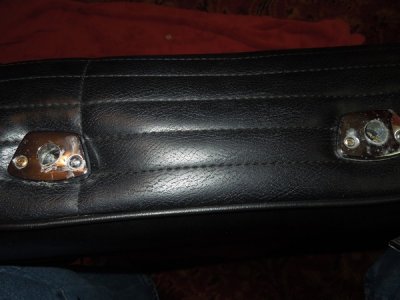
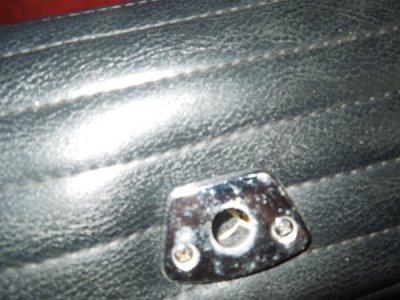
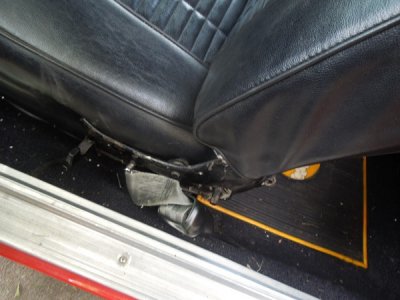
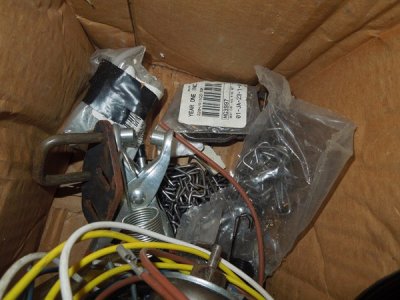
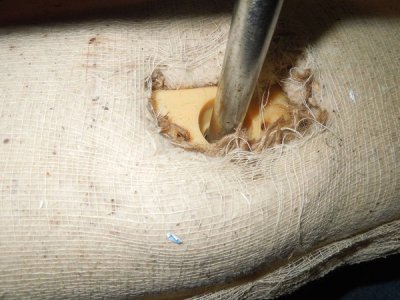
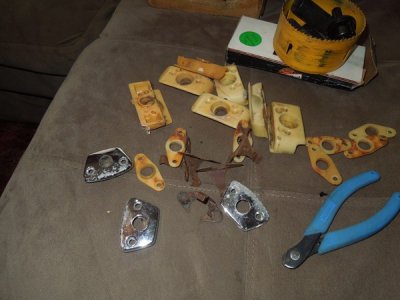
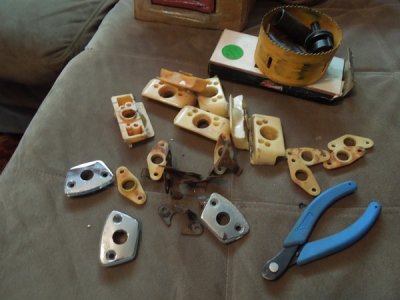
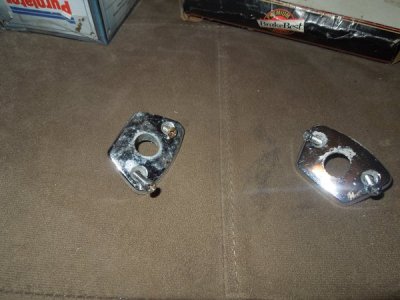
There are separate kits for bench and buckets as has been posted. The bucket kit has a single metal tab for tension on each of the posts. They screws into the frame( pre-drilled holes) on the back side of the frame, under the top rail w/ the open end black plastic sleeve.
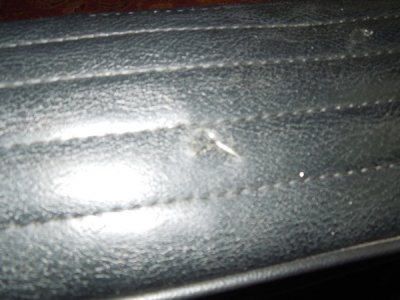
Sleeve fits up into a hole then the tab goes into the sleeve, align the holes and screw into the frame. The kit I purchased didn't have the holes in the black plastic drilled out, but most do as in the prev picture. So was the confusion.
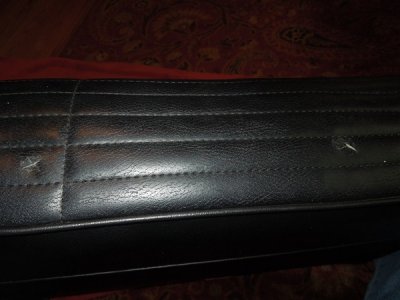
The other black part is a solid cup that fits into the lower rail holes and screws in, thus acting as a bottoming stop for the posts.
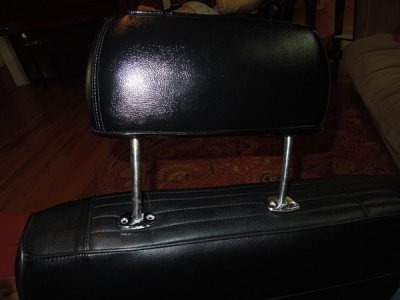
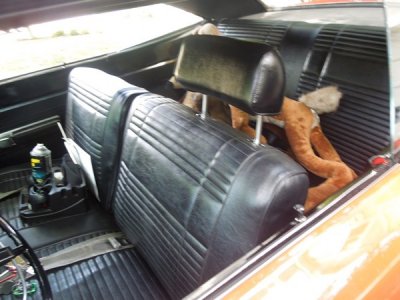
Headrest are different between the two w/ the bench headrest posts being two different lengths and cut flat on the back side. They also have slots cut in for different height adjustments.
Buckets have no slits cut in, are smooth and equal lengths so as to bottom out in the cups. However you can cut them down if need be and use bench headrests for buckets.
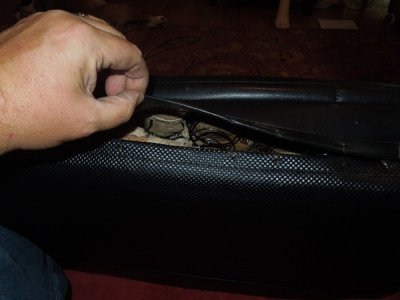
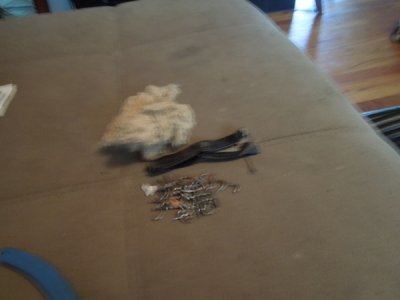
Tabs tension and catch on back side of post on bench seats, on the front side on buckets. Have some pics but they're on 35 mm. I will try to post soon after roll is up and developed.
Yep still using the film. Best camera I've ever owned by far.


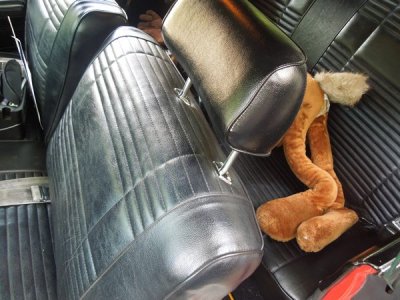
 zzie and the spide