LSS&B
Well-Known Member
First off, despite the directions in the factory shop manual, you do not have to remove the glovebox hinges or door to install this glovebox liner
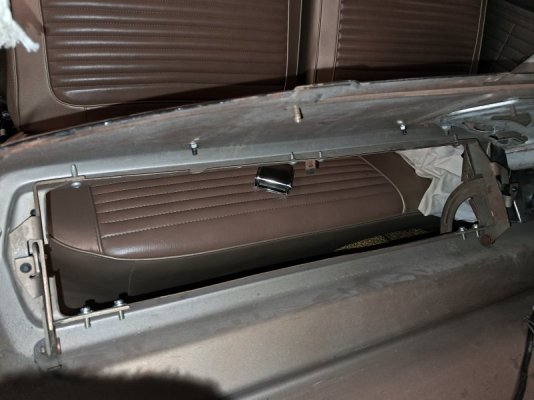
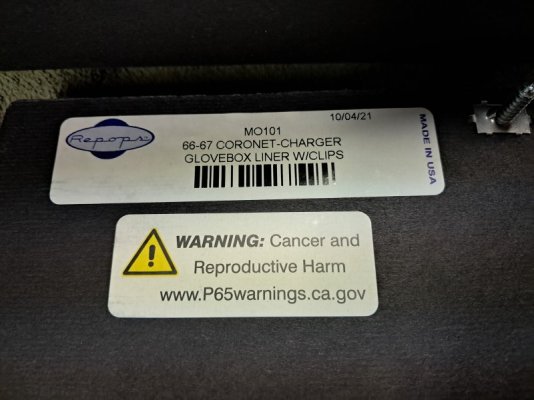
Glovebox kit came in two parts, upper and lower, with five screws and no directions. I used 4 screws that were spares from my screw box to assemble the upper and lower halves of the glovebox liner on the bench.
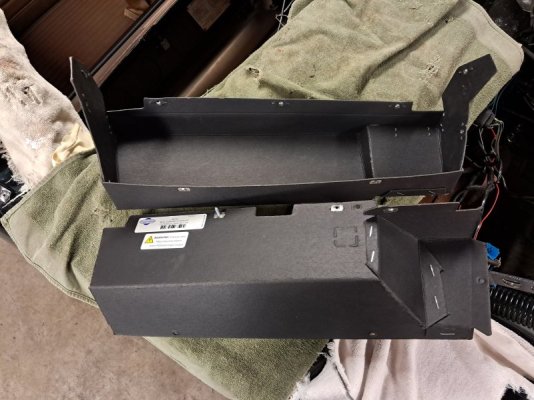
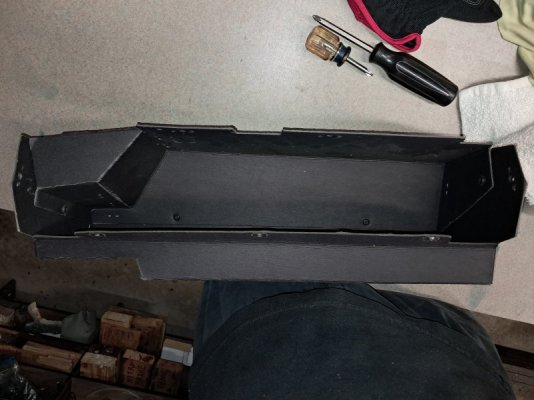
I had taken the dash shell loose from the windshield frame mounts to install a Dash pad.
I installed the glovebox liner from the firewall side of the dash shell. You might be able to leave it in 2 pieces, insert them through the glovebox door opening in the dash shell, and assemble them behind the dash shell.
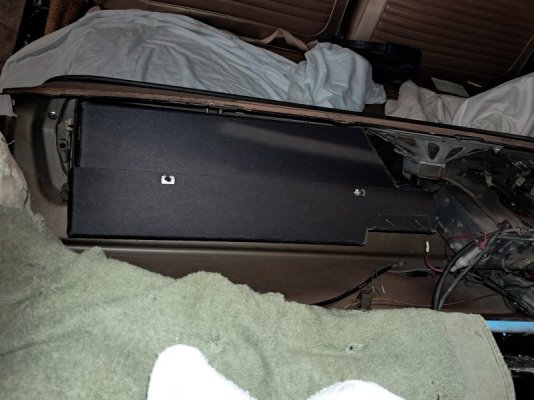
Glovebox liner install: seven screws total. I used the 4 of 5 screws that came with the kit, one on each side and two at the top. I used matching spare screws from my screw box for the three lower screws. I used a pair of scissors to trim the upper left corner of the glovebox liner so it would fit. Other than that I didn’t do any trim work.
Install the two side screws first. Then the three lower screws. Then the two upper screws. It helped to have an awl to line up the glovebox liner screw holes/metal clips with the holes in the mounting flange behind the glovebox door. The liner installs outside the flange on all 4 sides. On the vertical sides, it installs to the inside of the hinges. It helped to be able to use a large screwdriver to press down the upper mounting area of the glovebox liner so that I could get the screw holes lined up. My wife helped in this instance.
Upper screws
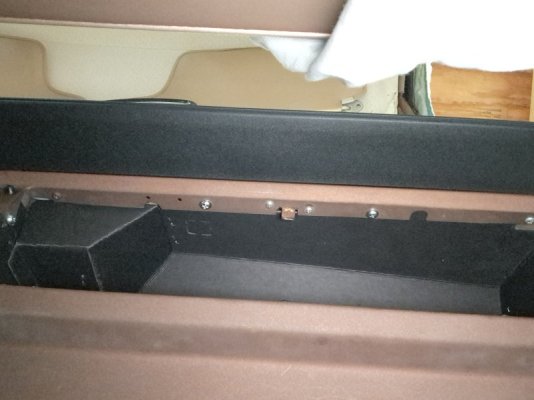
Lower (shiny screws to outside are for hinge mounts. 3 black screws install lower edge of liner)
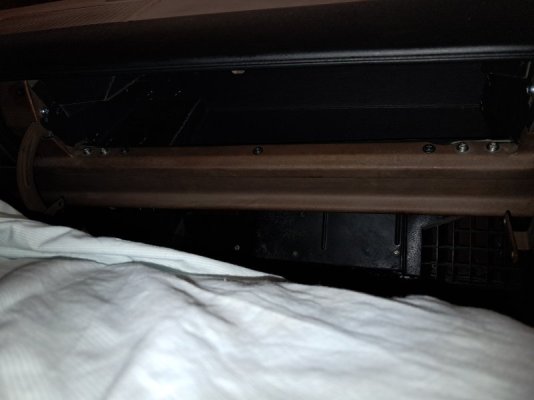
I can say that the glovebox liner fit, although installing it was not easy.
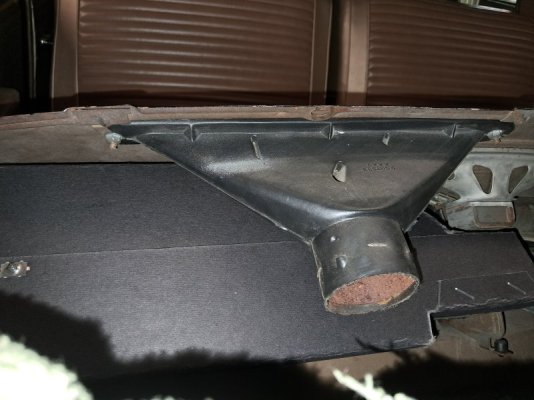
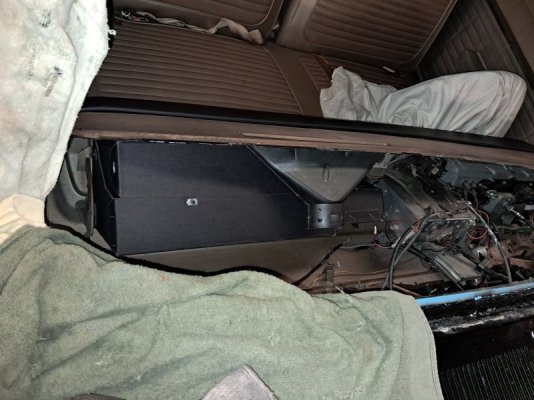
If I was to do another 66 Coronet dash, I would buy this glovebox liner again. As I understand it from reading other threads, the 67 Coronet glovebox door is the same, so I would guess that install is the same for 1967 Coronet. Just by the looks, I think this liner would also install the same in 1966 through 1967 Plymouth satellite.
It's $19.99 at Jegs. Link below. Hope this helps somebody!
https://www.jegs.com/i/Repops/629/MO101/10002/-1

Glovebox kit came in two parts, upper and lower, with five screws and no directions. I used 4 screws that were spares from my screw box to assemble the upper and lower halves of the glovebox liner on the bench.


I had taken the dash shell loose from the windshield frame mounts to install a Dash pad.
I installed the glovebox liner from the firewall side of the dash shell. You might be able to leave it in 2 pieces, insert them through the glovebox door opening in the dash shell, and assemble them behind the dash shell.

Glovebox liner install: seven screws total. I used the 4 of 5 screws that came with the kit, one on each side and two at the top. I used matching spare screws from my screw box for the three lower screws. I used a pair of scissors to trim the upper left corner of the glovebox liner so it would fit. Other than that I didn’t do any trim work.
Install the two side screws first. Then the three lower screws. Then the two upper screws. It helped to have an awl to line up the glovebox liner screw holes/metal clips with the holes in the mounting flange behind the glovebox door. The liner installs outside the flange on all 4 sides. On the vertical sides, it installs to the inside of the hinges. It helped to be able to use a large screwdriver to press down the upper mounting area of the glovebox liner so that I could get the screw holes lined up. My wife helped in this instance.
Upper screws

Lower (shiny screws to outside are for hinge mounts. 3 black screws install lower edge of liner)

I can say that the glovebox liner fit, although installing it was not easy.


If I was to do another 66 Coronet dash, I would buy this glovebox liner again. As I understand it from reading other threads, the 67 Coronet glovebox door is the same, so I would guess that install is the same for 1967 Coronet. Just by the looks, I think this liner would also install the same in 1966 through 1967 Plymouth satellite.
It's $19.99 at Jegs. Link below. Hope this helps somebody!
https://www.jegs.com/i/Repops/629/MO101/10002/-1
Last edited:


