
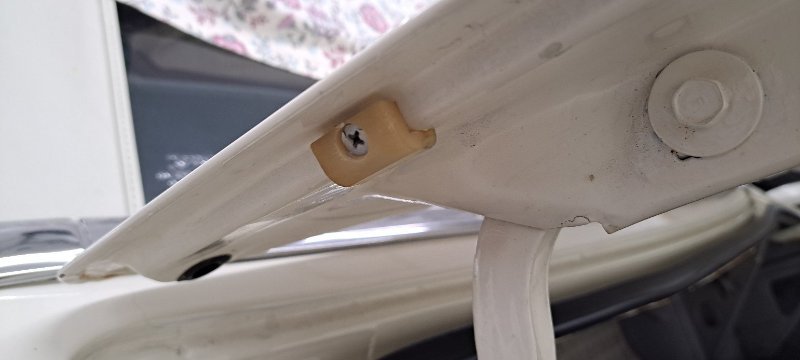


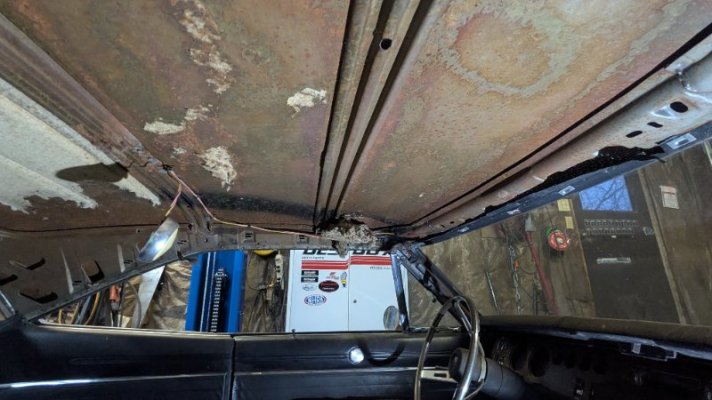
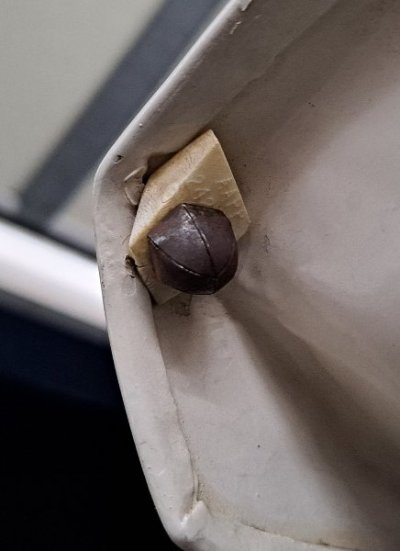
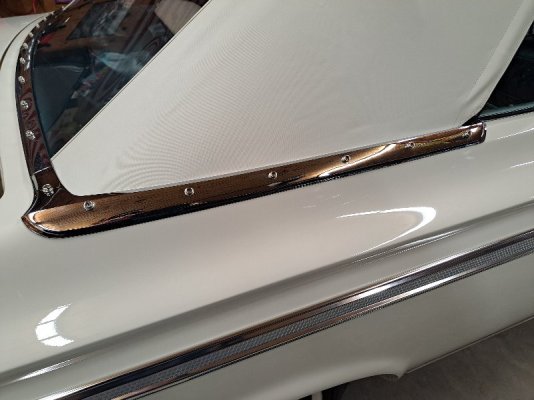
those clips will pull out bu I would recommend leaving them alone. They are kinda a one time use deal. If you end up with one or several clips that won’t stay in you can drill a 1/8 hole and put a aluminum pop rivet in them and no one will ever notice with all the trim and windshield in
You are using an out of date browser. It may not display this or other websites correctly.
You should upgrade or use an alternative browser.
You should upgrade or use an alternative browser.
Latest updates
Filters
Show only:
Loading…
.
Attachments
-
 20240725_133816(1).jpg79.1 KB · Views: 1
 -
 20241011_174601.jpg123 KB · Views: 1
 -
 20230802_210126.jpg34.3 KB · Views: 0
 -
 20241011_174850.jpg74.6 KB · Views: 0
 -
 20250104_155351.jpg93 KB · Views: 2
 -
 20241123_122149.jpg130.5 KB · Views: 3
 -
 20250108_124710.jpg60.1 KB · Views: 3
 -
 20240311_171143.jpg73.3 KB · Views: 1
 -
 20250110_165119.jpg78.2 KB · Views: 2
.
Attachments
.
Attachments
-
 1964 Plymouth Sport Fury-1304.jpg98.4 KB · Views: 13
 -
 1964 Plymouth Sport Fury-1319.jpg87.7 KB · Views: 9
 -
 1964 Plymouth Sport Fury-1436.jpg57.3 KB · Views: 11
 -
 1964 Plymouth Sport Fury-1415.jpg76.4 KB · Views: 6
 -
 1964 Plymouth Sport Fury-1427.jpg72.3 KB · Views: 7
 -
 1964 Plymouth Sport Fury-1524.jpg62.3 KB · Views: 6
 -
 1964 Plymouth Sport Fury-1579.jpg119.9 KB · Views: 7
 -
 1964 Plymouth Sport Fury-1365.jpg120.7 KB · Views: 6
 -
 1964 Plymouth Sport Fury-1381.jpg110.9 KB · Views: 6
 -
 1964 Plymouth Sport Fury-1384.jpg98.2 KB · Views: 6
 -
 1964 Plymouth Sport Fury-1396.jpg56.5 KB · Views: 6
 -
 1964 Plymouth Sport Fury-1401.jpg82.5 KB · Views: 6
 -
 1964 Plymouth Sport Fury-1398.jpg63.3 KB · Views: 8
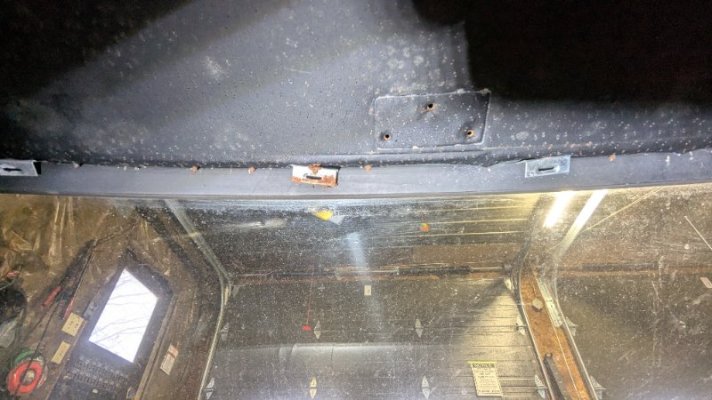
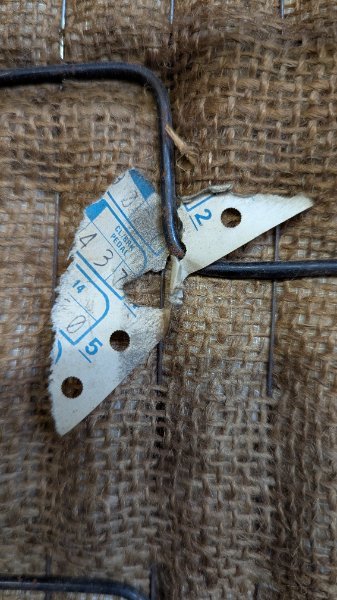
Made the trip to National Moparts in Orillia, Ontario to get a few things today. Picked up new carpet, headliner, headliner insulation, sill plates, sill plate extensions, seat bolts, rubber floor grommets, and some new front arm rests for the Charger. Got home and went to work pulling down the old headliner. Mice had shredded the insulation and made two large nests in the ceiling. After getting it all cleaned up, realized I'm going to have to research how to put in the new one, it was quite a process getting the old one down. Anyways, one small step closer. How do these front clips by the windshield come out? I ended up just cutting the headliner around them. Also, this is all the mice left me of my Broadcast paperwork...
Attachments
Last edited:
Eric Pearson
.
Attachments


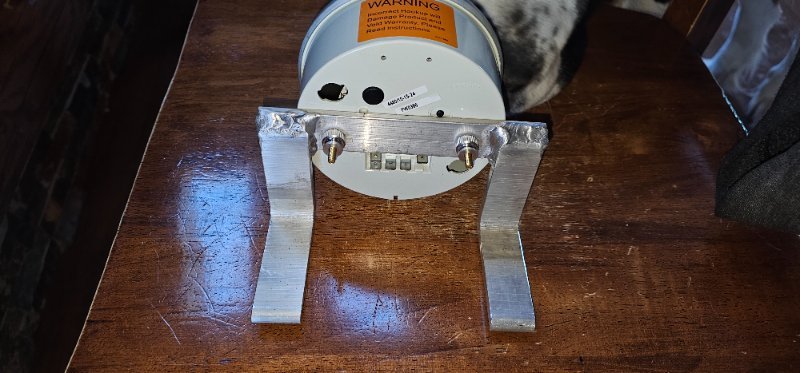
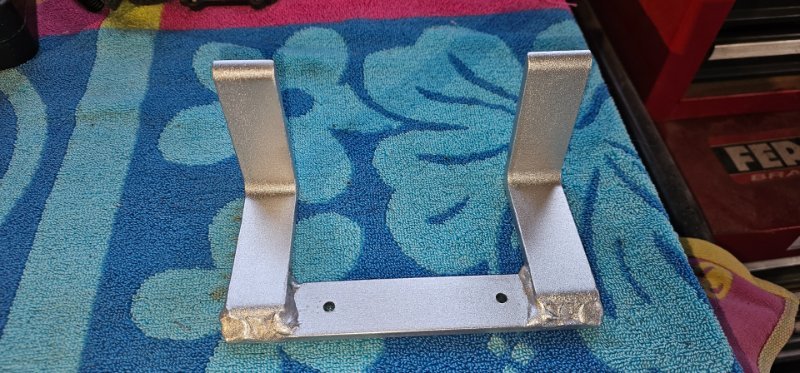
Installing a Autometer Pro comp Ultra light 200mph speedometer.Got the bracket made. Painted the bracket.
Attachments

Last edited:
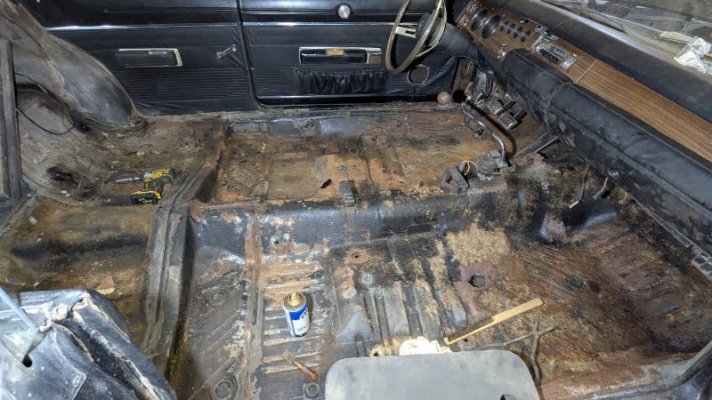
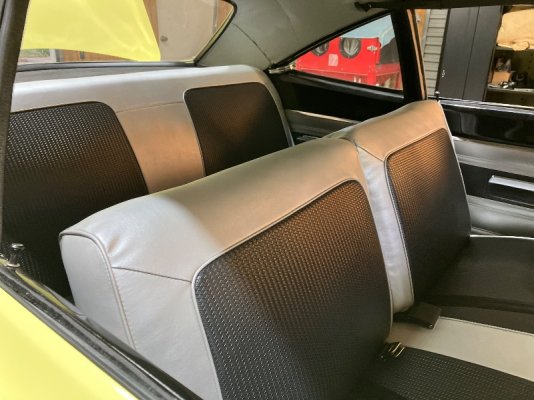
Got the seats, console, and carpet out to have a look at the floor. A few holes, but honestly better than I was expecting.
Attachments


B7 1969 R/T SE
Aftermarket stick on side moldings. They were never offered on 1968-70 Chargers.
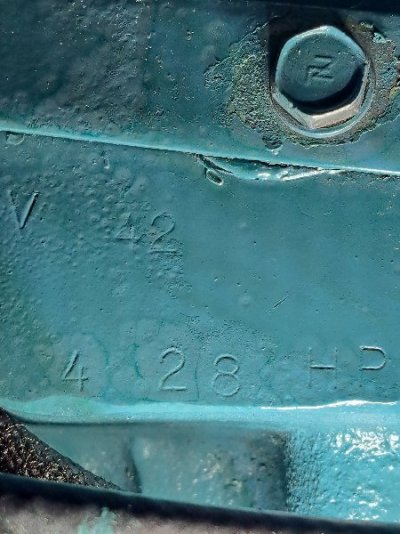
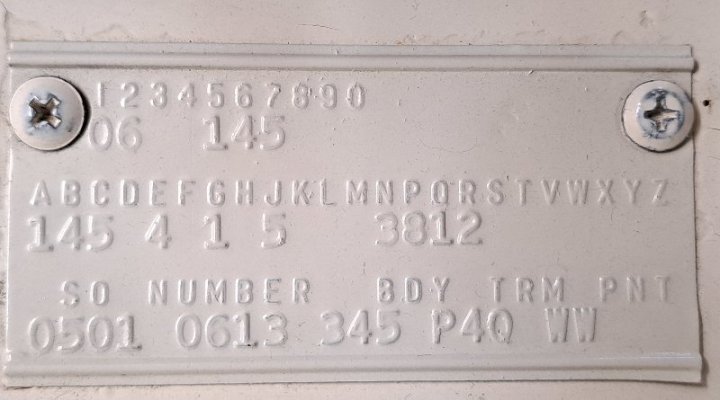
Here is a breakdown of the Fender Tag codes I researched online:
E86 440 cid 4 barrel V8 (High Performance) 375hp
D21 4 Speed Manual Transmission
XS29 1969 Charger R/T
L9B 440 1969 Hamtramck, Michigan plant
X9 Black Interior
V1X Black Alligator Vinyl Top
A01 Light Package (ash tray, glove box, map, trunk lights)
A33 Track Pak w/3.54 ratio
A47 Special Edition Package
C16 Console w/Woodgrain Panel
C55 Bucket Seats
L31 Hood/Fender Mounted Turn Signals
M21 Roof drip rail moldings
M31 Belt Moldings
R11 AM Radio (2 Watts)
V88 Stripe Delete
Canadian Car with Kilometers on the Speedometer, Dad was second owner, His cousin bought the car brand new.
Wiley88
Also it appears at some point there was a moulding running down the length of the side of the car, was this a factory option? Ive never seen another Charger with this. Posted a pic where you can see the old glue lines.
Last edited:
496 polara
Pretty stout nonetheless. Best of luck with the new monster.
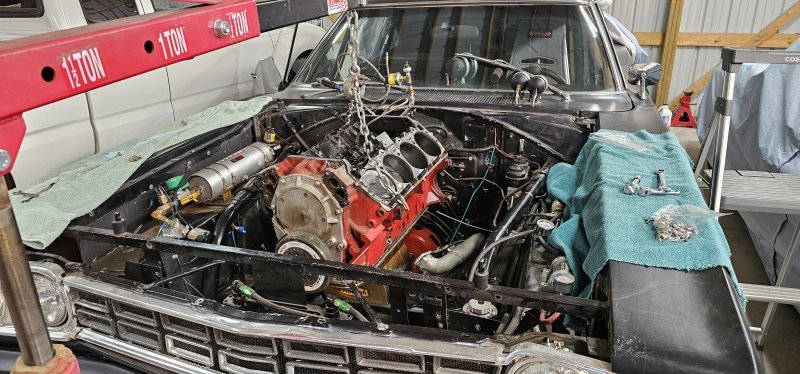
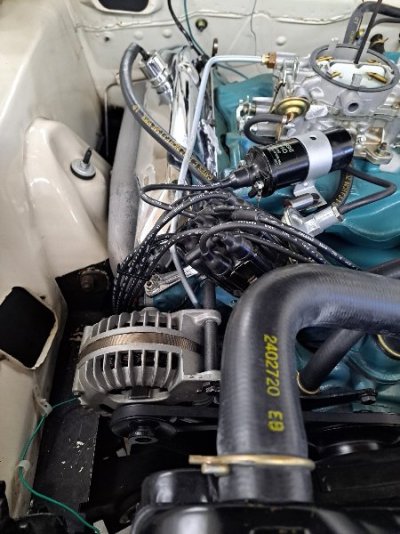
After chasing my tail, refusing to acknowledge that a street EFI engine will be happier with the LSA recommended....112-114. so out with the purple shaft. I reached out to Howards cams and we came up with a cam profile that will get the job done. Finished up installing the new bump stick Saturday, went thru all the necessary precautions with the break-in, 2000 rpm for 20 min. varying the RPM a hundred or so throughout the run. No issues, engine has lost a little of the rumpity rump out the pipes at idle but it has a more refined tone.... kinda like the new stuff.
Numbers are the bomb... vacuum at 800 rpm was 21 InHg, more than adequate for the dual diaphragm booster.... Throttle response is super, no lag or hesitation. So now I've gotta get back in and re-install the power booster and MC. I hate making more work for myself by being stubborn. So, the moral of the story.. if your going to go all in with EFI make sure your bump stick is right for the application. it'll save you a shitload of time and aggravation.
Last edited:
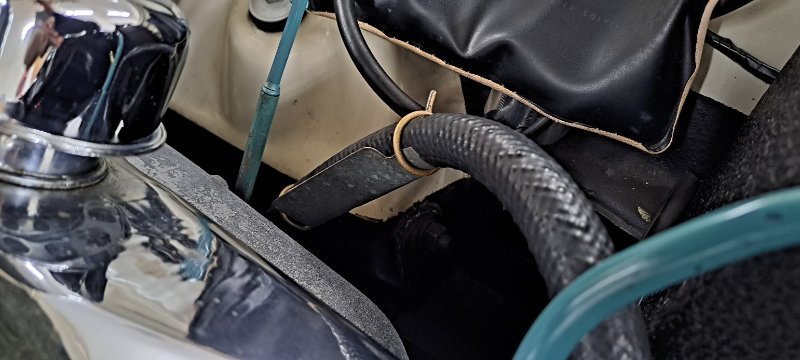
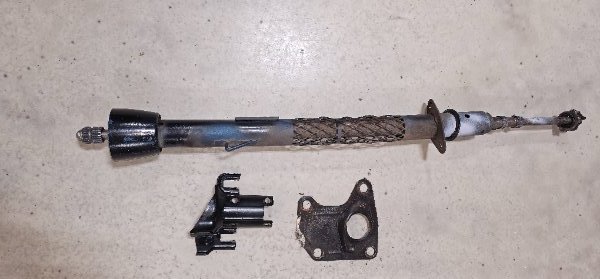
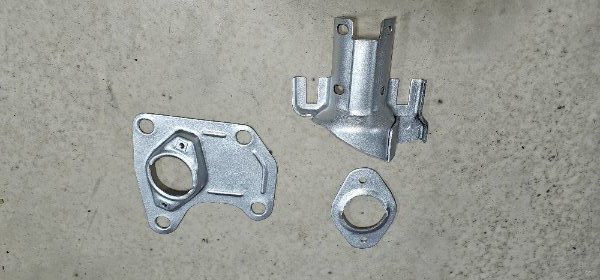
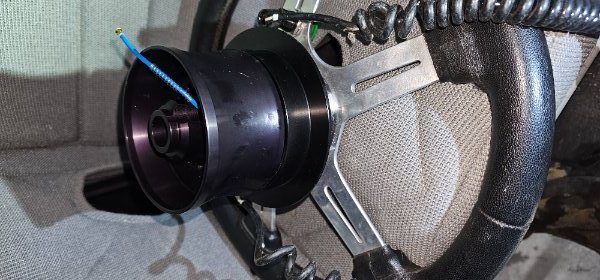
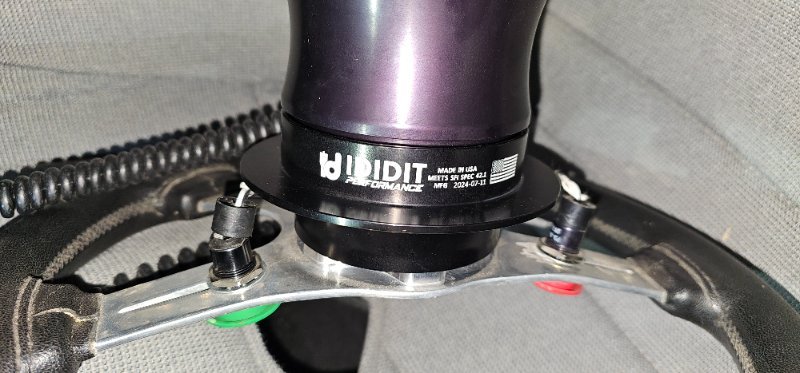
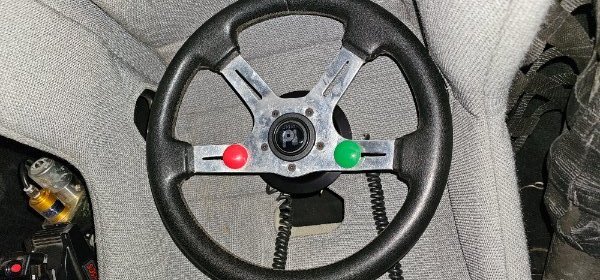
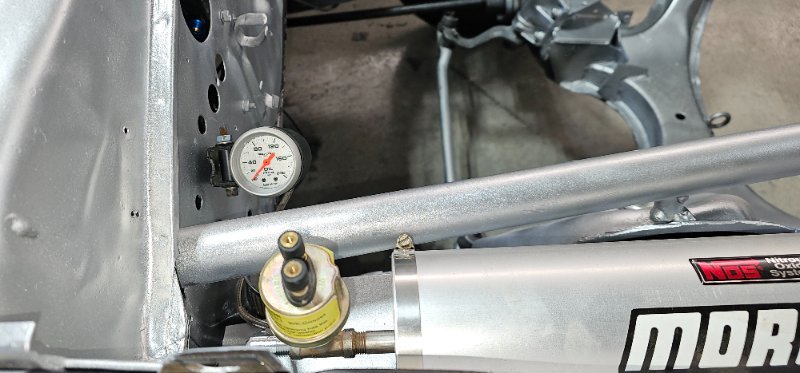
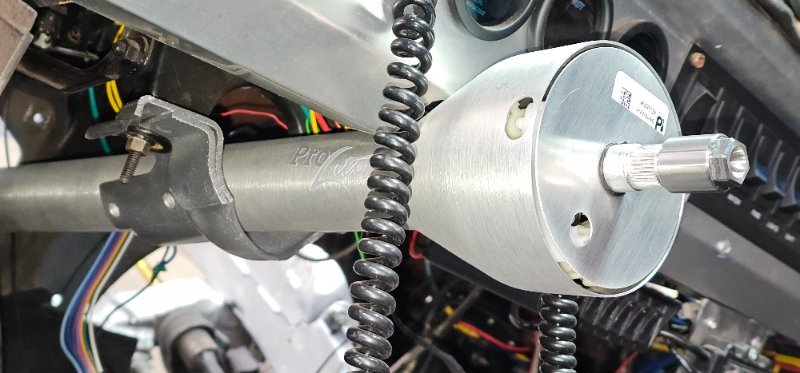
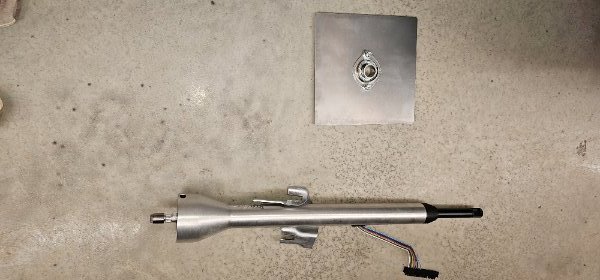
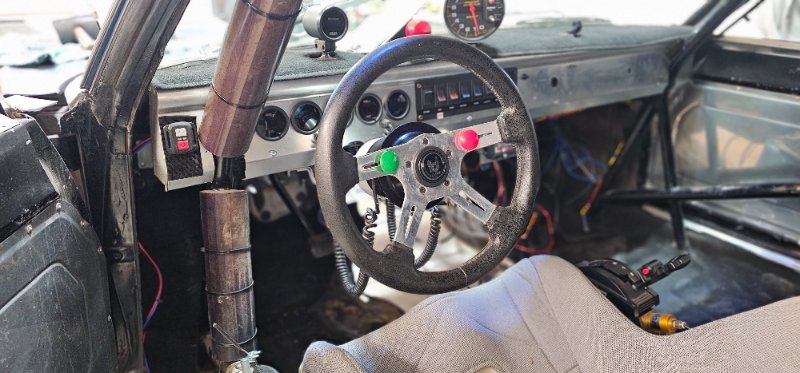
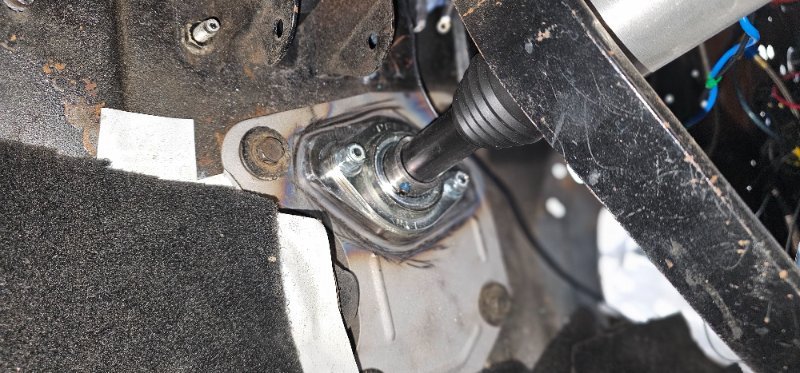
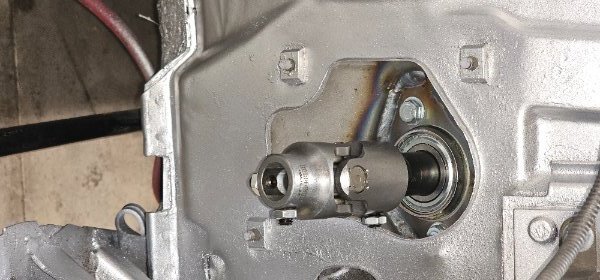
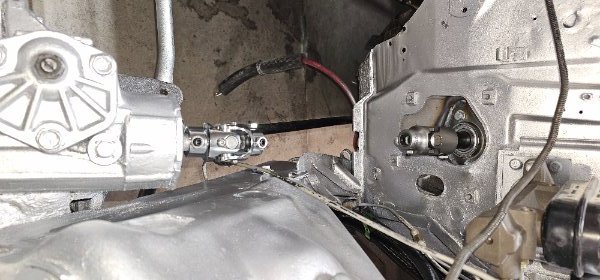
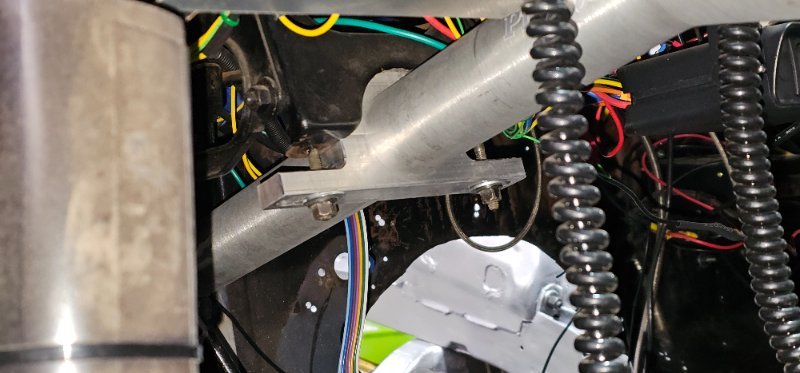
Installing a i did it pro lite steering column with DD shaft with universal joints at both ends. Quick disconnect steering hub and horn button.
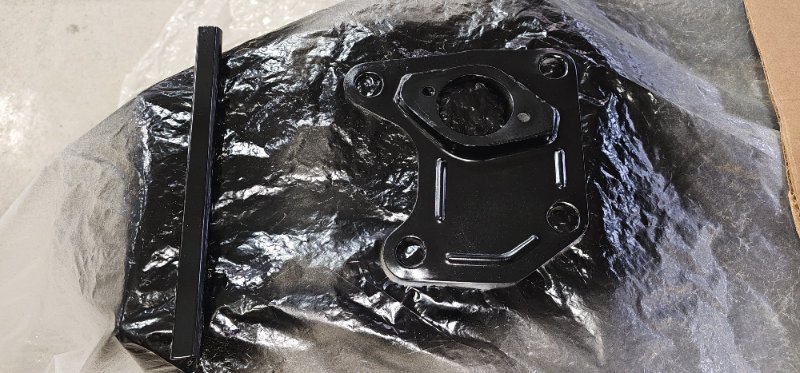
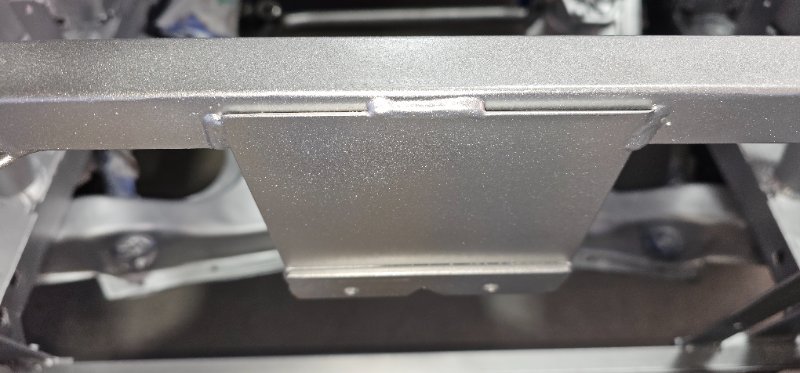
Painted steering column brackets. .Got a new oil pressure gauge installed.Also the new steering column getting installed soon.Steering column lower bracket made. welded new bearing onto factory bracket.. Working on upper bracket now.Upper steering column bracket installed.Painted bracket , steering rod and ujoint.Install finished.
Attachments
-
 20251113_075457.jpg33.1 KB · Views: 278
 -
 20251114_095309.jpg41.3 KB · Views: 276
 -
 20251117_135417.jpg53.1 KB · Views: 276
 -
 20251117_135447.jpg68.9 KB · Views: 275
 -
 20251117_142555.jpg69.8 KB · Views: 272
 -
 20251119_150121.jpg63.7 KB · Views: 193
 -
 20251119_150105.jpg63 KB · Views: 190
 -
 20251119_125612.jpg60.6 KB · Views: 196
 -
 20251119_125556.jpg64.8 KB · Views: 194
 -
 20251119_125535.jpg49.3 KB · Views: 117
 -
 20251119_124751.jpg36.7 KB · Views: 197
 -
 20251123_152339.jpg76.3 KB · Views: 199
 -
 20251123_151743.jpg94 KB · Views: 193
 -
 20251123_151632.jpg47.1 KB · Views: 192
 -
 20251123_151622.jpg48.6 KB · Views: 193
 -
 20251124_100602.jpg60.3 KB · Views: 188
 -
 20251127_113140.jpg93.5 KB · Views: 23
 -
 20251127_113131.jpg21.6 KB · Views: 26
 -
 20251128_105325.jpg44.3 KB · Views: 17
Last edited:
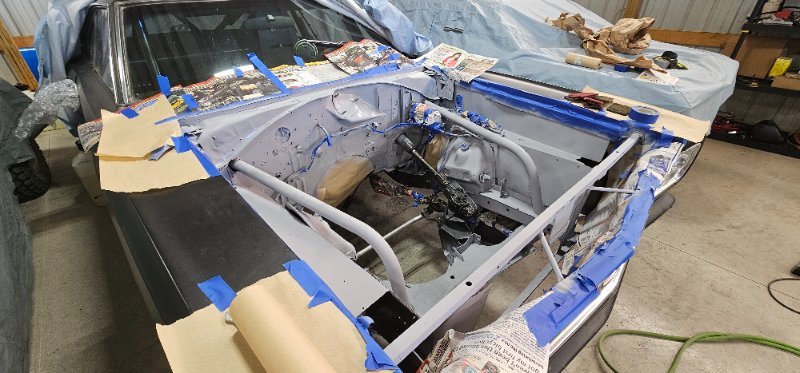
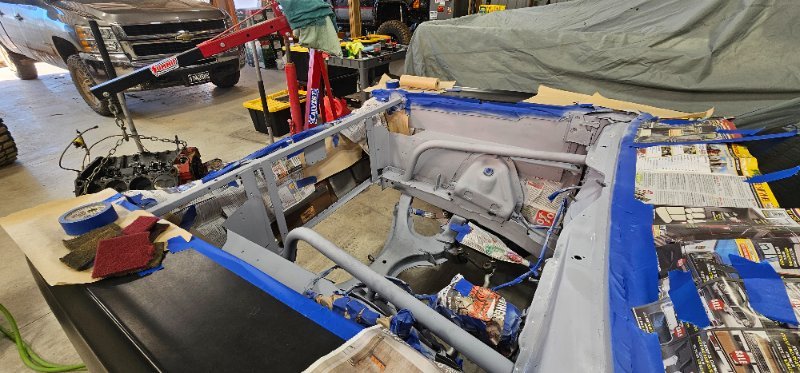
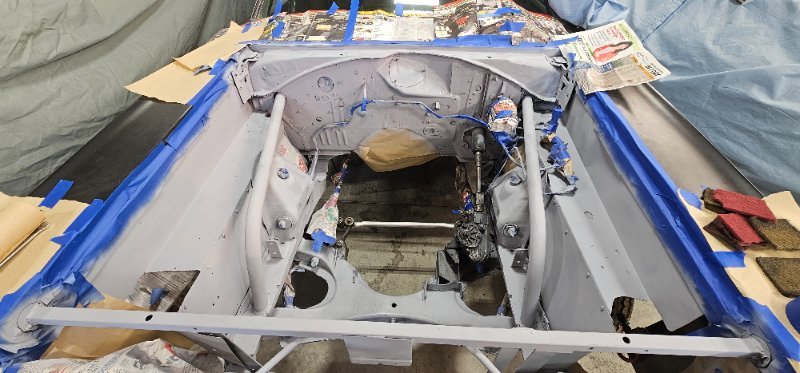
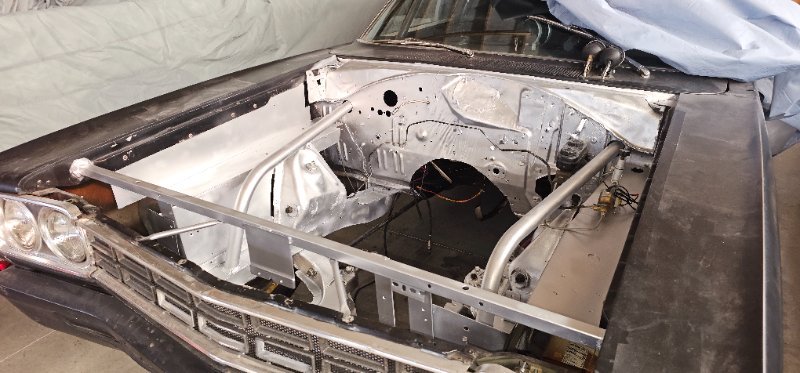
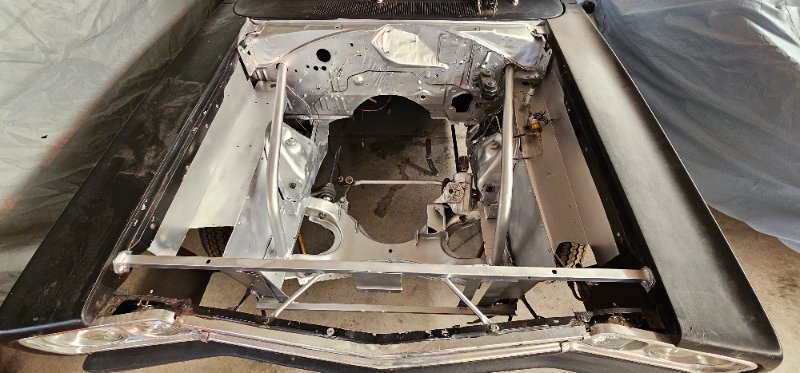
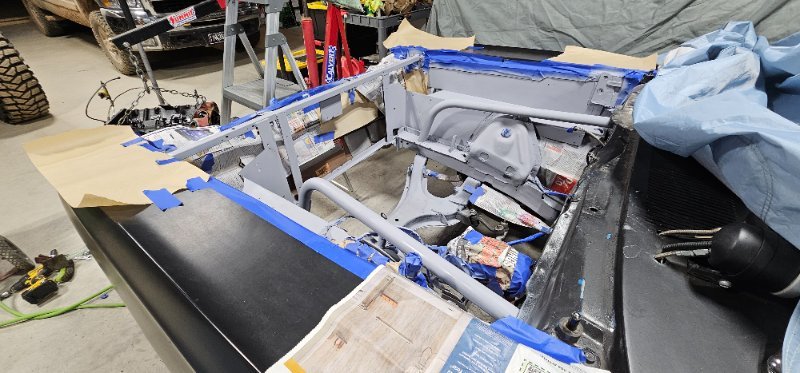
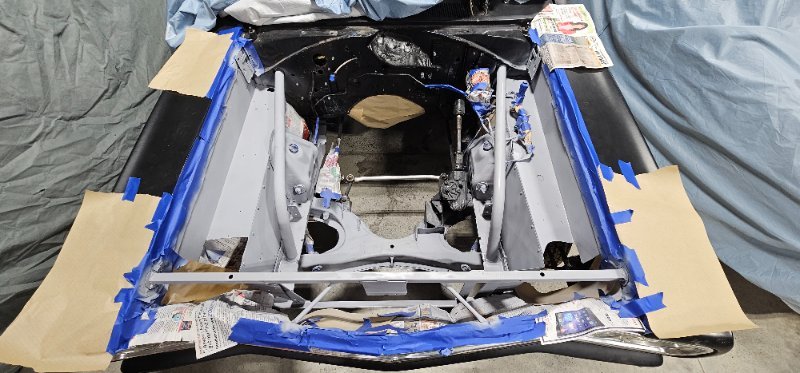
More sanding more primer then ready for paint.
Engine compartment painted..
Attachments
Last edited:

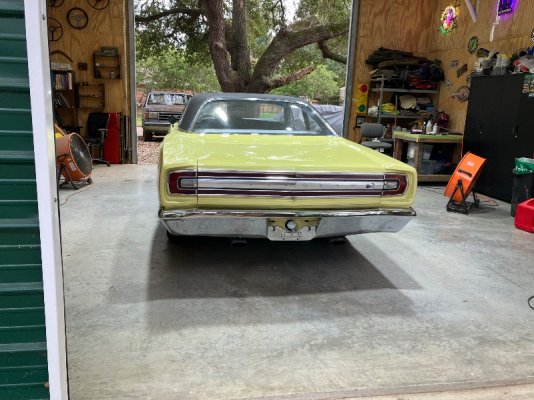
So the Bird is mostly finished, I’ve put about 45 miles on it since last week after getting the alignment, still tuning on the Fitech 6 pack but it’s going too make its first car show this Saturday . Heres some pics of the finished car! Thanks again for all the support!!!
Attachments
-
 IMG_4982.jpeg224 KB · Views: 110
 -
 IMG_5011.jpeg308 KB · Views: 29
 -
 IMG_5012.jpeg330.3 KB · Views: 22
 -
 IMG_5081.jpeg115.6 KB · Views: 30
 -
 IMG_4980.jpeg208.7 KB · Views: 104
 -
 IMG_4976.jpeg195.6 KB · Views: 110
 -
 IMG_5010.jpeg321.2 KB · Views: 25
 -
 IMG_4974.jpeg230.1 KB · Views: 106
 -
 IMG_4983.jpeg221.9 KB · Views: 28
 -
 IMG_4977.jpeg167.5 KB · Views: 108
 -
 IMG_4966.jpeg185.4 KB · Views: 110
 -
 IMG_4965.jpeg190.8 KB · Views: 107
Mrs. 69 Bird
Very nice job done on your Bird!!!!
Eric Pearson
Thank you
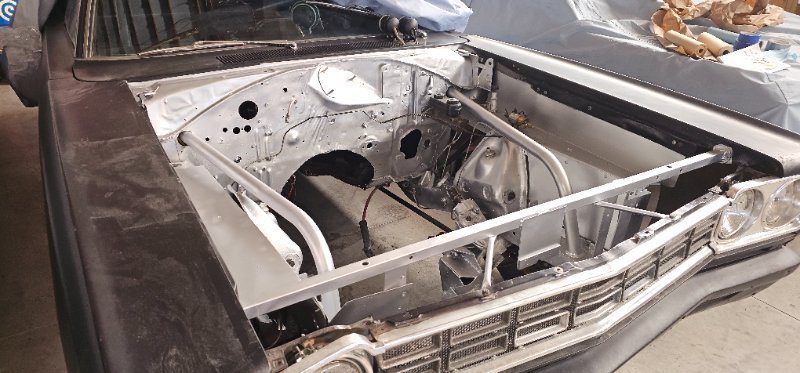
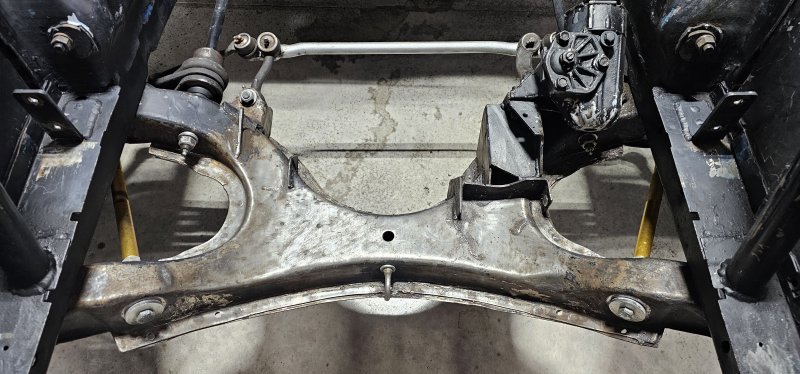
Scrapped alot of dirt and old paint off of the K member. Got some primer sprayed.


Attachments


Last edited:
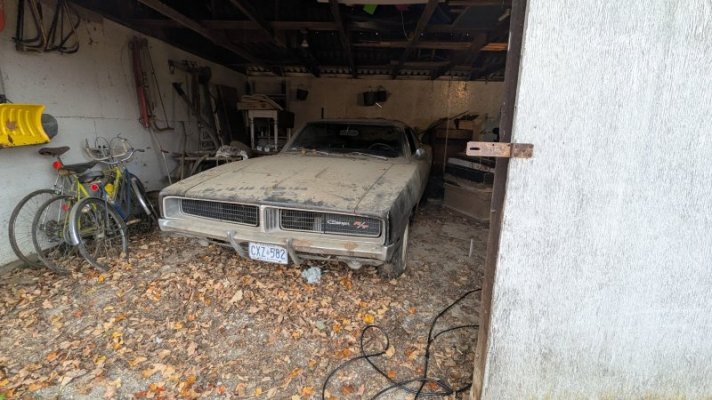
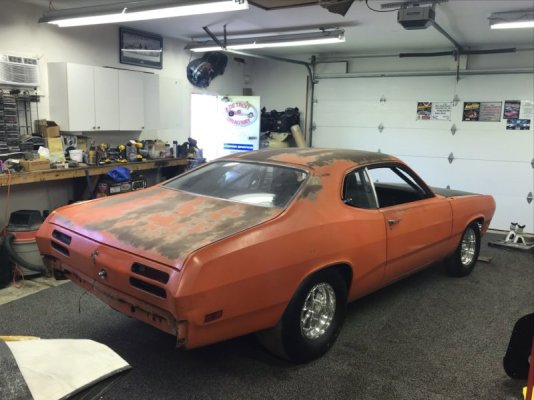
Freed her from her prison and brought her home to start work.