themechanic
Oklahoma is OK
- Local time
- 2:54 PM
- Joined
- Nov 11, 2012
- Messages
- 22,214
- Reaction score
- 28,771
- Location
- Moore, Oklahoma
Coronet Console Restoration
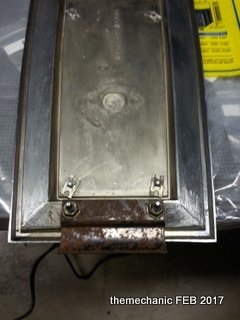
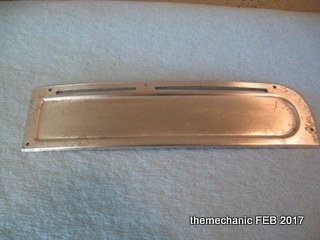
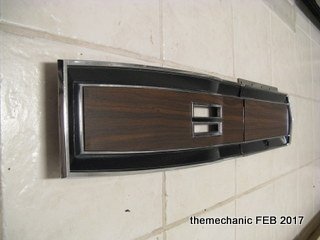
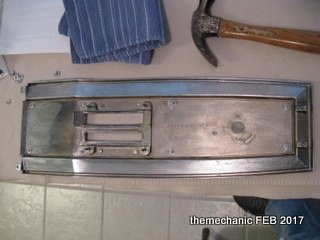
I have a 69 Coronet R/T with OEM console, lid and top plates. The chrome is slightly pitted but not bad enough to merit re-chroming and I could not afford it now anyway. The paint was scratched and faded and the woodgrain was starting to peel at the edges.
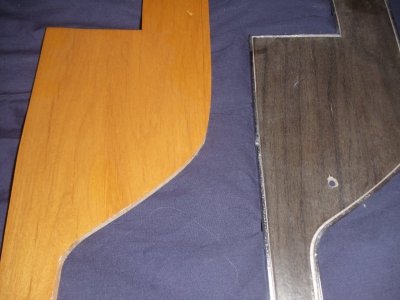
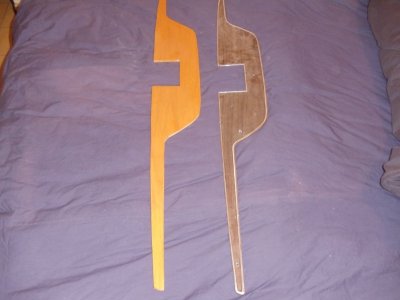
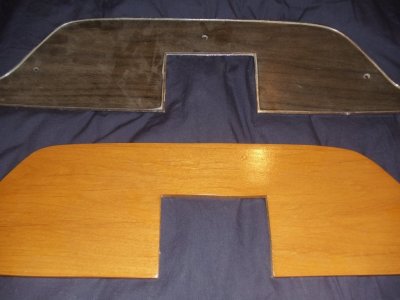
I initially bought the reproduction console lid and top plate kit from Classic Industries. The chrome was nice but I was highly disappointed in the fake woodgrain appearance. It looked like a color photo printed to a sticker. There was no texture as in the original decal and it did not match the woodgrain on the shift knob or the door panel trim. The parts were not made to take apart and refinish like the OEM parts. The kit was returned and I decided to restore what I had.
I ordered the woodgrain decals from Performance Car Graphics. These were textured and appeared more like real wood than the others mentioned above and matched the rest of the woodgrain in the car. The decals came with detailed instructions for removing old woodgrain, taking everything apart without breaking the fragile posts, stripping the old paint and repainting, and applying the new woodgrain decals.
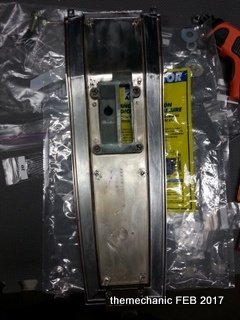
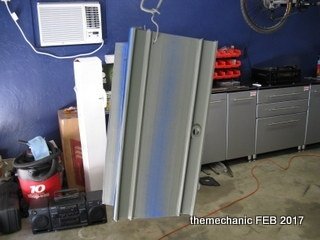
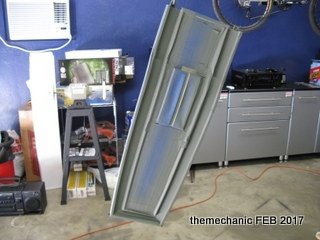
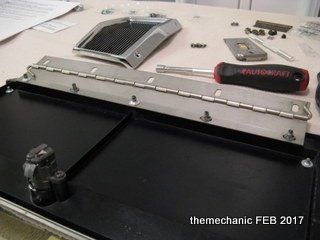
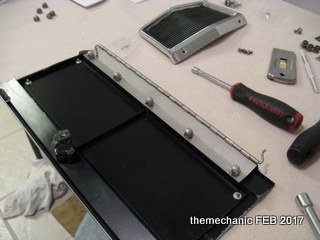
I disassembled the console and used SEM products to clean and refinish the plastic part. The SEM Color Coat can be used on the carpet as well as the plastic. I buffed the stainless trim and reinstalled. Looks like new.
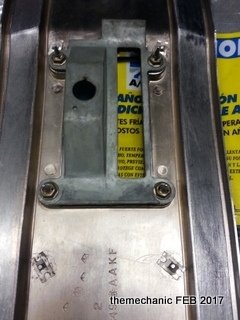
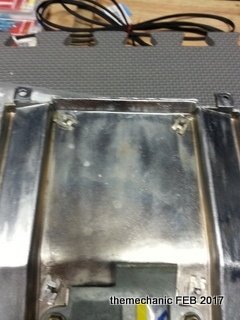
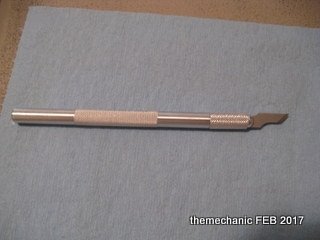
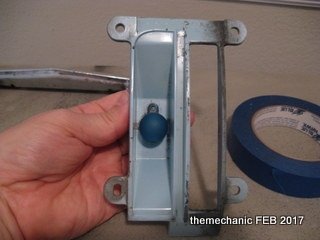
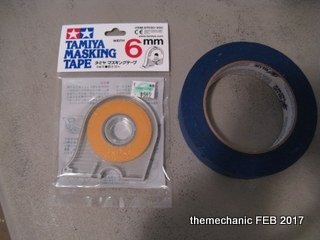
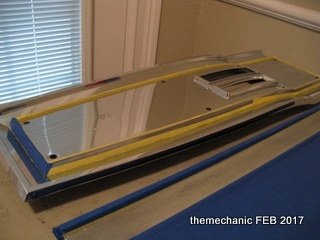
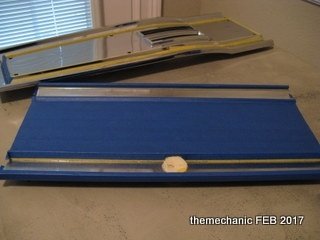
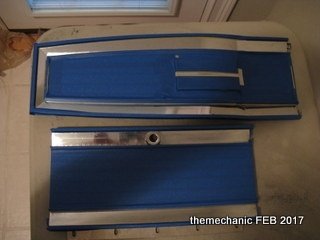
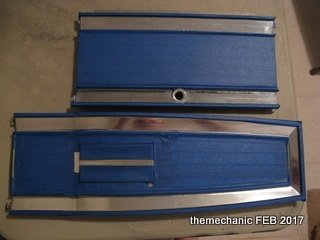
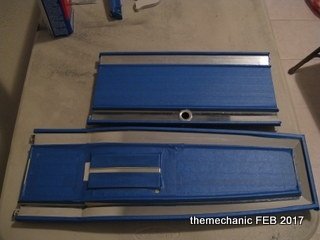
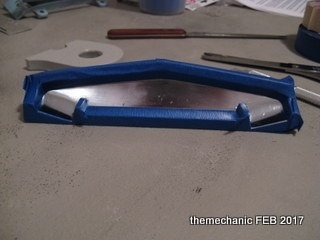
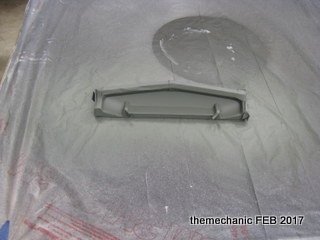
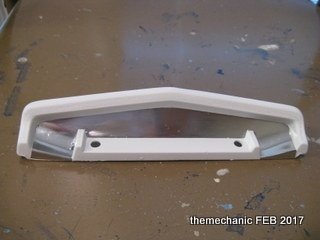
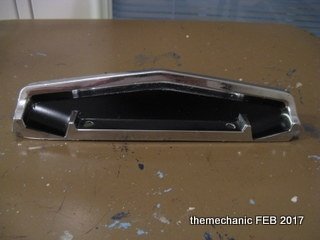
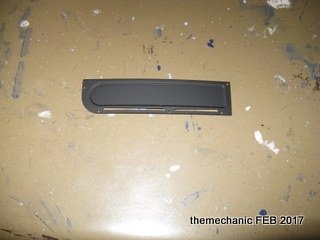
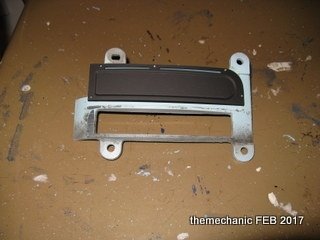
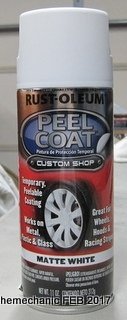
Next I started on the lid and top plates. Once the paint was stripped I cleaned the parts and used the thin, yellow masking tape to get a sharp edge where the paint meets the chrome. This works very well. The small end plate was the most difficult to mask off due to its many angles. When removing the tape, though, the paint peeled up at one of the corners. So, I stripped the piece again. I wasn’t willing to spend another hour masking that thing again and decided to try painting it with Rust-Oleum Peel Coat then cutting out the area that gets painted. It worked so well I recommend using it rather than masking tape on the other parts. I used a razor knife to cut the paint along the edges before peeling the tape off the remaining parts to avoid any more peeling. With the exception of minor pitting, looks like new.
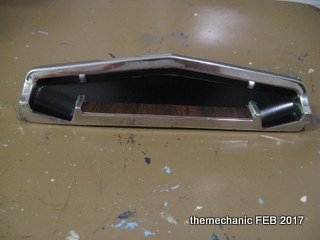
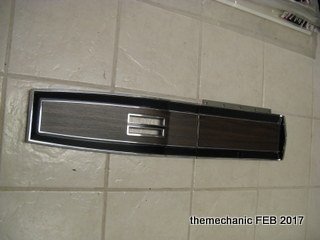
Next was applying the new woodgrain. This was easy. The hardest part was the decal going around the shifter but it wasn’t too hard. Be sure to follow the directions and let it dry before trimming the edges as there will be some excess material. Also, put the decals on in the same order they appear on the backing since the woodgrain lines up from one end to the other just like one board cut into three pieces.
IMPORTANT: Make sure you wait to order the woodgrain decals until a few weeks before you want to install it as the decals will shrink a bit.
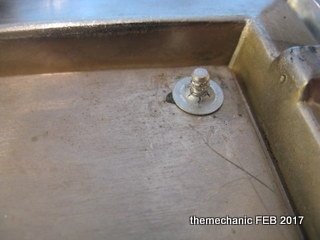
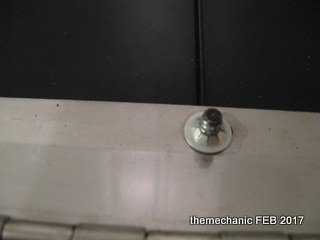
Time for reassembly. I bought new console hardware and used the retainers underneath each of the nuts since the posts were stripped. I also bought a new shifter lens and shifter filler (black plastic piece that covers the shifter slot). This came with a Mylar-like sticker to keep the filler from being scratched by the pot metal shifter housing; what a great idea. Rubber bumpers for the lid were included but I don’t know where they were located from the factory (mine were long gone before I bought the car). Anyone know where these go?
I am pleased with the results. Special thanks to Performance Car Graphics for the excellent decals and for the time they took on the telephone to answer any questions I had in the process. They really know their stuff when it comes to restoring old Mopars.


Last edited:


 ....get in line Dennis.