Getting ready to paint my 64 and I was wondering if anyone here had any pointers for me on actually removing the stainless trim on the body. I need to know what tools I need and how to get the upper corner fender emblems off so I can replace them. I know most of it just snaps on but I figured it would be best to jump on here and ask those who have done this already on this model about what they ran into before i jump in on it.
Hi Jim,
I'm working on a '64 Polara convertible. The skinny S.S. trim is mostly held on with plastic retainers pushed into holes that are in the fender, doors, and rear quarters. I removed this trim pretty easily by placing a small, thin, flat screwdriver under it and gently prying up. Once you get it started, it actually comes off pretty easily. In several places (like on your door edges near the door handles) you should find a stud instead of a push in plastic retainer that hold the trim. If I recall, the stud will have a self expanding clip attached to it and the clip fits inside of the trim edges. Just move the spring on the clip slightly with your small screw driver and it should release.
The wide Polara trim is held on the same way but with bigger 'D' shaped retainers. Again, a small, flat screwdriver is your friend here, and just take your time.
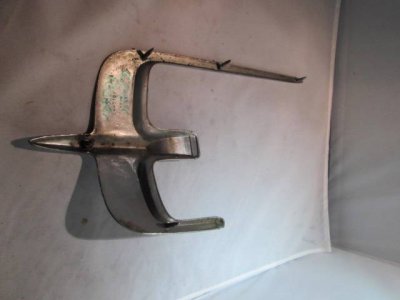
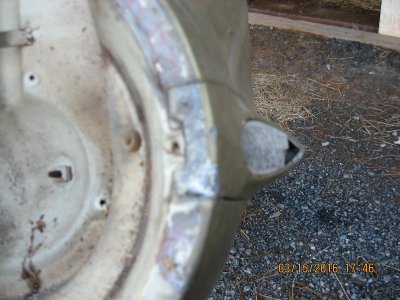
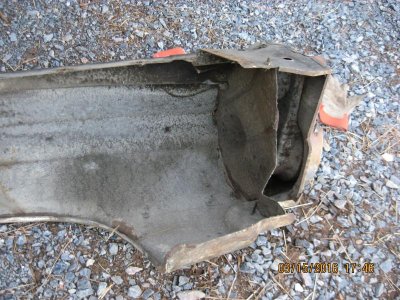
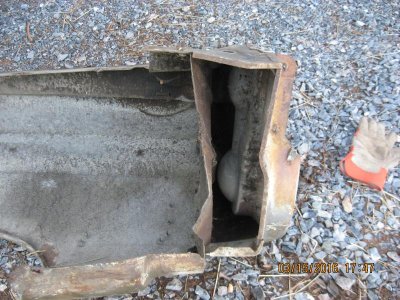
If by "upper corner fender emblems" you mean the 'Birds' that the Polara models have (the 330's and 440 Dodges used different trim on the fenders), these have studs molded into the part that line up with holes in your fender and then a capture nut holds them on. (I can dig up some picks of mine off of the car if you need them). If you're removing your fenders for your re-paint, it will be easiest to remove these after the fenders are off. If not, they can be removed with the fenders still on, just a tighter area for you to work in. The studs on these 'bird' emblems aren't much, so be gentle. Pulling the wheel off might be a good idea here so you can see what you're doing and also make sure that your socket or wrench is squarely on the retaining nut.
Last piece of advice is to take pictures before and during the process, and use masking tape to identify where each piece of trim goes on the car and the DIRECTION it goes on the car. Most of it is pretty self explanatory, but the door trim in particular could cause you some confusion when you go to put it back on.
Steve

