• When you click on links to various merchants on this site and make a purchase, this can result in this site earning a commission. Affiliate programs and affiliations include, but are not limited to, the eBay Partner Network.

1970 GTX side stripes

ralphie361

Well-Known Member
Local time
9:14 AM
Joined
Oct 17, 2013
Messages
57
Reaction score
38
Location
Ohio
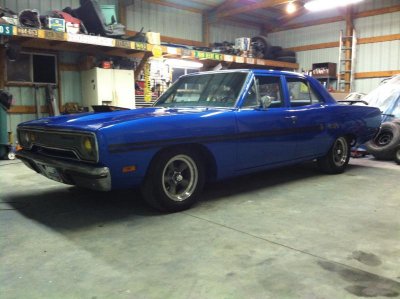
Hello all, I'm getting ready to apply the side stripes on my Gtx wannabe and I was wondering how everyone went about locating them on the car. I was thinking of taking a measurement from the front wheel arch on the stripe and marking the fender, then find the centerline of the scoop and connecting the two with masking tape until it looks level, then use little pieces of that tape for reference when the stripe gies on. Any suggestions/measurements are welcome, thanks!!!View attachment 267639
 
So I can't really help you with GTX stripes, but I want to pass along one observation for 1970 Road Runners that often is done wrong (it MAY be applicable for GTX cars).

The dust trail that starts at the side scoop does not come out of the center of the scoop. It is supposed to start centered on the Road Runner logo, which is about 2/3 of the way up. When people mistakenly start it in the center, it has to run up hill to clear the front fender. I am not sure if original GTX cars had a similar arrangement, but you may want to check some file photos of original cars to check it out.

When you mock it up, make sure the stripe does not run up hill. With your custom scoops, they may not be a good starting reference anyway, so let your eye be the judge.

Again, I know the above is not GTX specific, but perhaps gives you something to research and verify...

Hope this helps
 
Thanks for the pointers! I looked at a bunch of pics, and then got my stripes out and started playing around with them. The front fender stripe has a cutout for the wheel, and it helps get everything aligned. A friend of mine is going to help, I think I'm just going to put them "where they look right"! Wish me luck, I'll post the results (maybe)!
 
You can also snap a chalk line at the top and bottom of where your stripes will be. A lot easier to redo than taping, just wipe off and re-snap a new line. I would use white chalk to get good contrast. Hold the ends of the chalk line in place with tape.
 
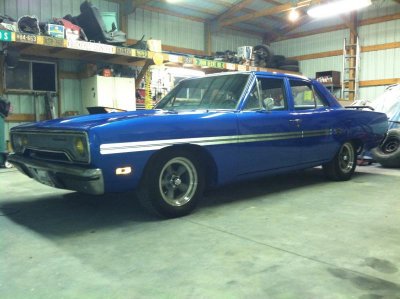
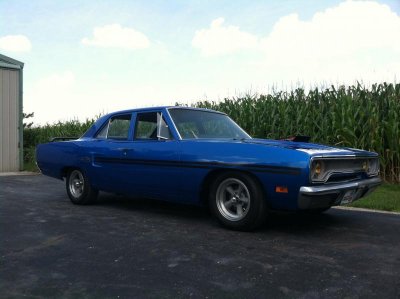
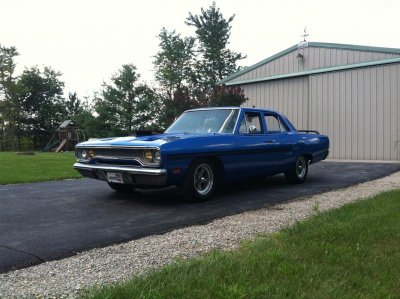
I ended up getting the stripes on, a freind of mine came over and helped me apply them. I mocked them up on the car and marked them with tape, and with the soapy water it was actually easier than I expected. I'm pretty happy, they're pretty straight I think, thanks for the help! image.jpgimage.jpgimage.jpgimage.jpg
 
You can also snap a chalk line at the top and bottom of where your stripes will be. A lot easier to redo than taping, just wipe off and re-snap a new line. I would use white chalk to get good contrast. Hold the ends of the chalk line in place with tape.

Or if you have access to a Laser Level....that's even easier. I just wish I had my Laser before I did my stripes. ;)
 
Or if you have access to a Laser Level....that's even easier. I just wish I had my Laser before I did my stripes. ;)

The laser level is a great idea. I'll be putting my stripes on the 68 in a week or two. I've got some good ideas on how to from this lost. Thx!
 
Laser level is a great idea! Maybe next time, I'm sure this won't be my last project!
 
Auto Transport Service
Back
Top