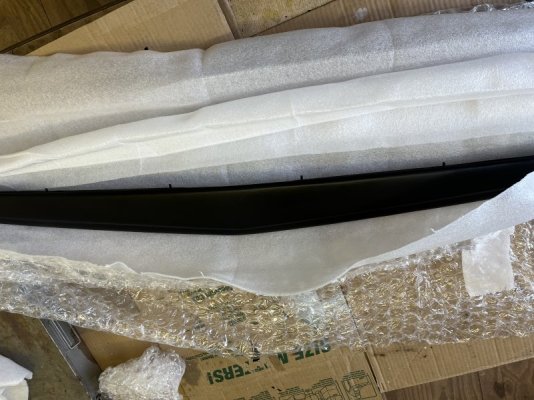
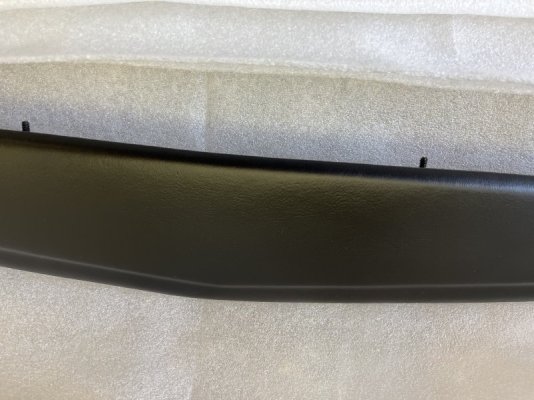
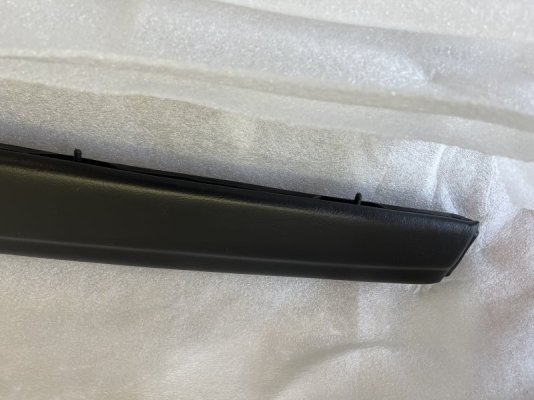
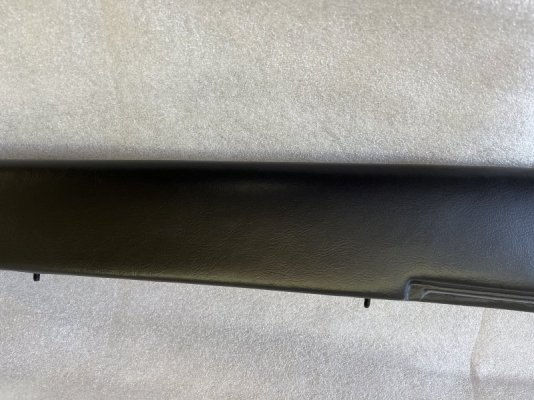
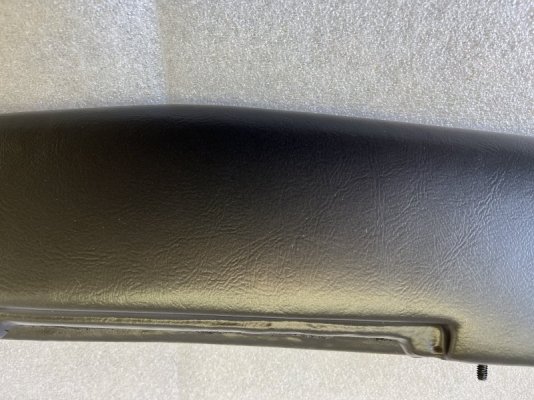
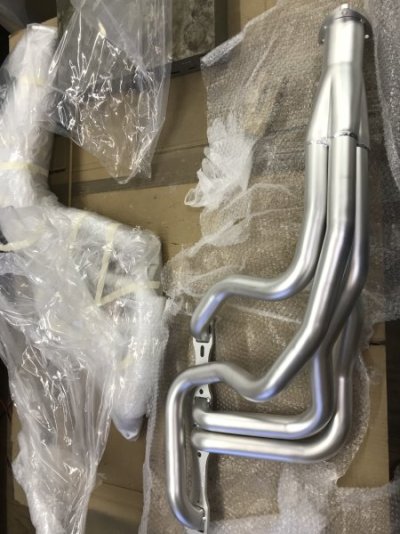
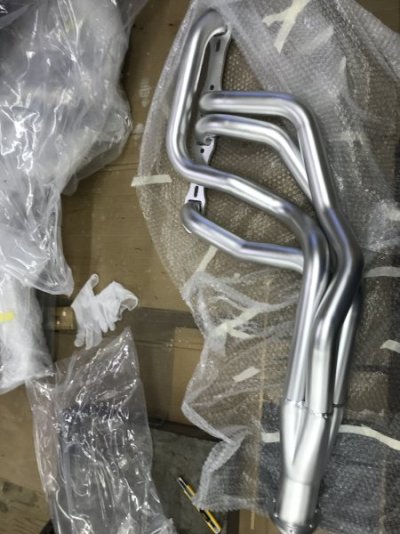
Installed the cluster, bezels and dash pad for hopefully the last time. Also test fit the top dash pad one last time before I sent it off to Just Dashes.


You are using an out of date browser. It may not display this or other websites correctly.
You should upgrade or use an alternative browser.
You should upgrade or use an alternative browser.
'68 Coronet 440 to R/T Clone
- Thread starter Toxic Orange 493
- Start date
1 Wild R/T
Well-Known Member
Well I guess that answers my question about repo dash pads... I have a pretty decent set for my car but they are 55 years ago, I've been looking at the new pads... I get to save money & have pads that actually fit...
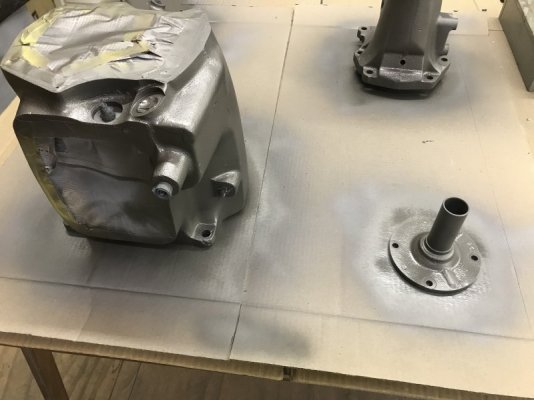
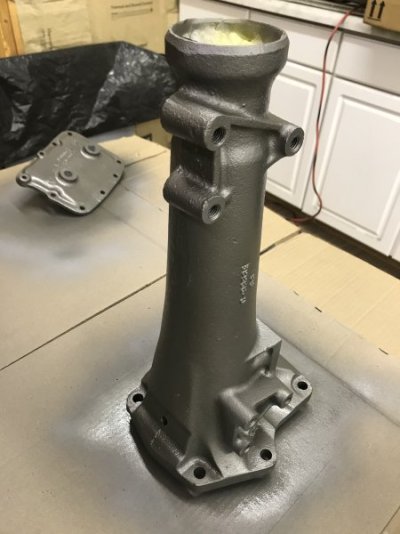
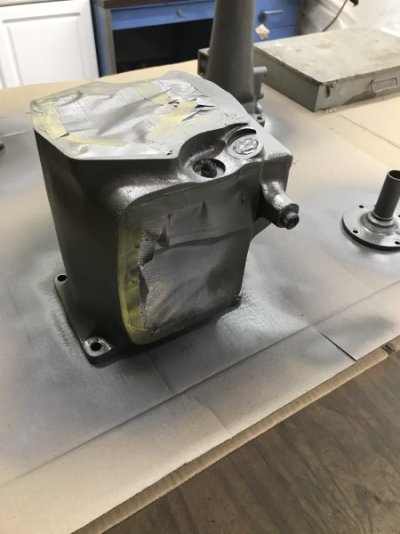
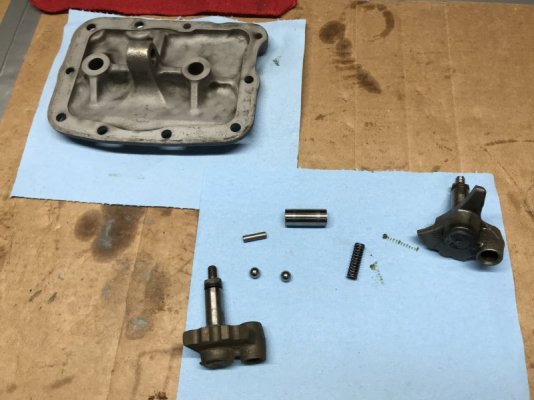
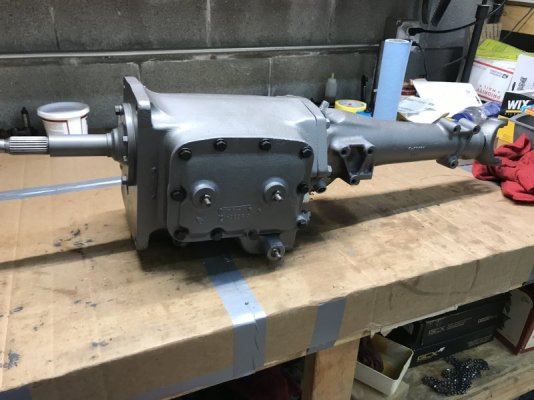
Next up was rebuilding the transmission. Before I starting taking it apart, I was trying to figure out what it was from because it had the large 5.125" front bearing retainer. So I thought it might be an overdrive transmission, but after "running" it through the gears by hand, I determined it is a 23 spline '70 or earlier unit with the 2.66 first gear ratio. I decided to rebuild it and use it for a while until I swap it out for a 5 speed in the future.
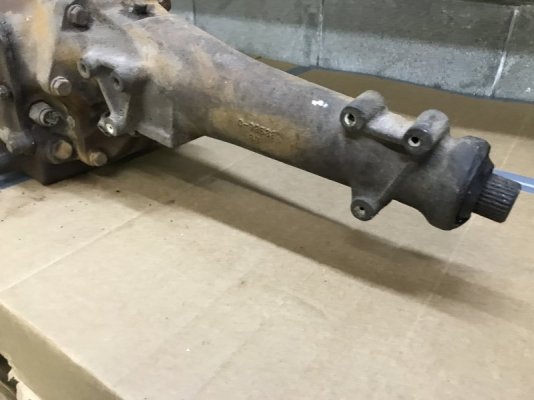
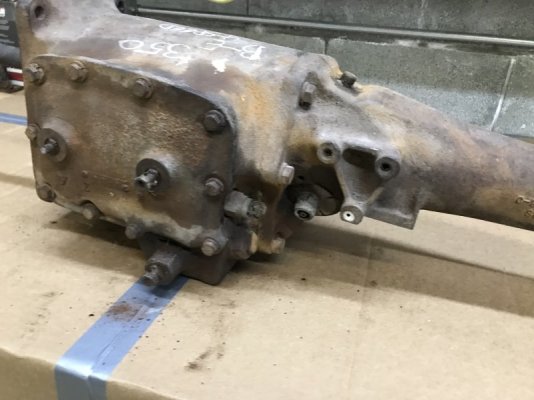
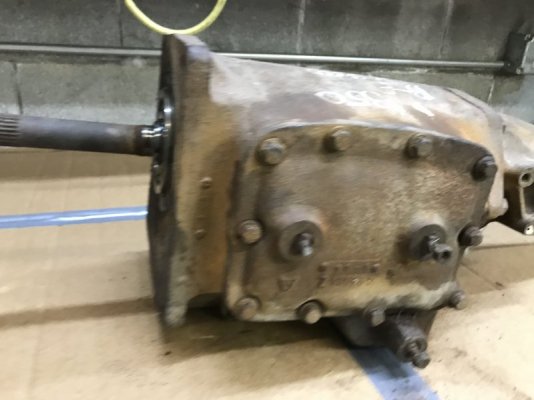
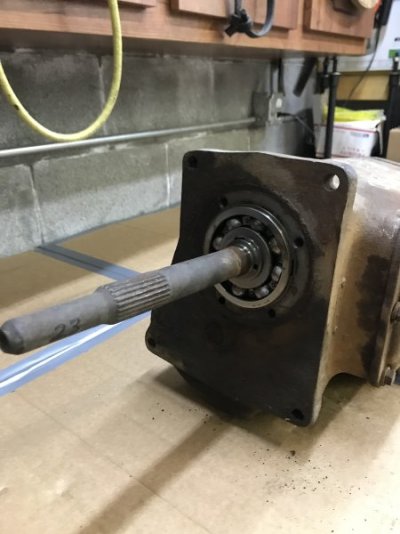


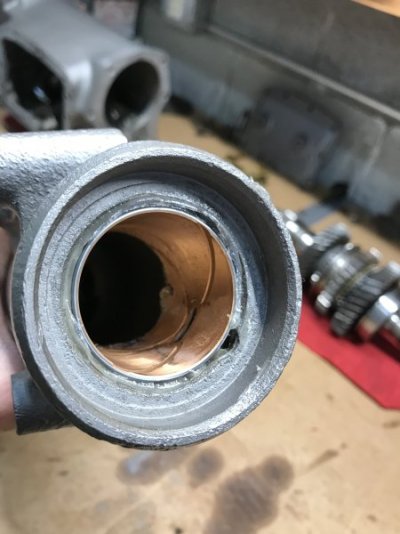
Once I opened up the transmission, I was surprised by how relatively clean it was inside. I have no idea how long this one has been sitting or even where it was sitting. So I was expecting it to really need a lot replaced inside. From Brewers, I got both new bearings, all the seals, tailshaft bushing, new 3-4 shift lever, the correct 4.807" front bearing retainer and I am sure other things I am forgetting.

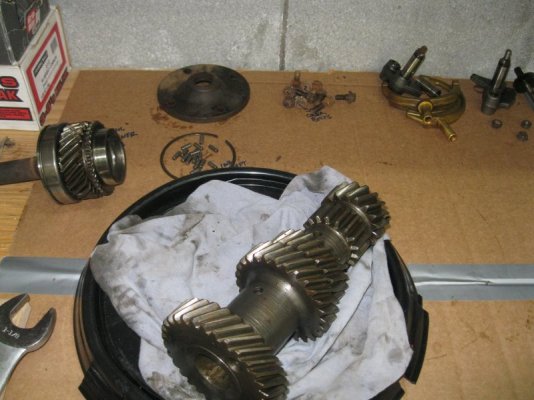
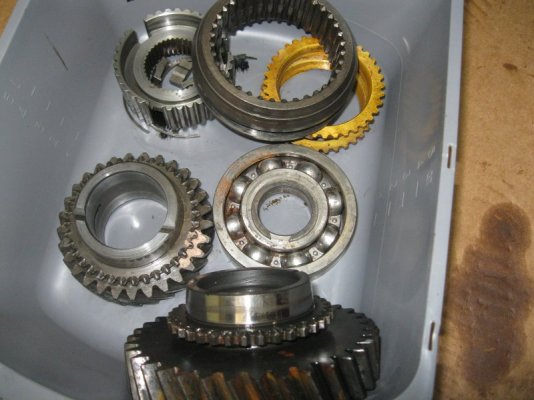


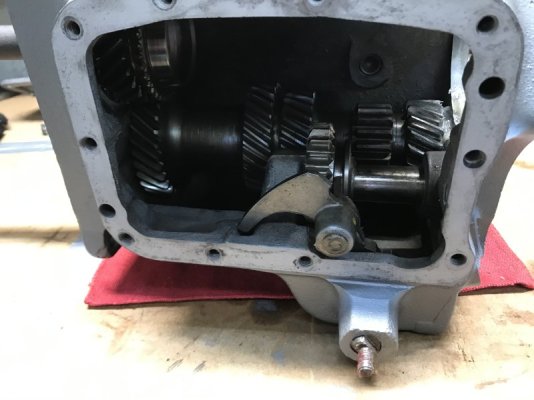
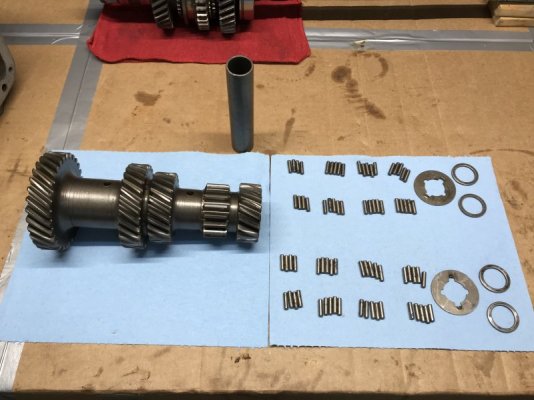
Prep for the cluster gear assembly.
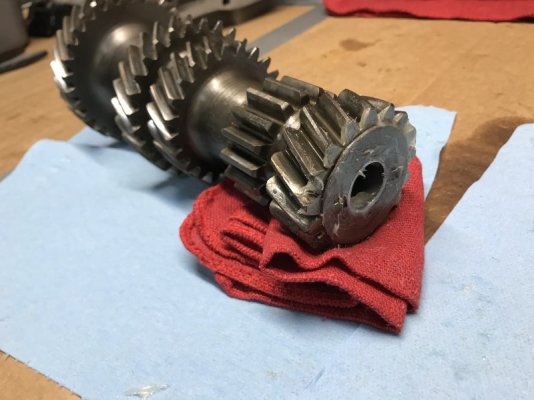
And here it is ready to go into the case.


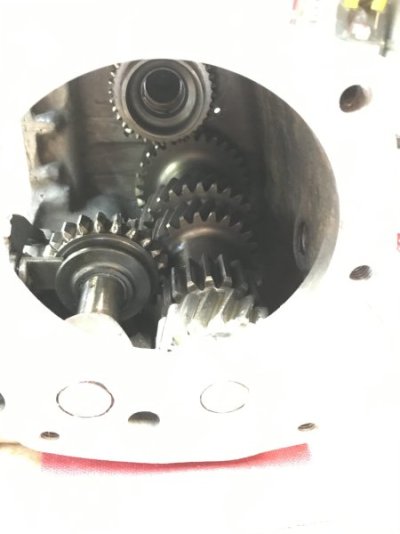
And then reinstalled along with the new front bearing and input shaft.

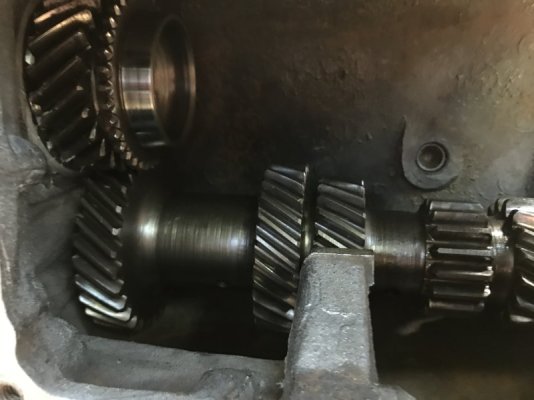
After this picture was taken, I removed the input shaft again. I initially made the mistake of thinking the front bearing was ok. Got a new front bearing, cleaned all of the input shaft up and then reinstalled.
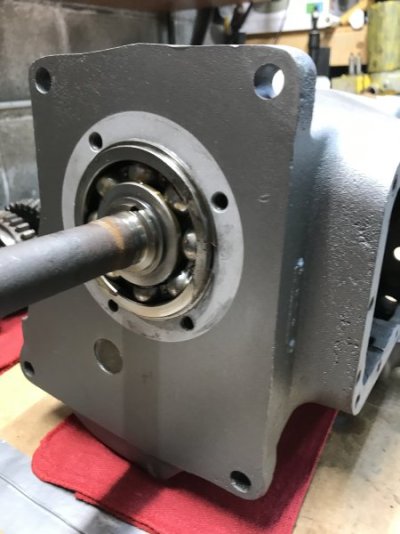

And here it is ready to go into the case.


And then reinstalled along with the new front bearing and input shaft.


After this picture was taken, I removed the input shaft again. I initially made the mistake of thinking the front bearing was ok. Got a new front bearing, cleaned all of the input shaft up and then reinstalled.

Last edited:
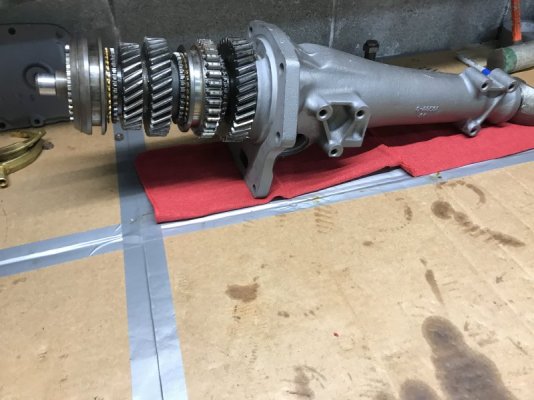
The most difficult part of rebuilding the transmission proved to be trying to get the mainshaft / tailhousing back together with the main case without knocking the roller bearings out of the input shaft. I didn't get any pictures of it, but I set the bellhousing with the side that bolts to the engine down on a couple 4"x4" boards. Then I set the main case of the transmission down into the bellshousing so it was vertical with the rear of the main housing pointing into the air. This way I could set the mainshaft/tailhousing straight down into the main case. I did that atleast 6-8 time before I was confident that all the bearings were still in the input shaft, the gasket was aligned properly and the tailhousing slide all the way into the main case. I was quite happy when it was all back together.


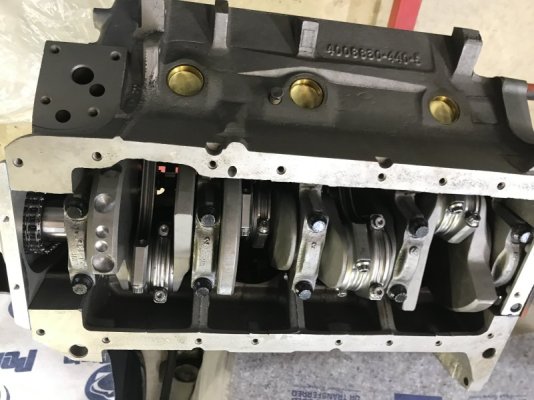
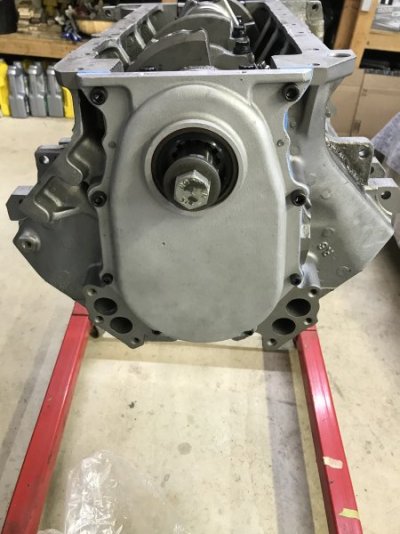
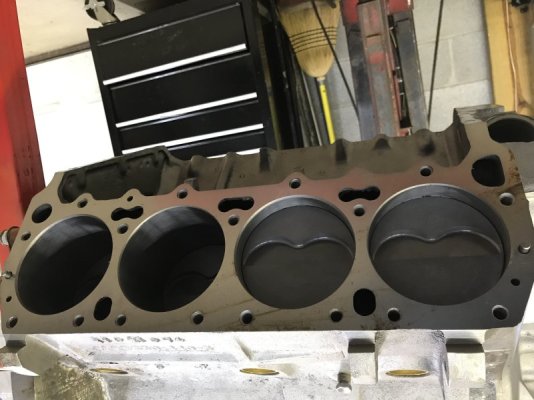
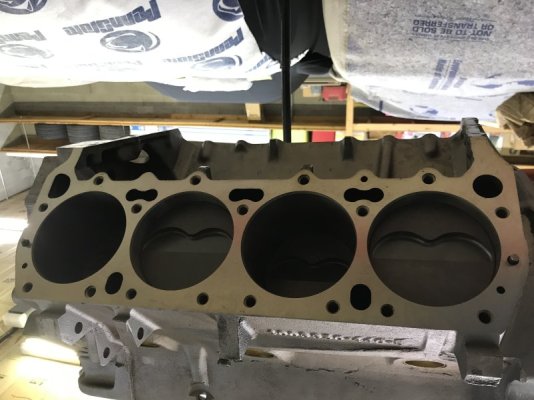
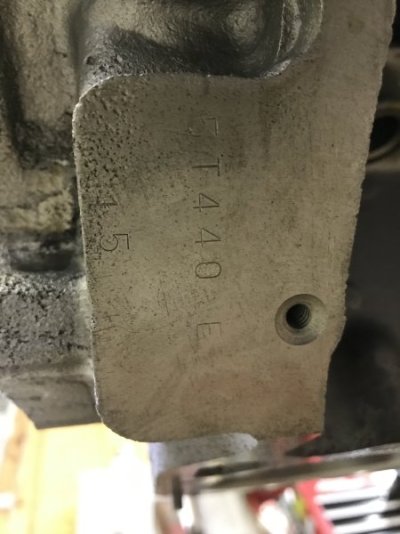
Next up was finishing the engine. My uncle worked in a machine shop building engines for over 40 years. This 440 was one of the last engine he built before retirement. It is a '74 block that is now stroked to a 493 using a Scat Crankshafts rotating assembly. Its has a forged crank, forged pistons and H beam rods.


You are going all out on that '68. It's going to be a new car when you finally get it on the road. Thanks for sharing all the good stuff. When are you going to have it ready to show us?
You are going all out on that '68. It's going to be a new car when you finally get it on the road. Thanks for sharing all the good stuff. When are you going to have it ready to show us?
I am trying my best to have it completed so I can at least drive it once this summer. I still have A LOT to do, but I that is my goal.
1 Wild R/T
Well-Known Member
Looking good.. Detail question... Do you have the little R/T medallion for the dash between the Speedo & Tach? It's a nice R/T only detail that your dash deserves.... I was gonna provide a link but it's no longer listed.... Many years ago I provided Mike Ross my original medallion as an example & he reproduced them... They are/were beautiful... Might be worth contacting him to see if he has any left....


Looking good.. Detail question... Do you have the little R/T medallion for the dash between the Speedo & Tach? It's a nice R/T only detail that your dash deserves.... I was gonna provide a link but it's no longer listed.... Many years ago I provided Mike Ross my original medallion as an example & he reproduced them... They are/were beautiful... Might be worth contacting him to see if he has any left....
I do not have one yet, but I will reach out to him and see if he does have any more. Thanks for the info on them.
1 Wild R/T
Well-Known Member
BTW If I didn't mention it... Your car is looking AWESOME!!
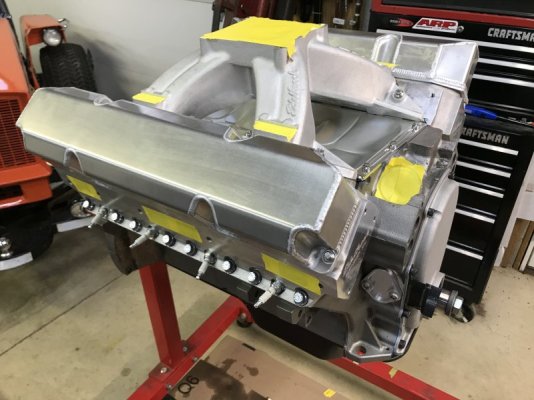
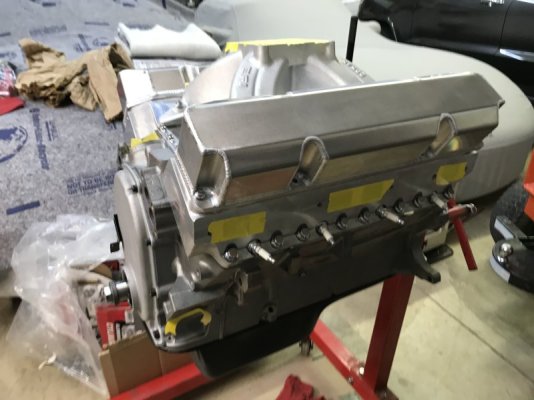
Unfortunately at times I am not good at getting pictures. So when my uncle helped me bolt the rest of the engine together, I didn't get pictures of all the work we did. The cam is a custom grind hydraulic roller from Bullet Cams. The heads are the 88CC version of the Edelbrock RPMs. The intake is the Edelbrock Victor single plane that is setup for multiport injection.



BTW If I didn't mention it... Your car is looking AWESOME!!
Thank you! I appreciate it. I am doing the best that I can. It will not be perfect, but I hope that it will be a really nice driver.
1 Wild R/T
Well-Known Member
All any sane person shoots for is a really nice driver, those intentionally chasing something more aren't exactly sane.... But when done an awful lot of nice drivers do show really well...Thank you! I appreciate it. I am doing the best that I can. It will not be perfect, but I hope that it will be a really nice driver.
Similar threads
- Replies
- 0
- Views
- 356
- Replies
- 7
- Views
- 320
- Replies
- 7
- Views
- 546

